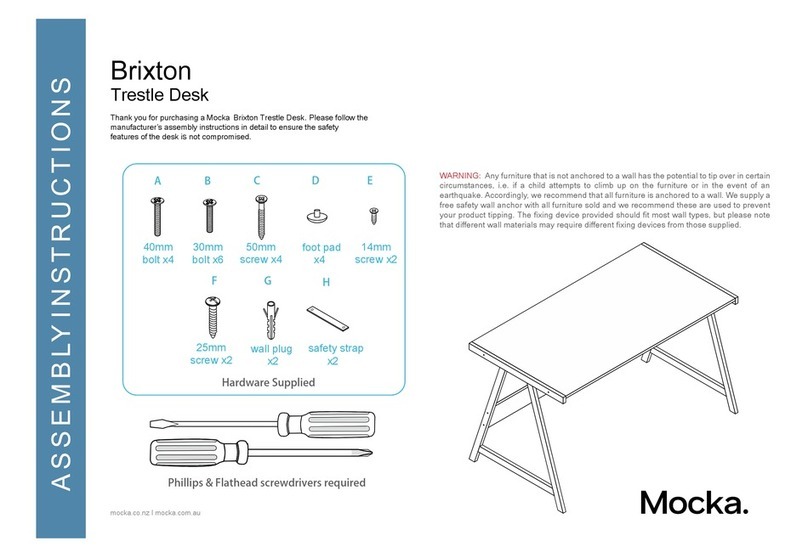
manuals.online logo
Brands
  1. Home
  2. •
  3. Brands
  4. •
  5. Mocka
  6. •
  7. Indoor Furnishing
  8. •
  9. Mocka Maya Bookcase User manual

Mocka Maya Bookcase User manual

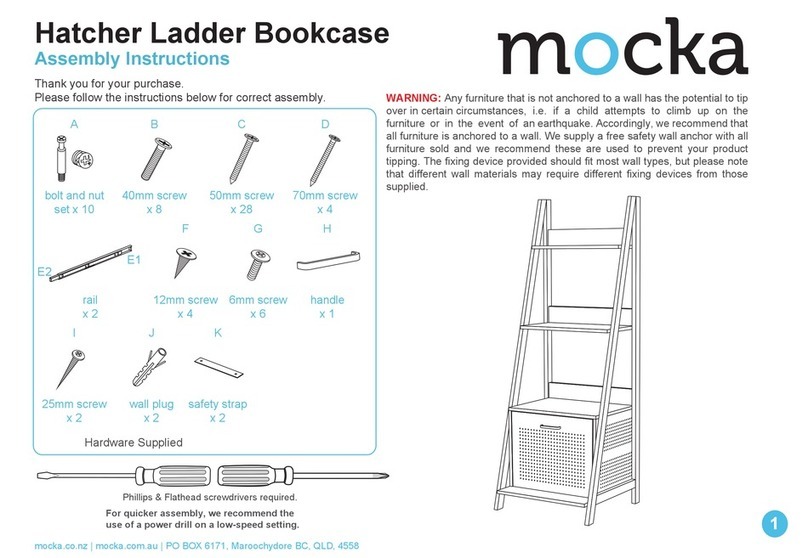
A B C D E
FH I JG
Phillips &Flatheadscrewdrivers and hammerrequired
Hardware Supplied
dowel
x8
bolt
x16
locking
nut x16
small
screw x16
long
screw x8
*We recommend using a Flathead screwdriver to tighten all locking nuts 100% before first use.
Please clear any loose wood from the locking nut holes before inserting the nut to ensure it locks 100%.
For quicker assembly, we rec ommend the
use of a power drill on a low-speed setting.
Maya Bookcase
Assembly Instructions
Thank you for your purchase.
Please follow the instructions below for correct assembly.
x8
long screw
WARNING: Any furniture that is not anchored to a wall has the potential to tip
over in certain circumstances, i.e. if a child attempts to climb up on the furniture
or in the event of an earthquake. Accordingly, we recommend that all furniture
is anchored to a wall. We supply a free safety wall anchor with all furniture sold
and we recommend these are used to prevent your product tipping. The fixing
device provided should fit most wall types, but please note that different wall
materials may require different fixing devices from those supplied.
1
X
Z
Y
W
safety
strap
x1
screw
x1
long
screw
x1
wall
anchor
x1
washer
x1
L + R
slide rail
x4
L + R
slide rail
x4
x1
allen key
mocka.co.nz | mocka.com.au
2
long
screw x6
K
wedge
x4
2
12
Maya Bookcase
Assembly Instructions
mocka.co.nz | mocka.com.au
A
A
A
A
A
EE
EE
GG
E
C
C
B
B
5
B
Insert 8 x bolt (A) into panels [3] and [4]. Attach 2 x L slide rails (G) to
panel [3] and secure with 4 x small screw (E). Attach 2 x R slide rails
(G) to panel [4] and secure with 4 x small screw (E). Tighten with a
screwdriver.
Insert 2x dowel (C) into panels [4] and [5]. Attach panels [5]
and
secure with 2x locking nuts (B). Tighten with a screwdriver.
A
A
AA
EE
EE
3
34
Maya Bookcase
Assembly Instructions
mocka.co.nz | mocka.com.au
B
5
B
6
4
B
7
Insert 2x dowel (C) into panels [4] and [6]. Attach panels [6] and
secure with 2x locking nuts (B). Tighten with a screwdriver.
Slot back panel [7] into grooves on the back of the unit. Ensure the
panel is aligned and slides down into place.
4
56
Maya Bookcase
Assembly Instructions
mocka.co.nz | mocka.com.au
B
B
3
6
B
B
BC
C
C
5
8
Insert 4x dowel (C) into panels [5] and [6]. Attach panels [3], [5] and [6]
and secure with 4x locking nuts (B). Tighten with a screwdriver.
Slot back panel [8] into grooves on the back of the unit. Ensure the
panel is aligned and slides down into place.
5
78
Maya Bookcase
Assembly Instructions
mocka.co.nz | mocka.com.au
3
9
4
D
J
D
D
D
D
1
10
11
I
I
I
I
I
I
To assemble the tower attached the shelf slats to support
legs using 4x screw [D] in each end as shown.
Attach 1x panel [10] and 1x panel [11] to panel [1], screw with
6x long screws [1] and tighten with a screwdriver.
6
910
Maya Bookcase
Assembly Instructions
mocka.co.nz | mocka.com.au
1
D
J
17
17
Drawers (x2)
F
F
FF
12
13
14
15
x8
F
DD
D
D
Insert 4x long screw [D] to panel [1], insert 2x removeable
shelf [9] into cabinet.
Attach panels [13], [14] and [15] together with 4x medium screw [F],
slide panel [12] between the grooves on panels [13] and [15] to form
the bottom of the drawer as shown.
7
11 12
Maya Bookcase
Assembly Instructions
mocka.co.nz | mocka.com.au
Drawers (x2)
Drawers (x2)
A
x8
B
x8
A
B
B
B
B
A
A
16
E
E
Insert 4x bolts [A] into the back of panel [16]. Attach panel [16] to panel [13]
and [15] with 4x locking nut [B]. Tighten with a screwdriver.
Attach 2x slide rails [H] to panels [13] and [15]. Screw with 4x small screw
[E]. Tighten with a screwdriver.vv
13
15
H
E
15
13
8
13 14
Maya Bookcase
Assembly Instructions
mocka.co.nz | mocka.com.au
16
8
KK
K
K
K
Insert each drawer into the unit as shown, ensuring they slide smoothly and
easily along the rails. Once assembled, lift furniture into place, do not drag
Screw with 4x wedge [K]. Tighten with a screwdriver.
9
15 16
Maya Bookcase
Assembly Instructions
mocka.co.nz | mocka.com.au
X
Z
wall
anchor
wall
screw
Washer
Strap
Y
W
W
Y
Use a drill to a create a small hole lining up with the top of the safty
strap [W]. Fasten to wall using 1x wall screw (not supplied)
Fasten to wallusing 1x wall plug (X), 1x washer (Z) and 1x long screw (Y).
Ensure unitis balanced and steady before use. You’re done, enjoy!

Other Mocka Indoor Furnishing manuals

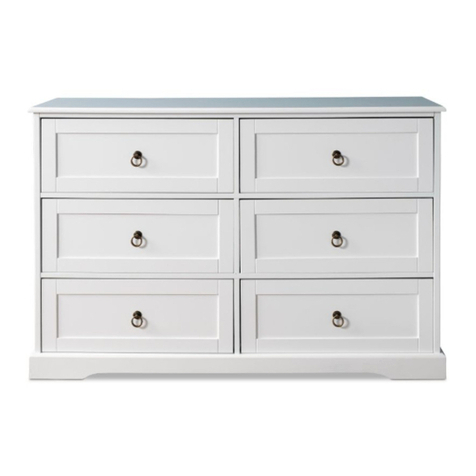
Mocka Chelsea Six Drawer-Wide User manual

Mocka

Mocka Chelsea Six Drawer-Wide User manual

Mocka Zander Side Table User manual

Mocka

Mocka Zander Side Table User manual

Mocka Boston Cot User manual

Mocka

Mocka Boston Cot User manual

Mocka Mod User manual

Mocka

Mocka Mod User manual

Mocka Inca Entertainment Unit User manual

Mocka

Mocka Inca Entertainment Unit User manual

Mocka Zara User manual

Mocka

Mocka Zara User manual

Mocka Blair User manual

Mocka

Mocka Blair User manual

Mocka Sonata Bed King Single User manual

Mocka

Mocka Sonata Bed King Single User manual

Mocka Essentials 6 Cube User manual

Mocka

Mocka Essentials 6 Cube User manual

Mocka Soren King Single Bed User manual

Mocka

Mocka Soren King Single Bed User manual

Mocka Hobart User manual

Mocka

Mocka Hobart User manual
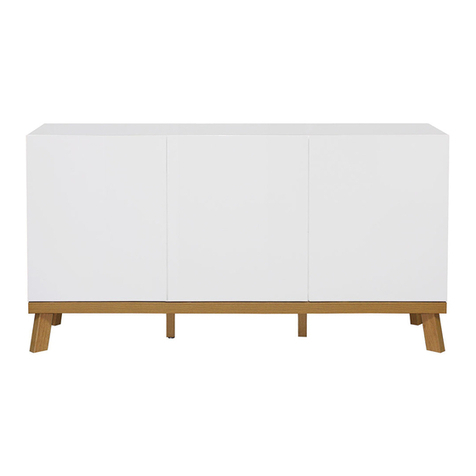
Mocka Sadie Six Cube Unit User manual

Mocka

Mocka Sadie Six Cube Unit User manual

Mocka Sadie Tallboy User manual

Mocka

Mocka Sadie Tallboy User manual

Mocka Toby Desk User manual

Mocka

Mocka Toby Desk User manual

Mocka Urban User manual

Mocka

Mocka Urban User manual

Mocka Scarborough Six Drawer User manual

Mocka

Mocka Scarborough Six Drawer User manual

Mocka Livi Bar Seat User manual

Mocka

Mocka Livi Bar Seat User manual

Mocka Jesse Change Table User manual

Mocka

Mocka Jesse Change Table User manual

Mocka Marlow Desk User manual

Mocka

Mocka Marlow Desk User manual

Mocka Porto Bookcase User manual

Mocka

Mocka Porto Bookcase User manual

Mocka Kirra Six Drawer User manual

Mocka

Mocka Kirra Six Drawer User manual

Mocka Sintra User manual

Mocka

Mocka Sintra User manual

Mocka Alps Two Door Cabinet User manual

Mocka

Mocka Alps Two Door Cabinet User manual

Mocka Jesse Buffet User manual

Mocka

Mocka Jesse Buffet User manual

Popular Indoor Furnishing manuals by other brands

Husky UACT-H-270101 Use and care guide

Husky

Husky UACT-H-270101 Use and care guide

Ropox vision user manual

Ropox

Ropox vision user manual

Next 389846 Assembly instructions

Next

Next 389846 Assembly instructions

Living Spaces 305-P323150 Assembly instructions

Living Spaces

Living Spaces 305-P323150 Assembly instructions

GoodHome ladoga 3663602527367 Assembly instructions

GoodHome

GoodHome ladoga 3663602527367 Assembly instructions

Trasman 5020 DGAME Assembly manual

Trasman

Trasman 5020 DGAME Assembly manual

Furniture of America YNJ-18801C13 Assembly instructions

Furniture of America

Furniture of America YNJ-18801C13 Assembly instructions

Trasman 1250A Bo1 Assembly manual

Trasman

Trasman 1250A Bo1 Assembly manual

New Classic Furniture Emilie BH1841-310 Assembly instructions

New Classic Furniture

New Classic Furniture Emilie BH1841-310 Assembly instructions

Furniture of America CM7182D Assembly instructions

Furniture of America

Furniture of America CM7182D Assembly instructions

Baxton Studio Ardon MUS003NATURALBLACK Assembly

Baxton Studio

Baxton Studio Ardon MUS003NATURALBLACK Assembly

YitaHome FTPLPB-K04-L-BK Assembly instructions

YitaHome

YitaHome FTPLPB-K04-L-BK Assembly instructions

Coaster 200701Q Assembly instructions

Coaster

Coaster 200701Q Assembly instructions

Powell 16D8216CSBLU Assembly instructions

Powell

Powell 16D8216CSBLU Assembly instructions

Costway Accent HW66543 user manual

Costway

Costway Accent HW66543 user manual

Ameriwood HOME 1056849COM Instruction booklet

Ameriwood HOME

Ameriwood HOME 1056849COM Instruction booklet

Safavieh Furniture Jeralyn FOX4232 quick start guide

Safavieh Furniture

Safavieh Furniture Jeralyn FOX4232 quick start guide

Furniture Tree Sammie Bunk instructions

Furniture Tree

Furniture Tree Sammie Bunk instructions

manuals.online logo
manuals.online logoBrands
  • About & Mission
  • Contact us
  • Privacy Policy
  • Terms and Conditions

Copyright 2025 Manuals.Online. All Rights Reserved.