manuals.online logo
Brands
  1. Home
  2. •
  3. Brands
  4. •
  5. Mocka
  6. •
  7. Indoor Furnishing
  8. •
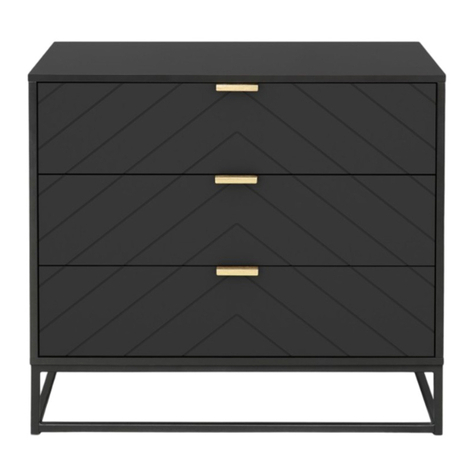
  9. Mocka Vigo Bedside Table User manual

Mocka Vigo Bedside Table User manual

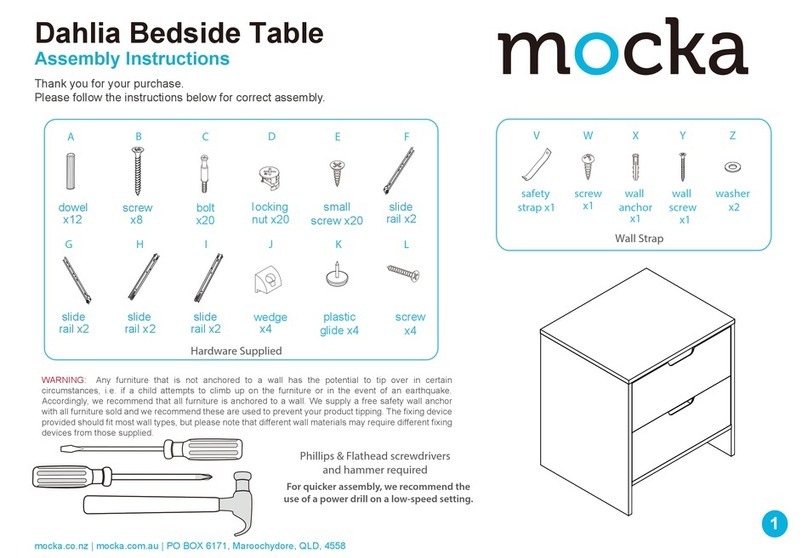
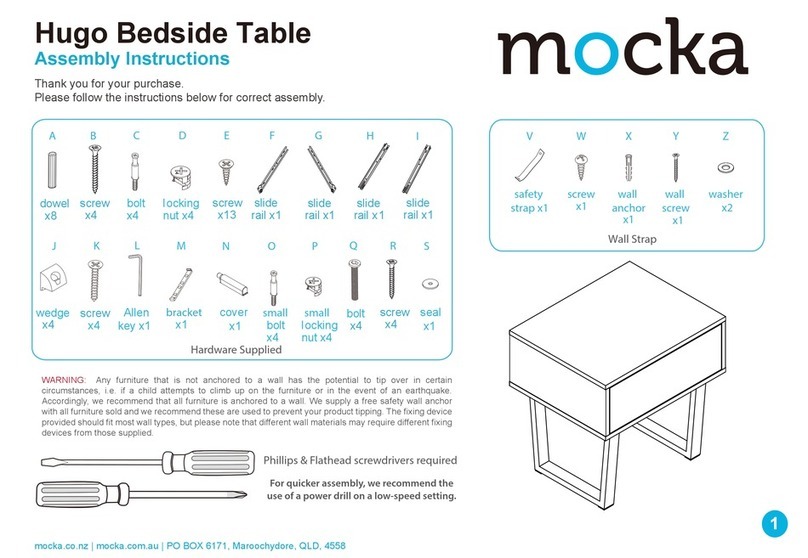
Phillips & Flathead screwdrivers required
*We recommend using a Flathead screwdriver to tighten
all locking nuts 100% before rst use.
A B CDE
Hardware Supplied
25mm
screw x4
12mm
screw x8
50mm
screw x16
slide rail
x2
bolt &
nut set x18
E1
E2
E3
E4
F
dowel
x8
GH I
wall
anchor x2
safety
strap x2
25mm
screw x2
WARNING: Any furniture that is not anchored to a wall has the potential to tip
over in certain circumstances, i.e. if a child attempts to climb up on the furniture
or in the event of an earthquake. Accordingly, we recommend that all furniture
is anchored to a wall. We supply a free safety wall anchor with all furniture sold
and we recommend these are used to prevent your product tipping. The fixing
device provided should fit most wall types, but please note that different wall
materials may require different fixing devices from those supplied.
For quicker assembly, we recommend the
use of a power drill on a low-speed setting.
Vigo Bedside Table
1
mocka.co.nz | mocka.com.au
Assembly Instructions
Thank you for your purchase.
Please follow the instructions below for correct assembly.
12
Attach 1x slide rail (E1) to panel [3] using 2x 12mm screws (C). Attach
1x slide rail (E3) to panel [4] using 2x 12mm screws (C). Tighten with a
screwdriver.
Attach panels [3], [4] and [5] together using 4x bolts (A) and secure using
4x locking nuts (A). Tighten with a flathead screwdriver.
5
4
3
E1
E3
C
C
C
C
4
3
A
A
A
A
A
C
Vigo Bedside Table
2
mocka.co.nz | mocka.com.au
Assembly Instructions
12
Attach 1x slide rail (E1) to panel [3] using 2x 12mm screws (C). Attach
1x slide rail (E3) to panel [4] using 2x 12mm screws (C). Tighten with a
screwdriver.
Attach panels [3], [4] and [5] together using 4x bolts (A) and secure using
4x locking nuts (A). Tighten with a flathead screwdriver.
5
4
3
E1
E3
C
C
C
C
4
3
A
A
A
A
A
C
34
Attach panels [3], [4] and [5] to panel [2] using 4x dowels (F) and 2x
bolts (A). Secure the bolts with 2x locking nuts (A) and 4x 50mm
screws (D). Tighten with a screwdriver.
Attach panel [1] to panels [3], [4] and [5] using 4x dowels (F) and 6x bolts
(A). Secure with 6x locking nuts (A) and tighten with a flathead
screwdriver.
54
3
2
54
3
1
D
DD
A
A
F
F
F
F
A
F
A
F
A
2
A
A
A
A
A
A
A
A
F
F
Vigo Bedside Table
3
mocka.co.nz | mocka.com.au
Assembly Instructions
56
Attach panels [6] and [7] to the legs using 8x 50mm screws (D), while
securing the 2x safety straps (I) to the top as shown. Tighten with a
screwdriver.
Attach panel [2] to the legs using 2x bolts (A) and secure with 2x locking
nuts (A) and 4x 25mm screws (B). Tighten with a screwdriver.
7
6
7
2
6
D
D
D
D
D
D
D
D
I
I
A
A
B
B
B
B
Vigo Bedside Table
Assembly Instructions
4
mocka.co.nz | mocka.com.au
Jolt Wardrobe
ASSEMBLY INSTRUCTIONS
5
mocka.co.nz | mocka.com.au
56
Attach panels [6] and [7] to the legs using 8x 50mm screws (D), while
securing the 2x safety straps (I) to the top as shown. Tighten with a
screwdriver.
Attach panel [2] to the legs using 2x bolts (A) and secure with 2x locking
nuts (A) and 4x 25mm screws (B). Tighten with a screwdriver.
7
6
7
2
6
D
D
D
D
D
D
D
D
I
I
A
A
B
B
B
B
78
Attach panels [9], [10] and [11] together using 4x 50mm screws (D).
Slide panel [12] along the grooves between the side panels to form the
base of the drawer. Attach panel [8] using 4x bolts (A) and secure with
the 4x locking nuts (A). Tighten with a flathead screwdriver.
Attach 1x slide rail (E2) to panel [9] and secure with 2x 12mm screws
(C). Attach 1x slide rail (E4) to panel [10] and secure with 2x 12mm
screws (C). Tighten with a screwdriver.
A
D
D
A
D
D
10
9
9
10
12
11
8
C
C
C
C
E2
E4
C
C
E4
10
10
9
C
C
E2
9
Drawer
A
Vigo Bedside Table
Assembly Instructions
5
mocka.co.nz | mocka.com.au
910
Insert the completed drawer as shown, ensuring it slides smoothly and
easily along the rails.
Lift the furniture into the desired position, do not drag. Attach the other
end of the safety straps (I) to the wall using 2x wall plugs (H) and 2x
25mm screws (G). Tighten with a screwdriver. All done, enjoy!
8
IH
G
Vigo Bedside Table
Assembly Instructions
6
mocka.co.nz | mocka.com.au

Other Mocka Indoor Furnishing manuals

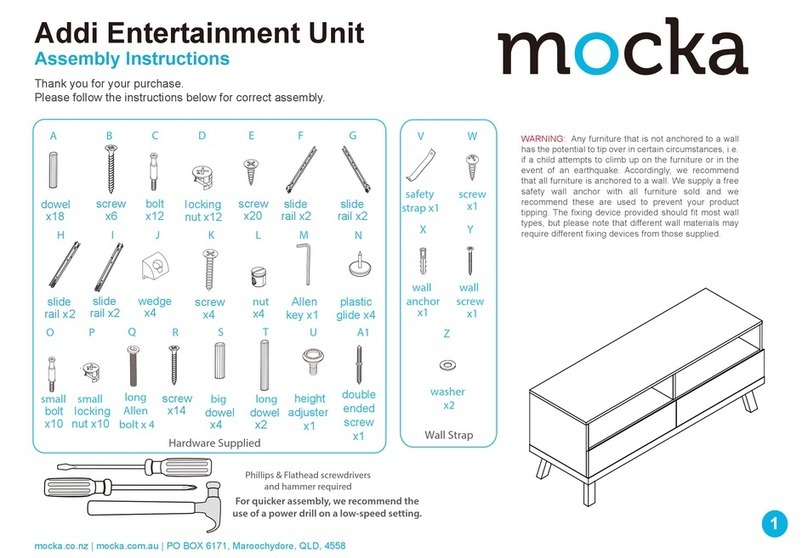
Mocka Kennedy Three Drawer User manual

Mocka

Mocka Kennedy Three Drawer User manual

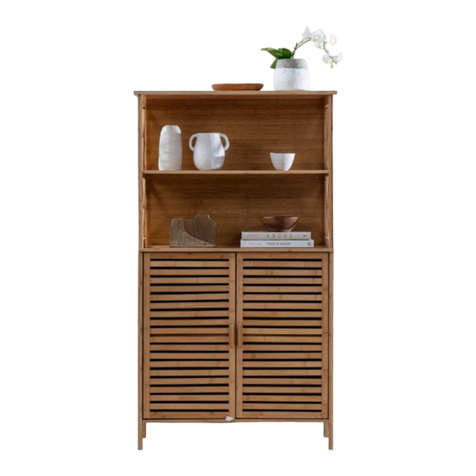
Mocka Hamptons User manual

Mocka

Mocka Hamptons User manual

Mocka Six Cube User manual

Mocka

Mocka Six Cube User manual

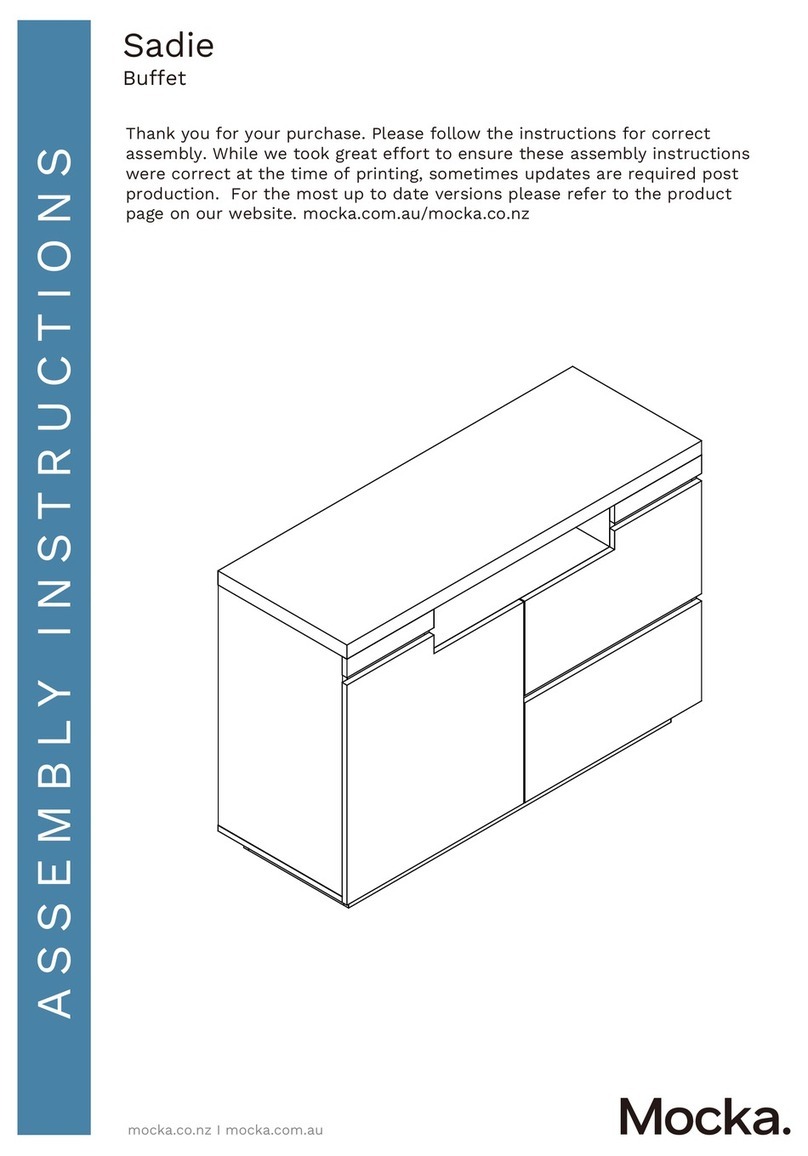
Mocka Sadie User manual

Mocka

Mocka Sadie User manual

Mocka Livi Bar Seat User manual

Mocka

Mocka Livi Bar Seat User manual

Mocka Zara User manual

Mocka

Mocka Zara User manual

Mocka Rupert User manual

Mocka

Mocka Rupert User manual

Mocka Mod Headboard User manual

Mocka

Mocka Mod Headboard User manual

Mocka Kennedy Buffet User manual

Mocka

Mocka Kennedy Buffet User manual

Mocka Blair User manual

Mocka

Mocka Blair User manual

Mocka Sonata User manual

Mocka

Mocka Sonata User manual

Mocka Dakota User manual

Mocka

Mocka Dakota User manual

Mocka Mod User manual

Mocka

Mocka Mod User manual

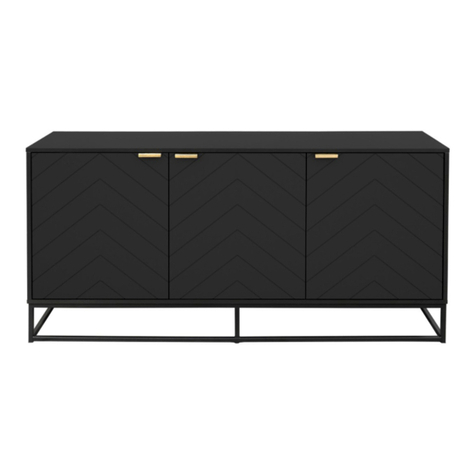
Mocka Inca Buffet User manual

Mocka

Mocka Inca Buffet User manual
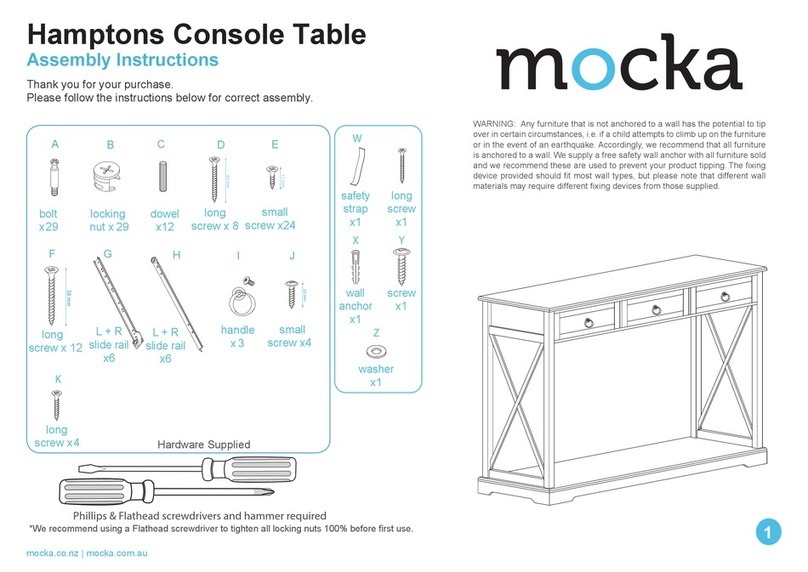
Mocka Hamptons User manual

Mocka

Mocka Hamptons User manual
Mocka Hudson User manual

Mocka

Mocka Hudson User manual

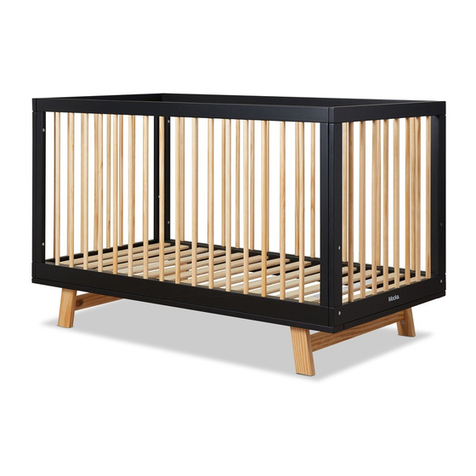
Mocka Amalfi Cot User manual

Mocka

Mocka Amalfi Cot User manual

Mocka Tahoe User manual

Mocka

Mocka Tahoe User manual

Mocka Claremont User manual

Mocka

Mocka Claremont User manual

Mocka Sintra Six Drawer User manual

Mocka

Mocka Sintra Six Drawer User manual

Mocka Zara Coffee Table User manual

Mocka

Mocka Zara Coffee Table User manual

Mocka Watson Four Drawer User manual

Mocka

Mocka Watson Four Drawer User manual

Mocka Chelsea User manual

Mocka

Mocka Chelsea User manual

Mocka Aspen Wardrobe User manual

Mocka

Mocka Aspen Wardrobe User manual

Popular Indoor Furnishing manuals by other brands

RiverRidge 02-402 Assembly instructions

RiverRidge

RiverRidge 02-402 Assembly instructions

Techni Mobili RTA-B018 Assembly instructions

Techni Mobili

Techni Mobili RTA-B018 Assembly instructions

John Thomas WC-4824 Assembly instructions

John Thomas

John Thomas WC-4824 Assembly instructions

TUHOME Furniture ELW 3938 Assembly instructions

TUHOME Furniture

TUHOME Furniture ELW 3938 Assembly instructions

Keter A-2228 Assembly instructions

Keter

Keter A-2228 Assembly instructions

JWA LUGO 68438 Assembly instruction

JWA

JWA LUGO 68438 Assembly instruction

Forte HVKV421R Assembling Instruction

Forte

Forte HVKV421R Assembling Instruction

CATSKILL 7226 manual

CATSKILL

CATSKILL 7226 manual

Ercol TREVISO DESK 2334 instructions

Ercol

Ercol TREVISO DESK 2334 instructions

Zenox Mercury Series Assembly guide

Zenox

Zenox Mercury Series Assembly guide

Haworth Comforto 29 Series manual

Haworth

Haworth Comforto 29 Series manual

Badger Basket 98855 Assembly instructions

Badger Basket

Badger Basket 98855 Assembly instructions

Dorel 4411029UK Assembly instructions

Dorel

Dorel 4411029UK Assembly instructions

Rauch Burano M1799 Assembly instructions

Rauch

Rauch Burano M1799 Assembly instructions

Furniture of America CM3021SC-2PK Assembly instructions

Furniture of America

Furniture of America CM3021SC-2PK Assembly instructions

walser Mobile shooting Table XXL manual

walser

walser Mobile shooting Table XXL manual

Compel Pivit Perch Assembly instructions

Compel

Compel Pivit Perch Assembly instructions

SCREENLINE ARENA manual

SCREENLINE

SCREENLINE ARENA manual

manuals.online logo
manuals.online logoBrands
  • About & Mission
  • Contact us
  • Privacy Policy
  • Terms and Conditions

Copyright 2025 Manuals.Online. All Rights Reserved.