ELECTRONICS FOR SPECIALISTS ELECTRONICS FOR SPECIALISTS ELECTRONICS FOR SPECIALISTS ELECTRONICS FOR SPECIALISTS ELECTRONICS FOR SPECIALISTS ELECTRONICS
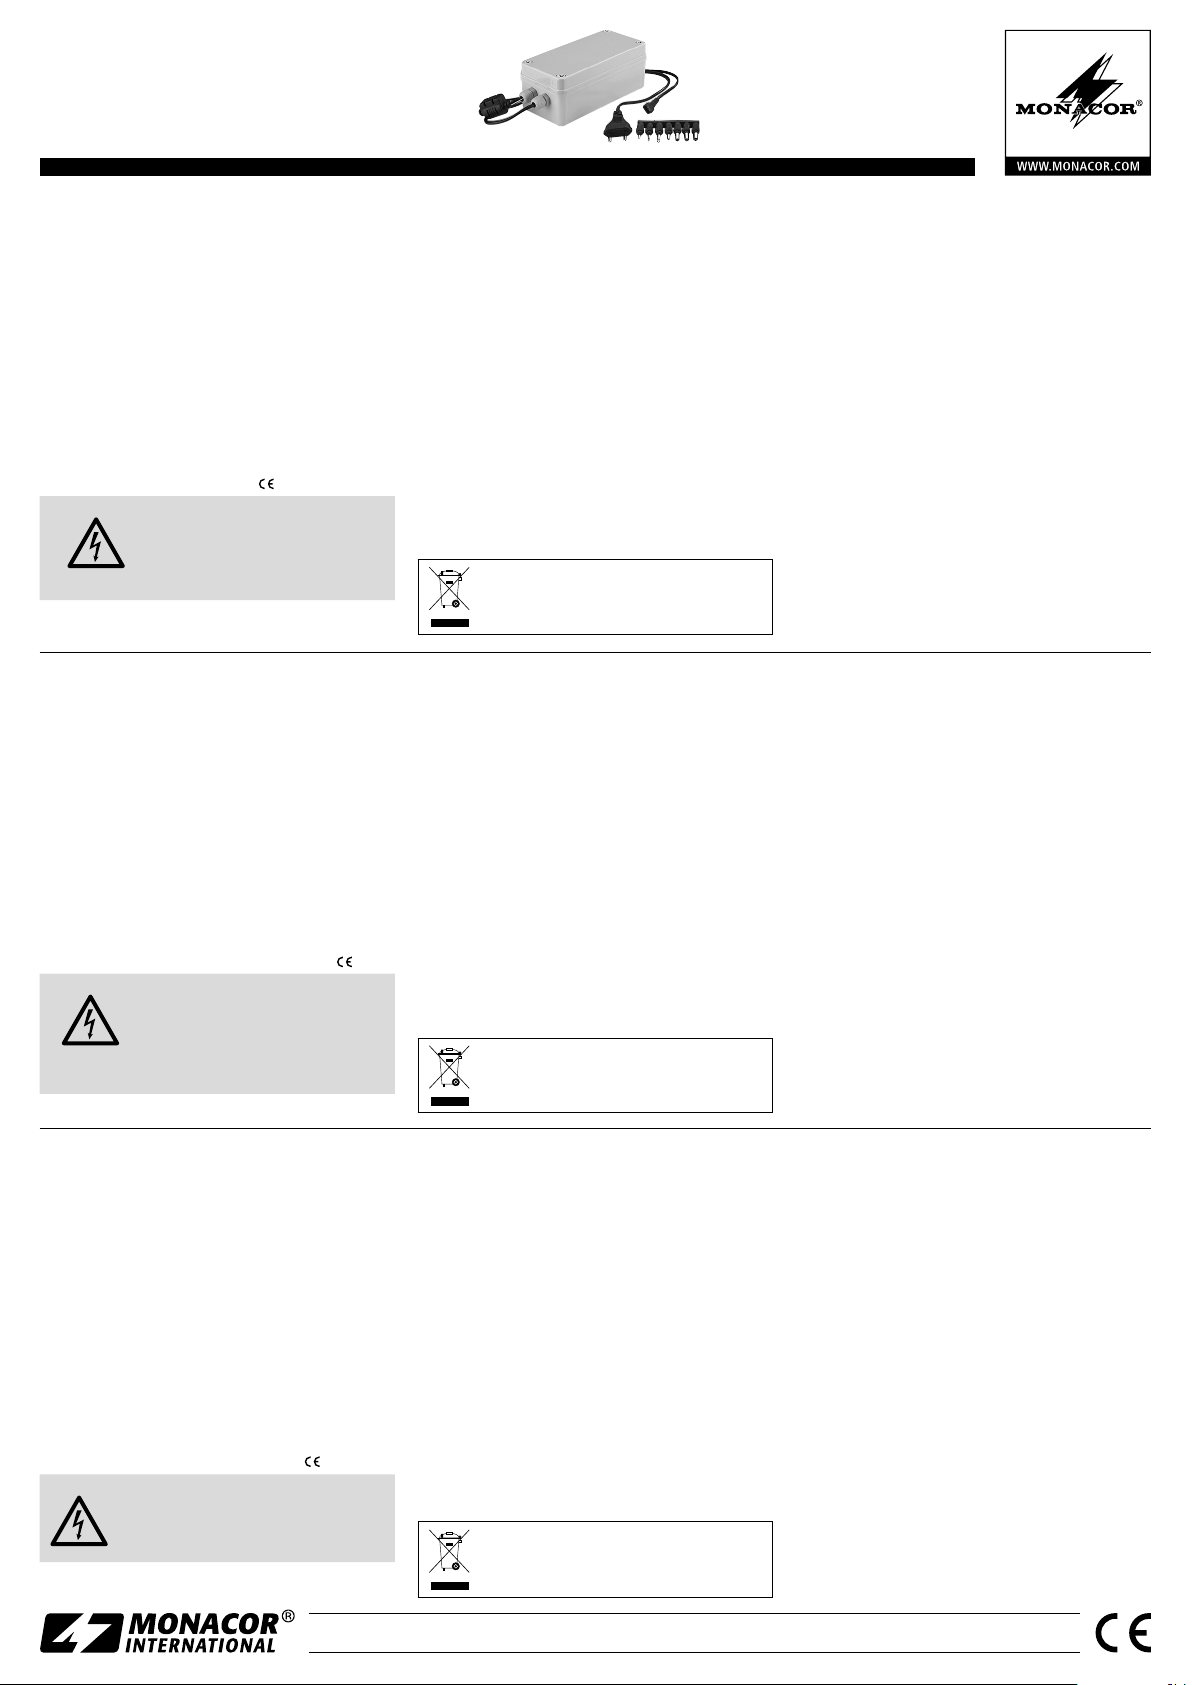
PS-120WP
Bestell-Nr. •Order No. 27.2000
MONACOR INTERNATIONAL GmbH & Co. KG • Zum Falsch 36 • 28307 Bremen • Germany
Copyright©by MONACOR INTERNATIONAL. All rights reserved. A-0552.99.02.05.2017
Zasilacz 12V do zastosowania na zewnątrz
Niniejsza instrukcja przeznaczona jest dla użytkowni-
ków posiadających co najmniej podstawową wiedzę
techniczną. Przed użyciem urządzenia należy prze-
czytać instrukcję obsługi i zachować ją do wglądu.
1 Zastosowanie
Zasilacz regulowany PS-120WP jest przeznaczony do
zasilania monitorujących kamer video, reflektorów
na podczerwień, oraz innych urządzeń zasilanych
napięciem 12V, których pobór prądu nie przekracza
2A. Zasilacz posiada zabezpieczenie przed zwar-
ciem, przeciążeniem, oraz przegrzaniem. Obudowa
odporna na działanie czynników atmosferycznych
(klasa ochrony IP65) umożliwia zastosowanie urzą-
dzenia na zewnątrz.
2 Bezpieczeństwo użytkowania
Urządzenie spełnia wszystkie wymagania norm UE i
dlatego posiada oznaczenie symbolem .
UWAGA Urządzenie jest zasilane prądem elek-
trycznym o napięciu. Nie wolno mody-
fikować połączeń, w przeciwnym razie
istnieje niebezpieczeństwo porażenia
prądem elektrycznym.
•
U
rządzenie należy chronić przed działaniem bardzo wy-
sokich oraz bardzo niskich temperatur (dopuszczalna
temperatura otoczenia pracy: od −10°C do +40°C).
•
Nie należy używać urządzenia, oraz należy nie-
zwłocznie wyjąć wtyczkę sieciową z gniazda, jeśli:
1. istnieje widoczne uszkodzenie urządzenia lub
kabla sieciowego,
2. mogło nastąpić uszkodzenie urządzenia po jego
upuszczeniu itp.,
3. urządzenie działa nieprawidłowo.
Urządzenie należy wówczas dostarczyć do naprawy
w autoryzowanym punkcie serwisowym.
•
Nie wolno odłączać urządzenia z gniazda siecio-
wego ciągnąc za kabel zasilający – należy zawsze
chwytać za wtyczkę.
•
Do czyszczenia urządzenia należy używać suchej lub
zwilżonej miękkiej tkaniny; nie wolno stosować de-
tergentów ani chemicznych środków czyszczących.
•
Producent ani dostawca nie ponoszą odpowiedzial-
ności za wynikłe szkody (uszkodzenie sprzętu lub ob-
rażenia użytkownika), jeśli urządzenie jest używane
niezgodnie z przeznaczeniem, lub jeśli zostało nie-
prawidłowo podłączone, nastąpiło jego przeciążenie,
lub zostało poddane nieautoryzowanej naprawie.
Jeśli urządzenie ma zostać ostatecznie
wycofane z użycia, należy przekazać je do
punktu utylizacji odpadów, aby uniknąć
zanieczyszczenia środowiska.
3 Montaż urządzenia
1) Należy odkręcić obudowę urządzenia.
2) Należy przymocować zasilacz za pomocą otworów
montażowych oraz śrub.
3) Należy przykręcić obudowę.
4 Podłączenie urządzenia
Należy podłączyć urządzenie, które ma być zasilane
prądem, do kabla o białym oznaczeniu rdzenia. Na-
leży zapewnić odpowiednią polaryzację, w przeciw-
nym razie może nastąpić uszkodzenie urządzenia.
Biegun dodatni znajduje się na oznaczonym rdzeniu.
Należy podłączyć wtyk zasilający do gniazda sie-
ciowego (230V/50Hz). W razie montażu urządzenia
na zewnątrz, należy zapewnić podłączenie odporne
na działanie czynników atmosferycznych.
5 Dane techniczne
Napięcie wejściowe:� � � � � � � � 230 V/50 Hz
Pobór mocy: � � � � � � � � � � � � � � 60 VA
Napięcie wyjściowe,
prąd wyjściowy: � � � � � � � � � � � 12 V (⎓), maks� 2 A
Klasa ochrony obudowy: � � � � IP 65
Temperatura otoczenia pracy:� −10 °C do +40 °C
Wymiary, waga: � � � � � � � � � � � 80 × 70 × 190 mm, 710g
Z zastrzeżeniem możliwości zmian.
Alimentador de 12V para uso en exterior
Estas instrucciones van dirigidas a usuarios con
conocimientos básicos de electrónica. Por favor
lea estas instrucciones atentamente antes de la
instalación y guárdelas para usos posteriores.
1 Usos
El alimentador regulado PS120-WP está especial-
mente diseñado para cámaras de video de vigilencia
y focos IR LED, sin embargo, también puede ser usado
para otros aparatos de 12V si su consumo de corriente
no excede los 2A. El alimentador está protegido con-
tra cortocircuitos, sobrecarga y sobrecalentamiento.
Gracias a su caja resistente a la intemperie (IP65) tam-
bién está indicado para el uso en exterior.
2 Notas de seguridad
Este aparato corresponde a todas las directivas rele-
vantes de la UE y por ello está marcado con .
ADVERTENCIA El aparato está alimentado con un
voltaje de corriente peligroso. No
haga nunca ninguna modificación
en el aparato que no esté descrita
en estas instrucciones de funciona-
miento. La manipulación inexperta
puede provocar una descarga.
•
Proteja el aparato de las temperaturas extremada-
mente altas o demasiado bajas (temperatura am-
biente admisible −10°C a +40°C).
•
No utilice el aparato o desconecte inmediatamente
el enchufe de la toma de red
1. en caso de daños visibles al aparato o al cable
de red,
2. si ocurre un defecto tras una caída o accidente
similar,
3. si ocurre un mal funcionamiento.
En cualquier caso el aparato debe ser reparado por
personal especializado.
•
No tire nunca del cable de red para desconectar la
toma de red del enchufe, tire siempre del enchufe.
•
Para la limpieza utilice solo un paño suave, seco o
ligeramente húmedo; no use nunca productos quí-
micos ni detergentes agresivos.
•
No podrá reclamarse garantía o responsabilidad
alguna por cualquier daño personal o material
resultante si el aparato se utiliza para otros fines
diferentes a los originalmente concebidos, si no se
conecta adecuadamente, si se sobrecarga o si no se
repara por expertos.
Si va a poner el aparato definitivamente
fuera de servicio, llévelo a la planta de re-
ciclaje más cercana para que su eliminación
no sea perjudicial para el medio-ambiente.
3 Montaje
1) Desatornille la tapa de la caja.
2) Sujete el alimentador con tornillos mediante los
cuatro agujeros de montaje.
3) Vuelva a apretar la tapa de la caja.
4 Conexión eléctrica
Conecte el aparato para ser alimentado con poten-
cia al cable con el terminal marcado en blanco. Fíjese
siempre en la polaridad correcta, de otro modo el
aparato conectado puede dañarse. El polo positivo
está en el terminal marcado.
Conecte la toma de red a un enchufe (230V/50Hz).
Para la instalación en exterior, la conexión de red
debe ser resistente a la intemperie.
5 Características técnicas
Voltaje de entrada de red: � � � 230 V/50 Hz
Consumo de potencia: � � � � � � 60 VA
Voltaje de salida,
corriente de salida:� � � � � � � � � 12 V (⎓), 2 A máx�
Clase de protección
de la caja:� � � � � � � � � � � � � � � � IP 65
Temperatura ambiente: � � � � � −10 °C a +40 °C
Dimensiones, peso:� � � � � � � � � 80 × 70 × 190 mm, 710 g
Sujeto a modificaciones técnicas.
Alimentatore 12V per esterni
Queste istruzioni sono rivolte all’utente con cono-
scenze base elettroniche. Vi preghiamo di leg-
gerle attentamente prima dell’installazione e di
conservarle per un uso futuro.
1 Possibilità d’impiego
L’alimentatore stabilizzato PS-120WP è stato realiz-
zato specialmente per l’alimentazione di telecamere
di sorveglianza e di fari IR a LED. Tuttavia può essere
usato anche per altri apparecchi di 12V il cui assorbi-
mento non supera 2A. L’alimentatore è protetto con-
tro cortocircuito, sovraccarico e surriscaldamento, e
grazie al contenitore resistente alle intemperie (IP65)
è adatto anche per esterni.
2 Avvertenze di sicurezza
L’apparecchio è conforme a tutte le direttive rilevanti
dell’UE e pertanto porta la sigla .
AVVERTIMENTO L’apparecchio funziona con peri-
colosa tensione di rete. Non inter-
venire mai al suo interno al di fuo
ri delle operazioni descritte nelle
presenti istruzioni. Esiste il pericolo
di una scarica elettrica pericolosa.
•
Proteggere lo strumento da forte calore e freddo
(temperatura d’esercizio ammessa fra −10 e +40°C).
•
Non mettere in funzione l’apparecchio e staccare
subito la spina rete se:
1. l’apparecchio o il cavo rete presentano dei danni
visibili;
2. dopo una caduta o dopo eventi simili sussiste il
sospetto di un difetto;
3. l’apparecchio non funziona correttamente.
Per la riparazione rivolgersi sempre ad un’officina
competente.
•
Staccare il cavo rete afferrando la spina, senza tirare
il cavo.
•
Per la pulizia usare solo un panno asciutto oppure
un panno morbido, leggermente inumidito; non
impiegare in nessun caso prodotti chimici o deter-
genti aggressivi.
•
Nel caso d’uso improprio, di collegamenti sbagliati,
di sovraccarico o di riparazione non a regola d’arte
dell’alimentatore, non si assume nessuna responsa-
bilità per eventuali danni consequenziali a persone
o a cose e non si assume nessuna garanzia per lo
strumento.
Se si desidera eliminare l’apparecchio de-
finitivamente, consegnarlo per lo smalti-
mento ad un’istituzione locale per il rici-
claggio.
3 Montaggio
1) Svitare il coperchio del contenitore.
2) Avvitare l’alimentatore per mezzo dei quattro fori
di montaggio.
3) Riavvitare il coperchio del contenitore.
4 Collegamento elettrico
Collegare l’apparecchio da alimentare con il con-
duttore contrassegnato di bianco. Rispettare asso-
lutamente la corretta polarità per non rischiare di
danneggiare l’apparecchio collegato. Al conduttore
contrassegnato è presente il polo positivo.
Inserire la spina di rete in una presa (230V/50Hz).
Nel caso di montaggio all’esterno, il collegamento
con la rete deve essere resistente alle intemperie.
5 Dati tecnici
Tensione d’ingresso rete: � � � � 230 V/50 Hz
Potenza assorbita: � � � � � � � � � 60 VA
Tensione, corrente d’uscita: � � 12 V (⎓), max� 2 A
Grado di protezione
del contenitore: � � � � � � � � � � � IP 65
Temperatura d’esercizio:� � � � � −10 °C a + 40 °C
Dimensioni, peso: � � � � � � � � � � 80 × 70 × 190 mm, 710 g
Con riserva di modifiche tecniche.
ItalianoEspañolPolski


