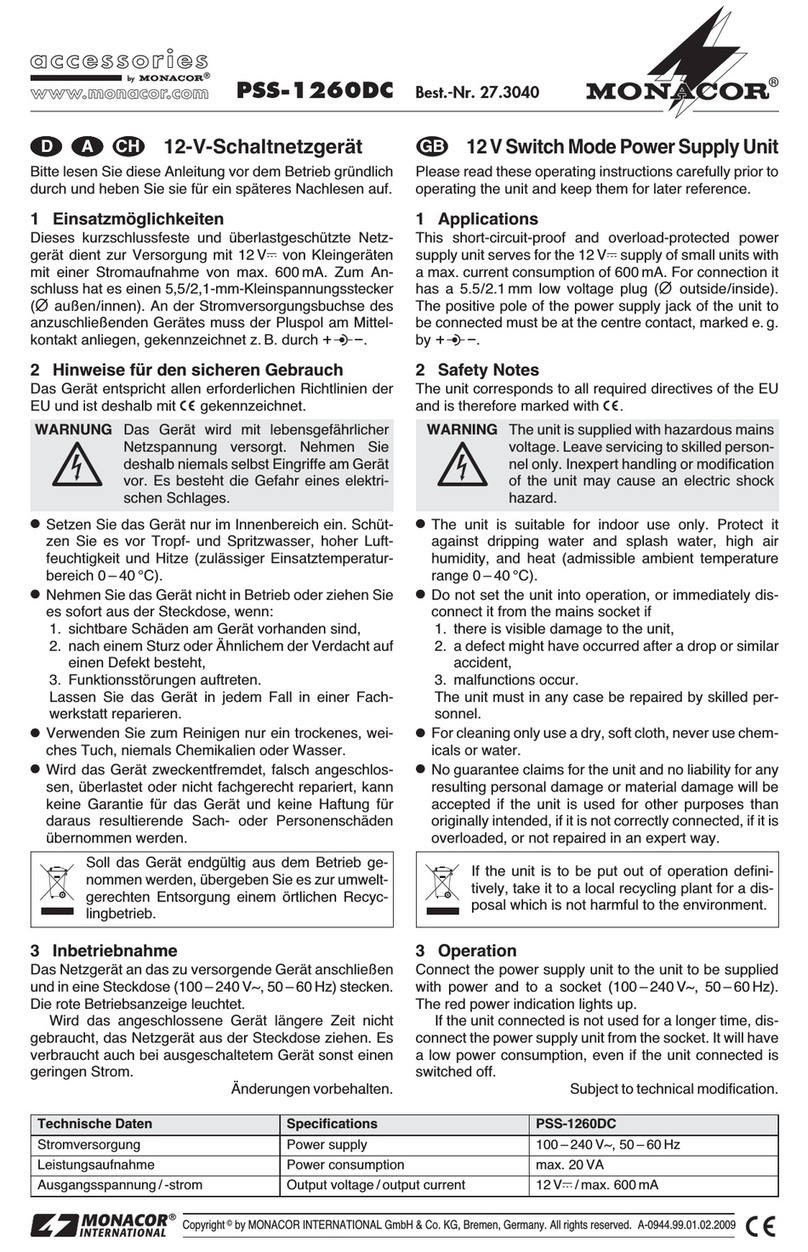
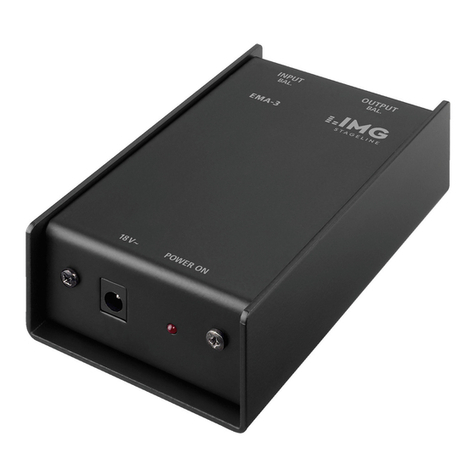
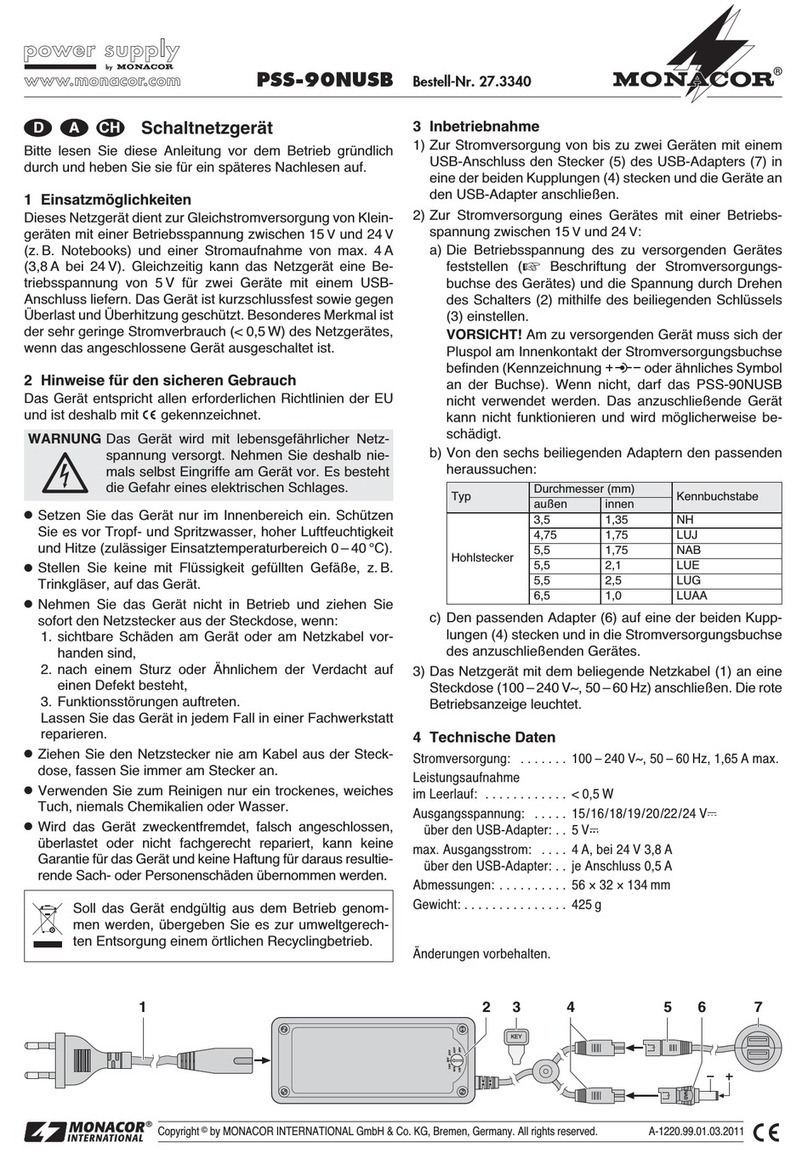
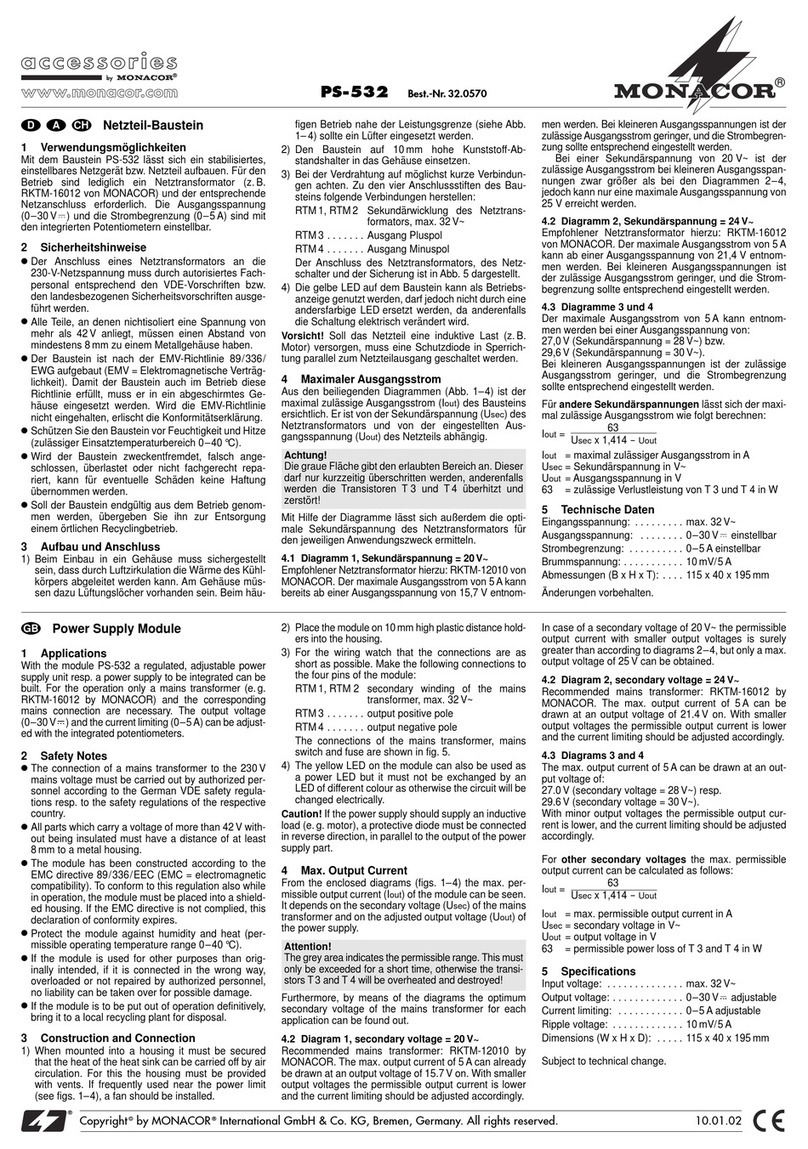
manuals.online logo
Brands
  1. Home
  2. •
  3. Brands
  4. •
  5. Monacor
  6. •
  7. Power Supply
  8. •
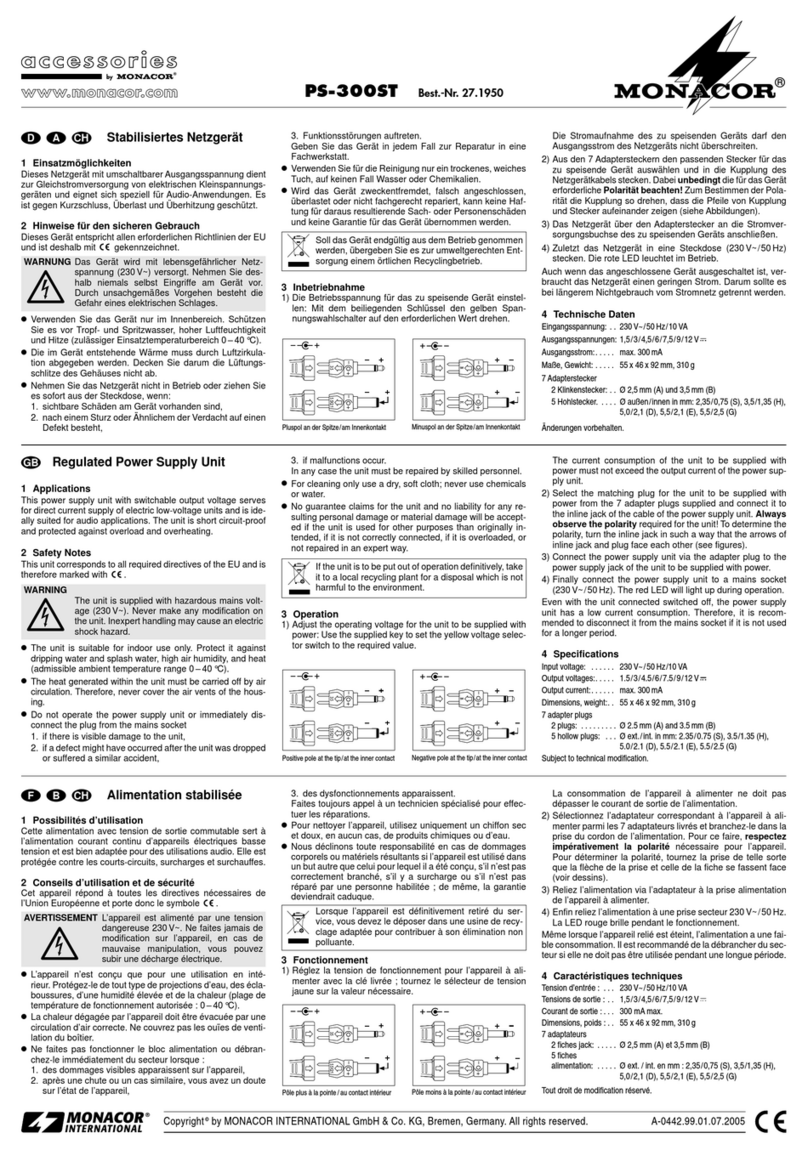
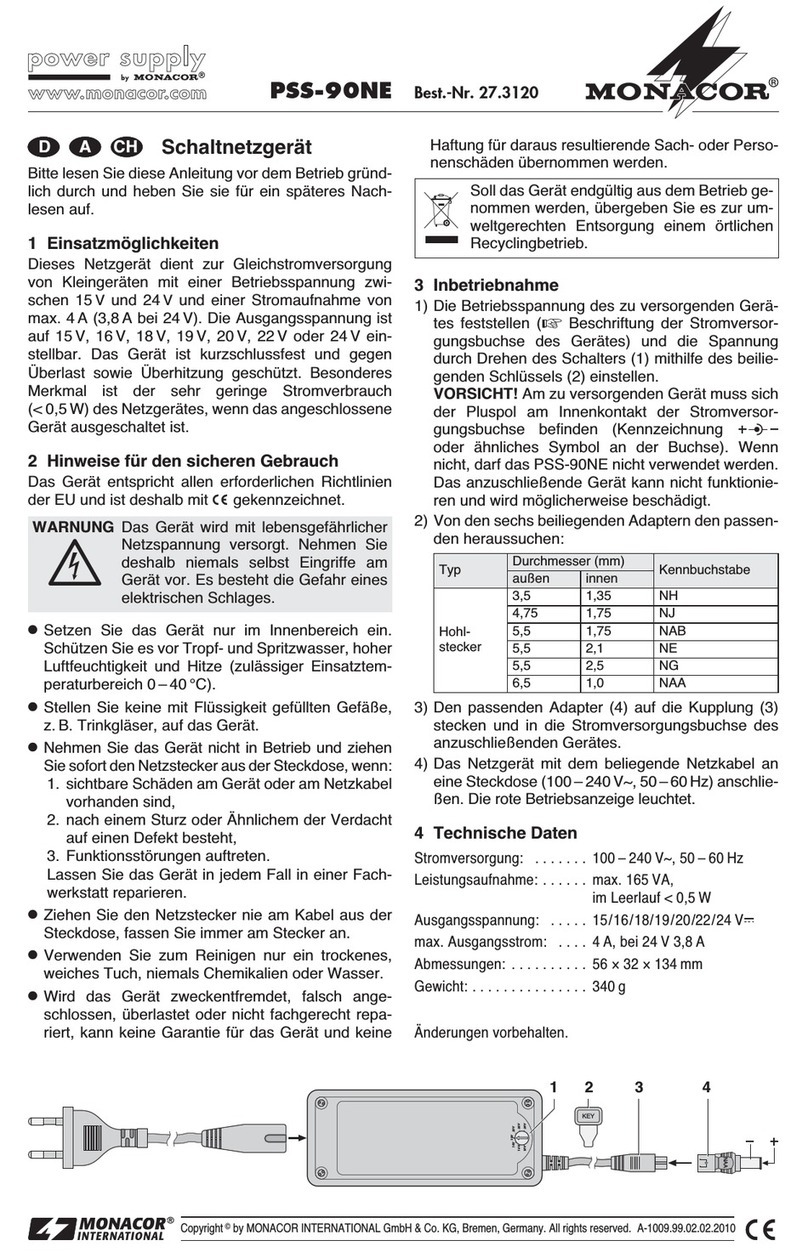
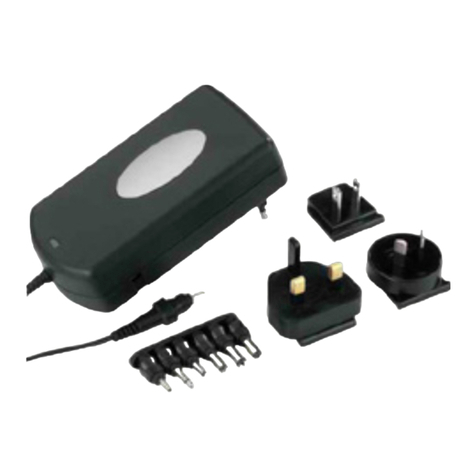
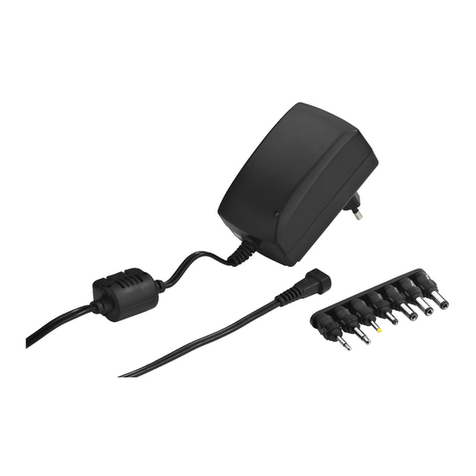
  9. Monacor PSS-5000 User manual

Monacor PSS-5000 User manual

ELECTRONICS FOR SPECIALISTS ELECTRONICS FOR SPECIALISTS ELECTRONICS FOR SPECIALISTS ELECTRONICS FOR SPECIALISTS
Schaltnetzgerät
Switch-Mode Power Supply Unit
PSS-5000
Bestell-Nr. • Order No. 27.1840
BEDIENUNGSANLEITUNG
INSTRUCTION MANUAL
MODE D’EMPLOI
ISTRUZIONI PER L’USO
MANUAL DE IN STRUCCIONES
INSTRUKCJA OBSŁUGI
2
DeutschEnglish
Schaltnetzgerät
Diese Bedienungsanleitung richtet sich an Benutzer ohne
besondere Fachkenntnisse. Bitte lesen Sie die Anleitung vor
dem Betrieb gründlich durch und heben Sie sie für ein spä-
teres Nachlesen auf.
1 Einsatzmöglichkeiten
Dieses Schaltnetzgerät mit umschaltbarer Ausgangsspan-
nung dient zur Gleichstromversorgung von elektrischen
Kleinspannungsgeräten (z.B. tragbarer CD-Player, Note-
book). Das Netzgerät ist kurzschlussfest und gegen Über-
last und Überhitzung geschützt. Besonderes Merkmal ist
der sehr geringe Stromverbrauch (< 0,5 W) des Netzgerätes,
wenn das angeschlossene Gerät ausgeschaltet ist.
2 Hinweise für den sicheren Gebrauch
Das Gerät entspricht allen relevanten Richtlinien der EU
und ist deshalb mit gekennzeichnet.
WARNUNG Das Gerät wird mit lebensgefährlicher Netz-
spannung versorgt. Nehmen Sie deshalb
niemals selbst Eingriffe am Gerät vor. Durch
unsachgemäßes Vorgehen besteht die Ge-
fahr eines elektrischen Schlages.
•
Verwenden Sie das Gerät nur im Innenbereich. Schützen
Sie es vor Tropf- und Spritzwasser, hoher Luftfeuchtigkeit
und Hitze (zulässiger Einsatztemperaturbereich 0–40 °C).
•
Stellen Sie keine mit Flüssigkeit gefüllten Gefäße, z.B.
Trinkglas, auf das Gerät.
•
Ziehen Sie sofort den Netzstecker aus der Steckdose:
1. wenn sichtbare Schäden am Gerät oder am Netzkabel
vorhanden sind,
2. wenn nach einem Sturz oder Ähnlichem der Verdacht
auf einen Defekt besteht,
3. wenn Funktionsstörungen auftreten.
Lassen Sie das Gerät in jedem Fall in einer Fachwerkstatt
reparieren.
•
Ein beschädigtes Netzkabel darf nur durch eine Fach-
werkstatt ersetzt werden.
•
Ziehen Sie den Netzstecker nie am Kabel aus der Steck-
dose, fassen Sie immer am Stecker an.
•
Verwenden Sie zum Reinigen nur ein trockenes, weiches
Tuch, niemals Wasser oder Chemikalien.
•
Wird das Gerät zweckentfremdet, nicht richtig ange-
schlossen, überlastet oder nicht fachgerecht repariert,
kann keine Haftung für daraus resultierende Sach- oder
Personenschäden und keine Garantie für das Gerät über-
nommen werden.
Soll das Gerät endgültig aus dem Betrieb ge-
nommen werden, übergeben Sie es zur um-
weltgerechten Entsorgung einem örtlichen
Recyclingbetrieb.
3 Inbetriebnahme
1) Die benötigte Betriebsspannung für das Kleinspannungs-
gerät einstellen: Mit dem beiliegenden Einstellschlüssel
den gelben Spannungswahlschalter auf den erforderli-
chen Spannungswert drehen.
Die Stromaufnahme des Kleinspannungsgeräts darf
den Ausgangsstrom des Netzgeräts für den eingestellten
Spannungswert (siehe Technische Daten) nicht über-
schreiten.
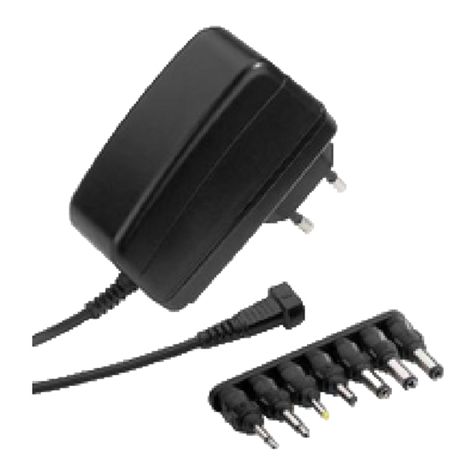
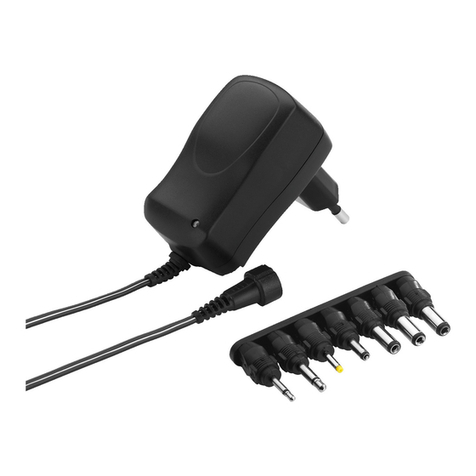
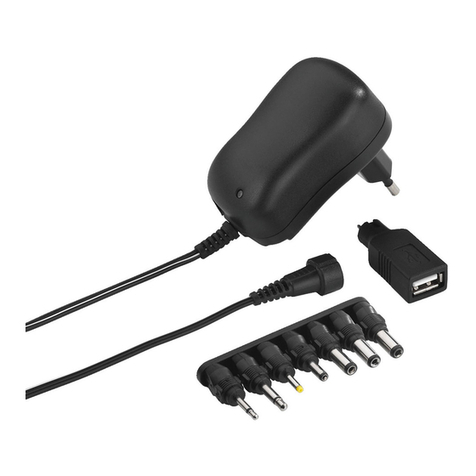
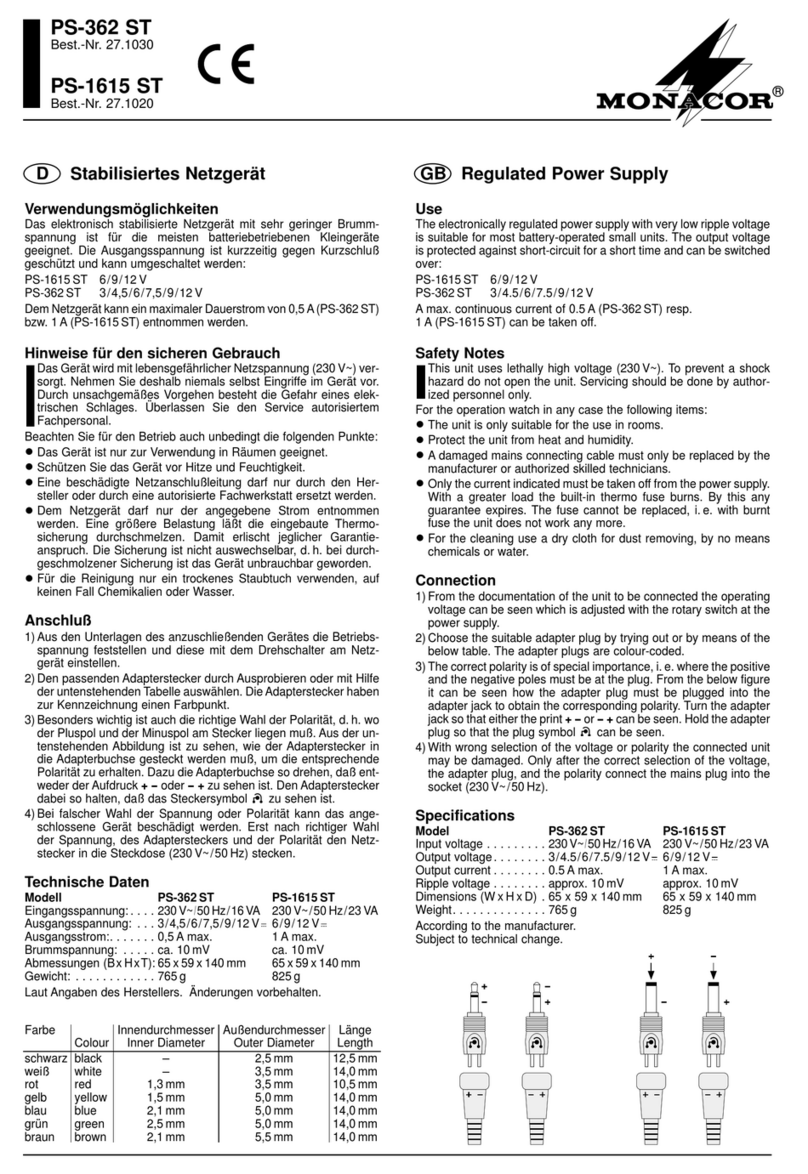
2) Aus den 7 beiliegenden Adaptern den passenden aus-
wählen. Die Lage des Plus- und Minuspols an der Strom-
versorgungsbuchse des Kleinspannungsgeräts feststellen
(☞Kennzeichnung an der Buchse) und den Adapter ent-
sprechend in die Kupplung des Netzgerätkabels stecken:
Bei dieser oder ähnlicher Kennzeichnung der
Stromversorgungsbuchse muss der Pluspol an
der Spitze bzw. am Innenkontakt des Adapters
anliegen: Den Adapter so auf die Kupplung ste-
cken, dass der Pfeil der Kupplung auf die Zif-
fer/n des Adapters zeigt (Abb. 1).
Bei dieser Kennzeichnung muss der Minuspol
an der Spitze bzw. am Innenkontakt des Adap-
ters anliegen: Den Adapter so auf die Kupplung
stecken, dass der Pfeil der Kupplung auf den
Kennbuchstaben des Adapters zeigt (Abb. 2).
3) Das Netzgerät über den Adapter mit der Stromversor-
gungsbuchse des Kleinspannungsgeräts verbinden.
4) Zuletzt den Netzstecker des Netzgeräts in eine Steckdose
(100–240 V, 50– 60 Hz) stecken. Die rote Betriebsan-
zeige leuchtet.
Auch wenn das angeschlossene Gerät ausgeschaltet ist,
verbraucht das Netzgerät einen geringen Strom. Darum
sollte sein Netzstecker aus der Steckdose gezogen werden,
wenn es längere Zeit nicht gebraucht wird.
4 Technische Daten
Stromversorgung:. . . . . 100 –240 V, 50– 60 Hz, 1320mA
Leistungsaufnahme
im Leerlauf: . . . . . . . . . < 0,5 W
Ausgangsspannung:. . . ⎓ 6 /7,5/9 /12/13,5 /15 V
Ausgangsstrom: . . . . . . 5 A bei ⎓ 6/ 7,5/9 /12 V
3,8 A bei ⎓ 13,5 /15 V
Maße, Gewicht: . . . . . . 70 × 37 × 140 mm, 480g
Adapter
2 Klinkenstecker: . . . .
⌀
2,5mm(A) und 3,5 mm(B)
5 Hohlstecker:. . . . . . .
⌀
Außen-/Innenmaß in mm:
2,35/0,75 (S), 3,5/1,35 (H),
5,0/2,1(D), 5,5/2,1(E), 5,5/2,5 (G)
Änderungen vorbehalten.
Switch-Mode Power Supply Unit
These instructions are intended for users without any spe-
cific technical knowledge. Please read these instructions
carefully prior to operation and keep them for later refer-
ence.
1 Applications
This switch-mode power supply unit with switchable out-
put voltage is designed for direct current supply of elec-
tric low-voltage units (e.g. portable CD player, notebook).
The power supply unit is short circuit-proof and protected
against overload and overheating. The special feature of
the power supply unit is its extra low current consumption
(<0.5 W) when the unit connected has been switched off.
2 Safety Notes
This unit corresponds to all relevant directives of the EU and
is therefore marked with .
WARNING
The unit uses dangerous mains voltage.Leave
servicing to skilled personnel only. Inexpert
handling may result in electric shock.
•
The unit is suitable for indoor use only. Protect it against
dripping water and splash water, high air humidity and
heat (admissible ambient temperature range: 0 –40 °C).
•
Do not place any vessels filled with liquid, e.g. drinking
glasses, on the unit.
•
Immediately disconnect the mains plug from the socket
1. if there is visible damage to the unit or the mains cable,
2. if a defect might have occurred after the unit was
dropped or suffered a similar accident,
3. if malfunctions occur.
In any case the unit must be repaired by skilled personnel.
•
A damaged mains cable must be replaced by skilled per-
sonnel only.
•
Never pull the mains cable to disconnect the mains plug
from the mains socket, always seize the plug.
•
For cleaning only use a dry, soft cloth; never use chem-
icals or water.
•
No guarantee claims for the unit and no liability for any
resulting personal damage or material damage will be
accepted if the unit is used for other purposes than orig-
inally intended, if it is not correctly connected, if it is over-
loaded or if it is not repaired in an expert way.
•
Important for UK Customers!
The wires in this mains lead are coloured in accordance
with the following code:
blue = neutral, brown = live
As the colours of the wires in the mains lead of this ap-
pliance may not correspond with the coloured markings
identifying the terminals in your plug, proceed as follows:
1. The wire which is coloured blue must be connected to
the terminal in the plug which is marked with the letter
N or coloured black.
2. The wire which is coloured brown must be connected
to the terminal which is marked with the letter L or
coloured red.
If the unit is to be put out of operation defini-
tively, take it to a local recycling plant for a dis-
posal which is not harmful to the environment.
3 Operation
1) Adjust the required operating voltage for the low-volt-
age unit: Use the supplied adjusting key to set the yellow
voltage selector switch to the required voltage value.
The current consumption of the low-voltage unit must
not exceed the output current of the power supply unit
for the voltage value adjusted (see specifications).
2) Select the matching adapter from the 7 adapters sup-
plied. Determine the position of the positive and neg-
ative poles at the power supply jack of the low-voltage
unit (☞marking of the jack) and connect the adapter
to the inline jack of the cable of the power supply unit
accordingly:
With this marking or a similar marking of the
power supply jack, the positive pole must be at
the tip or at the inner contact of the adapter:
Connect the adapter to the inline jack in such a
way that the arrow of the inline jack will point
to the number/numbers of the adapter (fig. 1).
With this marking, the negative pole must be
at the tip or at the inner contact of the adapter:
Connect the adapter to the inline jack in such a
way that the arrow of the inline jack will point
to the identification letter of the adapter (fig.2).
3) Connect the power supply unit via the adapter to the
power supply jack of the low-voltage unit.
4) Finally connect the mains plug of the power supply unit
to a mains socket (100 –240V, 50 –60Hz). The red power
LED will light up.
Even with the unit connected switched off, the power sup-
ply unit has a low current consumption. Therefore, it is rec-
ommended to disconnect the power supply unit from the
mains socket when it is not used for a longer period.
4 Specifications
Power supply:. . . . . . . . 100 –240 V, 50–60 Hz, 1320 mA
Power consumption in
no-load operation: . . . . < 0.5 W
Output voltage: . . . . . . ⎓ 6 /7.5/9 /12/13.5 /15 V
Output current:. . . . . . . 5 A at ⎓ 6 /7.5/9 /12 V
3.8 A at ⎓ 13.5 /15 V
Dimensions, weight:. . . 70 × 37 × 140 mm, 480g
Adapters
2 plugs:. . . . . . . . . . .
⌀
2.5mm(A) and 3.5 mm(B)
5 hollow plugs: . . . . .
⌀
ext./ int. in mm:
2.35/0.75 (S), 3.5/1.35 (H),
5.0/2.1(D), 5.5/2.1(E), 5.5/2.5 (G)
Subject to technical modification.
➀Pluspol an der Spitze/ am Innenkontakt
Positive pole at the tip/at the inner contact
1 2
➁Minuspol an der Spitze/ am Innenkontakt
Negative pole at the tip/ at the inner contact
3
FrançaisItaliano
Alimentation à découpage
Cette notice s’adresse aux utilisateurs sans connaissances
techniques particulières. Veuillez lire la présente notice
avant le fonctionnement et conservez-la pour pouvoir vous
y reporter ultérieurement.
1 Possibilités d’utilisation
Cette alimentation à découpage avec tension de sortie
commutable sert à l’alimentation courant continu d’ap-
pareils électriques basse tension (par exemple lecteur CD
portable, ordinateur portable). Elle est protégée contre les
courts-circuits, surcharges et surchauffes. Caractéristique
particulière: la très faible consommation (< 0,5 W) de l’ali-
mentation lorsque l’appareil relié est éteint.
2 Conseils d’utilisation et de sécurité
Cet appareil répond à toutes les directives nécessaires de
l’Union Européenne et porte donc le symbole .
AVERTISSEMENT L’appareil est alimenté par une tension
dangereuse. Ne touchez jamais l‘inté-
rieur de l‘appareil car, en cas de mau-
vaise manipulation, vous pouvez subir
une décharge électrique.
•
L’appareil n’est conçu que pour une utilisation en inté-
rieur. Protégez-le de tout type de projections d’eau, des
éclaboussures, d’une humidité élevée et de la chaleur
(température ambiante admissible : 0–40 °C).
•
En aucun cas, vous ne devez poser d’objet contenant du
liquide ou un verre sur l’appareil.
•
Débranchez l’appareil immédiatement du secteur lorsque:
1. des dommages visibles apparaissent sur l’appareil ou
sur le cordon secteur,
2. après une chute ou un cas similaire, vous avez un
doute sur l’état de l’appareil,
3. des dysfonctionnements apparaissent.
Faites toujours appel à un technicien spécialisé pour ef-
fectuer les réparations.
•
Tout cordon secteur endommagé ne doit être remplacé
que par un technicien spécialisé.
•
Ne débranchez jamais l’appareil en tirant sur le cordon
secteur, tenez-le toujours par la prise.
•
Pour nettoyer l‘appareil, utilisez uniquement un chiffon
sec et doux, en aucun cas de produits chimiques ou d’eau.
•
Nous déclinons toute responsabilité en cas de dommages
corporels ou matériels résultants si l’appareil est utilisé
dans un but autre que celui pour lequel il a été conçu, s’il
n’est pas correctement branché, s’il y a surcharge ou s’il
n’est pas réparé par une personne habilitée, de même, la
garantie deviendrait caduque.
Lorsque l‘appareil est définitivement retiré du
service, vous devez le déposer dans une usine de
recyclage de proximité pour contribuer à son élimi-
nation non polluante.
CARTONS ET EMBALLAGE
PAPIER À TRIER
3 Fonctionnement
1) Réglez la tension de fonctionnement nécessaire pour
l’appareil à basse tension : avec la clé livrée, tournez le
sélecteur de tension jaune sur la valeur nécessaire.
La consommation de l’appareil basse tension ne doit
pas dépasser le courant de sortie de l’alimentation pour
la valeur de tension réglée (voir caractéristiques tech-
niques).
2) Déterminez, parmi les 7 adaptateurs livrés, celui qui
convient. Déterminez la position du pôle plus et du pôle
moins sur la prise d’alimentation de l’appareil basse ten-
sion (☞repère sur la prise) et placez l’adaptateur dans
la prise du cordon de l’alimentation en fonction :
Alimentatore switching
Queste istruzioni sono rivolte all‘utente senza conoscenze
tecniche specifiche. Vi preghiamo di leggerle attentamente
prima della messa in funzione e di conservarle per un uso
futuro.
1 Possibilità d’impiego
Questo alimentatore switching con tensione d’uscita com-
mutabile serve per alimentare apparecchi elettrici a ten-
sione bassa (p.es. lettori CD portatili, notebook) con cor-
rente continua. L’alimentatore è resistente ai cortocircuiti e
protetto contro sovraccarico e surriscaldamento. Una carat-
teristica particolare è il consumo di corrente molto ridotto
(<0,5 W) dell’alimentatore quando l’apparecchio collegato
è spento.
2 Avvertenze di sicurezza
Quest’apparecchio è conforme a tutte le direttive rilevanti
dell’UE e pertanto porta la sigla .
AVVERTIMENTO L’apparecchio è alimentato con perico-
losa tensione di rete. Non intervenire
mai personalmente al suo interno. La
manipolazione scorretta può provo-
care delle scariche elettriche perico-
lose.
•
Far funzionare l’apparecchio solo all’interno di locali. Pro-
teggerlo dall’acqua gocciolante e dagli spruzzi d’acqua,
da alta umidità dell’aria e dal calore (temperatura d’im-
piego ammessa fra 0 e 40 °C).
•
Non depositare sull’apparecchio dei contenitori riempiti
di liquidi, p. es. bicchieri.
•
Staccare subito la spina rete se:
1. l’apparecchio o il cavo rete presenta dei danni visibili;
2. dopo una caduta o dopo eventi simili sussiste il so-
spetto di un difetto;
3. l’apparecchio non funziona correttamente.
Per la riparazione rivolgersi sempre ad un’officina com-
petente.
•
Il cavo rete, se danneggiato, deve essere sostituito solo
da un laboratorio autorizzato.
•
Staccare il cavo rete afferrando la spina, senza tirare il
cavo.
•
Per la pulizia usare solo un panno morbido, asciutto; non
impiegare in nessun caso prodotti chimici o acqua.
•
Nel caso d’uso improprio, di collegamenti sbagliati, di
sovraccarico o di riparazione non a regola d’arte dell’a-
limentatore, non si assume nessuna responsabilità per
eventuali danni consequenziali a persone o a cose e non
si assume nessuna garanzia per lo strumento.
Se si desidera eliminare l‘apparecchio defini-
tivamente, consegnarlo per lo smaltimento a
un‘istituzione locale per il riciclaggio.
3 Messa in funzione
1) Impostare la tensione d’esercizio richiesta per l’apparec-
chio a tensione bassa: posizionare il selettore giallo della
tensione sul valore necessario servendosi della chiave in
dotazione.
La corrente assorbita dell’apparecchio a tensione
bassa non deve superare la corrente d’uscita dell’alimen-
tatore relativa alla tensione impostata (vedi Dati tecnici).
2) Fra i 7 adattatori in dotazione scegliere quello adatto.
Individuare la posizione del polo positivo e del polo ne-
gativo sulla presa d’alimentazione dell’apparecchio a
tensione bassa (☞contrassegno sulla presa) e inserire
di conseguenza l’adattatore nella presa del cavo dell’a-
limentatore:
Con un contrassegno di questo tipo o simile
della presa d’alimentazione, il polo positivo
deve trovarsi rispettivamente sulla punta e sul
contatto interno dell’adattatore: inserire l’adat-
tatore nella presa in modo che la freccia della
presa indichi la cifra o le cifre dell’adattatore
(fig. 1).
Con questo contrassegno, il polo negativo
deve trovarsi rispettivamente sulla punta e sul
contatto interno dell’adattatore: inserire l’adat-
tatore nella presa in modo che la freccia della
presa indichi il codice dell’adattatore (fig. 2).
3) Collegare l’alimentatore con la presa di alimentazione
dell’apparecchio a tensione bassa servendosi del adat-
tatore.
4) Alla fine inserire la spina rete dell’alimentatore in una
presa di rete (100–240V, 50– 60Hz). Si accende la spia
rossa di funzionamento.
Anche se l’apparecchio collegato è spento, l’alimentatore
consuma un po’ di corrente. Perciò conviene staccarlo dalla
presa di rete se non serve per un periodo prolungato.
4 Dati tecnici
Alimentazione:. . . . . . . 100 –240 V, 50 – 60Hz, 1320 mA
Potenza assorbita
a vuoto: . . . . . . . . . . . . < 0,5 W
Tensione d’uscita:. . . . . ⎓ 6 /7,5/ 9/12/ 13,5/15 V
Corrente d‘uscita:. . . . . 5 A con ⎓ 6 /7,5/9 /12 V
3,8 A con ⎓ 13,5 /15 V
Dimensioni, peso: . . . . . 70 × 37 × 140mm, 480g
Adattatori
2 jack: . . . . . . . . . . . .
⌀
2,5mm(A) e 3,5 mm(B)
5 spinotti: . . . . . . . . .
⌀
esterno/interno in mm
2,35/0,75 (S), 3,5/1,35 (H),
5,0/2,1(D), 5,5/2,1(E), 5,5/2,5 (G)
Con riserva di modifiche tecniche.
Avec ce repère ou un semblable de la prise
d’alimentation, le pôle plus doit être à la pointe
ou au contact intérieur de l’adaptateur : reliez
l’adaptateur à la prise de telle sorte que la
flèche de la prise pointe vers le(s) chiffre(s) de
l’adaptateur (schéma1).
Avec ce repère, le pôle moins doit être à la
pointe ou au contact intérieur de l’adaptateur:
reliez l’adaptateur à la prise de telle sorte que
la flèche de la prise pointe vers la lettre repère
de l’adaptateur (schéma 2).
3) Reliez l’alimentation via l’adaptateur à la prise d’alimen-
tation sur l’appareil basse tension.
4) Enfin reliez l’alimentation à une prise secteur (100– 240V,
50– 60 Hz). La LED rouge, témoin de fonctionnement
brille.
Même lorsque l’appareil relié est éteint, l’alimentation a
une faible consommation. Il est recommandé de la débran-
cher du secteur si elle ne doit pas être utilisée pendant une
longue période.
4 Caractéristiques techniques
Alimentation : . . . . . . . 100 –240 V, 50 – 60Hz, 1320mA
Consommation en
fonctionnement à vide:. < 0,5 W
Tension de sortie : . . . . ⎓ 6 /7,5/ 9/12 /13,5/15 V
Courant de sortie : . . . . 5 A pour ⎓ 6 /7,5 /9 /12 V
3,8 A pour ⎓ 13,5 /15 V
Dimensions, poids :. . . . 70 × 37 × 140 mm, 480g
Adaptateurs
2 fiches jack : . . . . . .
⌀
2,5mm(A) et 3,5 mm(B)
5 fiches alimentation :
⌀
ext./int. en mm :
2,35/0,75 (S), 3,5/1,35 (H),
5,0/2,1(D), 5,5/2,1(E), 5,5/2,5 (G)
Tout droit de modification réservé.
➀Pôle plus à la pointe/au contact intérieur
Polo positivo alla punta/al contatto interno
➁Pôle moins à la pointe/au contact intérieur
Polo negativo alla punta/al contatto interno
1 2
MONACOR INTERNATIONAL GmbH & Co. KG • Zum Falsch 36 • 28307 Bremen • Germany
Copyright©by MONACOR INTERNATIONAL. All rights reserved. A-0269.99.03.04.2018
EspañolPolski
Alimentador de Corte
Estas instrucciones van dirigidas a usuarios sin ningún
conocimiento técnico específico. Lea atentamente estas
instrucciones antes de utilizar el aparato y guárdelas para
usos posteriores.
1 Aplicaciones
Este alimentador con voltaje de salida conmutable se uti-
liza para la alimentación de corriente continua de aparatos
eléctricos de bajo voltaje, p.ej. un lector CD portátil o un
ordenador portátil. El alimentador está protegido contra
los cortocircuitos, las sobrecargas y el sobrecalentamiento.
La característica especial del alimentador es su bajísimo
consumo de corriente (<0,5 W) cuando se ha apagado el
aparato conectado.
2 Notas de seguridad
El aparato cumple con todas las directivas relevantes de la
UE y por lo tanto está marcado con el símbolo .
ADVERTENCIA El aparato utiliza un voltaje peligroso.
Deje el mantenimiento en manos del
personal cualificado. El manejo inexperto
puede causar una descarga.
•
El aparato está adecuado solo para utilizarse en inte-
riores. Protéjalo de goteos y salpicaduras, elevada hu-
medad del aire y calor (temperatura ambiente admisible:
0– 40°C).
•
No coloque ningún recipiente lleno de líquido encima del
aparato, como por ejemplo un vaso.
•
Desconecte el aparato inmediatamente de la toma de
red si:
1. El aparato o el cable de corriente están visiblemente
dañados.
2. El aparato ha sufrido daños después de una caída o
accidente similar.
3. No funciona correctamente.
Solo el personal cualificado puede reparar el aparato
bajo cualquier circunstancia.
•
Un cable de corriente dañado solo puede repararse por el
personal cualificado.
•
No tire nunca del cable de corriente para desconectarlo
de la toma, tire siempre del enchufe
•
Para limpiar el aparato, utilice un trapo seco y suave, no
utilice nunca productos químicos ni agua.
•
No podrá reclamarse garantía o responsabilidad alguna
por cualquier daño personal o material resultante si el
aparato se utiliza para otros fines diferentes a los origi-
nalmente concebidos, si no se conecta adecuadamente, si
se sobrecarga o si no se repara por expertos.
Si va a poner el aparato definitivamente fuera
de servicio, llévelo a la planta de reciclaje más
cercana para que su eliminación no sea perju-
dicial para el medioambiente.
3 Funcionamiento
1) Ajuste el voltaje de funcionamiento para el aparato de
bajo voltaje: Utilice la llave entregada para colocar el se-
lector de voltaje amarillo en el valor de voltaje necesario.
El consumo del aparato de bajo voltaje no debe
exceder a la corriente de salida del alimentador para el
valor de voltaje ajustado (vea las especificaciones).
2) Seleccione el adaptador adecuado de los 7 que se en-
tregan. Determine la posición de los polos positivo y ne-
gativo en la toma de alimentación del aparato de bajo
voltaje (☞marca de la toma) y conecte el adaptador a la
toma del cable del alimentador adecuadamente:
Con esta marca o un marcaje similar de la toma
de alimentación, el polo positivo tiene que estar
en la punta o en el contacto interior del adap-
tador: Conecte el adaptador a la toma de modo
que la flecha de la toma apunte hacia el o los
números del adaptador (fig. 1).
Con esta marca, el polo negativo tiene que
estar en la punta o en el contacto interior del
adaptador: Conecte el adaptador a la toma de
modo que la flecha de la toma apunte hacia la
letra de identificación del adaptador (fig.2).
3) Utilice el adaptador para conectar el alimentador a la
toma de alimentación del aparato de bajo voltaje.
4) Finalmente, conecte el alimentador a una toma de red
(100–240V, 50 – 60Hz). El LED rojo Power se ilumina.
Incluso cuando el aparato conectado está apagado, el ali-
mentador tiene un consumo mínimo de potencia. Es por
esto que le recomendamos de desconectarlo de la toma de
red si no lo utiliza durante un largo periodo de tiempo.
4 Especificaciones
Alimentación:. . . . . . . . . . 100–240 V, 50 – 60Hz, 1320 mA
Consumo en
funcionamiento sin carga: < 0,5 W
Voltaje de salida: . . . . . . . ⎓ 6 /7,5 /9 /12 /13,5 /15 V
Corriente de salida: . . . . . 5 A a ⎓ 6/ 7,5/9/ 12 V
3,8 A a ⎓ 13,5 /15 V
Dimensiones, peso:. . . . . . 70 × 37 × 140 mm, 480 g
Adaptadores
2 conectores jack: . . . . .
⌀
2,5mm(A) y 3,5 mm(B)
5 conectores hueco: . . .
⌀
ext./int. en mm:
2,35/0,75 (S), 3,5/1,35 (H),
5,0/2,1(D), 5,5/2,1(E),
5,5/2,5(G)
Sujeto a modificaciones técnicas.
Zasilacz regulowany
Niniejsza instrukcja przeznaczona jest dla użytkowników,
którzy nie posiadają wiedzy i doświadczenia technicznego.
Przed rozpoczęciem użytkowania proszę zapoznać się z in-
strukcją, a następnie zachować ją do wglądu.
1 Zastosowanie
PSS-5000 posiada przełączane napięcie wyjściowe i służy
do zasilania urządzeń elektronicznych o małym poborze
mocy (np. przenośne radio, notebook). Zasilacz posiada
układy przeciwzwarciowe, oraz obwody chroniące przed
przeciążeniem oraz przegrzaniem. Główną zaletą tego zasi-
lacza jest bardzo niski pobór prądu (< 0,5 W) przy wyłączo-
nym zasilaniu urządzeniu.
2 Środki ostrożności
Urządzenie spełnia wszystkie wymagania norm UE, dzięki
czemu zostało oznaczone symbolem .
UWAGA Urządzenie zasilane jest wysokim napię-
ciem. Wszelkie naprawy należy zlecić wy-
łącznie przeszkolonemu personelowi; nie-
odpowiednia obsługa może spowodować
porażenie prądem.
•
Urządzenie jest przeznaczone tylko do użytku wewnątrz
pomieszczeń. Należy chronić przed dostaniem się jakiej-
kolwiek cieczy do środka urządzenia, dużą wilgotnością
oraz ciepłem (temperatura otoczenia powinna wynosić
od 0–40 °C).
•
Nie wolno kłaść na urządzeniu żadnych pojemników z
cieczą (butelek, itd.).
•
Należy natychmiast odłączyć wtyczkę zasilającą z
gniazdka sieciowego:
1. Jeśli występują widoczne uszkodzenia urządzenia lub
kabla zasilającego.
2. Uszkodzenie urządzenia może wystąpić w wyniku
upadku lub innego podobnego zdarzenia.
3. Jeśli urządzenie działa nieprawidłowo.
W takim przypadku naprawą urządzenia powinien zaj-
mować się tylko przeszkolony personel.
•
Wymianę uszkodzonego kabla zasilającego należy zlecić
specjaliście.
•
Nie wolno ciągnąć za kabel zasilający, chcąc go odłączyć
należy trzymać za wtyczkę.
•
Do czyszczenia obudowy należy używać tylko suchej,
miękkiej ściereczki. Nie wolno używać wody ani żadnych
środków chemicznych.
•
Nie ponosi się odpowiedzialności za wynikłe uszkodze-
nia sprzętu lub obrażenia użytkownika w przypadku gdy
urządzenie jest wykorzystywane w innych celach niż to
się przewiduje lub jeśli jest nieodpowiednio zainstalo-
wane, podłączane, użytkowane lub naprawiane.
Aby nie zaśmiecać środowiska, po całkowitym
zakończeniu eksploatacji urządzenia należy je
oddać do punktu recyklingu.
3 Obsługa
1) Ustawić wymagane napięcie zasilające w zależności od
podłączanego urządzenia: Ustawić przełącznik na odpo-
wiedniej pozycji, wskazującej napięcie wyjściowe.
Pobór prądu przez zasilane urządzenie nie może
przekraczać maksymalnego prądu który jest w stanie
oddać zasilacz, dla danego napięcia wyjściowego (zob.
dane techniczne).
2) Wybrać odpowiedni adapter wtykowy spośród 7 do-
łączonych. Sprawdzić pozycję dodatniego i ujemnego
bieguna na gnieździe urządzenia, do którego podłączany
będzie zasilacz (☞oznaczenie na gnieździe) i podłączyć
odpowiedni adapter wtykowy do gniazda nakablowego
zasilacza:
Zgodnie z tym oznaczeniem, dodatni biegun
musi znajdować się na czubku wtyku lub na
wewnętrznym styku adaptera. Podłączyć ada-
pter do gniazda na kablu w taki sposób, aby
strzałka na gnieździe znajdowała się po tej
samej stronie co numer/numery na adapterze
(rys. 1).
Zgodnie z tym oznaczeniem, ujemny biegun
musi znajdować się na czubku wtyku lub na
wewnętrznym styku adaptera. Podłączyć ada-
pter do gniazda na kablu w taki sposób, aby
strzałka na gnieździe znajdowała się po tej
samej stronie co oznaczenie literowe na adap-
terze (rys. 2).
3) Wykorzystać odpowiedni adapter wtykowy do podłącze-
nia zasilania do urządzenia.
4) Podłączyć zasilacz do sieci (100 –240V, 50– 60Hz). Za-
pali się czerwona dioda sygnalizacyjna.
Nawet jeśli zasilane urządzenie jest wyłączone, zasilacz
będzie pobierał z sieci nieznaczną ilość energii. Dlatego
też, przy dłuższym czasie nieużytkowania, zasilacz należy
odłączyć od sieci.
4 Dane techniczne
Zasilanie. . . . . . . . . . . . 100– 240 V, 50 –60 Hz, 1320 mA
Pobór mocy
bez obciążenia:. . . . . . . < 0,5 W
Napięcie wyjściowe:. . . ⎓ 6 /7,5/ 9/12/ 13,5/15 V
Prąd wyjściowy:. . . . . . 5 A przy ⎓ 6/ 7,5/9 /12 V
3,8 A przy ⎓ 13,5 /15 V
Wymiary, waga . . . . . . 70 × 37 × 140mm, 480g
7
adapterów wtykowych
2 wtyki: . . . . . . . . . . .
⌀
2,5mm (A) oraz 3,5mm (B)
5 wtyki z otworem: . . .
⌀
zew./wew. mm:
2,35/0,75 (S), 3,5/1,35 (H),
5,0/2,1(D), 5,5/2,1(E), 5,5/2,5 (G)
Z zastrzeżeniem możliwości zmian.
➀Polo positivo a la punta/al contacto interior
Styk dodatni na czubku/ wewnętrzny
➁Polo negativo a la punta/al contacto interior
Styk ujemny na czubku/ wewnętrzny
1 2

Other Monacor Power Supply manuals

Monacor PSS-510DC User manual

Monacor

Monacor PSS-510DC User manual

Monacor PS-168 User manual

Monacor

Monacor PS-168 User manual

Monacor PSS-3000SV User manual

Monacor

Monacor PSS-3000SV User manual

Monacor PSS-1206 User manual

Monacor

Monacor PSS-1206 User manual

Monacor PS-1204ST User manual

Monacor

Monacor PS-1204ST User manual

Monacor PSS-3000E User manual

Monacor

Monacor PSS-3000E User manual

Monacor IMG STAGELINE EMA-3 User manual

Monacor

Monacor IMG STAGELINE EMA-3 User manual

Monacor PS-640DC User manual

Monacor

Monacor PS-640DC User manual

Monacor PS-12CCD User manual

Monacor

Monacor PS-12CCD User manual

Monacor PSS-510DC User manual

Monacor

Monacor PSS-510DC User manual

Monacor PS-300ST User manual

Monacor

Monacor PS-300ST User manual

Monacor PSS-600E User manual

Monacor

Monacor PSS-600E User manual

Monacor PA-24ESP User manual

Monacor

Monacor PA-24ESP User manual

Monacor PSS-5000 User manual

Monacor

Monacor PSS-5000 User manual

Monacor PSS-600E User manual

Monacor

Monacor PSS-600E User manual

Monacor PS-128A User manual

Monacor

Monacor PS-128A User manual

Monacor PS-970AC User manual

Monacor

Monacor PS-970AC User manual

Monacor PSS-1200 User manual

Monacor

Monacor PSS-1200 User manual

Monacor PSS-1000USB User manual

Monacor

Monacor PSS-1000USB User manual

Monacor PS-1005 USB User manual

Monacor

Monacor PS-1005 USB User manual

Monacor PSS-1260DC User manual

Monacor

Monacor PSS-1260DC User manual

Monacor PSS-1005USB User manual

Monacor

Monacor PSS-1005USB User manual

Monacor PSS-1005USB User manual

Monacor

Monacor PSS-1005USB User manual

Monacor AXOC-404PS User manual

Monacor

Monacor AXOC-404PS User manual

Popular Power Supply manuals by other brands

Bluetti EB3A user manual

Bluetti

Bluetti EB3A user manual

Brunton Solo 3.4 owner's manual

Brunton

Brunton Solo 3.4 owner's manual

National Instruments PXIe-4135 CALIBRATION PROCEDURE

National Instruments

National Instruments PXIe-4135 CALIBRATION PROCEDURE

Pulsar PSBEN 5012C manual

Pulsar

Pulsar PSBEN 5012C manual

Delta Electronics Delphi DNQ12 datasheet

Delta Electronics

Delta Electronics Delphi DNQ12 datasheet

VOSS POWER XXL B 9000 manual

VOSS

VOSS POWER XXL B 9000 manual

Rohde & Schwarz R&S NGA100 Series Getting started

Rohde & Schwarz

Rohde & Schwarz R&S NGA100 Series Getting started

Akyga AK-PD-05 user manual

Akyga

Akyga AK-PD-05 user manual

Telemark TT CHEETAH Series instruction manual

Telemark

Telemark TT CHEETAH Series instruction manual

Thermaltake TR2-430W user manual

Thermaltake

Thermaltake TR2-430W user manual

YOSHINO B2000 SST user manual

YOSHINO

YOSHINO B2000 SST user manual

Cyber Power 600EILCD quick start guide

Cyber Power

Cyber Power 600EILCD quick start guide

Allanson AHVPS-48-1-MV operating manual

Allanson

Allanson AHVPS-48-1-MV operating manual

rtd IPWR104HR-60 user manual

rtd

rtd IPWR104HR-60 user manual

Emerson Bristol ControlWave PAC Redundancy Product overview

Emerson

Emerson Bristol ControlWave PAC Redundancy Product overview

EcoFlow RIVER 2 Max quick start guide

EcoFlow

EcoFlow RIVER 2 Max quick start guide

Puls FPT300 manual

Puls

Puls FPT300 manual

Bresser PSW 300 instruction manual

Bresser

Bresser PSW 300 instruction manual

manuals.online logo
manuals.online logoBrands
  • About & Mission
  • Contact us
  • Privacy Policy
  • Terms and Conditions

Copyright 2025 Manuals.Online. All Rights Reserved.