MRC INE-DDBJ-350 User manual

INE-DDBJ-350
Portable Conductivity Meter
Instruction Manual
PLEASE READ THIS MANUAL CAREFULLY BEFORE OPERATION
MRC.12.16

TIPS
Please read this instruction in detail before operating the
meter.
The meter must be sent to metrological service or other
qualified departments to recheck after being used for
one year, and only those qualified ones can be used
again
The expiration date of the electrode should see
Electrode Instruction Manual. After the expiry date,
whether used or not, its performance will be affected,
should be replaced timely.
When the meter is not used for a long time, connect the
AC adapter and then switch on.
Do not use power adapters that do not meet the
requirements of our meter.
The meter has a variety of low power consumption
functions,reduce to use these function will let the meter
stand long time.
-- LCD backlight;
-- Use automatic backlight function;
-- Use automatic shutdown function during operation.

CONTENT
1. Installation
1.1 Unpacking
1.2 Structure
1.3 Installation
1.3.1 The installation of measuring probe
1.3.2 The installation of the power charger
1.3.3 The installation of the USB cable
1.3.4 Daily use
2. Operation
2.1 Introduction
2.1.1 Terms
2.1.2 Features
2.1.3 Technical specifications
2.1.4 Operation
2.1.5 Operation diagram
2.2 Measurement parameters
2.3 Start-up, shutdown and buttons
2.4 Initial interface
2.5 meter operation
2.5.1 System setup
2.6 conductive probe calibration
2.6.1 Several methods of conductive probe calibration
2.6.2 Before calibration
2.6.3 Check calibration parameters
2.6.4 Start calibration
2.6.5 Calibration results report
2.7 Measurement
2.7.1 Preparation
2.7.2 Check measurement parameters
2.7.3 Check reading mode
2.7.4 Check calibration result
2.7.5 Check temperature options
2.7.6 Check sample, alarm setting
2.7.7 Start measurement
2.7.8 End measuring, result report
2.8 Data center
2.8.1 View conductive probe calibration information
2.8.2 View stored result
2.8.2.1 View settings
2.8.2.2 View result
2.8.2.3 Result report
3. Maintenance
3.1 Maintenance
3.2 Common troubleshooting
4. Appendix
Ordering information

1 INSTALLATION
1.1 Unpacking
In the packing box, users can find below parts:
1. INE-DDBJ-350 Portable conductivity meter 1set
2. Accessories 1set
1.2 Structure
1.2.1 Front view
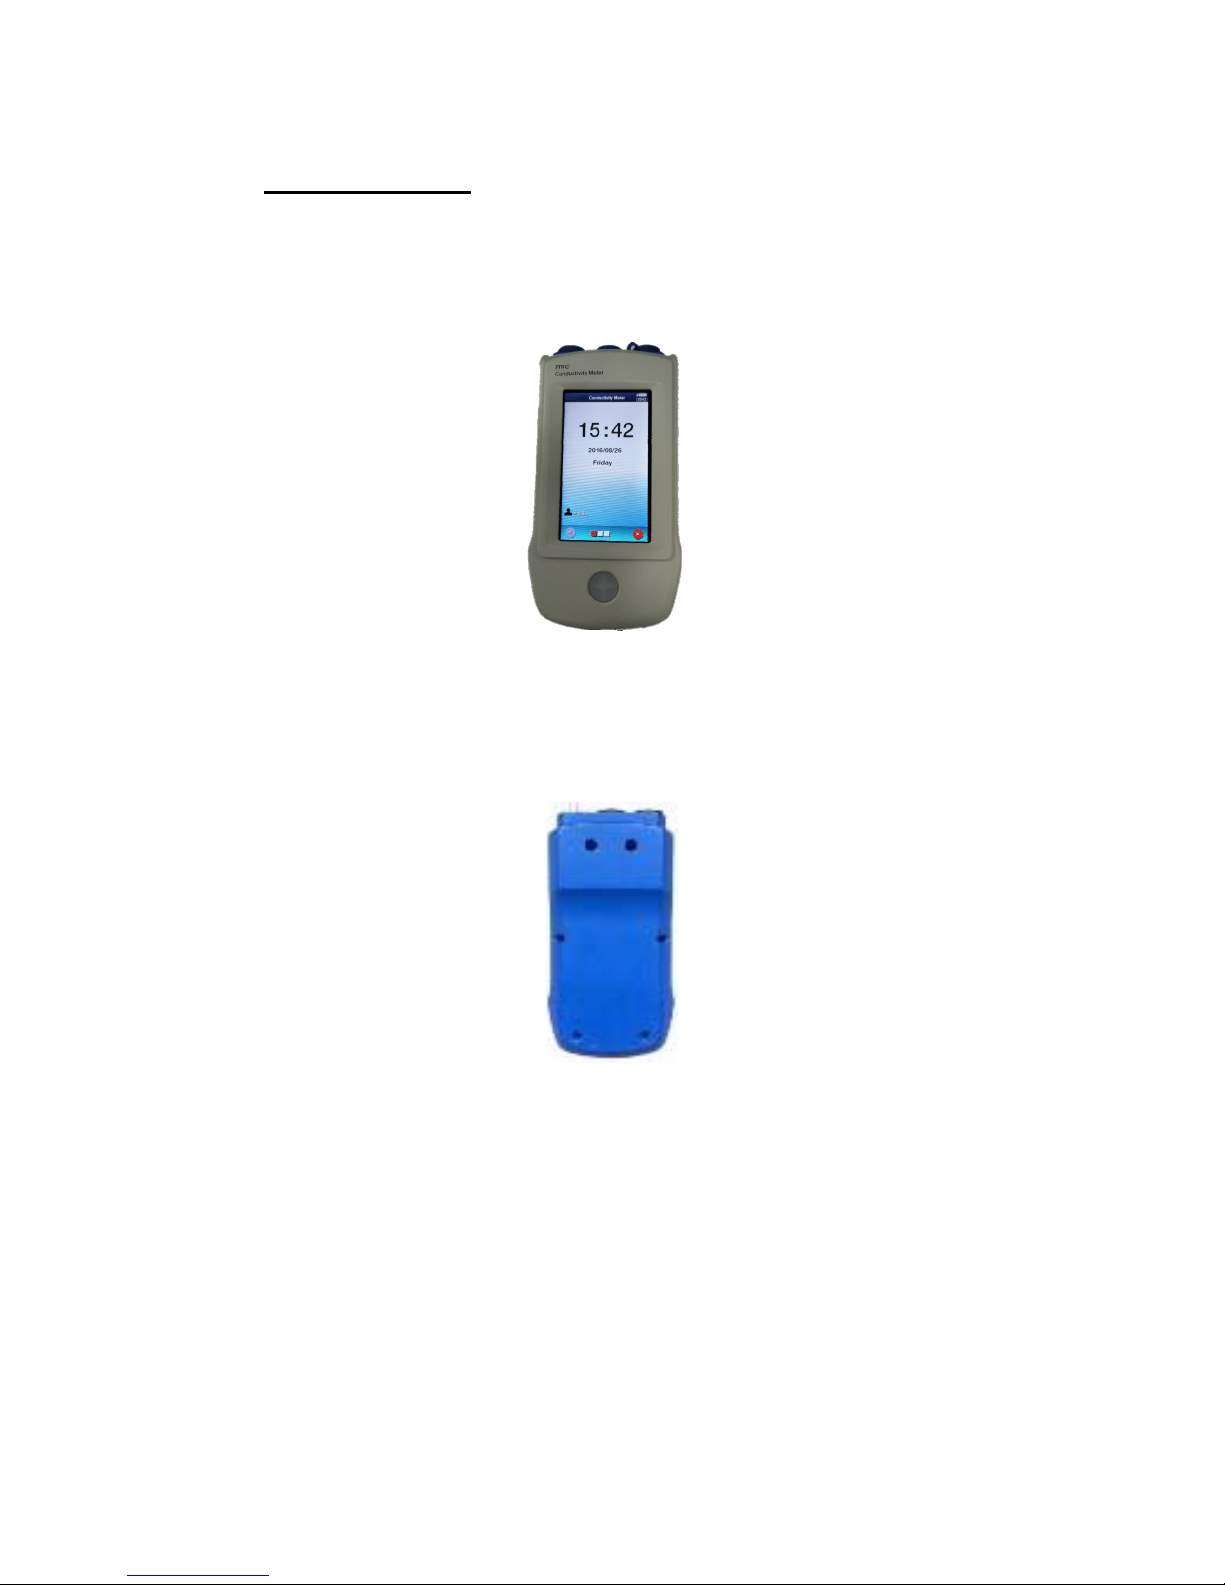
Front View Of The Meter (Figure1)
The meter is composed of main unit and electrode system, both are indispensable. The
meter supports conductive probe and ATC probe, allows the measurement of
conductivity, TDS, resistivity, salinity value and temperature value.
1.2.2 Rear view
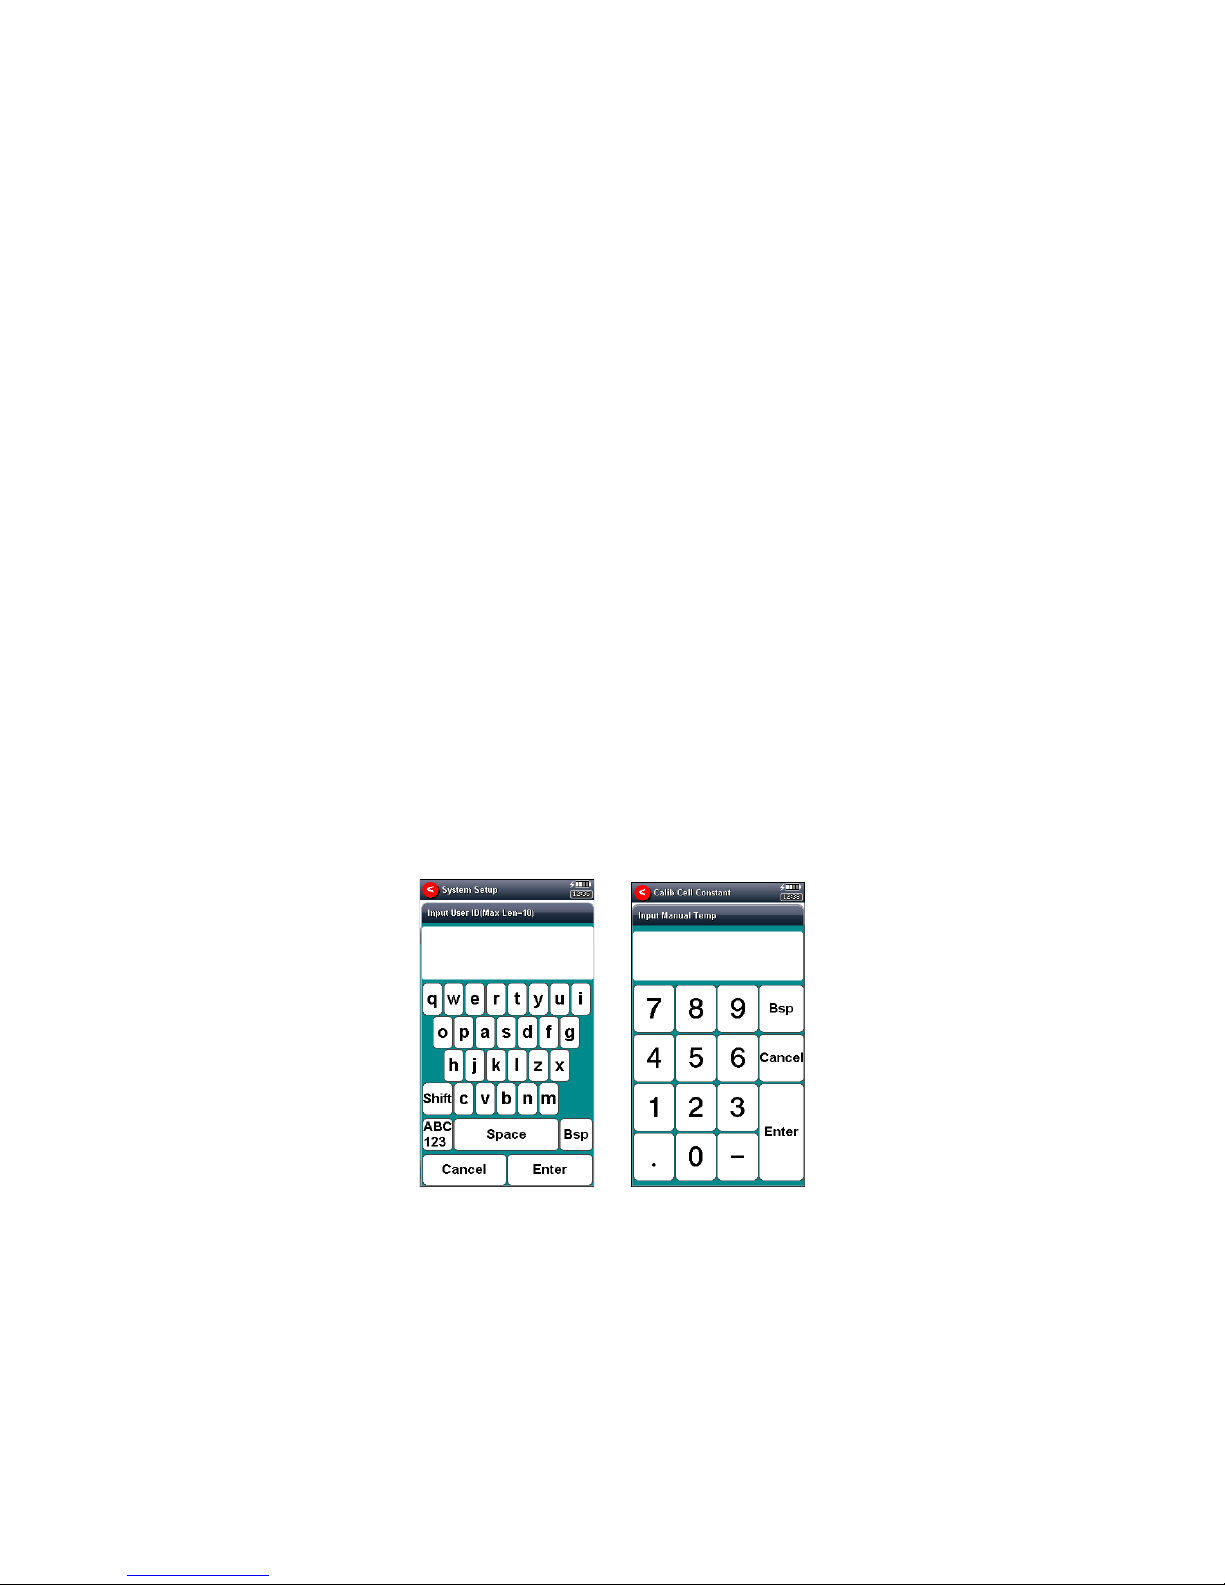
Rear Panel Of The Meter (Figure2)

1.2.3 Accessories
Accessories Diagram (Figure 3)
1. The conductive probe
2. The ATC probe
3. The charger
4. The USB cable
1.3 Installation
Open the meter package, take out INE-DDBJ-350 portable conductivity meter and
related accessories.
1.3.1 The installation of measuring electrode
1.3.1.1 The installation of conductive probe
Find measuring electrode socket (8 pins) above the meter (Mini type socket,
pay attention to the number of pins, don’t mistake with temperature
socket), insert the conductive probe (pay attention to the direction).
1.3.1.2 The installation of temperature electrode
Find temperature electrode socket (6 pins) above the meter (Mini type
socket), insert the ATC probe (pay attention to the direction).
1.3.2 The installation of power charger
The meter uses lithium batteries(Li-on), supplied with a charger.
To connect the USB cable and the charger, and then insert the other end of
the charger into the AC power.
This charger is suitable for the following power supply:
Input: 100~240VAC, 0.15A, 50/60Hz;
Output: 5VDC, 1A.
CAUTION:
1 This charger is only used to this meter, it is not recommended to use it on other kinds
of meters, also other kinds of charger is not recommended.

2 When the meter is not used for a long time, the li-on may be low battery because of
standing long time and unable operation, user need to connect the AC adapter and
then switch on.
3 When connected to PC, the meter will automatically start charging function.
1.3.3 The installation of USB cable
Users need to connect the USB cable if use our company's data acquisition
software.
Connect the meter and PC with the USB cable, then run the data acquisition
software on
PC to realize communication.
CAUTION:
The meter uses USB communication, to install the USB driver on the PC before use.
1.3.4 Daily use
For daily use, the electrode socket should be kept dry, clean.
Relevant electrode maintenance please reference to Electrode Operation
Instruction.
2 OPERATION
2.1 Introduction
Before using the meter, make sure that you have read the meter installation guide and
operation
guide. During operation, pay attention to as following:
Non-original power adapter may cause unnecessary safety problems.
Prevent corrosive gas invasion.
The interface of the meter must be kept clean, dry, avoid contact with acid, alkali,
salt solution.
After test samples, the electrode should be immersed in DI water. If the operating
interval more than 6 hours or for long-term storage, wash the electrode and
store it in a empty protective bottle.
2.1.1 Terms
Cell Constant: The cell constant of a pair of platinum sheets is the ratio of distance
between the two sheets to the area of each sheet. The ratio is measured in cm-1.
TDS factor: The Total Dissolved Solids(TDS) factor is the factor to convert
conductivity and TDS.
Temperature Coefficient: The temperature coefficient is the % change of
conductivity with temperature in %/.

2.1.2 Features
INE-DDBJ-350 portable conductivity meter is a new design meter with following
features:
It adopts new microprocessor technology, 4.3 "TFT touch screen, reach 65k color
gamut;
It adopts li-on to stand long time for operation;
It adopts new UI design specification, navigational operation and sliding operations;
It supports the measurement of conductivity, resistivity, TDS, temperature and
salinity value;
It supports balance condition judgment, balance conditions prompt. Supports alarm
settings, support users to customize the alarm value;
It supports multiple reading methods, including continuous reading method, smart
reading method and timed reading method, for long-timing or interval timing;
It supports to store measuring results of conductivity, TDS, salinity, resistivity, each
for 1000 sets;
It supports multiple view methods that user views stored data according to storage
number and storage time, the results will display in curve;
It supports conductive probe calibration function, calibrate Cell constant or TDS
factor;
It supports multi-points conductivity calibration, up to 2 points;
It supports automatic identification of conductivity standard solution, default to four
kinds of GB standard solution;
It supports a variety of conductivity compensation mode, including pure water
compensation;
it supports automatic temperature compensation, automatic calibration, automatic
range and automatic frequency switch functions in the full range;
It supports GLP norms, to set the user ID, sample ID;
It supports firmware upgrade function;
It supports USB can be connected with PC;
It supports the function of power-off protection. When the meter is to be turned off or
automatic shutoff, the stored measuring data, calibration data and setting
parameters will not be lost;
It supports power consumption management, including automatic backlight
adjustment, automatic power off. In the set time, the meter will automatically reduce
the backlight if there is no operation; If there is no further operation, the meter will
automatically power off to save power consumption.
2.1.3 Technical Specifications
1. Measuring range
Conductivity: 0.010 μS/cm~1000 mS/cm;
Resistivity: 5.00Ω.cm~100.0 MΩ.cm;
TDS: 0.01 mg/L~300 g/L;
Salinity: (0.00~8.00)%;
Temperature: (-5.0~105.0).
2. Resolution
Conductivity: automatic grade;

Resistivity: automatic grade;
TDS: automatic grade;
Salinity: 0.01%;
Temperature: 0.1.
3. Error of the meter
Conductivity: ±1.0%FS;
Resistivity: ±1.0%FS;
TDS: ±1.0%FS;
Salinity: ±0.2%;
Temperature: ±0.2.
4. Normal operating conditions:
Ambient temperature: (0.0~40.0);
Relative humidity: No more than 85%;
Power supply: li-on battery;
No vibration that could affect performance exists;
Non-corrosive gas in the surrounding air;
No strong electromagnetic interference to surrounding except the geomagnetic
field.
5. Outside dimensions: L×W×H, mm: 201* 96 * 55
6. Weight(kg):About 0.3
2.1.4 Operation
The meter using the touch screen as the operation to control equipment, the meter is
equipped with a stylus.
By default, blue highlighted item means selected option, light color means invalid
option. Click highlighted option can perform the corresponding operations.
There are two input modes, character input and digital input. The title of the input
window is input message prompt, above is the input window, below is the button.
Press "Cancel" key to cancel the input;
Press the "Enter" key to confirm the input;
Press "Bsp" means backspace, that is to remove an input character.
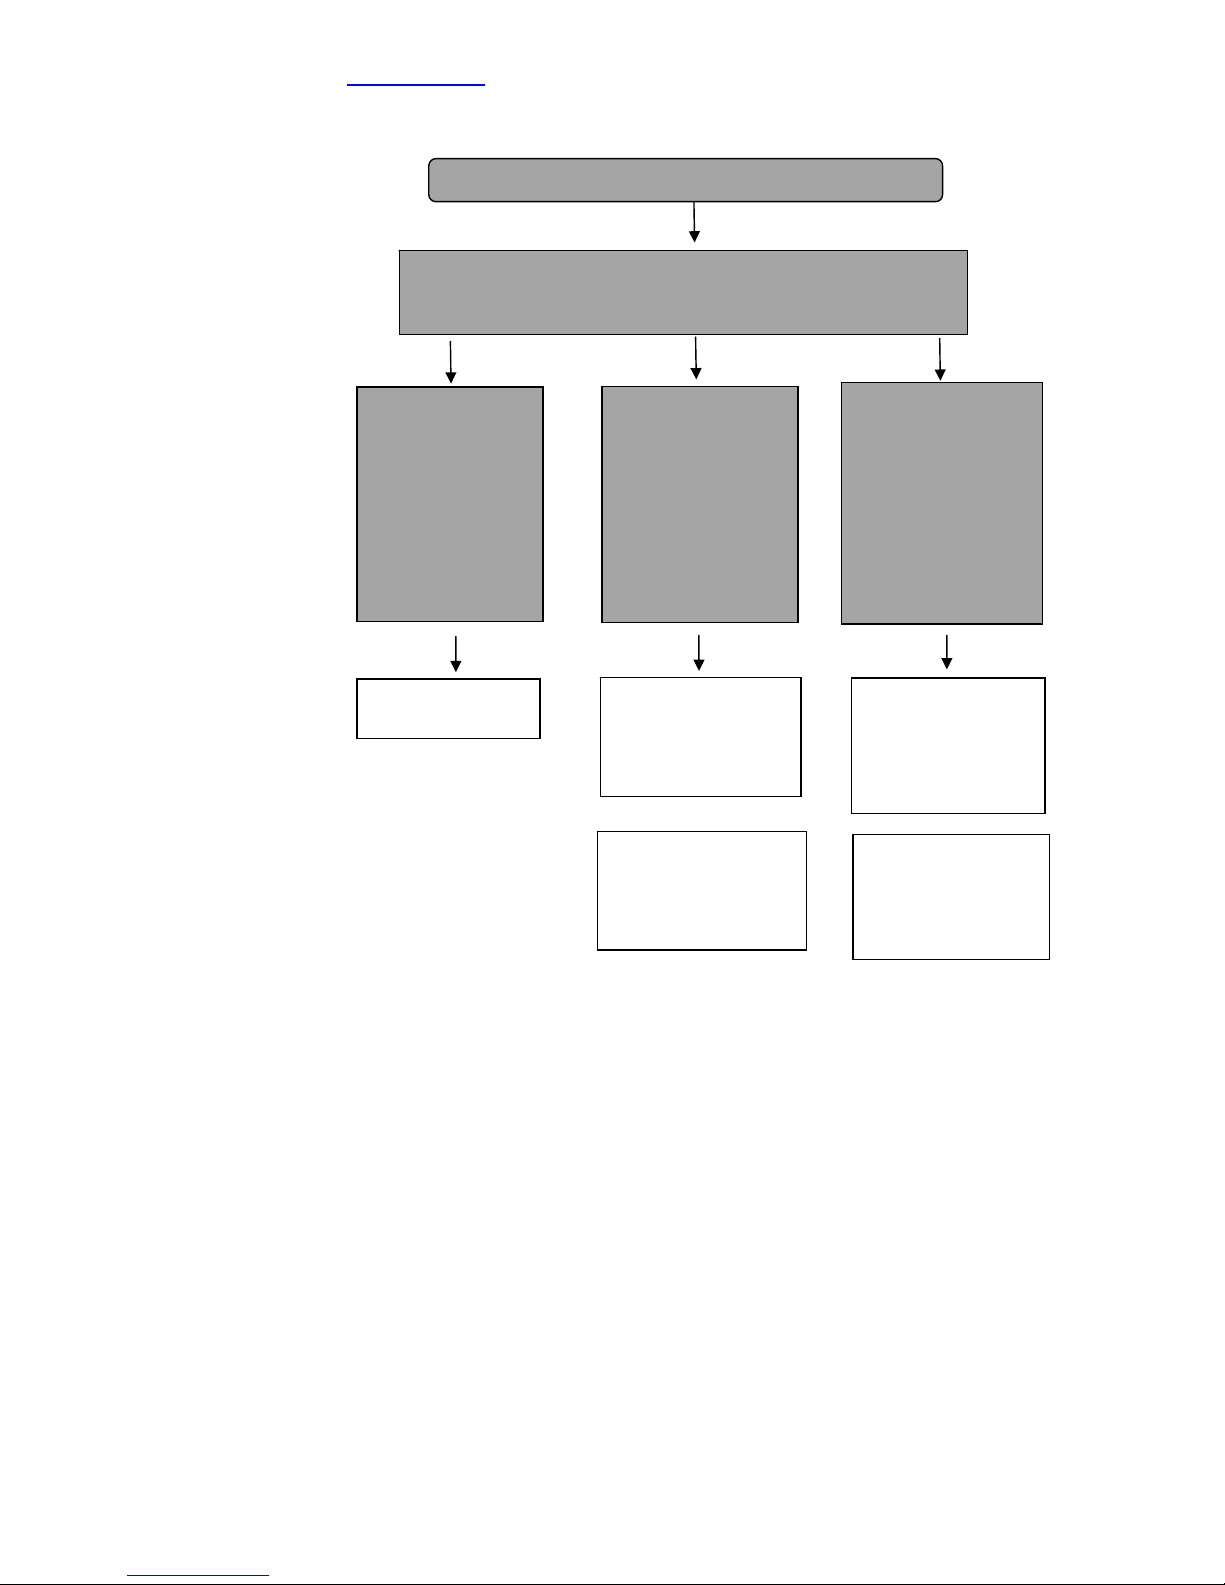
Meter Button Input Diagram (Figure 4)

Total Operation Diagram (Sheet 5)
2.2 Measurement parameters
The meter supports GLP norms, each result contains a complete set of measurement
parameters. Including several parts, such as prompt parameters, conductive probe
calibration parameters, measure control parameters, sample parameters,
measuring results parameters, etc. Following is a detailed description.
Measurement parameters: it is the current measurement parameter types that
is the main measurement parameters. The meter displays in the window, take the
main measurement parameters, auxiliary parameters, temperature data as a
group of display unit. Main measurement parameters including the conductivity,
TDS, salinity, resistivity, their corresponding auxiliary parameters respectively are
resistivity, conductivity, conductivity and conductivity.
Setting user ID
Basic information
Display
current time
User ID
Measuring signal
monitoring
Shows current
result
Shows last
calibration
result
Power on, self-test
Enter into the initial interface. The initial interface has three
parts: Basic information, measuring signal monitoring, system
System menu
System
settings
View stored
results
Click the measure
windows to start
measurement
Set system time,
backlight, auto
power off, touch
screen, etc
View saved
measurement
results in different
ways
Click the calibration
result to calibrate
directly
2.1.5 Operation chart

Reading method: it is the reading method of current measurement parameters.
The meter supports three reading methods, continuous reading method, smart
reading methods and timed reading method.
Continuous reading method: This reading method is suitable for continuous
monitoring of
the sample data, observing the change trend of sample. It
requires user to manually terminate the measurement.
Smart reading method: Set the balance condition first. When the measurement
started, the
meter will automatic measure, calculate and display the measured
value, once meet the balance condition, this measurement is finised
finished.
Balance conditions includes balance time and balance value. When all
the measured values meets the demand of balance
value at the set balance time. It means satisfies
balance conditions, this measurement is finished.
The meter provide four balance conditions to select, "Fast, Medium,
Strict, Custom", different parameters have different
balance conditions. Fast, medium, and strict are three
kinds of balance conditions provided by the meter, the
user cannot modify. User is only allowed to modify
custom type balance conditions.
Note: User needs to manually save the measurement result.
Timed reading method: The meter supports two timing reading methods, one is
fixed time reading method, another is fixed interval
time reading method.
Fixed time reading method: When the measurement
started, the meter works until the set time, for example
set the time as 300 seconds, the meter will
continuously measure for 300 seconds.
Note: Fixed time method does not automatically save measuring results.
Fixed interval time reading method: User needs to set
measurement interval time and measurement quantity,
then the meter will automatically collect and record data
according to the set interval, the minimum time interval
is 1 second.
Calibration result, it is the last calibration results of used electrode, is also the
electrode parameter of current measurement parameters to be used.
Corrector, it is the calibration operator last time.
Correction time, it is the last calibration time.
Temperature compensation coefficient, this parameter is corresponding to the
conductivity, TDS and salinity measurement parameters. When user needs to
measure in high accuracy, the influence of the temperature will lead to inaccurate
conductivity measurement, set temperature compensation coefficient, the default
value is 0.020, that is 2.00% / .

Set Cell constant, this parameter is corresponding to conductivity and salinity
measurement parameters. Usually there are two ways to get Cell constant:
Calibrate the conductive probe with standard conductivity solution, or set the Cell
constant value directly.
Set TDS factor, this parameter is corresponding to the TDS measurements.
Usually there are two ways to get TDS : Calibrate the conductive probe with
standard conductivity solution, or set the TDS factor directly .
Conductivity compensation, this parameter is corresponding to conductivity
measurement, the meter supports three kinds of compensation mode, including
no compensation mode, linear compensation mode, pure water compensation
mode.
No compensation: At this point, the measurement reading is absolutely
conductivity value.
Linear compensation mode: The meter will automatically compensate to
the conductivity corresponding to the reference temperature.
Pure water compensation mode: this compensation method is
corresponding to the measurement of pure water.
Conductivity reference temperature, this parameter is corresponding to the
conductivity measurement. The meter supports two reference temperature: 20.0
and 25.0 , the default is 25.0 .
Salinity compensation mode, this parameter is corresponding to the salinity
measurement.
Note: This meter does not support seawater mode!
Balance condition, the meter provides four balance conditions for, as "Fast,
medium, strict, custom", which are corresponding to different parameters and the
measurement environment.
Balance time, this parameter is corresponding to balance condition, its a
parameter of balance condition, it means the minimum waiting time to meet the
data stability condition. During this time, measurements data should all meet the
balance value, the meter will wait all the time once do not meet. The longer the
time is, the more strict, and vice versa.
Balance value, this parameter is corresponding to the balance condition, its a
parameter of balance condition. It is the degree of data can be accepted, the
greater the number is, the more easier to balance, and vice versa. Different
measurement parameters have different values.
Note: users can only modify the custom of Balance time, Balance values.
Temperature display, the meter supports () Celsius or Fahrenheit ()
temperature display.
Temperature compensation mode, each measurement parameter supports
independent temperature compensation, when user selects a manual
temperature compensation, the meter calculate with the manual temperature
value set by the user; When selects automatic compensation, the meter calculate
with the temperature collected from ATC probe. If no ATC probe is connected
with the meter, the meter will still use the manual setting temperature.
Manual temperature, use manual temperature when automatic temperature
compensation is invalid.

Alarm switch, the meter supports alarm function. When the measured value
exceeds the alarm value, the meter will alert to remind users, the default display
numbers turn to yellow. If user doesn’t need this function, close the alarm switch.
High alarm limit, this parameter is corresponding to the alarm function, to set the
upper alarm limit.When the alarm function is enabled, if the measurement results
exceeding the maximum limit alarm, will alert to remind the user.
Low alarm limit, this parameter is corresponding to alarm function, to set the
alarm limit.
2.3 Start-up, shutdown and buttons
The meter built-in power supply, press the round Button(Figure 5)under the screen
to turn on the meter.
After start-up, wait after complete self-inspection, enters into the initial interface.
If the battery is too low, may not be able to start-up, at this time, connect the charger
to start-up, and recharge in time.
After operation, user can long press On-Off key more than 5 seconds to close the
meter. If user enables automatic shutdown function, the meter will automatically
power off if no operation in a set time.
During operation, user can open or close the LCD display at any time by short
pressing On-Off key.
There is a power light inside On-Off key. Flashing in the state of power on or charging,
the flashing number represents the electric quantity; maximum four times, means
the battery is fully charged. When in shutdown state, the indicator light should be off
in a few second. Charging in shutdown state, the light will normally on if fully
charged.
2.4 Initial state
After start up and the meter enters into initial state after self-test. There are three parts:
basic information, measuring signal monitoring and the system menu.
Basic information interface displays the current time and the login user ID;
Round Button (Figure 5)
Sample ID, its the name of the sample, maximum 10 characters.

Measuring signal monitoring interface displays the current measurement signal
and the last conductive probe calibration results; Click measurement window
can start formal measurement, click the ">" button on the right to switch to view
other parameters; Click ">" button in the last correction result window to
calibrate electrode directly .
The system menu interface includes system settings and view stored results.
All the operation began from this interface, and will return to here after the
completion of corresponding operations. We referred to as the initial state, click
on the arrow keys or sliding around can switch interface, as shown in figure 6:
Initial State Of The Meter (Figure 6)

2.5 Operation
2.5.1 System settings
System settings includes function modules, such as system time, buzzer,
automatic backlight, automatic shutdown, user ID management, touch
screen, language selection, about, etc. In the initial state, select menu item
"System Settings" to enter, as shown in figure 7.
System Setup Diagram (Figure 7)
System time: to record the meter execution time, such as operation time,
storage time, conductive probe calibration time and so on. If the deviation is
larger, user need to adjust according to the local time, time format is
year/month/days hour: minute: second;
Buzzer: Set the prompt way of buzzer, including whether buzz or not when
the button is valid, and prompt the user whether buzz or not when perform
to the special circumstances.
Automatic backlight: Automatic backlight includes two parts, automatic
backlight control and brightness.
Automatic backlight control: The meter has automatic backlight
adjustment function that reduce power consumption. If no any
operation in the set time (just click on the touch screen), the meter will
automatically reduce the backlight brightness, show black screen state,
click on the touch screen at any time to wake the screen. Automatic
backlight control including 6 options: off, 10sec, 20sec, 30sec, 60 sec,
120 sec, respectively means backlight always on, does not close; no
any key operation within 20 seconds, 30 seconds, 10 seconds, 60
seconds and 120 seconds, the backlight will automatically shut down
(enter power saving mode, there is still a fainter display. In power
saving mode, press the screen any place, will be back to show to the
set backlight value);

Brightness control is for the purpose of saving power consumption,
the meter also allows user to set the brightness of the backlight. The
higher brightness, the greater the power consumption, but showed
the best effect.
Automatic shutdown: The meter has automatic shutdown function. There
are ten options: off, 1 min, 2 min, 3 min, 5 min, 10 min, 15 min, 20 min, 30
min, 60 min; If open the automatic shutdown function, the meter will directly
turn off within the setting time.
User ID management: this function only sets the user ID.
Touch screen: Including two functions, touch screen calibration and touch
screen test.
Touch screen calibration: to calibrate touch screen if the touch
screen buttons position deviation is larger. The meter adopts five
point calibration method, to continuously click on more than five
times at five locations on the touch screen to finish the calibration.
Since the calibration results will directly affect your operation, once
enter into the calibration state, follow steps carefully. Store the
calibration data after calibration.
Touch screen test: To verify the results of calibration, the meter also
provides a test module. After entering test mode, user clicks on the
screen at any position according to your usage habits to check the
accuracy, including the intensity of the click, size of the location and
the click effect of using stylus or finger.
Restore defaults: The meter supports restore factory defaults function.
Click restore factory default to restore if the meter parameters is confusion.
Restore the factory default as follows:
1. User ID is set to Admini;
2. Buzzer prompt is all on;
3. Automatic backlight is off;
4. Automatic shutdown is off;
5. The storage of measurement results are all cleared;
6. Reset all measured parameters to factory default. Cell constant is 1.000.
About: Displays the version of the meter information and company
information, etc. The meter supports firmware upgrade function.
2.6 conductive probe calibration
2.6.1 Several methods of conductive probe calibration
The meter provides a variety of ways to calibrate Cell constant:
In the measurement signal monitoring interface, click the last correction
result to re-calibrate;
Before measurement start, re-calibrate when checking the calibration results
;
The meter supports edit and select function of calibration results,
allows users to save last correction data to current calibration and
reedit, so the meter will prompt the user whether to keep or delete the
last calibration results or not before starting the calibration, as shown

in figure. If user wants to restart correction, choose to delete, or else choose to
keep. For example, the last calibration use 146μS/cm and 1408μS/cm to
complete two point correction, but user only wants to re-calibrate point
1408μS/cm, then can choose to keep current calibration data.
Keep Last Calib Data Diagram (Figure 8)
The meter adopts the navigational direction calibration, users complete the
correction in accordance with the instructions step by step.
2.6.2 Before calibration
The conductive probe will have some drift under different service environment
or unused for a long time, and need to re-calibrate with the conductivity
standard solution, the meter is up to 2 point calibration.
The meter supports automatic identification of conductivity standard solution,
the default
four standard solution. Standard data obtained by potassium chloride solution,
the
nominal concentration respectively is 1 mol/L , 0.1 mol/L, 0.01 mol/L, 0.001
mol/L.
There are usually two methods to get conductivity standard solution: Self-
preparation,
purchase directly.
First, prepare conductivity standard solution by themselves. To prepare standard
solution refer to the following data:
KCl Standard solution for testing Cell constant
Cell constant(cm-1) 0.01 0.1 1 10
KCL solution
concentration(mol/L) 0.001 0.01 0.01 or 0.1 0.1 or 1

Relation of KCl solution concentration and conductivity value (unit:μS/cm)
The composition of standard solution
Second, choose and buy conductivity standard solution. One is to purchase
directly standard conductivity standard solution produced by professional
manufacturers. The other way is to buy standard solution from our company.
There are four kinds of standard conductivity solution produced by
ourselves.
Prepare 1~2 kinds of conductivity standard solution, DI water according to
requirements, prepare get ready, click "Next".
Prepare Before Cell Constant Calibration Diagram (Figure 9)
Temp
Concentration
(mol/L)
15.0 18.0 20.0 25.0 35.0
1 92120 97800 101700 111310 131100
0.1 10455 11163 11644 12852 15353
0.01 1141.4 1220.0 1273.7 1408.3 1687.6
0.001 118.5 126.7 132.2 146.5 176.5
Concentration
(mol/L) Volume concentration KCl(g/L)solution (20in air)
1 74.2457
0.1 7.4365
0.01 0.7440
0.001 Dissolve 100mL 0.01mol/L of solution to 1L

2.6.3 Check calibration parameters
The meter supports automatic identification function of the conductivity solution,
the default four JJG standard solution, standard data using potassium chloride
solution, nominal concentration respectively is 1 mol/L , 0.1 mol/L, 0.01 mol/L,
0.001 mol/L. If user adopts non-standard solution for the meter, set the
recognition type as "Manual identification", and manually enter the nominal value.
Check Measurement Parameter Diagram (Figure 10)
2.6.4 Start calibration
Specific calibration process is as follows:
Prepare 1~2 kinds of standard solution according to the need (Options);
Insert the conductive probe and ATC probe into corresponding measuring
electrode socket; clean the probes with DI water and put in the standard
solution;
If it is automatic recognition, the meter will automatically identify the solution,
and display the standard value; If the recognition is failure, check whether
the ATC probe is properly connected, whether the conductive probe is
damaged, or whether the shelf life of standard solution is over.
If it is manual identification, to manually input the nominal value.
If the solution cannot be identified or no input nominal value, this calibration
can not continue.
After reading is stable, press the "Calib" key, the meter store calibration
results and switch to report page, shows the calibration results;
If user need to continue to calibrate other standard solution, click "Continue
Calibration" button to return to calibration status. Clean the probes and put
in another standard buffer. After successful recognition by the meter, and
the reading is stable, press

"Calibrate" button to complete the correction.
The meter supports repeating calibrate of the same standard solution, that is
support the function of matching the same solution, if the current correction
solution differ 50uS/cm with previous standard solution, the meter consider
to be the same solution, will automatically cover the calibration data of
previous standard solution. This function can prevent repeated correction, or
allow user to calibrate at will.
If necessary, user will need to reset some correction parameters to
complete correction. Click "Setup" button or sliding around to switch pages.
End correction, press the "<" button to exit the correction, shown in Figure
11.
Calibration Diagram (Figure 11)
2.6.5 Calibration results report
After each end of the calibration, the meter switch to the calibration results pages,
report page indicates the current calibration points, calibration result and the
detailed data of calibration solution.
The meter allows at any time to switch to the calibration results page to view the
calibration results. If there is a previous calibration data, the meter allows to
delete certain calibration results.
At this time, click the "<" button to end correction, shown in Figure 12.

Calibration Result Diagram (Figure 12)
2.7 Measurement
2.7.1 Preparation
Before measurement, user should understand better the nature and character of
measured sample; the basic operation and application of the meter; understand
the use and maintenance of conventional electrodes.
To prepare conductive probe before measurement, if need calibration, then purchase
or self prepare. Following are some preparation and matters need attention for
conductive probe.
Clean:Thoroughly clean conductive probe with DI water, and then clean
according to the conductive probe maintenance parts. If continues error or
unstable, refer to the conductive probe maintenance section.
Check samples: If conductive probe work normal in standard solution but
not operation properly in the sample, check the presence of interference
substances and whether the
conductance cell is damaged or not.
Platinum black series conductive probe were adhered loose platinum black
layer on the surface of the conductive probe platinum that avoid touching
any object. Only use DI water to wash, otherwise it will damage the platinum
black layer, lead to inaccurate electrode measurement.
If find performance of platinum black series conductive probe reducing, to
rinse the platinum in anhydrous ethanol and DI water successively.
The loose platinum black layer on the surface of platinum conductive probe
may be
Table of contents
Other MRC Measuring Instrument manuals
Popular Measuring Instrument manuals by other brands

Steren
Steren AUT-030 instruction manual

Velp Scientifica
Velp Scientifica ECO 6 instruction manual

Onset
Onset HOBO MicroRX RX210 Series quick start

getemed
getemed CardioMem CM 100 XT Instructions for use

HYDAC International
HYDAC International FMM-P-L Installation and maintenance instructions

Chatsworth Products
Chatsworth Products RIM-1000 Series quick start guide