NEC Univerge SV9100 User manual

Telephone User Guide
NEC SV9100
!
V1 – 5/2/16

Quick Reference Guide
NEC SV9100
Function Function Description
GREEN LED Your Call
RED LED Somewhere else in building (on another handset)
SOLID RED OR GREEN Station with call in progress or with a call on exclusive hold
SLOW FLASHING LED A call that has been placed on hold
FAST FLASHING LED An incoming call
ANSWER A CALL Handsets which have line keys:
If your handset rings on incoming calls, lift handset
OR
If your handset does not ring, Lift Handset and press the line key
OR
While on a call, ask caller to hold, then press “ANSWER” key (Only on ring assigned
handsets)
INTERNAL CALL PICKUP When you know the extension that is ringing and want to pick up that call:
❑Lift Handset
❑Dial * * Extn No.
HANDSET RECEIVER
SPEAKER VOLUME USING THE UP/DOWN KEY
❑Handset Receiver volume press up/down key in off hook status or during
call
❑Ring volume press up/down key when station is ringing.
❑Speaker volume press up/down key during speakerphone operation or
during the call
❑LCD Screen Contrast press up/down key in the on-hook status
!2
HANDSET - - - - - - - - - -
RING - - - -
SPEAKER
LCD- - - - - - - - -

MIC / MICROPHONE To Turn your microphone On/Off for hands free only:
LED on Mic key shows the status of the built-in microphone
Press MIC button
(Red light indicates MIC is on)
HANDSFREE To make a hands free call,
❑Press Speaker key,
❑Dial Extension number OR
Dial “9” for an outside line THEN phone number
MAKE A CALL Internal Calls
❑Lift Handset or Press Speaker
❑Dial Extension number
External Calls
Lift handset or press Speaker
❑Press “9” then dial phone number
OR
❑Press the “line” key then dial phone number
HOLD To place a call on hold:
❑Press Hold button once.
To place a call on hold using Park keys:
❑Press the first available Park button once.
TRANSFERING CALLS To Transfer a call to another extension:
❑Press Transfer to put the call on hold
❑Dial Extension Number or press One Touch Key,
❑Announce call
❑Hang up. Call is transferred.
TRANSFERRING TO
VOICEMAIL To transfer a call to a person’s voice mail:
❑While speaking to the outside line,
❑Press Transfer
❑Press VMsg on LCD screen
!3

❑Dial Person’s extension number
❑Hang Up
TRANSFER OFFSITE Transfer an incoming line to another outside line
While talking to the incoming call
❑Press Transfer key
❑Select an outside line
❑Dial Phone number
❑Announce you will be transferring call
❑Press Transfer key
❑Hang Up
REDIAL To dial the last number phoned:
❑Press Redial key without lifting handset
❑Press # To redial last number
OR
❑Press List Soft key to search for desired number
❑Then Redial Soft key
❑Press Up/Down Key to search number
❑Then Lift handset or press Speaker to place the call
INTERNAL PAGING To make an internal page through all desktop handsets:
❑Press ICM menu option for intercom
❑Press Inpg menu option for Internal Page
❑Press “0” which is group no 1 for all internal page
❑Lift Handset and make announcement
❑Hang up
OR Manually:
❑Lift Handset
❑Dial 701
❑Press “0” (for all Zones)
❑Make Announcement and replace handset
(Note: This feature is announcement only-extensions cannot reply)
EXTERNAL PAGING To make an external page through a Paging Horn:
❑Lift Handset
❑Dial 703
❑Press “0” (for all Zones)
!4

❑Make Announcement and replace handset
(Note: This feature only works if an external speaker is installed)
COMBINED PAGING To page both internal & external zones:
❑Lift Handset
❑Dial *1
❑Make Announcement and replace handset
CONFERENCE CALLS To set up a Conference Call:
While on an Outside call or connected to your first party
❑Press Conf Key on Display
❑Dial an outside line or second party
(When called party answers)
❑Press Add key on screen
(Repeat steps 2-4 to add more parties. Maximum of 16 internal or external
parties can be conferenced).
❑Press Begin to start conference
To exit a Conference without affecting the other parties:
❑Hang up
CALL LOG To view numbers of calls received / missed on your handset
❑Press List button on the Display
❑Press CID button on the Display
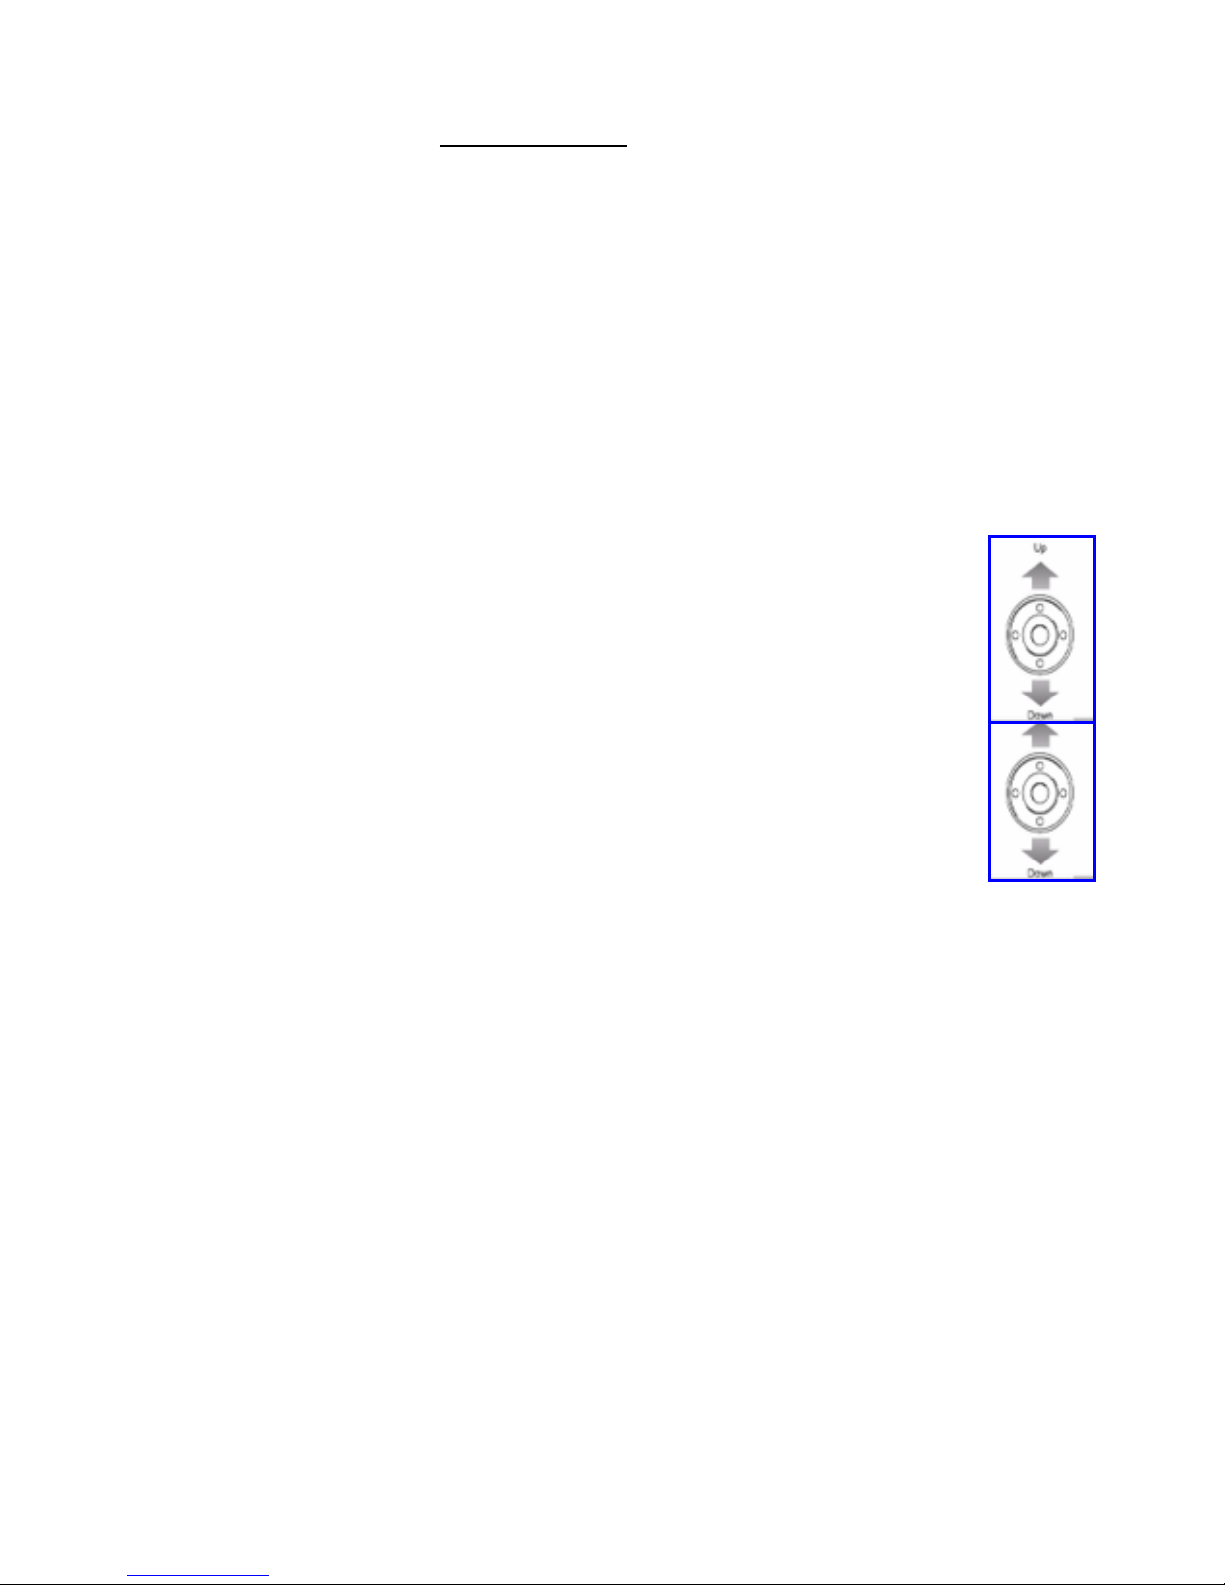
❑Scroll !Down soft key to desired number
❑Lift Handset to call – Handset will dial automatically
SET INTERCOM TO EITHER
RINGING OR HANDSFREE To select your intercom to be hands free:
❑Press Speaker
❑Dial 721
❑Press Speaker to hang up
To select your intercom to be ringing:
❑Press Speaker
❑Dial 723
❑Press Speaker to hang up
SELECTABLE RING TONES To CHANGE your Extension’s incoming ring tones:
❑Press Speaker key
❑Dial 720
❑Dial 1to set intercom ring, or 2to set external call ring
❑Dial Code for the ring pattern you wish to hear:
1 = High 5= Ring Tone 2
2= Mid Range 6= Ring Tone 3
3 = Low 7= Ring Tone 4
4= Ring Tone 1 8= Ring Tone 5
❑Press Speaker to Hang Up
To Listen to the Incoming ring choices
!5
!

❑Press Speaker and Dial 711
❑Dial 1 to listen to intercom ring
❑Dial 2 to listen to external call ring
Then for INTERCOM
❑Dial 1-8 Code for ring pattern
Or for EXTERNAL CALL
❑Dial 1-3 (ring) 4-8 (melody)
❑Press Speaker to Hang up
STATION NAME ASSIGNMENT To assign a name to your extension number:
❑Press Speaker
❑Dial 700
❑Press Hold
❑Enter your Name - up to 12 digits(## for space. # between digits on same key)
❑Press Hold
❑Press Speaker to hang up
To program any extension’s name:
❑Press Speaker
❑Dial 700
❑Enter Extension Number to be named
❑Enter the Name – up to 12 digits
❑Press Hold
❑Press Speaker to hang up
CALL FORWARD ALL
CALLS TO ANOTHER
EXTENSION OR OFF-SITE To set via menu on the screen:
❑Press PRGSoft Key
❑Press C/Fwd Key
❑Press All Key
❑Press Set Key
❑Dial The Extension Number
OR
❑Dial “9” for an off-site number, then dial the number
(i.e.: 9, 18004440401)
❑Press Speaker key to hang up
To set on a handset without a display screen:
❑Press Speaker
❑Dial Call Forward Code -741 for immediate
- 744 for busy/no answer
❑Dial 1to set
!6

❑Dial extension number
❑Press Speaker
To deactivate:
❑Press PRG
❑Press C/fwd
❑Press All
❑Press Cancel
❑Press Speaker
❑Hang up
DO NOT DISTURB To Activate via Menu on the screen:
❑Press PRG Soft Key
❑Press DND Soft Key
❑Press Set Soft Key
❑Press All Soft Key
To Deactivate via Menu on the screen:
❑Press PRG Soft Key
❑Press DND Soft Key
❑Press Cncl Soft Key for Cancel
To Activate On and Off on a handset without display: (Leave Handset Down)
❑Press Speaker
❑Dial 747
❑Dial DND Option Code 1 = Block incoming calls
2 = Block internal intercom
3 = Block All calls
4 = Block Call Forwards Only
0 = Cancel DND
BACKGROUND MUSIC Can be played through telephone speaker
To set and cancel
❑Press Speaker
❑Press 725
❑Press Speaker
ALARM CLOCK To activate an alarm:
❑Press Speaker
❑Dial 727
❑Dial Alarm Type 1 – Sounds Only Once
2 – Sounds each day at preset time
❑Dial Alarm time (24 hour clock) (A confirmation tone will be heard)
❑Press Speaker to hang up
To silence an alarm:
❑Press Exit
To check a programmed alarm time:
❑Press Help button
!7

❑Dial 727
❑Dial alarm type 1 or 2
The programmed time displays
❑Press EXIT
To cancel an alarm:
❑Press Speaker
❑Dial 727
❑Dial alarm type 1or 2
❑Dial 9999
❑Press Speaker to hang up
CHANGING THE TIME Note – Must be done from reception or main handset
Leave Handset Down
❑Press Speaker
❑Dial 728
❑Dial two digits for the hour (24 hour)
❑Dial two digits for the minutes
❑Press Speaker to hang up
NOTE: The date can only be set / changed in system programming
BARGE IN (INTERRUPT A CALL)*Note - Must be activated in programming
❑Lift Handset
❑Dial 710
❑Dial Busy Extension (The extension user will hear a warning tone).
PROGRAMMING ONE TOUCH BUTTONS
Program One Touch Buttons for External Phone Numbers:
❑Press SPK
❑Dial 751
❑Press KEY you wish to program
❑Enter 01
❑Enter 9for an outside line
❑Enter Phone number
❑Press HOLD
❑Press SPK
Program Function Buttons for Internal Extensions:
❑Press SPK
❑Dial 751
❑Press KEY you wish to program
❑Enter 01
❑Enter Extension Number
!8

❑Press HOLD
❑Press SPK
Program Function Buttons for all other features:
❑Press SPK key
❑Dial 751.
❑Press Key you want to program.
❑Enter 2-digit key function (see next page)
❑Press HOLD
❑Press SPK
Available 2-digit key function functions are:
▪00 Not Defined
▪01 DSS/One-Touch Key
▪03 DND Key
▪04 BGM (ON/OFF)
▪05 Headset Key
▪08 Incoming Caller-ID List
▪09 Day / Night Switch
▪10 Call Forward-Immediate
▪11 Call Forward-Busy
▪12 Call Forward-No Answer
▪13 Call Forward-Busy/No Answer
▪14 Call Forward-Dual Ring
▪15 Call Forward-Follow Me
▪16 –Not Used-
▪17 –Not Used-
▪18 Text message set up.
▪19 External Group Paging
▪20 External All Call Paging
▪21 Internal Group Paging
•22 Internal All Call Paging
•23 Meet-Me Answer to Internal Paging
•24 Call Pickup for Own Group
•25 Call Pickup for Another Group
•26 Call Pickup for Specified Group
•27 Abbreviated Dial-Common/Personal
•28 Abbreviated Dial-Group
•29 Repeat Dial
•30 Saved Number Redial
•31 Memo Dial
•32 Meet-Me Conference
•35 Call Back Request (camp on)
•37 DND/FWD Override
•38 Message Wait Button
•55 Extension Name Edit
•63 Restrict Caller-ID (ISDN)
•45 Exclusive Hold
•48 Voice Over
!9

•49 to Redirect
•50 Account Code
•66 CTI Comms
•77 Voice Mail (In Skin)
•78 Conversation Record
•79 Automated Attendant
•SC 852:
•*00 Not used
•*01 Trunk Key
•*02 Trunk Group/ Loop Key
•*03 Virtual Extension Key
•*04 Park Hold Key
•*05 Loop key
TO SET YOUR PHONE TO DISPLAY A MESSAGE ON THE SCREEN WHEN SOMEONE DIALS YOUR
EXTENSION (FOR WHEN YOU ARE OUT OF THE OFFICE):
Set up a Text Message Key first – Spkr 751, press spare button, dial 1801, press hold, press speaker
Then to set:
❑Press Speaker Button,
❑Press Text Message Key (programmed above)
Use the up/down keys to scroll through options
Select Option Code Below
Change time as appropriate, press speaker to set
01 In meeting until ___:___
Enter Time,
❑Press Speaker button to set.
02 In meeting room
❑Enter Time,
❑Press Speaker button to set.
03 Come back
❑Enter Time coming back,
❑Press Speaker button to set.
04 Please call …….
❑Enter Phone number,
❑Press Speaker button to set.
05 Busy call after
❑Enter Time,
❑Press Speaker to set.
06 Out for lunch back at ……/…...
❑Enter Time,
❑Press Speaker button to set.
07 Business Trip back at ……/…….
❑Enter Date,
❑Press Speaker button to set.
!10

08 Business Trip…….one day trip
❑Enter Date,
❑press Speaker button to set
09 Gone for the day.
❑Press Speaker button to set.
10 On Vacation until ……./…….
❑Enter Date,
❑Press Speaker button to set
To cancel
❑Press: Speaker
❑Press Test Message Key
❑Press Speaker to hang up
* Techs can program custom messages if required, i.e. codes 11-20
SOFT KEY MENU (MENU’S ON DISPLAY SCREEN)
History Menu
No.
Menu Item
Description
1
Call History
To view Call History. For details, see
Call History operation section.
2
Directory
To use Directory function. For details see
Directory operation section
3
Tool
Uses when accessing external XML
Server. For details, please contact the
system administrator.
4
Call Function
Currently Not Used (greyed out)
5
Setting
To set up the terminal such as ringing
volume control, LCD display setting and
download of Music on Hold.
6
Presence
Currently Not Used (greyed out)
#
Favorite
By registering frequently-used features as
favourite, the user can access these
features with simple operation.
0
Terminal Config
This item is used for Configuration setting of
DT Series.
LIST MENU
Key
Name
Description
1
REDIAL
Detailed info. of last call
2
CID
Caller Identification
!11

Directory Menu
Key
Name
Description
1
REGIST
To add new data
2
SEARCH
To find registered data
3
SETTING
4
Delete All
Delete all history
!12
Other manuals for Univerge SV9100
59
Table of contents
Other NEC Telephone manuals

NEC
NEC Xen Topaz User manual

NEC
NEC Univerge UM8000 User manual

NEC
NEC i-Series User manual

NEC
NEC NVM-2000 User manual

NEC
NEC Univerge SV8100 User manual

NEC
NEC Univerge SV9100 Instruction manual

NEC
NEC Baseline Pro CLI User manual

NEC
NEC AT-40 User manual

NEC
NEC Univerge SV8100 User manual

NEC
NEC Aspire 4TXH User manual