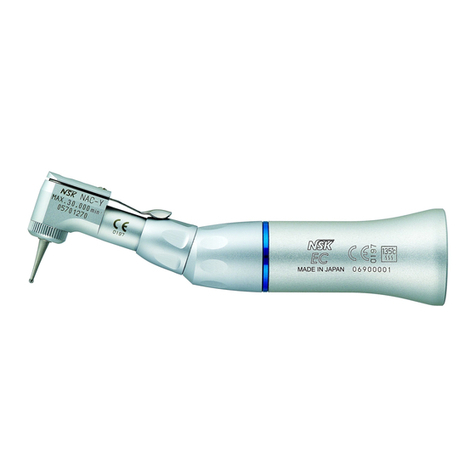
Fig. 5
PANA SPRAY Plus /
PANA SPRAY
PANA SPRAY Plus /
PANA SPRAY
E-type Spray Nozzle Handpiece
Fig. 6
Union Nut Drive Gear
Assembly
Fig. 9
Cartridge
WasherPin
ø2.35mm Round Rod
Head Cap
Fig. 8
Fig. 7
Head Cap
Wrench
Caution
The head cap screw thread is very fine. To prevent it from breaking,
use of the wrench from the first thread is not recommended.
Caution
Do not wipe with, or clean or immerse in, high acid water or sterilizing
solutions.
Caution
• Be sure to hold the handpiece firmly to prevent the handpiece from
slipping out of hand by the spray pressure when lubricating.
• Supply lubricant until it comes out of the handpiece head
(for approx. 2 seconds).
• Hold the PANA SPRAY Plus / PANA SPRAY can upright.
Loosen the union nut and remove the head from the sheath.
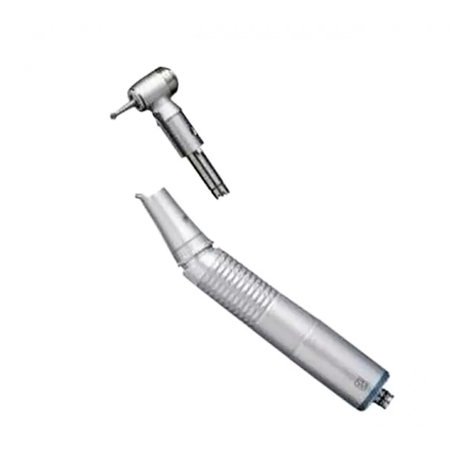
Pull out the drive gear assembly from the head. (Fig. 6)
Place cap wrench on the head cap and turn counterclockwise.
Unscrew and separate the cap. (Fig. 7)
Insert a ø2.35mm round rod from the front of end. Push up the round rod, and
cartridge and washer are removed from the top end of the head. (Fig. 8, 9)
Before inserting a new cartridge, clean the head interior with PANA SPRAY Plus.
Insert a washer and the new cartridge with its pin aligned in the head.
Hand tighten the cap until finger tight and secure with wrench.
Optional Cartridge : Order No. C875-060
5. Cartridge Replacement (FPB)
Steam autoclave is recommended. Sterilization is required first time you
use and after each patient as noted below.
Autoclave Procedure :
Scrub dirt and debris from the handpiece, and wipe clean with alcohol-
immersed cotton swab or cloth. Do not use a wire brush.
Lubricate with PANA SPRAY Plus / PANA SPRAY. Refer to 3. Lubrication.
Insert into an autoclave pouch. Seal the pouch.
Autoclavable up to max. 135˚C.
ex.) Autoclave for 20 min. at 121˚C, or 15 min. at 132˚C.
Keep the handpiece in the autoclave pouch to keep it clean until you use it.
Sterilization at 121˚C for more than 15 minutes is recommended by
EN13060 or EN554.
4. Cleaning and Sterilization
Supply PANA SPRAY Plus / PANA SPRAY or Care3 Plus after each use
and/or before autoclaving.
PANA SPRAY Plus / PANA SPRAY (Fig. 5)
Mount the E-type spray nozzle into the spray port.
Shake the can 3-4 times to well mix lubricant and propellant.
Insert the E-type spray nozzle in the rear of the handpiece and spray for
approximately 2-3 seconds until the oil comes out of the handpiece head.
Care3 Plus
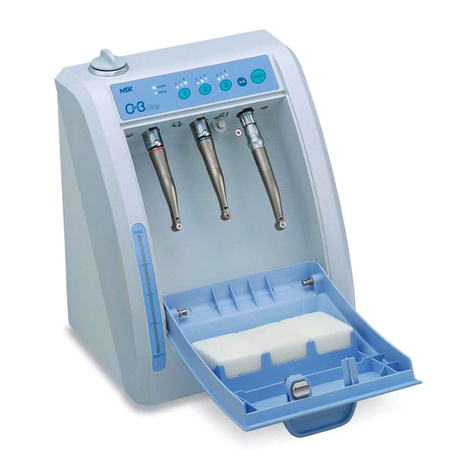
NSK Care3 Plus automatic handpiece cleaning and lubrication system
After connecting the handpiece to the correct adaptor, activate the
Care3 System per the Care3 System instructions.
3. Lubrication
The products listed below are washable with Thermo Disinfector.
FPB- ECM / ER4M / ER10M / ER16M / ER64M
FFB- ECM / ER4M / ER10M / ER16M / ER64M
NRS2- ECM / ER4M / ER10M / ER16M / ER64M
’09.12.03 S
1
2
3
1
2
3
4
5
1
2
3
4
5
6


