6 12 GAUGE™INSTRUCTION MANUAL
TO ADJUST THE TIME AND DATE FOR SUBSEQUENT SETTINGS, USE THESE SHORT PROCEDURES
TO SET THE TIME
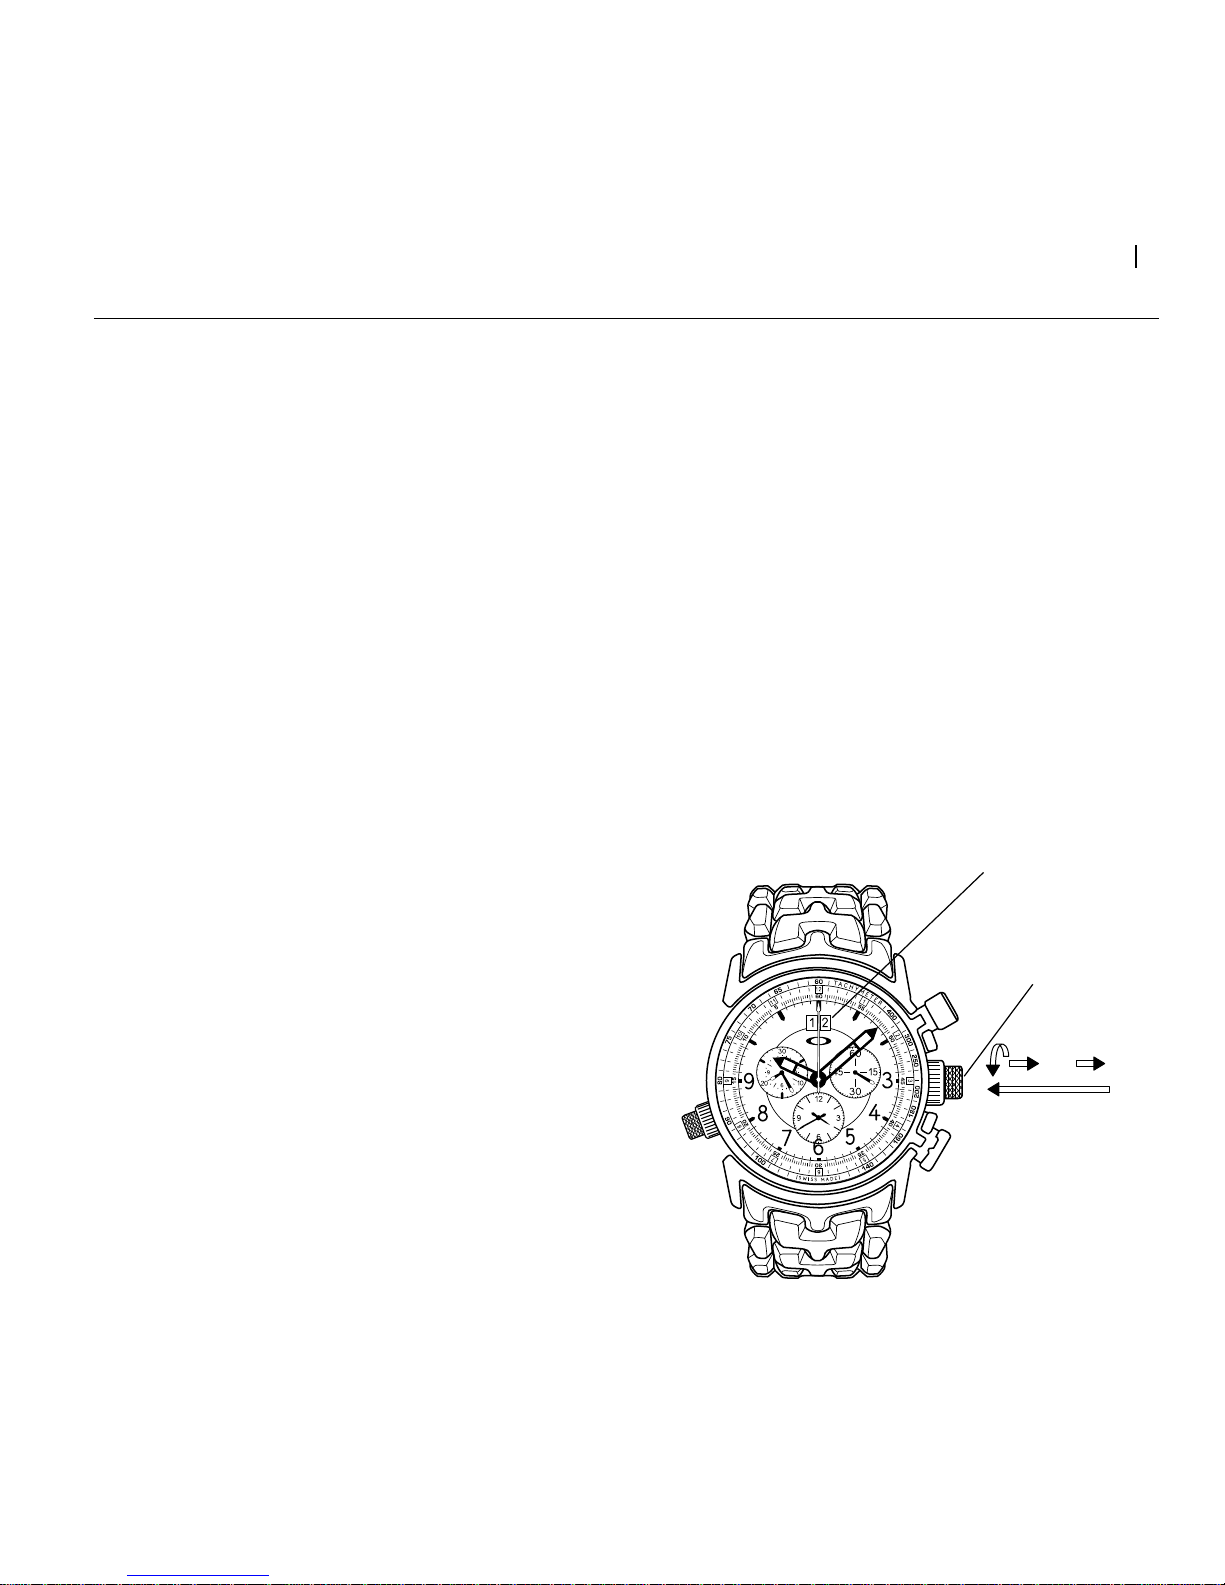
1. Pull the main crown out to the second click position (b).
2. Turn the crown clockwise until you reach the correct
time.
3. Push the crown back in. Gently turn the crown
clockwise until it screws back into the case. Be careful
not to over tighten the crown, as this will damage the
mechanism.
TO SET THE DATE
1. Pull the main crown out to the first click position (a).
2. Turn the crown clockwise until you reach the correct
date.
If the current time is between 9 PM and midnight,
set the date to the following day. (This is necessary
to ensure the date display will normally change at
midnight instead of 12 noon.)
3. Push the crown back in. Gently turn the crown
clockwise until it screws back into the case. Be careful
not to over tighten the crown, as this will damage the
mechanism.
Setting the date too quickly can result in the incorrect date
being displayed. To restore synchronization, gradually
turn the crown to go through the range of date settings
(from 01 to 31) when performing the instructions above.
IMPORTANT: The alarm has its own timekeeping
mechanism. Whenever the time on the main display
is adjusted, it is necessary to adjust this separate
mechanism to keep the alarm synchronized. Do the
following:
TO SYNCHRONIZE THE ALARM
1. Pull the main crown out to the second click position (b).
2. Press and hold button “B” for at least 2 seconds. (The
minute hand on the lower sub dial will jump forward
one minute.)
3. Press button “B” to set the current time on the lower
sub dial:
Short press (less than 1 second) will advance the time
by the minute.
Medium press (1 to 2 seconds) will advanced the
time by the hour.
Long press (more than 2 seconds) will advance the
time continuously until the button is released.
4. Push the crown back in. (The lower sub dial will change
to display the alarm time.) Gently turn the crown
clockwise until it screws back into the case. Be careful
not to over tighten the crown, as this will damage the
mechanism.
To set the exact second, wait until the hand on the
second-counting sub dial (at the right of the main dial
face) reaches “60” before you pull out the crown to
the second click position (b). Synchronize the alarm
time then wait until the exact second is reached before
pushing the crown back in.