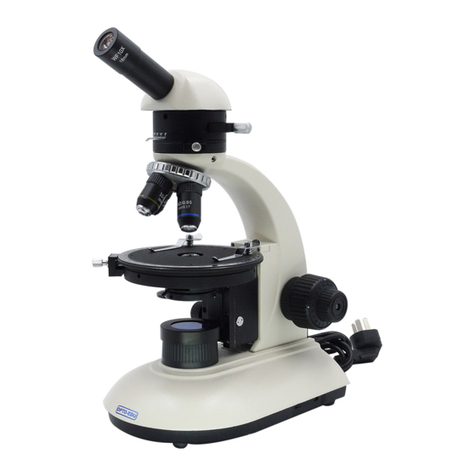
3) Avoid from the dust room. When it is not in use,
please cover the microscope with dust cover.
4) Please place the microscope in a stable situation
without any surging.
b) Check the Input voltage: be sure the power supply voltage
is accordant with the nominal input voltage which is signed
outside the microscope, or it will bring a serious damage to the
microscope.
c) Lamp
1. The lamp has been well adjusted and checked before
the microscope leaves factory.
2 . The lamp housing parts become extremely hot during
operation. Take care not to burn yourself.
3. Lamp replacement:The lamp has its standard service
life. When it has expired, a lamp replacement is
necessary.set the main switch to off state, disconnect
the power cord from the wall outlet, then allow the old
bulb to cool before replacing the bulb with a new of the
designated type .Open the lamp holder on the bottom
of microscope to do the replacement, the surface of
the new lamp bulb should be clean and free of
fingerprint or dirt, which will decrease the brightness or
even explode the bulb .
Note: Must not missing the grounded screw
Donot touch the lamp`s glass part with your
hands,when sitting shoud take gloves or cover the
lamp with protector. Fingerprint or dirt on the surface of
the lamp should be cleaned with the clean cloth with
dipping alcohol,which will decrease the brightness or
even explode the bulb.
d) Eyepiece:
Please insert the eyepieces into the eyepiece
tubes.(There is small screw in the eyepiece ,which can
make the eyepiece can not be pull out arbitrarily when
be screwed down.
e) Objective:
Lower the stage to its lower limit, then screw down the
objectives into the nosepiece (from low to high).
f) Condenser:
he condenser has been adjusted well before delivery.
g) Collector:
The collector has been adjusted well before delivery.
Frame of the collector`s pedestal is screw thread can
taken by contrarotate
Note:It cannot be taken down when the outfit is LED.
h) Color filter:
Lay the filter into the iris diaphragm bracket under the
condenser if necessary.
6 Operation
1、 Insert the eyepiece into the inclined eyepiece tube, then
rotate the objectives in sequence, according to their
magnifications, into the threaded holes of the nosepiece.
Place the specimen in the center of the field of view, First
use low power objective to find the specimen image and
then observe it with high power objective, at the same
time, adjust fine focusing knob until the image is clear.
When using 100X oil-immersion objective, the space
between the front of objective and specimen surface
should be full of cedar oil. Drops of cedar oil must be
