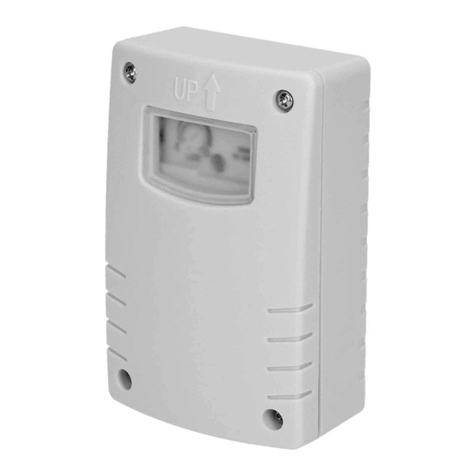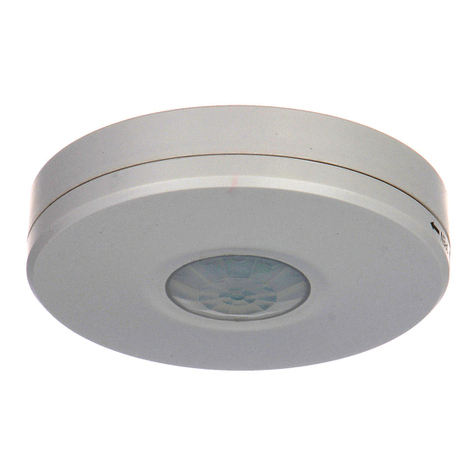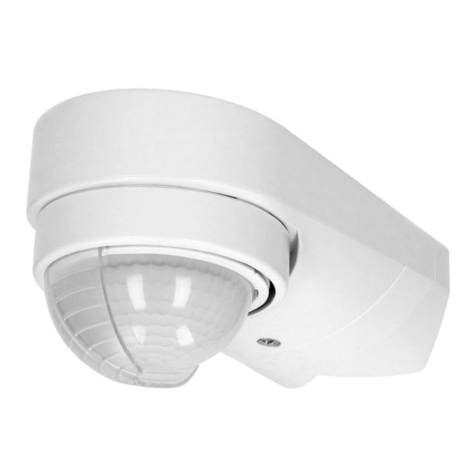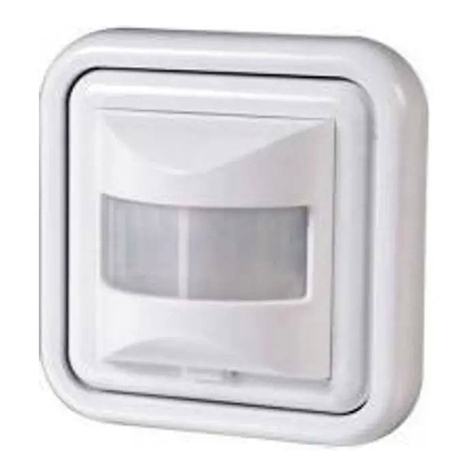
1. Disconnect the power supply. Check if there is no voltage on the power leads with a suitable instrument.
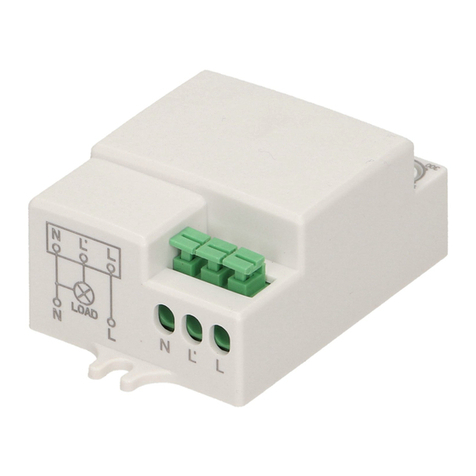
2. Loosen the screw terminals of the sensor.
3. Connect the power supply wires to the appropriate terminals and screw them in (depending on the installation, 2 or 3 wires can be connected).
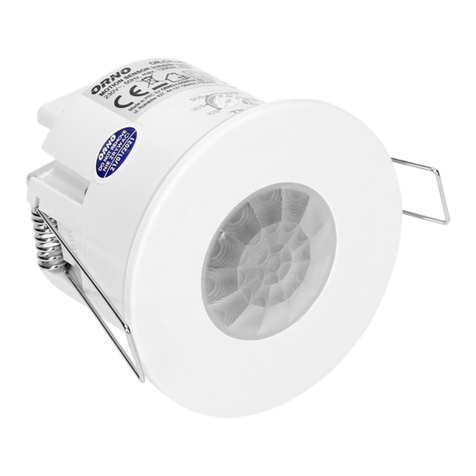
4. Remove the bottom from the sensor and attach it to the junction box.
5. If the sensor is to be installed in a square junction box, screw a pressure screw into the mounting hole of the sensor and screw it into the mounting hole of the box. If the sensor is to be
installed in a round junction box, follow the same procedure as for a square box - set the sensor at the right angle.
6. Turn on the power.
7. Adjust the sensor parameters and test the sensor.
LUX - light intensity adjustment
This setting specifies the luminous intensity at which the device stops motion detection while remaining in the stand-by mode. This secures against undesirable lighting switching on by day. The light
season is set with the "LUX" knob, which must be turned clockwise to the stop and waited until dusk. If the light starts to darken, set the light time by turning the "LUX" knob until the light turns on.
TIME - lighting time adjustment
The knob allows you to determine the time for which the device will operate when the sensor is activated. The light time is counted from the moment the motion is detected to the moment it is
switched off.
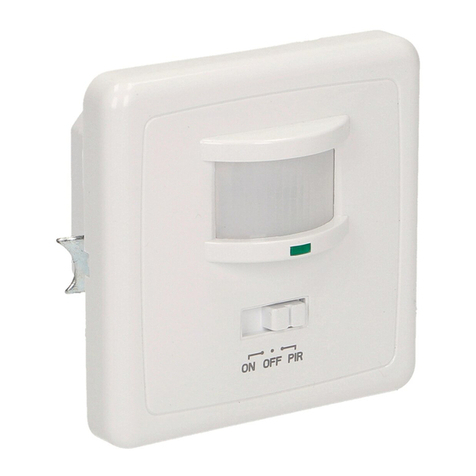
Move the operating mode switch to "ON" and then turn the "TIME" knob ("Delay time") to the end in an anticlockwise direction and the "LUX" knob ("Light intensity") to the end in a clockwise
direction.
Turn on the power - the sensor-controlled device should turn on.
Move the operating mode switch to the "OFF" position - the controlled device should switch off immediately and all sensor functions should stop.
Move the operating mode switch to the "PIR" position ("Infrared Detection") - after 30 seconds, the sensor will go into operation. The device controlled by the sensor should switch on within 20
seconds after the sensor detects movement (infrared source). If the sensor does not detect any movement, the device will switch off within 5-10 seconds.
Set the "LUX" knob to a minimum anti-clockwise when the sensor is not activated, the sensor-controlled device will be switched off during the day. If you cover the sensor with an object that does
not penetrate the light, the sensor should switch on the controlled device and then switch it off within 5-10 seconds.
Note: When testing the device in daylight, turn the LUX knob to the position (SUN), otherwise the sensor will not function properly!
SOME PROBLEMS AND SOLUTIONS
The load does not work:
a. Please check if the connection of power source and load is correct.
b. Please check if the load is good.
c. Please check if the settings of working light correspond to ambient light.
The sensitivity is poor:
a. Please check if there is any hindrance in front of the detector to affect it to receive the signals.
b. Please check if the ambient temperature is correct.
c. Please check if the induction signal source is in the detection field.
d. Please check if the installation height corresponds to the height required in the instruction.
The sensor can not shut off the load automatically:
a. Please check if there is continual signal in the detection field.
b. Please check if the time delay is set to the maximum position.
c. Please check if the power corresponds to the instruction.
Maintenance should be carried out with power disconnected.
Clean only with delicate and dry fabrics.
Do not use chemical cleaners.
Do not cover the product.
Provide free air access.
Bedienungsanleitung und Montageanleitung
BESCHREIBUNG UND ANWENDUNG
Der Bewegungssensor ist zur automatischen Steuerung der Beleuchtung oder anderer elektrischer Geräte bei gleichzeitigen Einsparungen elektrische Energie bestimmt. Der Empfänger
(Beleuchtung) wird mithilfe des infrarotbetätigten PIR-Bewegungssensors eingeschaltet. Er ermöglicht die Beleuchtung durch Bewegung eines wärmefreisetzenden Objekts einzuschalten. Der
eingebaute Sensor für Außenbeleuchtung ermöglicht die Melderfunktion bei Tageslicht auszulösen.
Bei der Auswahl des Montageortes sind die folgenden Kriterien zu berücksichtigen:
- Sensorreichweitenwinkel,
- Der Sensor sollte an einem geeigneten Ort in einer Höhe von 1,8 m - 2,5 m installiert werden,
- Es wird nicht empfohlen, das Gerät in der Nähe von Heizkörpern, Ventilatoren oder anderen Gegenständen zu installieren, bei denen schnelle Temperaturschwankungen auftreten können,
- Es wird nicht empfohlen, an Orten zu installieren, an denen Sonnenlicht direkt auf den Bewegungssensor fallen kann,
- Es wird nicht empfohlen, in der Nähe von Objekten zu montieren, die sich unter dem Einfluss von Wind bewegen können: Vorhänge, hohe Pflanzen, etc.
- Es wird nicht empfohlen, an Orten zu montieren, an denen die Bewegung von Tieren erfasst werden kann,
- Es ist sicherzustellen, dass die Versorgungsleitungen über einen ausreichenden Stromschutz, die im Falle einer Überlastung die Stromversorgung unterbrechen,
- Wenn die Temperaturdifferenz zwischen einem sich bewegenden Objekt und der Umgebung gering ist (z. B. im Sommer), kann der Sensor später reagieren und sein Bewegungserfassungsbereich
wird reduziert,
- montieren Sie das Gerät nicht in der Nähe von starken elektromagnetischen Störquellen,
- Verschmutzung der Sensoroptik reduzieren die Reichweite und Empfindlichkeit der Bewegungserfassung.
1. Versorgung abschalten. Mit dem entsprechenden Gerät prüfen, ob die Versorgungsleitungen spannungsfrei sind.
2. Schraubklemmen am Sensor lockern.
3. Versorgungsleitungen anschließen an den entsprechenden Klemmen anschließen und festschrauben (je nach Ausführung können 2 oder 3 Drähte angeschlossen werden).
4. Boden des Sensors lösen und an der Anschlussdose anbringen.
5. Soll der Sensor in der quadratischen Anschlussdose angebracht werden, Druckschraube in der Montagebohrung des Sensors einsetzen und an der Montagebohrung der Dose festschrauben.
Soll der Sensor in der runden Anschlussdose angebracht werden, ist wie im Fall der quadratischen Dose vorzugehen –dabei ist der Sensor im entsprechenden Winkel einzustellen.
6. Versorgung einschalten.
7. Paramater anpassen und Sensor testen.
LUX - Lichtintensitätseinstellung
Diese Einstellung bestimmt, bei welcher Lichtintensität das Gerät im Standby-Modus keine Bewegung mehr erfasst. Dadurch wird ein unerwünschtes Einschalten der Beleuchtung während des
Tages verhindert. Die Einstellung der Beleuchtungszeit erfolgt mit dem Drehknopf "LUX", der Sie bis zum Anschlag im Uhrzeigersinn drehen müssen und bis zur Dämmerung abwarten. Wenn es zu
Dimmen beginnt, stellen Sie die Beleuchtungszeit ein, indem Sie den Knopf "LUX" drehen, bis das Licht aufleuchtet.
TIME - Einstellung der Beleuchtungszeit
Mit dem Drehknopf können Sie bestimmen, wie lange das Gerät betrieben wird, wenn der Sensor aktiviert ist. Die Beleuchtungszeit wird vom Zeitpunkt der Erfassung der Bewegung bis zum
Zeitpunkt des Ausschaltens gezählt.
Betriebsschalter auf „ON“ („Eingeschaltet“) verstellen, anschließend „TIME“ („Verzögerungszeit“) entgegen dem Uhrzeigersinn bis zum Anschlag drehen, den Drehregler „LUX“ („Lichtstärke“) im
Uhrzeigersinn bis zum Anschlag drehen.


