manuals.online logo
Brands
  1. Home
  2. •
  3. Brands
  4. •
  5. Palram
  6. •
  7. Greenhouse Kit
  8. •
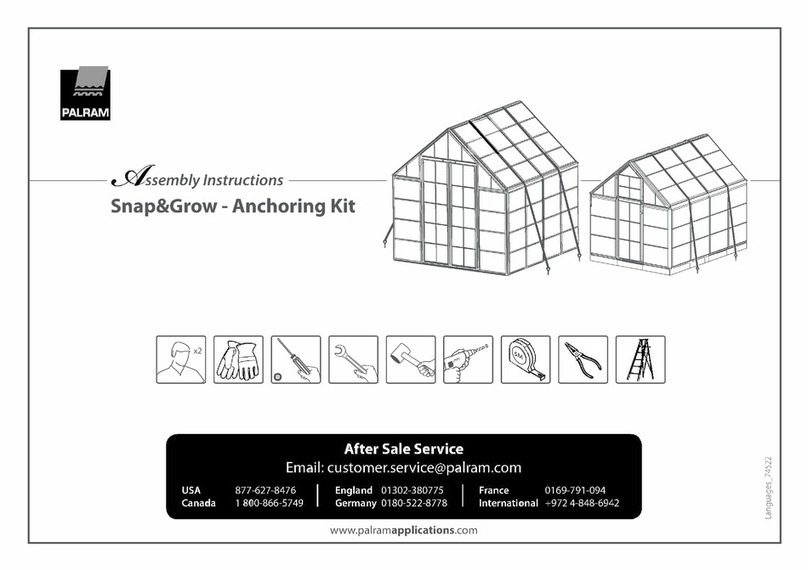
  9. Palram Plant Inn Compact - Clear Glazing User manual

Palram Plant Inn Compact - Clear Glazing User manual

x2
10mm
Optional- use
Silicon spray
ONLY!
Assembly Instructions
Instructions de montage
Montageanleitung
x2
10mm
Optional- use
Silicon spray
ONLY!
Plant Inn Compact - Clear Glazing
English_French_German_74384
Approx. Dim.
118x62.5x146.5cm / 46½”x24½”x57¾”
www.palramapplications.com
After Sale Service
Email: customer[email protected]
USA 877-627-8476 England 01302-380775 France 0169-791-094
Canada 1 800-866-5749 Germany 0180-522-8778 International +972 4-848-6942
a Customer Service
For assistance with assembly, replacement parts or any other additional information
please log onto our website or call our customer service line (number is on the title page).
www.palramapplications.com
a Safety advice
•It is of utmost importance to assemble all of the parts according to the directions.
Do not skip any step.
• We strongly recommend using work gloves during assembly.
• Always wear shoes and safety goggles when working with extruded aluminium.
• If using a step ladder or power tools ensure that you follow the manufacturer›s safety advice.
• Do not touch overhead power cables with the aluminium profiles.
• Do not attempt to assemble the product in windy or wet conditions.
• Dispose of all plastic bags safely keep them out of reach of small children.
• Keep children away from the assembly area.
• Do not lean against or push the product during construction.
• Do not position your product in an area exposed to excessive wind.
• Do not attempt to assemble this product if you are tired, have taken drugs or alcohol or if you
are prone to dizzy spell.
• From safety reasons always use the lockers for each position (close, open, ventilation, storage) as
shown in step 33 Hot items such as recently used grills, blowtorches etc. must not be stored in the
product. Ensure there are no hidden pipes or cables in the ground before inserting the pegs.
• This product is designed to use as growhouse only.
a Care & Maintenance
When your product needs to be cleaned, use a mild detergent solution and rinse with cold clean
water. DO NOT use acetone, abrasive cleaners or other special detergents to clean the clear panels.
a Tools & Equipment
•Tape measure
• Work gloves
• Lubricant
• Phillips head screwdriver
• Step ladder
• Drill bit
• Large hammer
• Spanner
IMPORTANT
Please read these instructions carefully before you start to assemble this product.
Keep these instructions in a safe place for future reference.
EN
• T001 - Special tool for Screws 411 and nuts 412
• Sïlicon spray
a Before Assembly
This is a multi-part assembly best achieved by two people.
Allow at least half a day for assembly process.
Selecting a site - the product must be assembled, positioned and fixed
on a flat level surface.
Choose a sunny position away from overhanging trees.
Take out all components parts of the packages. Sort the parts and
check against the contents parts list.
During assembly parts should be laid out close at hand. Keep all small
parts (screws etc.) in a bowl so they do not get lost.
a Notice
Step 6 – Make sure screws stay loose.
Step 7 – Make sure screws are strongly tightened.
Step 8 – If trays are dropping down when filled with soil, push trays’frame up and
tight these screws again on their original position.
Step 27+28 – make sure profiles are inserted all the way till the end into plastic
connector.
Steps 32 – If lid does not located correctly on the frame it will not closed and
opened properly.
Try re-checking step 20 (measure) and step 27+28 (insert profiles all the way).
For easy inserting of profile 960 use lubricant material or move lid up and down.
Do not use hammer.
Tighten all screws when completing assembly.
a After assembly
This product’s ground fixing is based on soil weight. When trays are empty it
should be kept from winds. There for we are strongly recommending fixing the
product directly to a solid concrete foundation.
a Outils & Equipement
•Mètre (ruban)
• Gants de travail
• Lubrifiant
• Tournevis cruciforme (Philips)
• Escabeau
• Perceuse
• Grand marteau
• Clé à écrous
a Avant l’assemblage
Il s’agit d’un assemblage à pièces multiples qu’il est préférable de réaliser à deux
personnes et auquel il faut consacrer au moins une demi-journée.
Sélection du site – la mini-serre doit être assemblée et fixée sur une surface plane.
Choisissez un emplacement ensoleillé et éloigné d’éventuels arbres susceptibles
de la surplomber.
Nous recommandons vivement de fixer le produit directement sur des fondations
solides, en béton. Pour ce faire, utilisez les trous déjà percés dans le châssis
métallique fourni.
Sortez toutes les pièces de leur emballage. Triez-les et comparez-les avec la liste
des pièces pour vérifier que tout y est.
Lors de l’assemblage, les pièces doivent être disposées à portée de main. Gardez
toutes les petites pièces (vis, etc.) dans un récipient pour éviter de les perdre.
a Instructions de montage
Etape 6 – Assurez-vous que les vis restent relâchées.
Etape 7 – Assurez-vous que les vis soient bien serrées.
Etape 8 – Assurez-vous que les vis restent relâchées. S’il arrive que des bacs
tombent lorsque vous les remplissez de terre, poussez le châssis vers le haut et
resserrez les vis correspondantes dans leur position d’origine.
Etape 27-28 - assurez-vous que les profilés sont bien insérés sur toute leur
longueur et jusqu’au raccord en plastique.
Etape 32 – si le couvercle n’adhère pas au châssis, son ouverture et sa fermeture
ne pourront pas se faire correctement.
Etape 20 – Dans ce cas, vérifiez que l’étape 20 (mesures) et l’étape 27+28
(insertion des profilés sur toute la longueur) ont été correctement réalisées.
Serrez toutes les vis après avoir achever l’assemblage.
a Après l’assemblage
La base de la mini-serre adhère au sol par l’effet du poids de la terre qu’elle contient.
Lorsque les bacs ou les plateaux sont vides, ils doivent être protégés du vent.
a Service clients
Pour toute assistance concernant le montage de votre mini-serre ou ses pièces de rechange
– veuillez consulter notre site Internet ou appeler notre service technique (dont le numéro de
téléphone figure sur la page de garde de la brochure).
Pour en savoir plus, n’hésitez pas à visiter notre site Internet : www.palramapplications.com
a Consignes de sécurité
•Très important ! Veuillez suivre scrupuleusement les instructions de cette brochure et réaliser
les étapes dans l’ordre énoncé, sans exception.
•Nous recommandons vivement le port de gants de protection pendant le montage.
•Portez toujours des chaussures de travail et des lunettes de protection lorsque vous travaillez
des pièces en aluminium extrudé.
•Lors de l’utilisation d’une échelle ou d’outils électriques, assurez-vous de bien suivre les
consignes de sécurité du fabricant.
•Veillez à ne pas toucher de câbles aériens avec les profilés en aluminium.
•N’essayez pas d’assembler la mini-serre s’il y a du vent ou s’il fait humide.
•Jetez tous les sacs en plastique en appliquant les règles de sécurité et maintenez-les hors de
portée des jeunes enfants.
•Eloignez les enfants de la zone d’assemblage.
•Ne vous appuyez pas contre la mini-serre et ne la poussez pas pendant l’assemblage.
•Ne positionnez pas la mini-serre dans un endroit trop exposé au vent.
•N’essayez pas d’assembler ce produit si vous êtes fatigué, si vous êtes sous l’effet de
médicaments ou d’alcool ou encore si vous êtes sujet aux vertiges.
•Pour des raisons de sécurité, vérifiez toujours le fonctionnement des pièces mobiles dans
toutes les positions (ouvertes, fermées, en position de ventilation, en position de rangement)
comme indiqué à l’étape 33.
•Les objets chauds tels qu’un barbecue, un chalumeau ou autre article de ce type ayant été
récemment utilisés, ne doivent pas être rangés dans la mini-serre.
•Avant de planter les piquets, assurez-vous qu’aucun tuyau ni câble n’est enterré à l’endroit
sélectionné pour l’installation.
•Ce produit est conçu pour servir de bac de culture exclusivement.
a Entretien & Maintenance
Pour nettoyer votre mini-serre, utilisez une solution détergente douce et à rincez à l’eau claire et
froide. NE PAS utiliser d’acétone ni de produits nettoyants ou autres détergents spéciaux pour
nettoyer les panneaux clairs.
IMPORTANT!
Veuillez lire attentivement ces instructions avant de commencer à assembler votre
mini-serre. Conservez ces instructions en lieu sûr pour toute consultation ultérieure.
FR
• T001 – outil spécial pour vis 411 et écrous 412
• Pulvérisation de silicium
a Kundendienst
Für Hilfe bei dem Aufbau oder für Ersatzteile - Können Sie sich entweder auf unserer Webseite
einloggen oder unseren Kundendienst anrufen (Die Nummer Steht auf der Titelseite)
Weitere Informationen finden Sie auf unserer Webseite: www.palramapplications.com
a Sicherheitshinweise
•Es ist von größter Wichtigkeit, alle Teile genau gemäß den Anweisungen zusammenzubauen.
Lassen Sie keine Schritte aus.
•Wir empfehlen wärmstens, während des Aufbaus Arbeitshandschuhe zu tragen.
•Tragen Sie immer Schuhe und eine Schutzbrille, wenn Sie mit stranggepresstem Aluminium arbeiten.
•Wenn Sie eine Stufenleiter oder Elektrowerkzeuge benutzen, achten Sie darauf die
Sicherheitsanweisungen des Herstellers zu befolgen.
•Berühren Sie mit den Aluminiumprofilen keine Oberleitungen.
•Versuchen Sie nicht das Produkt bei windigem oder regnerischem Wetter zusammenzubauen.
•Entsorgen Sie alle Plastiktüten sicher und bewahren Sie sie außerhalb der Reichweite von kleinen
Kinder auf.
•Halten Sie Kinder vom Aufbaubereich fern.
•Während des Aufbaus sollten Sie sich nicht gegen das Produkt lehnen oder es drücken.
•Bauen Sie das Produkt nicht an Orten mit hoher Windbelastung auf.
•Versuchen Sie nicht dieses Produkt aufzubauen wenn Sie müde sind, unter dem Einfluss von
Drogen oder Alkohol stehen, oder zu Schwindelanfällen neigen.
•Wegen Sicherheitsgründen immer die Schließfächer für jede Position (Geschlossen, offen,
Belüftung, Lagerung)wie in Schritt 33 gezeigt wird benützen.
•Heiße Geräte wie kürzlich benutzte Grills, Schneidbrenner usw. dürfen nicht in das Produkt
gelagert werden.
•Vergewissern Sie sich vor Einsetzen der Pflöcke, dass sich keine Versteckten Rohre oder Kabel im
Boden befinden.
•Dieses Produkt ist nur für den Einsatz als Gewächshaus geeignet. .
a Sicherheitshinweise
•When your product needs to be cleaned, use a mild detergent solution and rinse with cold clean
water. DO NOT use acetone, abrasive cleaners or other special detergents to clean the clear panels.
a Pflege u. Wartung
•Maßband
•Schmiermittel
•Kreuzschlitzschraubendreher
•Stufenleiter
•Bohrer
•Großer Hammer
•Schraubenschlüssel
•T001 - Spezialwerkzeug für Schrauben 411 und
Muttern 412
• Silikonspray
WICHTIG
Bitte lesen Sie diese Anweisungen sorgfältig, bevor Sie mit dem Aufbau des Produktes
beginnen. Heben Sie diese Anweisungen an einem sicheren Ort auf, um später auf sie
zurückgreifen zu können.
DE
a Vor der Montage
Der Zusammenbau der Teile wird am besten von zwei Leuten bewältigt.
Rechnen Sie mit mindestens einem halben Tag für den Zusammenbau.
Wahl des Standorts – Das Produkt muss auf einem flachen, ebenen Untergrund
aufgebaut und fixiert werden.
Wählen Sie eine sonnige Stelle abseits überhängender Bäume.
Nehmen Sie alle Teile aus der Verpackung. Sortieren Sie die Teile und überprüfen
Sie sie mit Hilfe der Inhaltsliste auf Vollständigkeit.
Während des Aufbaus sollten die Teile in Ihrer Nähe auf dem Boden ausgelegt
werden.
Bewahren Sie alle kleinen Teile (Schrauben usw.) in einer Schüssel auf, so dass sie
nicht verloren gehen.
a Ankündigung
Schritt 6 – Achten Sie darauf, dass die Schrauben locker bleiben.
Schritt 7 - Vergewissern Sie sich, dass die Schrauben fest angezogen sind.
Schritt 8 – Sollten die Ablagekasten wenn Sie mit der Erde gefüllt sind,
runterfallen, Schieben Sie den Kastenrahmen hoch und ziehen Sie die Schrauben
wieder zu an ihre ursprüngliche Position.
Schritt 27-28 - stellen Sie sicher, dass die Profile bis ans Ende in den
Kunststoffsverbindungsstücken eingesetzt sind.
Schritt 32 – Falls der Deckel nicht richtig auf dem Rahmen positioniert wird, wird
der nicht richtig geschlossen und geöffnet werden können. Prüfen Sie erneut
Schritt 20 (messen) und Schritt 27 +28 (Profile bis ans Ende einführen).
Um Profil 960 einfacher einfügen zu können, verwenden Sie Schmiermittel
oder verschieben Sie den Deckel nach oben und unten. Verwenden Sie keinen
Hammer.
Alle Schrauben befestigen nach dem abschluss der Montage
a Nach der Montage
Die Bodenbefestigung des Produktes ist auf das Erdegewicht dessen Inhalts
bezogen. Wenn die Fächer leer sind, sollte das Produkt vor Wind geschützt
werden. Daher geben wir die nachdrückliche Empfehlung das Produkt direkt auf
einem massiven Betonfundament zu fixieren.
Contents
ItemItem Qty.Item Qty. Qty.
961
7211
962
4
2
2
7018 7213
7210
4026
412
7017
22
1
4
(+1)
56
(+6)
2
7212 1
7208
127
2
2
956 1
958 1
957 1
960 1
7209
128
2
2
447
411
4043
10
(+1)
56
(+6)
2
(+1)
131 47207 2
139 2
Contents
Item Qty.
7206
295
298
299
1
Item Item ItemQty. Qty. Qty.
297 7202 69
68
Left
Right
7202 7122
7204
7203
7205
1 1
301
328
7019
302
267 70
T001
291
318
2 10
1
2
1
2
(+1)
2
2
2
2
12
1
2
1
1
1
1
1
127
127
7208
7208
x2 x2
a
a
a
a
a
2
411 412
x16 x16
a
b
411
411
412
412
412
a + b
a + b
a + b
a + b
3
411 412
x4 x4
a411
412
a
a
4
962
962
962
962
7211
7211
7211
7211
961
961
961
x2 x2 x2
a
b
a
a
b
b57 cm
221/2”
57 cm
221/2”
57 cm
221/2”
57 cm
221/2”
5
128
128
7209
7209
x2 x2
a
a
a
a
a
6
411
411
411
447
447
412
412
x8 x8 x4
a + b
a + b
a + b
a + b
a
b
7
a
a
a
a
a
8
4117210
7210
127
412
x4x1 x4
a
a
a
7210
9
b
a
c
a
b
a
b
c
7205
7205
7204
7204
7203 7213
7213
7213
7203
7203
7203
x1 x1 x2 x2
7204 7205
/
10
299
299
7122
7122
68
68
68
69
69
69
69
x1 x2 x2 x2
b
a
a
a
b
b
68 7122
+
11
12
b
a
b
b
7206
7206 7206
7206
x1
x2
13
7212
7212
7212
7207
7207
x1 x2
b
a
411 412
x4 x4
a + b
a + b
x2
14
a
a
a
7212

Other manuals for Plant Inn Compact - Clear Glazing

1

Other Palram Greenhouse Kit manuals

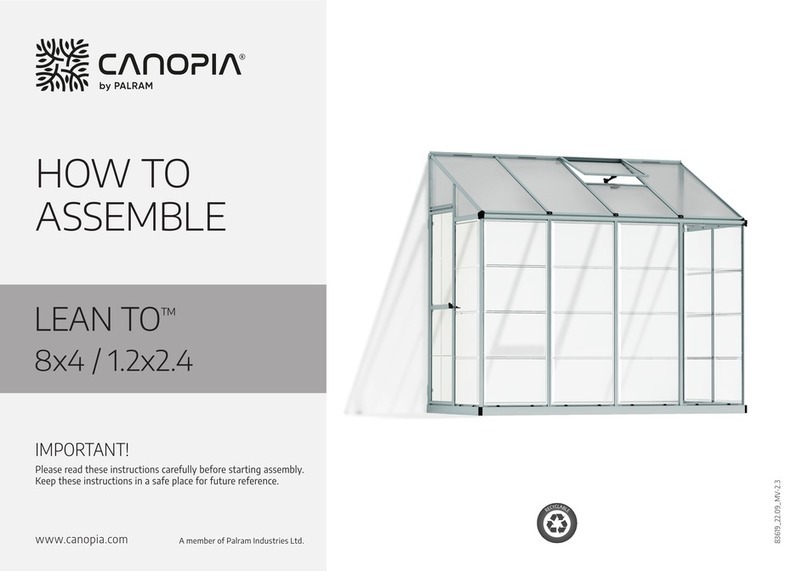
Palram Balance 8x12 User manual

Palram

Palram Balance 8x12 User manual

Palram Harmony 6'x4' - Clear Glazing User manual

Palram

Palram Harmony 6'x4' - Clear Glazing User manual

Palram Harmony 6'x4' User manual

Palram

Palram Harmony 6'x4' User manual

Palram Grand Gardener Prestige 8x8 User manual

Palram

Palram Grand Gardener Prestige 8x8 User manual

Palram Harmony 6x8 User manual

Palram

Palram Harmony 6x8 User manual

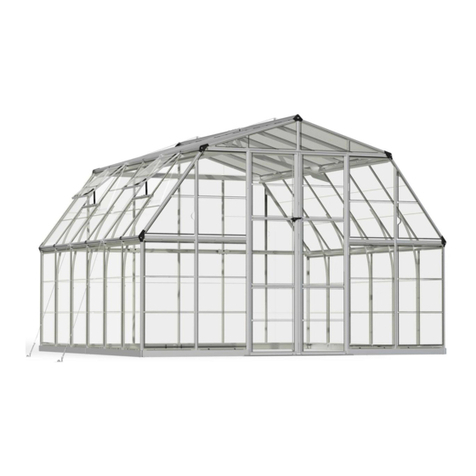
Palram Americana User manual

Palram

Palram Americana User manual

Palram Oriana 8*20 User manual

Palram

Palram Oriana 8*20 User manual

Palram CANOPIA OASIS 12 3.2x3.6 Administrator Guide

Palram

Palram CANOPIA OASIS 12 3.2x3.6 Administrator Guide

Palram CANOPIA BALANCE 8x8 / 2.4x2.4 Administrator Guide

Palram

Palram CANOPIA BALANCE 8x8 / 2.4x2.4 Administrator Guide

Palram Oasis Hex 12' Greenhouse User manual

Palram

Palram Oasis Hex 12' Greenhouse User manual

Palram Victory Orangery User manual

Palram

Palram Victory Orangery User manual

Palram Lean To 8x4 Hybrid User manual

Palram

Palram Lean To 8x4 Hybrid User manual

Palram Glory Standard 8'x 8' User manual

Palram

Palram Glory Standard 8'x 8' User manual

Palram PLANT INN TWIN WALL User manual

Palram

Palram PLANT INN TWIN WALL User manual

Palram CANOPIA BALANCE 8x8 / 2.4x2.4 Administrator Guide

Palram

Palram CANOPIA BALANCE 8x8 / 2.4x2.4 Administrator Guide

Palram Harmony 6x8 User manual

Palram

Palram Harmony 6x8 User manual

Palram CANOPIA HARMONY 701634 Administrator Guide

Palram

Palram CANOPIA HARMONY 701634 Administrator Guide

Palram Inter Line 6x4 User manual

Palram

Palram Inter Line 6x4 User manual

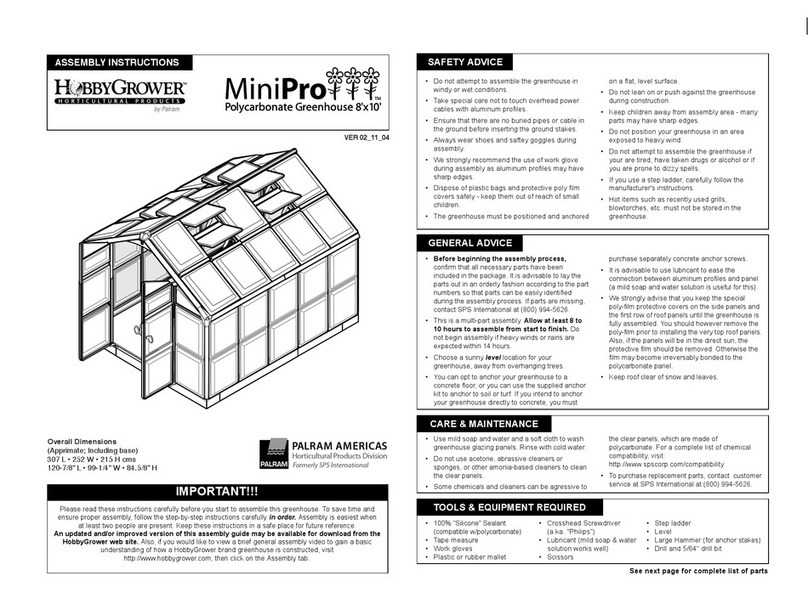
Palram MiniPro User manual

Palram

Palram MiniPro User manual

Palram CANOPIA AMERICANA 12x12/3.7x3.7 Administrator Guide

Palram

Palram CANOPIA AMERICANA 12x12/3.7x3.7 Administrator Guide

Palram Grow&Store - 6'x12' User manual

Palram

Palram Grow&Store - 6'x12' User manual

Palram Balance User manual

Palram

Palram Balance User manual

Palram Mythos User manual

Palram

Palram Mythos User manual

Palram Octave 8x12 User manual

Palram

Palram Octave 8x12 User manual

Popular Greenhouse Kit manuals by other brands

Vitavia VM0028-I 5200 Assembly instructions

Vitavia

Vitavia VM0028-I 5200 Assembly instructions

Wilko 462571 Assembly instructions

Wilko

Wilko 462571 Assembly instructions

ACD Serranova 36 manual

ACD

ACD Serranova 36 manual

FVG Romi Profiline 6.0 Instructions for use

FVG

FVG Romi Profiline 6.0 Instructions for use

Redpath Statesman Series Instructions & Illustrations

Redpath

Redpath Statesman Series Instructions & Illustrations

Mercia Garden Products 04VCGRO-V2 General instructions

Mercia Garden Products

Mercia Garden Products 04VCGRO-V2 General instructions

DrivhusSenter Forta Assembly manual

DrivhusSenter

DrivhusSenter Forta Assembly manual

Palmen Tropic Plusser manual

Palmen

Palmen Tropic Plusser manual

FarmTek Aquaponics System I Series manual

FarmTek

FarmTek Aquaponics System I Series manual

Billyoh Rosette Assembly Hints and Tips

Billyoh

Billyoh Rosette Assembly Hints and Tips

harvst Terrace manual

harvst

harvst Terrace manual

Robinsons Roemoor 15 Assembly instructions

Robinsons

Robinsons Roemoor 15 Assembly instructions

Transform TALL FLOWERBED 2400 x 1060 x 800 Mounting instructions

Transform

Transform TALL FLOWERBED 2400 x 1060 x 800 Mounting instructions

OLT 8x8 Garden in a Box with Greenhouse Cover Assembly manual

OLT

OLT 8x8 Garden in a Box with Greenhouse Cover Assembly manual

Royal Well Slim Kweken Louvre quick start guide

Royal Well

Royal Well Slim Kweken Louvre quick start guide

GardenSkill Poly Tunnels instructions

GardenSkill

GardenSkill Poly Tunnels instructions

Elite Greenhouses 6'3" WIDE CRAFTSMAN Instructions & Illustrations

Elite Greenhouses

Elite Greenhouses 6'3" WIDE CRAFTSMAN Instructions & Illustrations

Westfalia 58 58 36 instruction manual

Westfalia

Westfalia 58 58 36 instruction manual

manuals.online logo
manuals.online logoBrands
  • About & Mission
  • Contact us
  • Privacy Policy
  • Terms and Conditions

Copyright 2025 Manuals.Online. All Rights Reserved.