Petsafe Deluxe Outdoor Bark Control PBC00-12788 Setup guide
Other Petsafe Pet Care Product manuals

Petsafe
Petsafe PPA19-15794 User manual
Petsafe
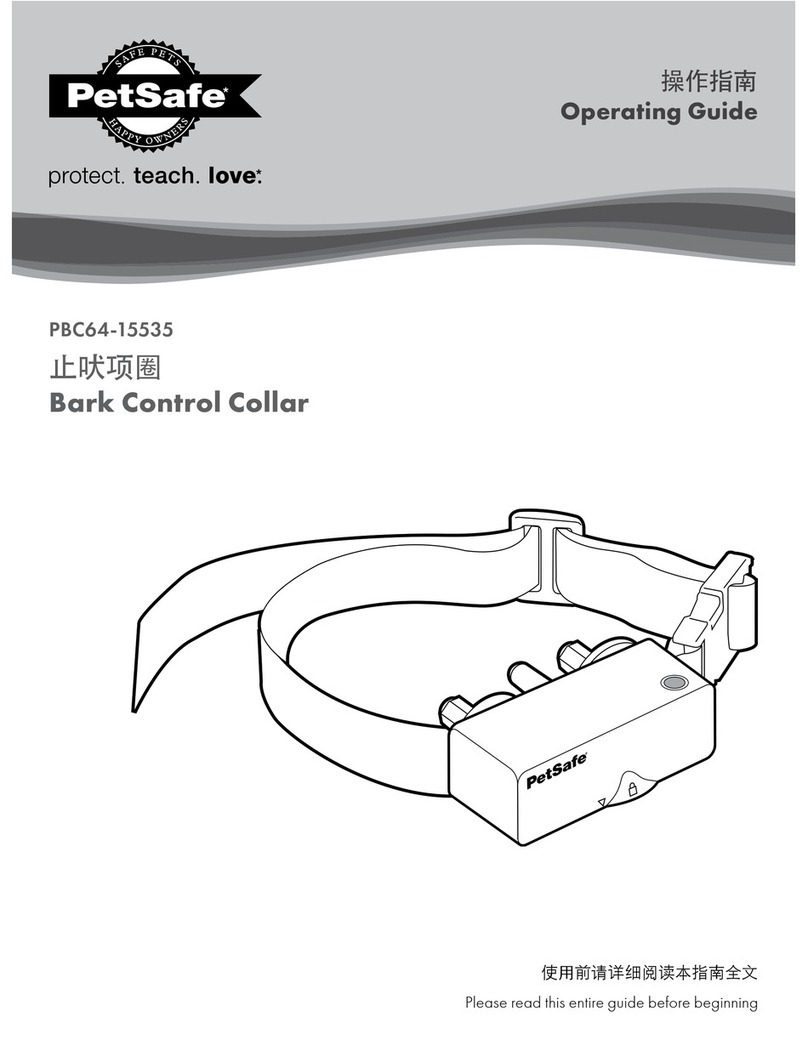
Petsafe PBC64-15535 User manual
Petsafe
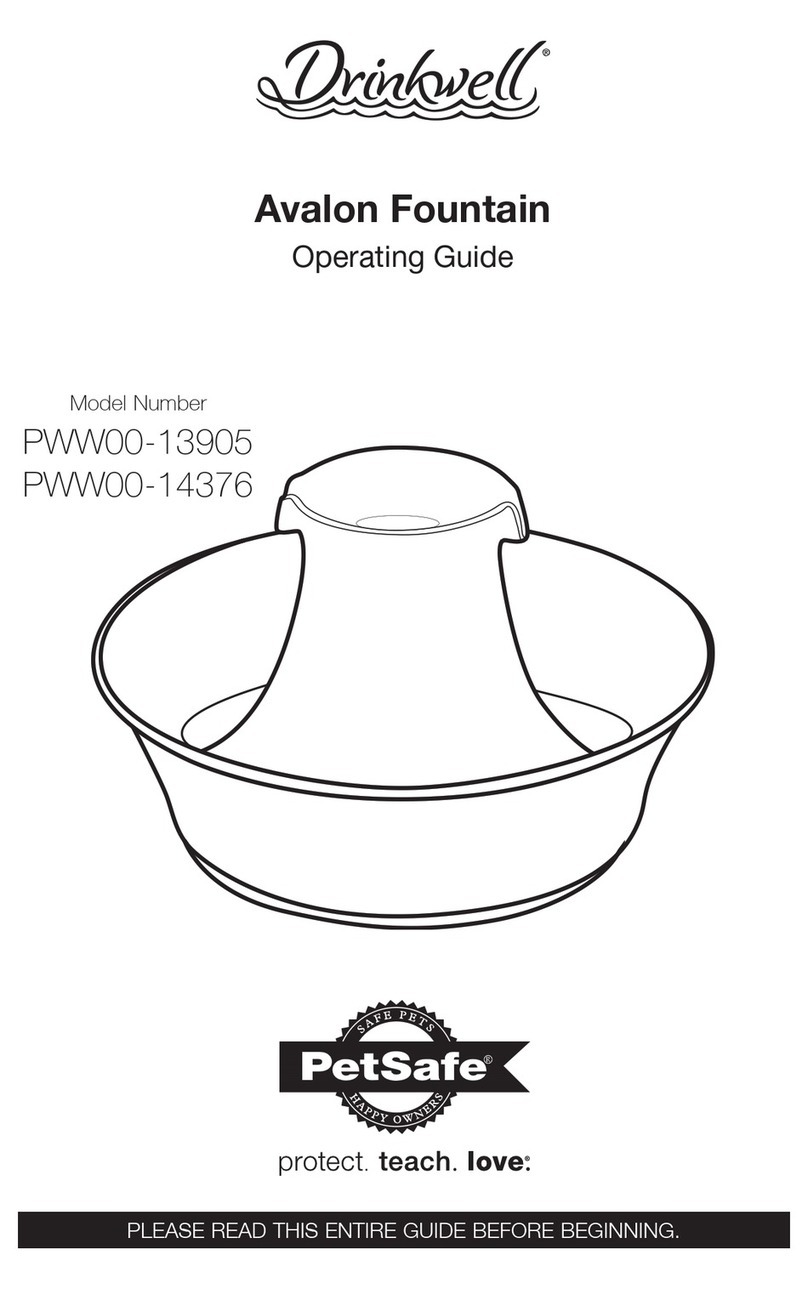
Petsafe Avalon Drinkwell PWW00-13905 User manual
Petsafe
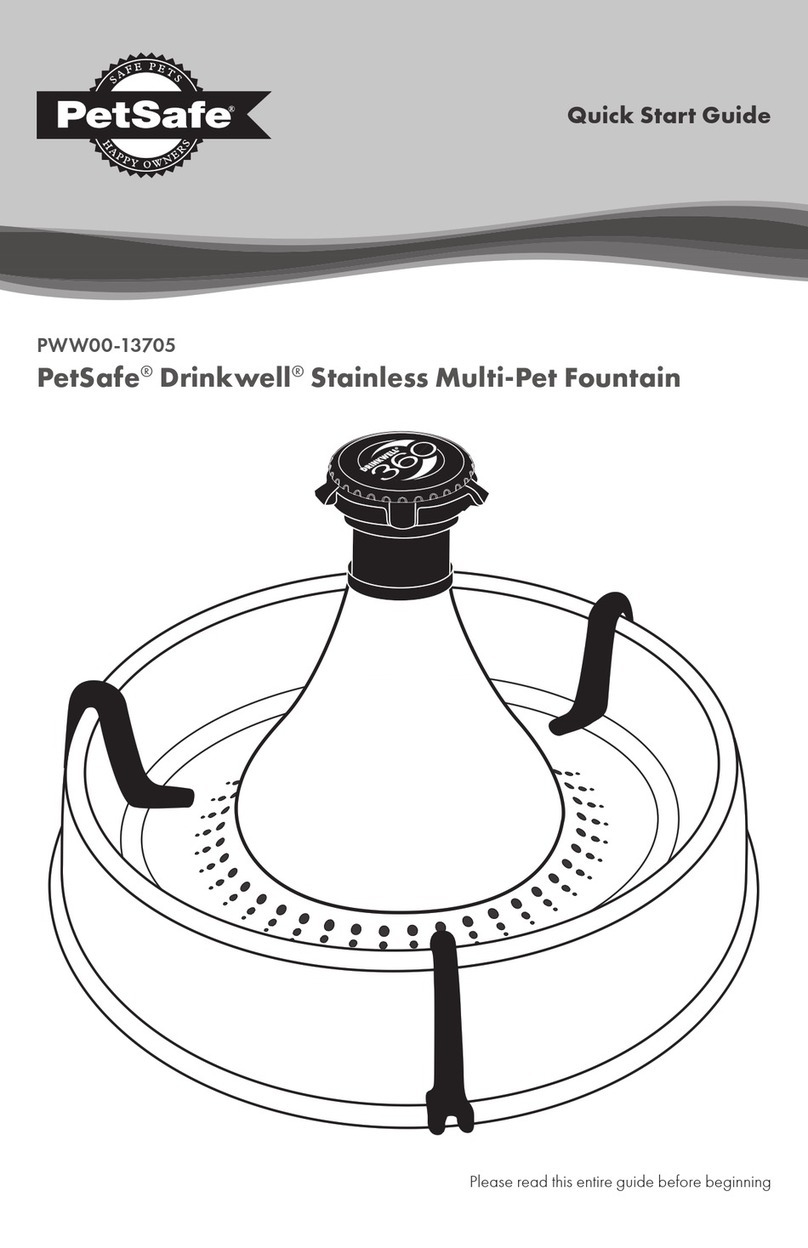
Petsafe Drinkwell PWW00-13705 User manual

Petsafe
Petsafe PBC17-14036 User manual
Petsafe
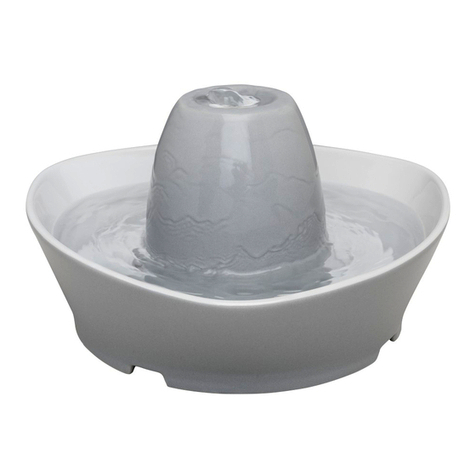
Petsafe Creekside Ceramic Pet Fountain Specification sheet

Petsafe
Petsafe PBC19-11796 User manual

Petsafe
Petsafe Anti-Bark Collar Setup guide
Petsafe
Petsafe Drinkwell 360 PWW00-13705 User manual
Petsafe
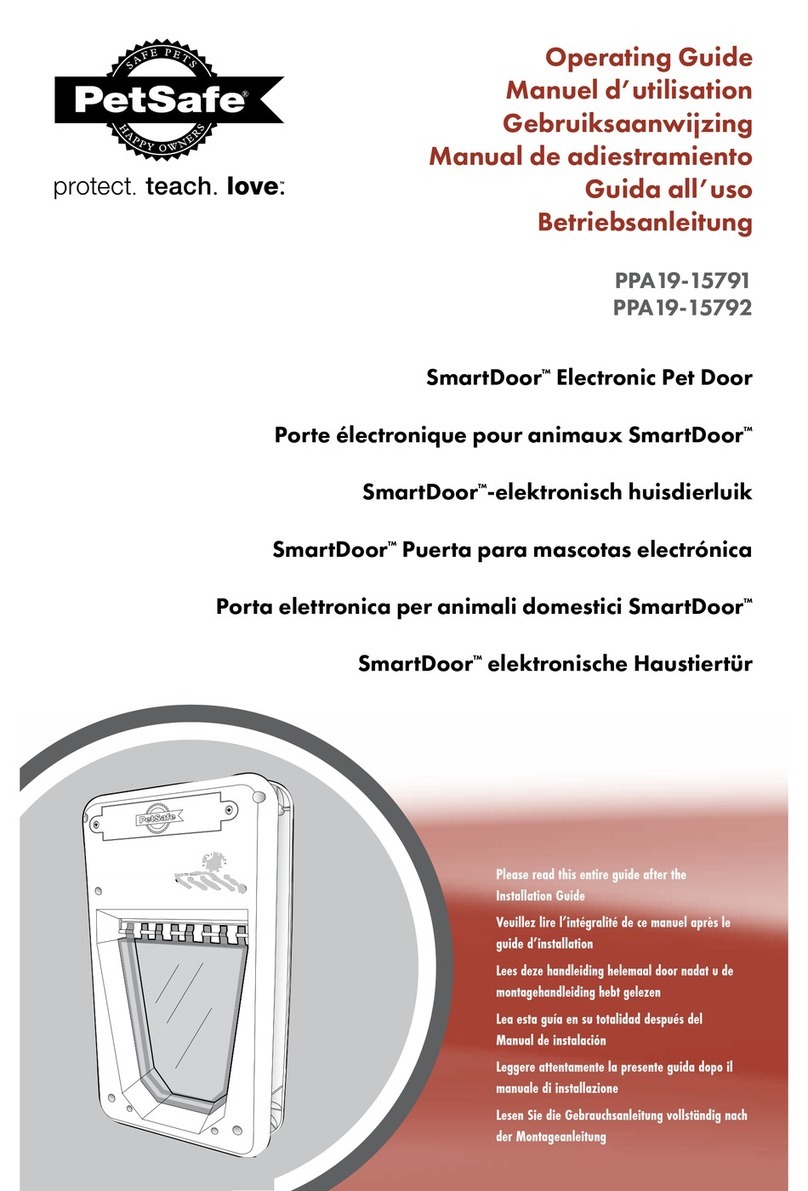
Petsafe Electronic SmartDoor User manual

Petsafe
Petsafe ST-100 User manual
Petsafe
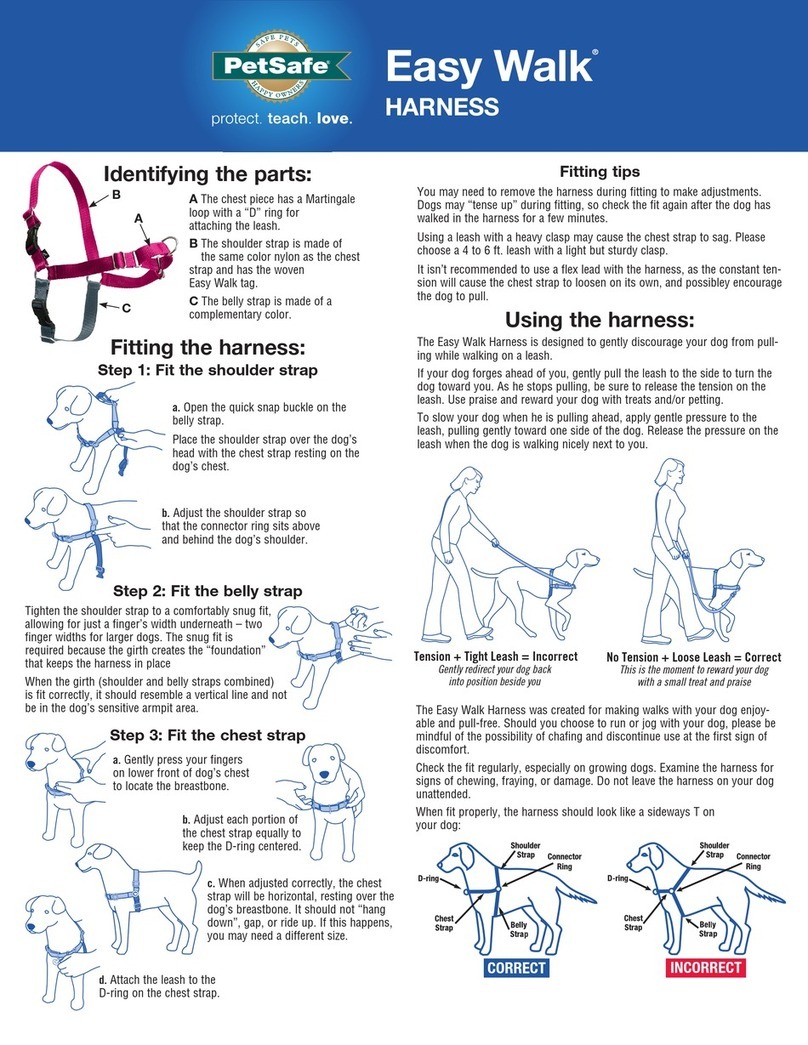
Petsafe Easy Walk User manual
Petsafe
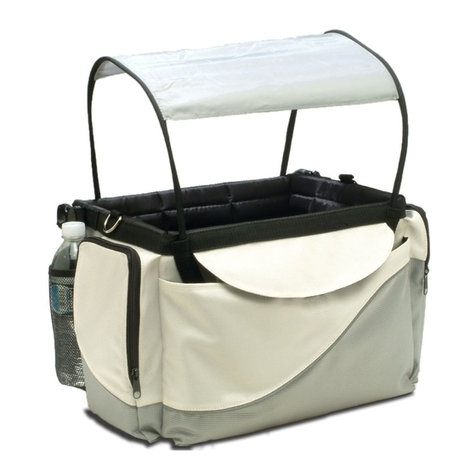
Petsafe Happy Ride Specification sheet
Petsafe
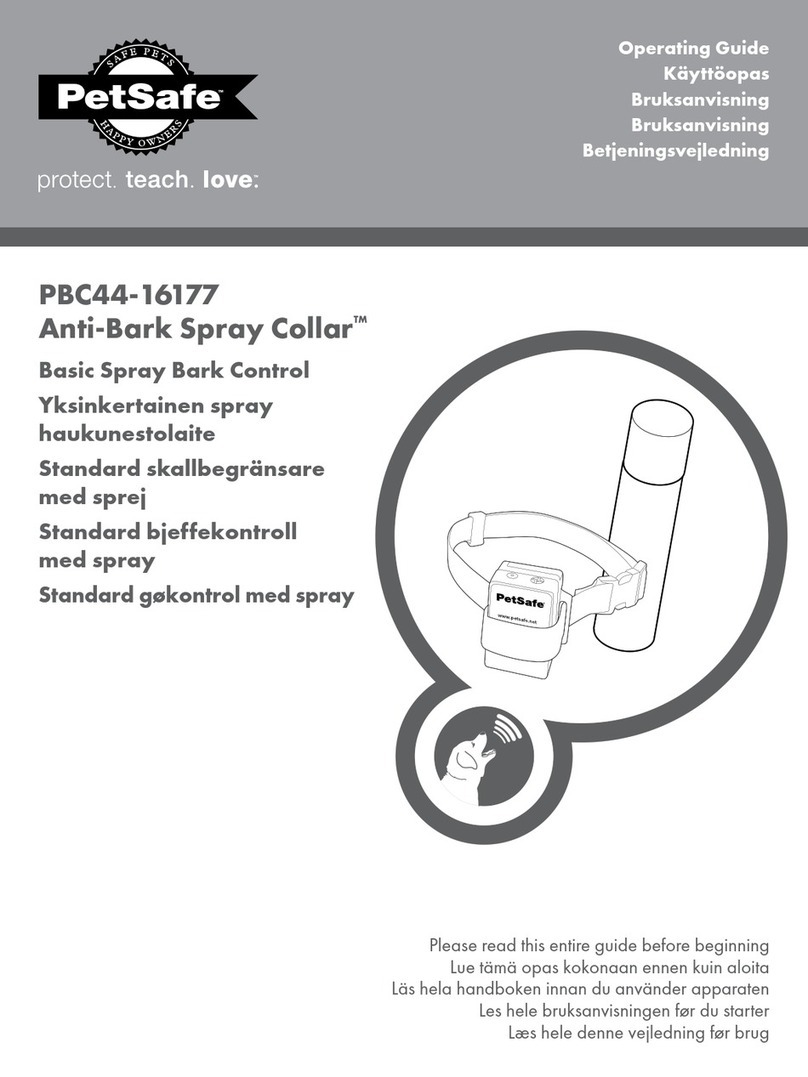
Petsafe PBC44-16177 User manual

Petsafe
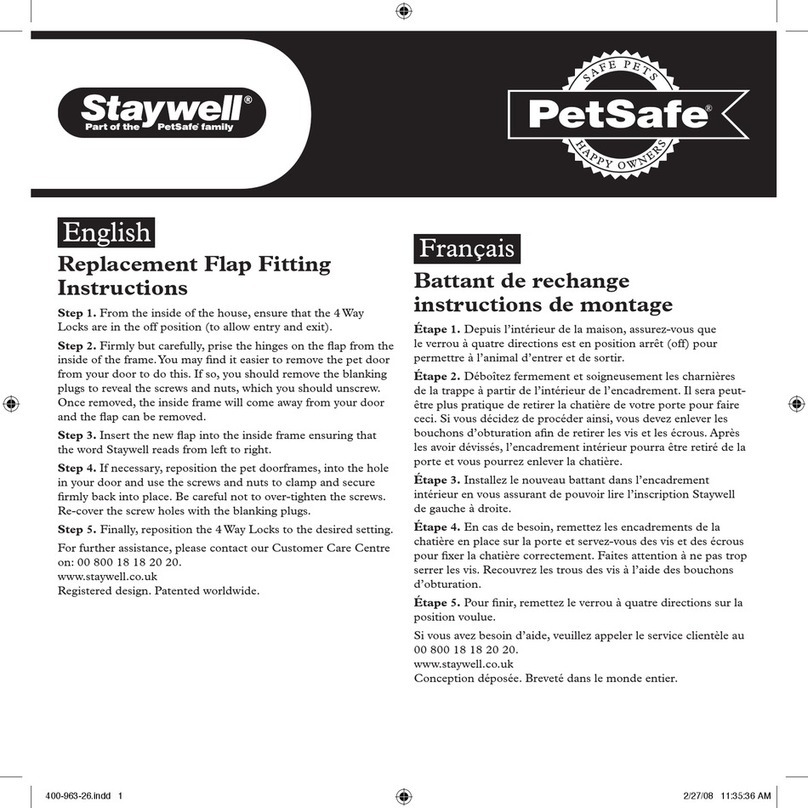
Petsafe Staywel 300 series User manual

Petsafe
Petsafe CozyUp User manual

Petsafe
Petsafe PBC44-16178 User manual

Petsafe
Petsafe PDT44-16398 User manual
Petsafe
Petsafe Staywell 200 series User manual

Petsafe
Petsafe Stay + Play Wireless Fence User manual
Popular Pet Care Product manuals by other brands

CADOCA
CADOCA Deuba 106911 instructions

Dogtra
Dogtra RR Deluxe owner's manual

Carson
Carson CONVERTIBLE PET YARD 2200 owner's manual

Creative Cedar Designs
Creative Cedar Designs K-9 Kabin Assembly instruction

Petdwell
Petdwell ON2PETS Canopies Assembly instructions

UGO BASILE
UGO BASILE 7025 Series instruction manual

