manuals.online logo
Brands
  1. Home
  2. •
  3. Brands
  4. •
  5. PHYWE
  6. •
  7. Measuring Instrument
  8. •
  9. PHYWE Cobra SMARTsense Chloride Ion User manual

PHYWE Cobra SMARTsense Chloride Ion User manual

1
www.phywe.com, © All rights reserved 12914-00 / 4719
Operating
instructions
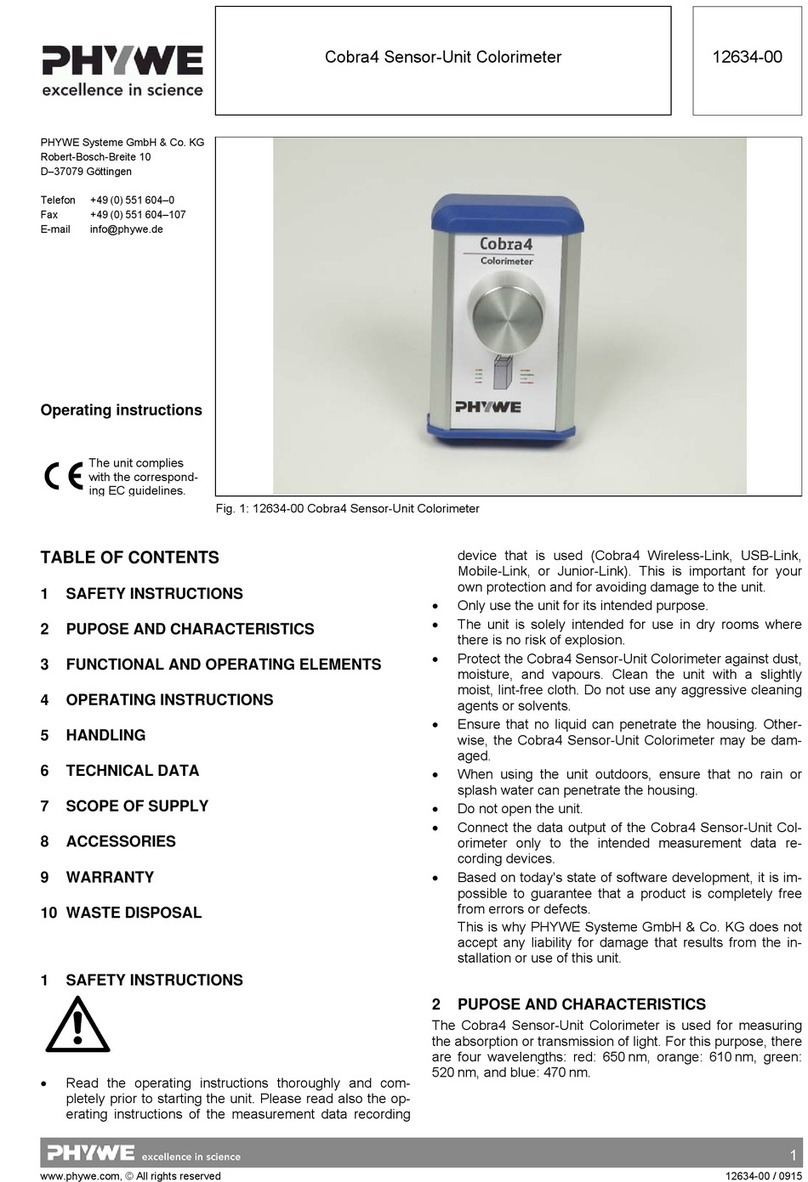
Cobra SMARTsense Chloride Ion
12914-00
PHYWE Systeme GmbH & Co. KG
Robert-Bosch-Breite 10
D–37079 Göttingen
Telefon +49 (0) 551 604–0
Fax +49 (0) 551 604–107
E-mail [email protected]
Internet www.phywe.com
The unit complies
with the applicable
EC-guidelines
Fig. 1: 12914-00 Cobra SMARTsense Chloride Ion
TABLE OF CONTENTS
1SAFETY PRECAUTIONS
2PURPOSE AND CHARACTERISTICS
3FUNCTIONAL AND OPERATING ELEMENTS
4NOTES ON OPERATION
5 HANDLING
6TECHNICAL DATA
7SCOPE OF DELIVERY
8ACCESSORIES
9 CONFORMITY
10 DISPOSAL
1 SAFETY PRECAUTIONS
Carefully read these operating instructions completely
before operating this instrument. This is necessary to
avoid damage to it, as well as for user-safety.
Only use the instrument for the purpose for which it was
designed.
Only use the instrument in dry rooms in which there is no
risk of explosion.
Protect the instrument from dust, moisture and vapours.
Use a slightly moist lint-free cloth to clean the instrument.
Do not use aggressive cleaning agents or solvents.
2 PURPOSE AND CHARACTERISTICS
The sensor is used for the measurement of chloride ion con-
centrations in liquids and the wireless transmission of the
measured values via Bluetooth to any end device such as
tablets, smartphones, etc.
Caution!
2
www.phywe.com, © All rights reserved 12914-00 / 4719
3 FUNCTIONAL AND OPERATING ELEMENTS
3.1 Operating elements
The sensor has an on-button and two LEDs for indicating the
Bluetooth and battery charge status.
On-button
Press the on-button for more than 3 seconds to switch the
sensor on and off
Bluetooth-LED
Flashing red every 2 seconds
Not connected
Flashing green every 2 seconds
Connected to the ter-
minal device
Flashing green every 4 seconds
Running measurement
Battery charge LED
Flashing red every 5 seconds
Low battery
3.2 Measurement inputs
On the front side of the sensor there is a BNC connector to
which the supplied chloride ion-selective electrode (PCI-2-
010) can be connected.
4 NOTES ON OPERATION
The device fulfils all of the technical requirements that are
compiled in current EC guidelines. The characteristics of this
product qualify it for the CE mark.
This instrument is only to be put into operation under special-
ist supervision in a controlled electromagnetic environment in
research, educational and training facilities (schools, universi-
ties, institutes and laboratories).
The individual connecting leads are each not to be longer
than 2 m.
The instrument can be so influenced by electrostatic charges
and other electromagnetic phenomena (HF, bursts, indirect
lightning discharges) that it no longer works within the given
specifications. Carry out the following measures to reduce or
eliminate the effect of such disturbance: Ensure potential
equalization at the PC (especially with Laptops). Use screen-
ing. When a total failure of the instrument occurs, unplug it
and plug it back in again for a reset.
5 HANDLING
This section describes the start-up of the sensor and the re-
cording of measurement data. Please read this section thor-
oughly in order to avoid failures or operating errors.
5.1 Start-up
Switch the sensor on by pressing the on-button for more than
3 seconds. The Bluetooth LED lights up red. Start the soft-
ware and select the sensor.
There is a 9-digit code on
the back of the sensor
(Fig.2). The last 4 digits of
the code corresponds to
the last four digits of the
sensor name in the soft-
ware (Fig.3).
Fig.2
This allows an exact
assignment of the sen-
sors with the software.
Fig.3
After the sensor has been selected in the software, the LED
flashes green to indicate a correct connection.
If the sensor is switched on and not connected, it switches off
automatically after 5 minutes
.
Connect the supplied chloride electrode PCI-2-010 to the
BNC connector of the sensor.
Fig.4
5.2 Preparation
Stock solutions: 1 M KCl, 5 M NaNO3, H2O deionized.
The activation solution for the sensor can now be set from
the stock solutions.
Activation solution: 1 mM CaCl2, 80 mM KCl
Dilution scheme:
1 M KCl
0.05 ml
5 M NaNO3(strengthening solu-
tion)
1.0 ml
H2O deionized
48.95 ml
Remove the protective cap from the lower end of the elec-
trode. The electrode must be immersed in the activation solu-
tion for more than 2 hours before use. Make sure that the
lower part of the electrode does not rest on the bottom of the
container, as this can damage the electrode.
Rinse the electrode in deionized water.
5.3 Calibration
Perform a 2-point calibration using measureAPP. Use the
smallest specified measuring range of the sensor for the 1st
measuring point and the largest specified measuring range
value for the 2nd measuring point. The calibration solutions
are prepared from the stock solutions, whereby the strength-
ening solution is added by a factor of 1:50. For uniform mix-
ing, use a magnetic stirrer with uniform stirring speed.
Hints:
- To ensure measurement accuracy, the measuring
electrode should be immersed in the respective so-
lutions for 60 seconds at constant temperature,
buffer solution and stirring speed before calibration
and measurement.
- Before changing samples, the electrode should be
completely cleaned and the residual water carefully
dried to avoid cross-contamination between sam-
ples.
3
www.phywe.com, © All rights reserved 12914-00 / 4719
5.4 Measured value recording
For the ion measurement of the media to be examined, they
must first be mixed with the strengthening solution (stock so-
lution, factor 1:50).
The ion electrode is completely immersed in the medium to
be measured at the measuring head. If a number of different
test solutions are to be measured, it is advisable to rinse the
ion electrode with deionized water between two measure-
ments and carefully shake off the water to avoid cross-
contamination of the samples.
5.5 Maintenance and cleaning of the electrode
After use, clean the electrode with deionized water and dry
carefully. Fit the protective cover, but make sure that the low-
er end of the electrode does not rest on the bottom of the
protective cover.
5.6 Replacing the battery
Remove the battery
Open the sensor by turning the screw
cap on the back of the sensor counter-
clockwise, e.g. with a coin.
Fig. 5
Lever the battery sensitively,
e.g. with the help of a small
screwdriver or a small pair of
scissors, out of its socket. In-
sert the screwdriver as shown
in Fig. 6.
Fig. 6
Insert new battery
Slide the battery under the golden metal nose (Fig.7-1). Make
sure that the battery is completely under the metal nose and
completely pushed to the upper edge.
Push the battery into the socket
by pressing lightly on the oppo-
site side.
The battery slips under the two
plastic lugs (Fig. 7-2), which is
also noticed by a short "click".
Fig. 7
Before closing, make sure that
the seal in the lid is not bent and
lies neatly on the edge of the lid.
Then tighten the cover clock-
wise.
Fig. 8
6 TECHNICAL DATA
Operating temperature range: 5 - 40°C
Relative humidity < 80%.
Measuring range
Resolution
1.8… 3550 mg/l
1 mg/l
Max. data transfer rate
Battery type
Max. wireless range (open field)
Dimensions (WxHxD)
10 Hz
CR2032
30 m
90 x 44 x 23 mm
Weight (incl. electrode)
93 g
7 SCOPE OF DELIVERY
The scope of delivery includes:
Cobra SMARTsense Chloride Ion 12914-00
Chloride Ion-selective electrode PCI-2-010
Instruction manual
8 ACCESSORIES
The following accessories are available:
Button cell CR2032, 3 V 07922-15
Chloride Ion-selective electrode PCI-2-010 12914-10
Free measureApp available from supplier portals
iOS
Android
9 CONFORMITY
2
1
PHYWE Systeme GmbH & Co.KG hereby
declares that the radio system type 12914-
00 complies with the 2014/53/EU directive.
The complete text of the EC Declaration of
Conformity is available at the following In-
ternet address:
www.phywe.com/en/ec-declaration
4
www.phywe.com, © All rights reserved 12914-00 / 4719
10 DISPOSAL
The packaging mainly consists of environmentally-friendly
materials that should be returned to the local recycling sta-
tions.
PHYWE Systeme GmbH & Co. KG
Abteilung Kundendienst
Robert-Bosch-Breite 10
D–37079 Göttingen
Telefon +49 (0) 551 604-274
Fax +49 (0) 551 604-246
Do not dispose of this product with normal
household waste. If this unit needs to be
disposed of, please return it to the address
that is stated below for proper disposal

This manual suits for next models

1

Other PHYWE Measuring Instrument manuals

PHYWE 12938-00 User manual

PHYWE

PHYWE 12938-00 User manual

PHYWE Cobra4 User manual

PHYWE

PHYWE Cobra4 User manual

PHYWE Cobra SMARTsense User manual

PHYWE

PHYWE Cobra SMARTsense User manual

PHYWE Cobra SMARTsense Oxygen User manual

PHYWE

PHYWE Cobra SMARTsense Oxygen User manual

PHYWE Cobra4 Sensor-Unit Conductivity+ User manual

PHYWE

PHYWE Cobra4 Sensor-Unit Conductivity+ User manual

PHYWE Timer 2-1 User manual

PHYWE

PHYWE Timer 2-1 User manual

PHYWE Cobra4 Sensor-Unit Weather User manual

PHYWE

PHYWE Cobra4 Sensor-Unit Weather User manual

PHYWE Cobra SMARTsense Current User manual

PHYWE

PHYWE Cobra SMARTsense Current User manual

PHYWE Cobra SMARTlink User manual

PHYWE

PHYWE Cobra SMARTlink User manual

PHYWE 11500.10 User manual

PHYWE

PHYWE 11500.10 User manual

PHYWE Cobra SMARTsense Ammonium Ion 12913-00 User manual

PHYWE

PHYWE Cobra SMARTsense Ammonium Ion 12913-00 User manual

PHYWE Cobra SMARTsense 12903-00 User manual

PHYWE

PHYWE Cobra SMARTsense 12903-00 User manual

PHYWE Cobra SMARTsense Potassium Ion User manual

PHYWE

PHYWE Cobra SMARTsense Potassium Ion User manual

PHYWE 13621.00 User manual

PHYWE

PHYWE 13621.00 User manual

PHYWE Cobra SMARTsense User manual

PHYWE

PHYWE Cobra SMARTsense User manual

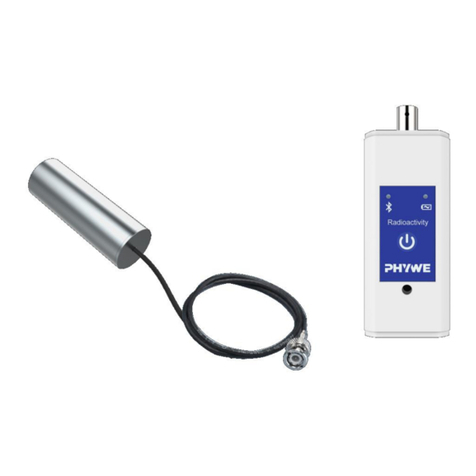
PHYWE Cobra SMARTsense Radioactivity 12937-01 User manual

PHYWE

PHYWE Cobra SMARTsense Radioactivity 12937-01 User manual

PHYWE Cobra SMARTsense User manual

PHYWE

PHYWE Cobra SMARTsense User manual

PHYWE Cobra SMARTsense User manual

PHYWE

PHYWE Cobra SMARTsense User manual

PHYWE 13609-99 User manual

PHYWE

PHYWE 13609-99 User manual

PHYWE Cobra SMARTsense User manual

PHYWE

PHYWE Cobra SMARTsense User manual

PHYWE Cobra4 User manual

PHYWE

PHYWE Cobra4 User manual

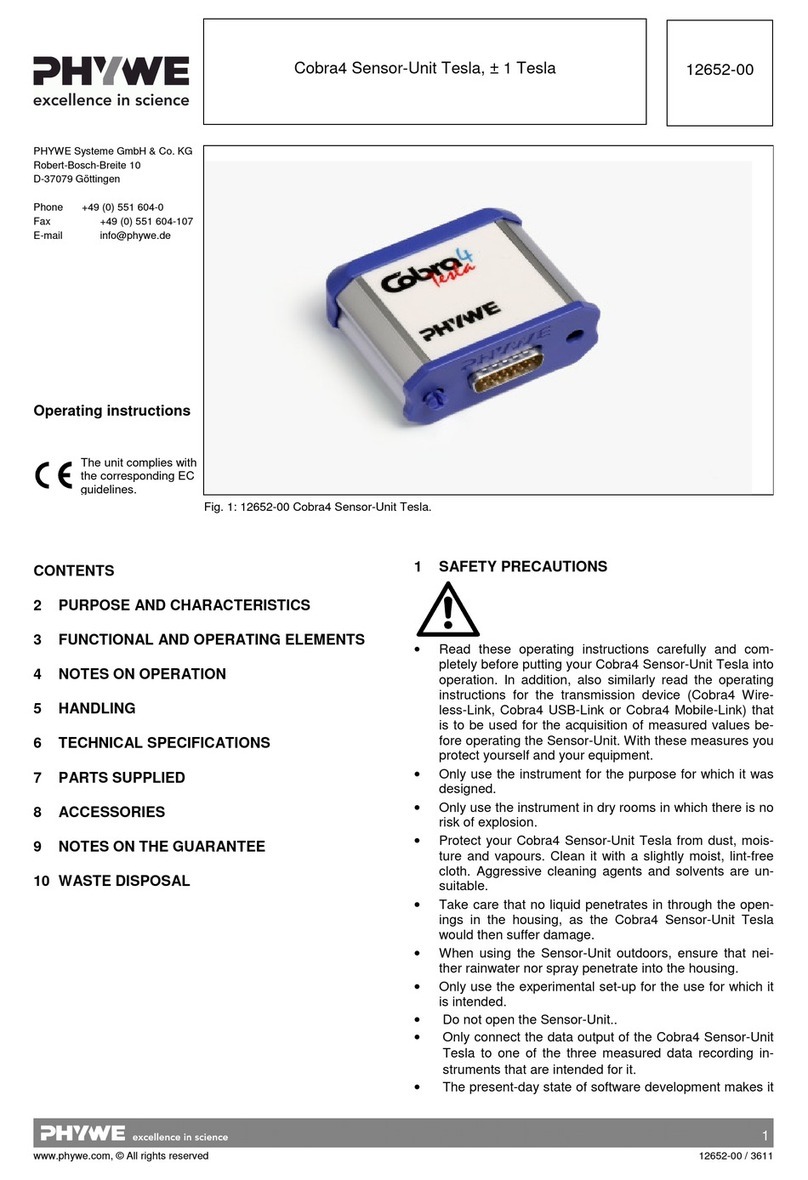
PHYWE Cobra4 Sensor-Unit Tesla User manual

PHYWE

PHYWE Cobra4 Sensor-Unit Tesla User manual

PHYWE Cobra SMARTsense Magnetic field User manual

PHYWE

PHYWE Cobra SMARTsense Magnetic field User manual

PHYWE Cobra4 User manual

PHYWE

PHYWE Cobra4 User manual

Popular Measuring Instrument manuals by other brands

domat HYGRASREG RH-2 operating instructions

domat

domat HYGRASREG RH-2 operating instructions

LINSHANG LS126C user manual

LINSHANG

LINSHANG LS126C user manual

senva EM-PULSE installation instructions

senva

senva EM-PULSE installation instructions

Go Green gsm00923 manual

Go Green

Go Green gsm00923 manual

geo-FENNEL FSM 130 user manual

geo-FENNEL

geo-FENNEL FSM 130 user manual

emaux 8686 Operation manual

emaux

emaux 8686 Operation manual

HP 71600B Series operating manual

HP

HP 71600B Series operating manual

Viking VR-1B Technical practice

Viking

Viking VR-1B Technical practice

Seikom Electronic 77029 Installation and operating instruction

Seikom Electronic

Seikom Electronic 77029 Installation and operating instruction

Anritsu MP1900A Series quick start guide

Anritsu

Anritsu MP1900A Series quick start guide

PCE Instruments PCE-PH 23 user manual

PCE Instruments

PCE Instruments PCE-PH 23 user manual

Endress+Hauser Soliwave FDR56 Brief operating instructions

Endress+Hauser

Endress+Hauser Soliwave FDR56 Brief operating instructions

Onicon F-4400 user guide

Onicon

Onicon F-4400 user guide

Alnor Balometer 6461 owner's manual

Alnor

Alnor Balometer 6461 owner's manual

CORNING ONE IHU Quick installation sheet

CORNING

CORNING ONE IHU Quick installation sheet

elniko Basis Assembly and operating instructions

elniko

elniko Basis Assembly and operating instructions

JENCO 6173 Operation manual

JENCO

JENCO 6173 Operation manual

HERON LongLiner 4000 Series Quick Start Guide/Instruction Manual

HERON

HERON LongLiner 4000 Series Quick Start Guide/Instruction Manual

manuals.online logo
manuals.online logoBrands
  • About & Mission
  • Contact us
  • Privacy Policy
  • Terms and Conditions

Copyright 2025 Manuals.Online. All Rights Reserved.