2
www.phywe.com, © All rights reserved 12921-00 / 4319
3 FUNCTIONAL AND OPERATING ELEMENTS
3.1 Operating elements
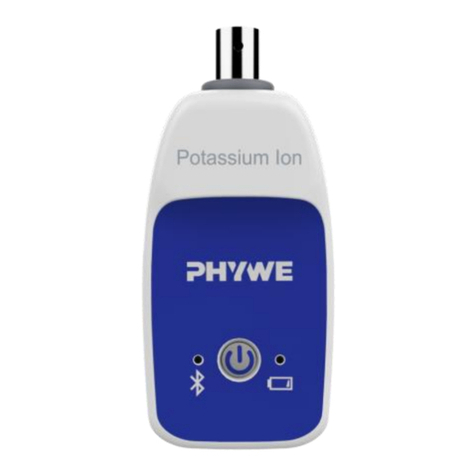
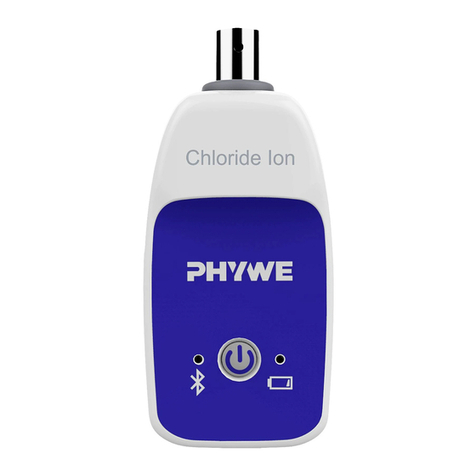
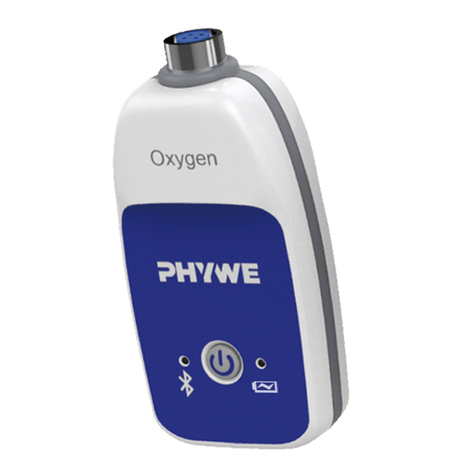
The sensor has an on-button and two LEDs for indicating the
Bluetooth and battery charge status.
On-button
Press the on-button for more than 3 seconds to switch the
sensor on and off
Bluetooth-LED
Flashing red every 2 seconds
Flashing green every 2 seconds
Connected to the ter-
minal device
Flashing green every 4 seconds
Battery charge LED
Flashing red every 5 seconds
3.2 Measurement inputs
The face of the sensor has a BNC connector to which the
supplied pH electrode can be connected.
4 NOTES ON OPERATION
This device fulfils all of the technical requirements that are
compiled in current EC guidelines. The characteristics of this
product qualify it for the CE mark.
The individual connecting leads are each not to be longer
than 2 m.
The instrument can be so influenced by electrostatic charges
and other electromagnetic phenomena (HF, bursts, indirect
lightning discharges) that it no longer works within the given
specifications. Carry out the following measures to reduce or
eliminate the effect of such disturbance: Ensure potential
equalization at the PC (especially with Laptops). Use screen-
ing. Do not operate high frequency emitters (e.g. radio
equipment or mobile radiotelephones) in the immediate vicini-
ty. When a total failure of the instrument occurs, unplug it and
plug it back in again for a reset.
5 HANDLING
This section describes the start-up of the sensor and the re-
cording of measurement data. Please read this section thor-
oughly in order to avoid failures or operating errors.
5.1 Start-up
Switch the sensor on by pressing the on-button for more than
3 seconds. The Bluetooth LED lights up red. Start the
measureApp application and select the sensor.
There is a 9-digit
code on the back of
the sensor (Fig.2).
The last 4 digits of
the code are dis-
played as the sensor
name in the software
(Fig.3). This enables
the precise assign-
ment of the sensors
within the software.
Fig. 2
Fig. 3
Connect the supplied pH electrode to the BNC connector of
the sensor.
5.2 Measurement of pH values
To measure the pH value of a medium, the pH electrode at
the measuring head must be completely immersed into the
medium. If a whole series of different solutions is to be
measured, we recommend rinsing the pH electrode in be-
tween the measurements with pure water and to shake the
water off carefully in order to prevent the contamination of the
next sample with the residues of the previous one. If absolute
pH values are to be measured, the pH electrode should be
calibrated beforehand, e.g. with the pH 4 buffer tablets (ref.
no. 30281-10) and with the pH 10 buffer tablets (ref. no.
30283-10). The solution should always remain slightly in mo-
tion during the measurement. This can be realised by stirring
the liquid with a magnetic stirrer or similar or by moving the
measuring probe carefully to and fro.
5.3 Maintenance and cleaning of the measuring probe
Please observe the maintenance and care instructions of the
pH electrode. Notes concerning outdoor use: We recommend
calibrating the pH electrode at the laboratory with buffer tab-
lets or a buffer solution prior to executing the outdoor experi-
ment. When preparing the buffer solution with buffer tablets,
use 20 ml of distilled water. While a 3 M KCl solution should
be used for the long-term storage of the pH electrode, the
electrode for outdoor measurements in the protective sheath
(ref. no. 37651-15) can be stored briefly in tap water. Do not
use distilled water for storage! Do not allow the pH electrode
to dry completely!
5.4 Replacing the battery
Remove the battery
Open the sensor by turning the screw
cap on the back of the sensor
counterclockwise e.g. with a coin.
Fig. 4
Carefully lift the battery out of
its socket with the aid of a
small screwdriver or small
scissors. Insert the screw-
driver as shown in Fig. 5.
Fig. 5

