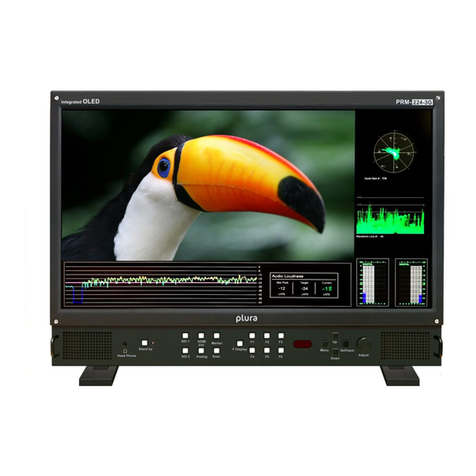
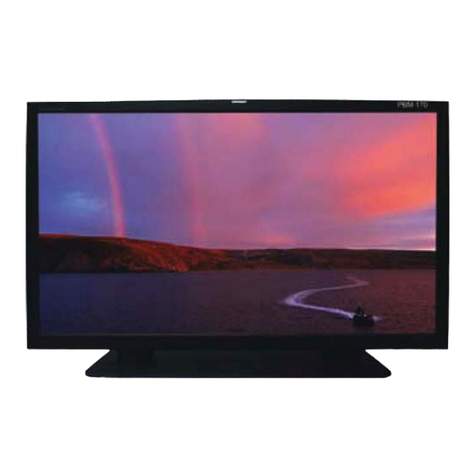
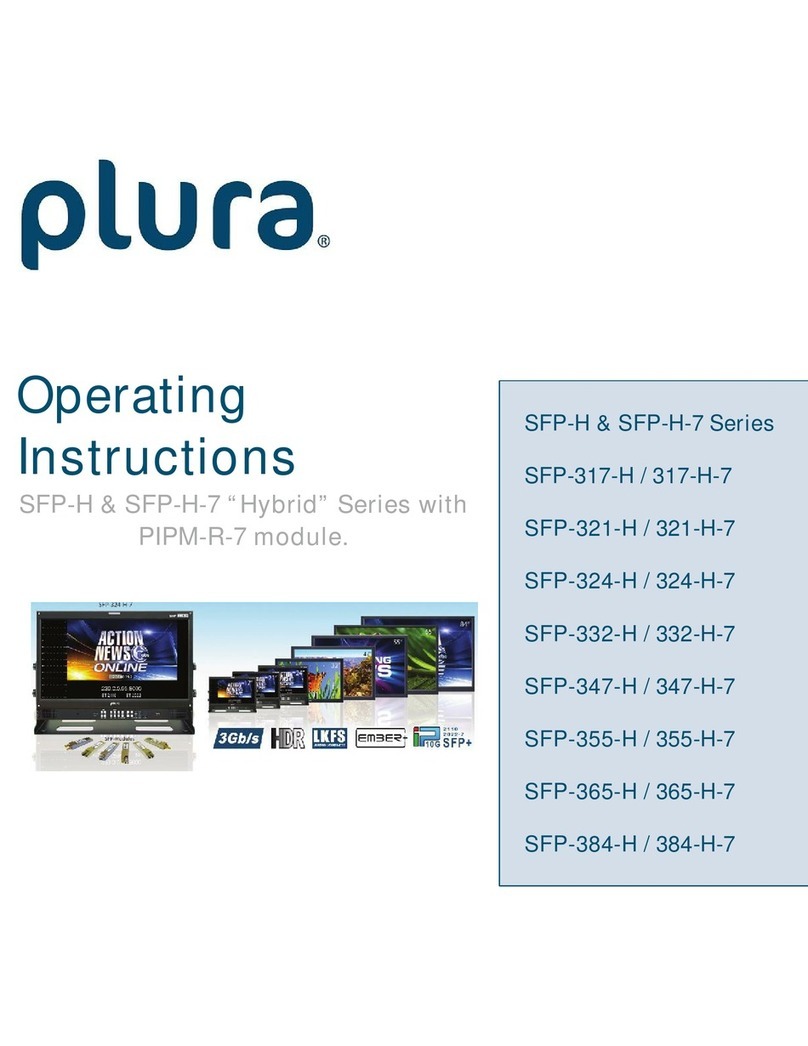
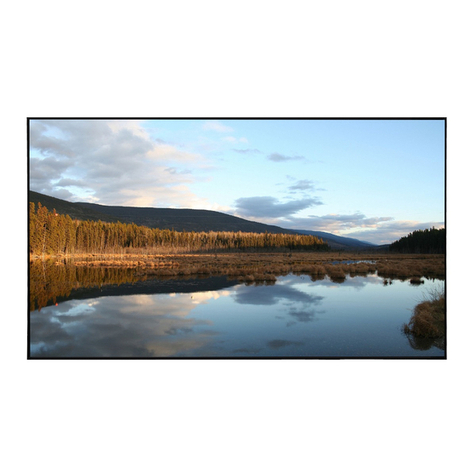
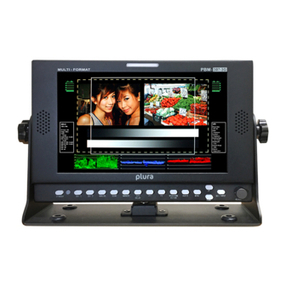
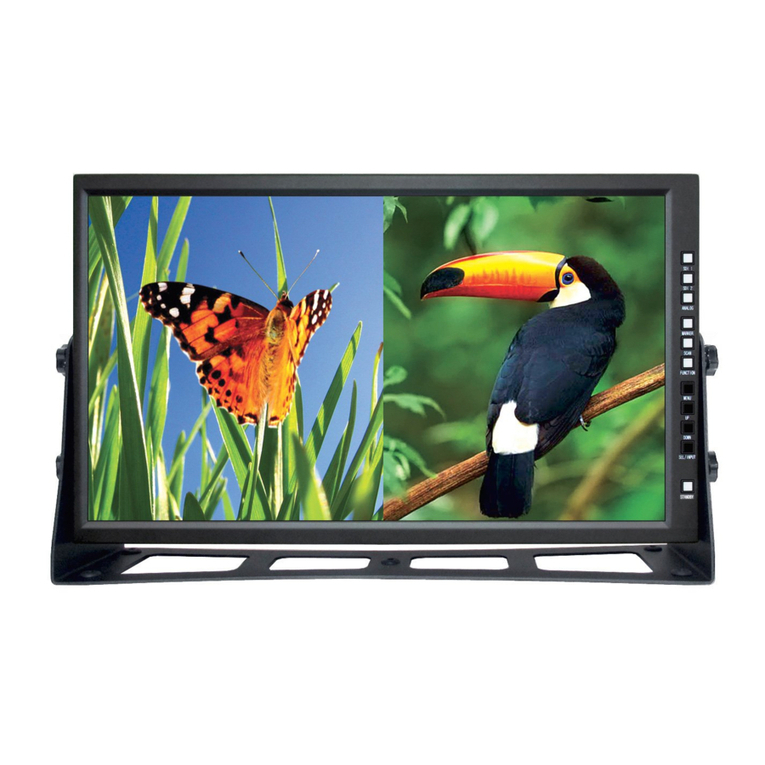
Plura DBM-152 User manual

Multi Format Digitall Broadcast Monitor
Operating
Instructions
DBM-140 (40”)
DBM-146 (46”)
DBM-152 (52”)
DBM-157 (57”)

Page 2
Table of Contents
PRECAUTION ...................................................................................................... 3
INCLUDING ........................................................................................................ 6
SUPPLIED ACCESSORIES.................................................................................................................. 6
REMOTE CONTROLLER .................................................................................................................... 6
OPERATIONS ...................................................................................................... 8
CONNECTION DETAILS .................................................................................................................... 8
INTERFACE DESCRIPTION ................................................................................................................. 8
INFRA-RED REMOTE CONTROLLER ...................................................................................................... 9
FRONT PANEL LED OPERATIONS ...................................................................................................... 10
FRONT PANEL KEY DESCRIPTIONS .................................................................................................... 10
MENU OPERATION............................................................................................ 11
BASIC OPERATION .................................................................................................................. 12
ON SCREEN MENUS SELECTION AND ADJUSTMENT.................................................................................. 13
SELECT VIDEO INPUT ................................................................................................................... 14
PICTURE MENU OPTIONS ............................................................................................................... 15
SETUP MENU OPTIONS ................................................................................................................. 20
PIPOPTION (PICTURE IN PICTURE) ................................................................................................... 33
SPECIFICATIONS & RATINGS ........................................................................... 36
SPECIFICATIONS......................................................................................................................... 36
SUPPORTED VIDEO TIMING ............................................................................................................ 37
MECHANICAL DIMENSION .............................................................................................................. 39
TROUBLE SHOOTING ........................................................................................ 40

Page 3
Precaution
Before operating the set, please read this manual carefully.
WARNING:
To reduce the risk of electric shock does not remove cover (or back). No user serviceable parts inside. Refer servicing to
qualified service personnel. To prevent fire or shock hazard, do not expose the rear of the set to rain or moisture. Do not
rub or strike the Active Matrix LCD with anything hard as this may scratch, mark, or damage the Active Matrix LCD
permanently.
CAUTION:
Unauthorized tampering with the inside of the monitor invalidates the warranty.
The manufacturer shall not warrant for any damage caused by improper maintenance and/or repair work by third parties.
Important safeguards for you and your new product:
Your product has been manufactured and tested with your safety in mind. However, improper use can result in potential
electrical shock or fire hazards. To avoid defeating the safeguards that have been built into your new product, please read
and observe the following safety points when installing and using your new product and save them for future reference.
1. Read Instructions
2. Follow Instructions
All operating and use instructions should be followed.
3. Retain Instructions
The safety and operating instructions should be retained for future reference.
4. Heed Warnings
All warnings on the product and in the operating instructions should be adhered to.
5. Cleaning
Disconnect the unit from the electricity supply before cleaning. Do not use abrasive cleaners. Use a damp cloth
for cleaning.
6. Water and Moisture
Do not use this apparatus near water.
7. Transporting Product

Page 4
A product and cart combination should be moved with care. Quick stops, excessive force and uneven surfaces
may cause the product and cart combination to overturn.
8. Attachments
Do not use attachments not recommended by Plura as they may cause hazards.
9. Ventilation
Do not block any of the ventilation openings.
Install in accordance with the manufacturer’s instructions.
10. Power Sources
This product should be operated only from the type of power source indicated on the marking label. If you are not
sure of the type of power supply, consult you’re an authorized electrician.
11. Power Lead Polarization
This product is equipped with a three-wire grounding-type cord. This is a safety feature. Do not defeat the safety
purpose of the grounding-type cord.
12. Power Cord Protection
Power-supply cords should be routed so that they are not likely to be walked on or pinched by items placed upon
or against them, paying particular attention to cords at plugs, convenience receptacles and the point where they
exit from the product.
13. Outdoor Cable Grounding
If an outside antenna or cable system is connected to the product, be sure the antenna or cable system is
grounded so as to provide some protection against voltage surges and built-up static charges. A “face plate” also
needs to be installed with an isolating capacitor to prevent any damage from static.
14. Lightning
For added protection for this product during a lightning storm, or when it is left unattended and unused for long
periods of time, unplug it from the wall outlet and disconnect the antenna or cable system. This will prevent
possible damage to the product due to lightning and power-line surges.
15. Power Lines
An outside antenna system should not be located in the vicinity of overhead power lines or other electric light or
power circuits, or where it can fall into such power lines or circuits. When installing an outside antenna system,
extreme care should be taken to avoid contact with such power lines or circuits, as contact with them might be
fatal.
16. Earthing the product
This product must be earthed properly to comply with the safety regulations in the country of use. If you are
unsure of these regulations, please consult a qualified electrician.
17. Servicing
Do not attempt to service this product yourself as opening or removing covers may expose you to dangerous
voltages or other hazards. Refer all servicing to qualified service personnel. If the Set does not operate properly,
switch it off and call your dealer.
18. Damage Requiring Service
Isolate this product from the mains supply and refer servicing to qualified service personnel under the following
conditions:
A. If the power-supply cord or plug is damaged.
B. If the glass front has been damaged.
C. If there is ingress of water between the glass and the LCD screen.
D. If the product does not operate normally by following the operating instructions. Adjust only those controls
that are covered by the operating instructions as an improper adjustment of other controls may result in
Page 5
damage and will often require extensive work by a qualified technician to restore the product to its normal
operation.
E. If the product has been dropped or the cabinet has been damaged.
F. If the product exhibits a distinct change in performance.
19. Safety Check
Upon completion of any service or repairs to this product, ask the service technician to perform safety checks to
determine that the product is in proper operating condition and the front seal is in tact.
20. Mounting
The product should be mounted on a wall only as recommended in the instructions.
21. Power
This set operates on an AC supply; the voltage is as indicated on the label on the Manual. This appliance must
be earthed at all times through the chassis as well as through the power lead.
22. Location
Do not install on an unstable location with support area smaller than the monitor SET.
Please secure enough space for safety use.

Page 6
Including
Supplied Accessories
Make sure the following accessories are provided with your product. These should all be included in the box with the main
LCD screen
Remote Controller
zRemove the rear cover of the remote controller by pressing the arrow Symbol downwards and then
pulling firmly to remove it.
zInsert two supplied batteries (1.5V of AAA type).

Page 7
zEnsure that the polarities (+ and -) of the batteries are aligned correctly. Close the cover.

Page 8
Operations
Connection Details
Interface description
Interface Description
AC In
AC90V ~ 240V, 50Hz/60Hz
AC Switch
Main Isolating Switch
HDMI Input
High Definition Multimedia Input
DVI-D Input
DVI-D Type Digital input
High Definition Multimedia Input Compatible
PC Input
Analog PC Video Input
RS-232 Input
Facility to control the screen via RS232 protocol input
RS-232 Output
Facility to control the screen via RS232 protocol output / bypass function.
Component Input
Y(RCA green), Pb(RCA blue), Pr(RCA red) Component Video input
AV Input
CVBS / Composite (RCA Yellow) Input
S-Video Input
Y, C (DIN Type) Input

Page 9
Infra-Red Remote Controller
Key Name Descriptions
Power Power On/Off
Menu
Activates main OSD menu.
Navigates higher menu in main OSD menu.
Exit OSD menu
Up
Navigates input source.
Executes function (by OSD help commands) in main OSD menu.
Navigates previous menu in main OSD menu.
Down
Navigates input source.
Executes function (by OSD help commands) in main OSD menu.
Navigates next menu in main OSD menu.
Right
*Increases sound volume of speaker/headphone.
Executes function by OSD help commands in main OSD menu.
Increases values of user menu in main OSD menu.
Left
*Decreases sound volume of speaker/headphone.
Executes function (by OSD help commands) in main OSD menu.
Decreases values of user menu in main OSD menu.
Enter
Activates OSD menu of input source selecting.
Changes input source by selecting.
Executes functions (by OSD help commands) in main OSD menu.
Activates Child menu.
EXIT Exit from OSD menu
Info Displays input source information
Mute *Toggles sound status of speaker/headphone in mute.
Source Activates OSD of source change.
Deactivates OSD of source change.
PSM
(Picture Standard Mode) Selects pre-set picture standard mode.
SSM
(Sound Standard Mode) *Selects pre-set sound standard mode.
ARC Selects aspect ratio of display image
STILL Toggles picture status between motion and still image.
Dual I-II / MTS *Selects mono/stereo sound.
PC Selects input source of PC.
PIP Toggles PIP status
PIP Input Change PIP input sources when PIP is on
PIP Size Change PIP image size when PIP is on
PIP Position Change PIP position when PIP image size is not double screen.
SWAP Swap main input source and PIP input source
S.Select *Select main/PIP sound source when PIP is on
PC Selects input source of PC.
0~9 Enter digit value to Active SET ID
BLUE Set Active SET ID
RED Delete Active SET ID

Page 10
*Works only in case of using A/V extension option.
Front panel LED Operations
Status Color Operation
Power Off Red On
Normal Green On
Power Save Red Blinking
No Signal Green Blinking
Front Panel Key Descriptions
Key Name Operation
Power Key Power On/Off.
Menu Key Activates main OSD menu.
Navigates higher menu in main OSD menu.
Select Key
Activates OSD menu of input source selecting.
Changes input source by selecting.
Executes functions (by OSD help commands) in main OSD menu.
Activates Child menu.
Up Key
Navigates input source.
Executes function (by OSD help commands) in main OSD menu.
Navigates previous menu in main OSD menu.
Down Key
Navigates input source.
Executes function (by OSD help commands) in main OSD menu.
Navigates next menu in main OSD menu.
Left Key
*Decreases sound volume of speaker/headphone.
Executes function (by OSD help commands) in main OSD menu.
Decreases values of user menu in main OSD menu.
Right Key
*Increases sound volume of speaker/headphone.
Executes function by OSD help commands in main OSD menu.
Increases values of user menu in main OSD menu.
*Works only in case of using A/V extension option.

Page 11
Menu Operation
In this menu system, there are several ways to customize the menu settings provided.
Most menus consist of three levels to set up the options, but some require greater depth for the variety of settings. If you
press the MENU button, only the first and second level of the menu system will appear on the monitor screen. The third
level can be displayed by pressing SELECT (or ). If a menu has more than three levels, the pop-up dialogue box will be
displayed as the fourth or fifth level.
To display and hide the Menu:
Press the MENU button on the Remote Control to display the menu. A second press of the MENU button or a press of the
EXIT button will take you back to monitor viewing.
To go to the next level:
Press SELECT (or ) on the Remote Control.
To go back to the previous level:
Press MENU (or ) on the Remote Control.
Typical Menu Operation
1. Press MENU button: The main menu will appear.
2. Use to select the desired menu option (icon).
3. While the desired menu option is selected, press or (SELECT) to move to the second level.
4. Use to select the second menu option.
5. Press or (SELECT) to move to the third level: Some menu options require additional steps.
6. Press MENU to return to the previous menu or press EXIT on the Remote Control to return to monitor viewing.

Page 12
BASIC OPERATION
Turning On the Monitor
1. First, connect power cord correctly. At this moment, the monitor switches to standby or power on mode. In standby
mode, in order to turn monitor on, press the POWER button on the remote control.
2. Select the viewing source by using SOURCE button on the remote control.
Volume Adjustment (A/V extension option)
1. Press the VOL+/- button to adjust the volume.
2. If you want to switch the sound off, press the MUTE button on the remote control.
3. You can cancel this function by pressing the MUTE or VOL+/- button.
On Screen Menu’s Language Selection
- The menus can be shown on the screen in the selected language. First select your language.
1. Press the MENU button and then use button to select the SETUP icon.
2. Press the button and then use button to select Menu Language menu.
3. Press the button and then use button to select your desired language:
From this point on, the on-screen menus will be shown in the selected language.
4. Press EXIT button to return to monitor viewing or press MENU button to return to the previous menu.

Page 13
On Screen Menus Selection and Adjustment
How to adjust the OSD screen
1. Press the MENU button and then button to select each menu.
2. Press the button and then use button to display the available menus.
• Your monitor's OSD (On Screen Display) may differ slightly from what is shown in this manual.

Page 14
Select Video Input
How to Select Video Source by OSD (AV extension option)
1. Press the SOURCE button and then button to select each video source.
2. Press the / SELECT button to go to desired video source
How to Select Video Source Directly (in case of no AV Extension)
1. Press the SOURCE button.
2. Whenever pressing the SOURCE button, monitor will show and change the current video source.
3. When the video source changes as desired, stop pressing the SOURCE button.

Page 15
Picture Menu Options
Picture Mode
- Select the picture appearance to suit your preference and viewing situations.
1. Press the MENU button and then button to select the PICTURE icon.
2. Press the button and then use button to select the desired picture option;
User, Dynamic, Standard, Movie, Mild.
3. Press EXIT button to return to monitor viewing or press MENU button to return to the previous menu.
4. The mode different when PC, DVI source select. User, High, Middle, Low
User Control
- Adjust the picture appearance to suit your preference and viewing situations.
1. Press the MENU button and then button to select the PICTURE icon.
2. Press the button and then use button to select the desired picture option;
Contrast, Brightness, Sharpness (All Sources),Color (Video/Component), Tint(NTSC), Phase(Component).
3. Press button and then use button to make appropriate adjustments.
4. Press EXIT button to return to monitor viewing or press MENU button to return to the previous menu.

Page 16
Color Temperature Control
- Choose one of five automatic color adjustments. Set to warm to enhance hotter colors such as red, or set to cool to see
less intense colors with more blue.
1. Press the MENU button and then use button to select the PICTURE icon.
2. Press the button and then use button to select Color Temperature menu.
3. Press the button and then use button to select desired option:
Cool2, Cool1, Normal, Warm1, Warm2.
4. Press EXIT button to return to monitor viewing or press MENU button to return to the previous menu.
Aspect Ratio
- Selects the screen format.
1. Press the MENU button and then use button to select the PICTURE icon.
2. Press the button and then use button to select Aspect Ratio menu.
3. Press the button and then use button to select desired option:
For Video Input - 16:9, Panorama, Zoom1, Zoom2, 4:3, 14:9.
For PC Input - 16:9, 4:3, 1:1.
For DVI/HDMI/NET – Add Real Resolution,
4. Press EXIT button to return to monitor viewing or press MENU button to return to the previous menu.

Page 17
Video Wall
- For quick reset of all the Video menu options to their original factory preset values.
1. Press the MENU button and then use button to select the PICTURE icon.
2. Press the button and then use button to select Video Wall menu.
3. Press button to make appropriate adjustments.
4. Press EXIT button to return to monitor viewing or press MENU button to return to the previous menu.
Video Wall Layout Settings
XMax : Maximum number of column tiles to divide video image.
YMax : Maximum number of row tiles to divide video image.
Set X : Coordinate of video image’s column position.
Set Y : Coordinate of video image’s row position.

Page 18
Setting the Bezel Corrections for Natural Tiled Image
Panel X
X Gap : Proportional Value of Vertical Bezel to Panel size by Per-mil unit.
Y Gap : Proportional Value of Horizontal Bezel to Panel size by Per-mil unit.

Page 19
PC Menu
1. Press the MENU button and then use button to select the PICTURE icon.
2. Press the button and then use button to select PC Menu.
3. Press button and then use button to make appropriate adjustments.
4. Press EXIT button to return to monitor viewing or press MENU button to return to the previous menu.

Page 20
Setup Menu Options
Reset
Resets user setting values as default
1. Press the MENU button and then use button to select the SETUP icon.
2. Press the button and then use button to select the Reset menu.
3. Press the or SELECT button and then monitor’s user settings are reset as default.
Time Settings
Enable the user to set up the clock information.
This manual suits for next models
3
Table of contents
Other Plura Monitor manuals

Plura
Plura MVM-124 User manual

Plura
Plura PBM-4K Series User manual

Plura
Plura PBM-4K-H Series User manual

Plura
Plura SFP-217-3G User manual

Plura
Plura MTD-ID User manual

Plura
Plura UD Series User manual

Plura
Plura SFP-H Series User manual

Plura
Plura PBM-4K Series User manual

Plura
Plura PHB-207-3G User manual

Plura
Plura PBM-070 User manual

Plura
Plura PBM-217S User manual

Plura
Plura PRM-3G Series User manual

Plura
Plura PRM-317-3G User manual

Plura
Plura DBM-124 User manual

Plura
Plura PBM-217 User instructions

Plura
Plura SFP-H Series User manual

Plura
Plura DBM-124 User manual

Plura
Plura LCM-3G User manual

Plura
Plura PBM-070 User manual

Plura
Plura PBM-4K-H Series User manual