PNI IP60 User manual

PNI IP60 2MP 4G PTZ SOLAR
Video surveillance camera
Camera supraveghere video
EN User manual ............................................... 3
RO Manual de utilizare .................................... 17


3User manual
English
Main features
• 4G and LAN connection (RJ45 connector)
• Recording on micro SD card, max. 128 GB (card not included)
• Two-way audio communication (built-in microphone and speaker)
• Outdoor mounting, waterproof class IP66, ABS housing
• 4 IR LEDs for night vision up to 20 m
• 4 white LEDs for additional lighting
• P2P connection for remote monitoring
• Remote control through the CamHi application (Android / iOS) and
through the HiP2P Client application (PC Windows)
Package contents
• Surveillance camera
• Solar panel
• Installation bracket for wall or pole
• 12V 20A rechargeable Li-Ion battery (built into the main support)
• 230V - 12.6V / 5A Power adapter for charging the Li-Ion battery
Connections
1. 12V power connector - insert the power cable from the included battery.
2. RJ45 connector - insert a network cable to connect the camera to the
router (if necessary during the first configuration)
3. Reset - long press to reset the camera to default settings.

User manual 4
English
Camera installation and connection details
Warning: the SIM card with 4G mobile data must not have the PIN code
activated. Insert the SIM card with mobile data into a mobile phone, disable
the security PIN and check if mobile data is available by accessing any web
page.
1. Open the cover on the back of the camera. Install the Nano SIM card and
the micro SD card (maximum 128 GB) into the camera.
2. Connect the power adapter from the battery to the camera.
3. Connect the solar panel to the battery.

5User manual
English
4. Turn on the battery power using the red round switch:
5. The camera will start rotating and initializing. When the camera stops
rotating, it is ready for configuration.
Note: Before use, we recommend that you fully charge the battery for about
8 hours using the power supply in the package. Connect the power supply to
the black connector with the rubber cap.
6. Information about the battery is provided by the 3 LEDs located on the
installation support.
Left LED
Charging
Central LED
Battery
Right LED
Output status
On: solar charging
O: not charging (lack of
sun)
Flashing Red: Battery ≤ 25%
Flashing Red and Green: Battery ≤ 50%
Flashing Green: Battery ≤ 75%
Green On: Battery ≤ 100%
On: active output
O: no output

User manual 6
English
Add the camera to the mobile application
Quick setup mode
Download and install the CamHi application by scanning the codes below:
Android iOS
1. Open the application, create an account and connect.
2. Press Add camera.
3. In the following interface, you have several options to add the camera:
• Manually enter the UID of the camera, the user and the password
(you can find these data on the label stuck on the camera). The default
username and password are admin, admin.
• Scan the QR code on the label stuck on the camera (Scan QR code, add
UID)
4. After you have successfully added the camera, click on the camera in the
list to view the images taken by it in real time.
Note: The camera status must be Online. If the camera is Oine, access the
Advanced configuration mode from the next page.

7User manual
English
Add the camera to the application via the Local Network
Advanced configuration mode
Connect both the phone (via wireless) and the camera (via RJ45
network cable) to the same local network, Port 1 of the routeri.
Warnings:
• Make sure the phone is connected to the same router with the camera.
• Check if the LAN port in the router to which the camera will be connected
has access to the network/internet. Use a laptop or computer connected
to this port. The green network indicator means there is a connection.
This procedure allows you to add, check access and configure the camera
from the “CamHi” smartphone application or the “HiP2P Client” PC /
Laptop (Windows) application from your local network.
This will help you check:
- the status and settings of the camera
- the status and settings of the 4G GSM network

User manual 8
English
Configuration and viewing of the camera on the mobile
phone
1. Press the Add Camera menu in the mobile application
2. Search for the camera in the local network: press Search Camera from
LAN
3. One result: the camera ID will appear on the screen. Click on the result,
rename it, enter the password and complete the procedure.
4. After you have successfully added the camera, press and access the
camera from the list to view the images in real time (for the moment only
from the local network).
5. Continue to check and configure the GSM 4G connection.
Note: The default camera username is admin and the default password is
admin. For security reasons, the camera will ask you to change the password.
and set the correct time zone.
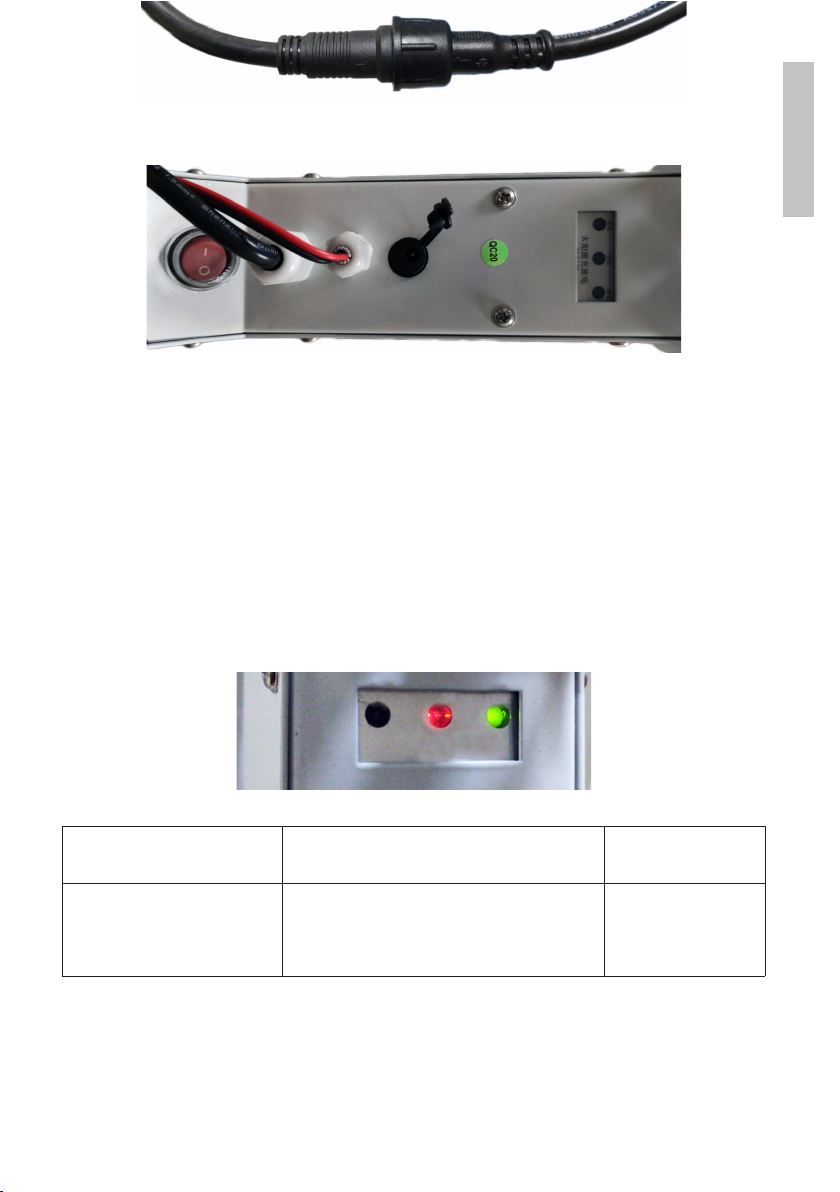
Note: If the camera search procedure in the network fails, check the LAN
cable and make sure that you have access to the network on the LAN port
to which the camera is connected.
Connect the camera to the 4G mobile data network
1. Press the icon next to the camera that needs to be configured.Note:
The camera status must be Online.
2. From the settings menu, select 4G Settings.
3. If the name of the network operator is correct, the signal is greater than
60 and the APN is correct, go to step 5 and wait about 5 minutes for
the camera to connect. For Vodafone, we recommend that you ask for
the APN from the operator and fill it in manually. Suggested APN: live.
vodafone.com
4. If the camera status is not Online after 5 minutes, check:
• The name of the network operator of the SIM card in the “4G settings”
menu. If it is not available:

9User manual
English
• check the SIM card and remove the PIN code (in a phone);
• check if the SIM card is 4G compatible and has active mobile data (in a
phone).
• check the signal strength: it must be greater than 60. If not, move the
camera to a place with a better signal.
• check the status with another SIM card from the same operator or
another operator (without active PIN code)
• The status LEDs next to the SIM card: the 2 rear LEDs are lit and the
front one flashes when the camera is connected to the Internet.
• In the “4G settings” “Status Code” menu: “0” sim not connected (check/
reinsert SIM, check signal); “1” successful connection; “2” - failed
connection to the network.
• check the APN in the APN Mode menu. Set to Manual and manually
enter only the correct APN obtained from the SIM card operator and
save the settings.
5. Disconnect the LAN cable between the camera and the local network
router and restart the camera (disconnect the power). Open the
application and check the camera status in about 5 minutes. If everything

User manual 10
English
is OK, the camera will be online and you can remotely access the live
images.
Configuration of recordings on the micro SD card
1. Purchase and install a micro SD card of maximum 128Gb in the camera.
2. Launch the mobile application, click on the icon next to the camera
that needs to be configured.Note: The camera status must be Online.
3. From the displayed settings menu, select Action with alarm.
4. Activate the Alarm SD REC option.
5. Return to the main menu and select the SD Card setting option to check
the available space on the card.
6. Make sure that the Enable Record option is activated in the Recording
Schedule menu
Note: If the micro SD card installed in the camera has a reduced capacity, we
recommend that you activate the recording only when motion is detected.
For this, access the menu Alarm settings - Motion detection.

11 User manual
English
7. To view the recordings from the micro SD card installed in the camera,
press the video option from the bottom of the main application
interface. Select the camera and the file you want to play or download.
Note: Detailed instructions about the CamHi application can be found on
The CD in the package or on the product web page in the download section
(www.pni.ro).
Configure and view the camera on the computer
Your camera can be accessed from your computer in two ways: through
the Internet Explorer browser or through the HiP2P Client application for
Windows.
Note: The camera must have been initially configured and appear online in
the mobile application or must be connected to the same local network as
the computer.
Access the camera through Internet Explorer
1. Install the Search Tool application (the installation file can be found on
2. The CD in the package or on the product web page in the download
section (www.pni.ro).
3. Connect your computer and camera to the same router.
4. Launch the Search Tool application and press Refresh to search and find
the camera connected in the same local network.
5. From the displayed list, identify your camera by UID (see camera label).

User manual 12
English
6. Press Next to configure the network parameters. You can enter the
network parameters manually or you can check the DHCP option. Press
Next.
7. Open Internet Explorer and enter the IP of the camera in the address
bar or return to the list of cameras in the Search Tool application and
double-click on the camera you want to view. It will open automatically in
Internet Explorer.
8. From Internet Explorer you can view live images taken by the camera,
you can play the recordings saved on the micro SD card installed in the
camera and you can make various settings related to the network, video,
audio and alarm.

13 User manual
English
Note: You can access the camera in Internet Explorer only if you are connected
to the same network as the camera. If you want to access the camera from
your computer, but from another network, install the dedicated HiP2P Client
application.
Access the camera through the HiP2P Client application
(Windows)
1. Install the HiP2P application on your computer (the installation file can be
found on the CD in the package or on the product web page in the download
section (www.pni.ro)
2. Launch the application, access the Config menu, select or add the new area

User manual 14
English
(Add Area) and add the camera using the UID ID on the camera label or
on the phone, if it is already added. (Input UID) or looking for the camera
connected in the same network as the computer: press Search.
Note: Detailed instructions about the HiP2P application can be found in the
Download section of the product web page or from the software download
link at the end of the user manual.
Installation of the battery support and the solar panel
Follow the following steps to connect the solar panel, the battery holder and
the surveillance camera. The support has 2 adjustable joints that allow you to
orient the solar panel towards the sun.
Install the solar panel on the support
using the 4 screws and nuts from the
box
Connect the first joint using the 4
screws and nuts from the box

15 User manual
English
Connect the second joint using
the 3 dedicated screws in the box
(one bigger and 2 smaller)
Connect the camera to the support
using the 4 dedicated screws in the
box.
Techical specifications
Camera
Sensor F23 CMOS
Sensor resolution 2MP
Registration resolution 1920 x 1080 / 1-30 fps
Lux
Color: 0.1Lux @(F1.2,AGC ON); 0 Lux with
IR, Black/White 0.01 Lux @ (F1.2,AGC ON),0
Lux with IR
Video compression H.264
Audio compression AMR/G.711A
Lens / Zoom 2.8-12mm / 5X Zoom Optic
Ethernet 10/100 Mbps RJ45
GSM network 4G GSM Nano SIM
Frequency 900/1800 MHz
IR LEDs 4 pcs. night vision up to 20 m
White LEDs 4 pcs. for additional night lighting
Motion detection Yes + Human detection
Card slot Micro SD, max. 128Gb
P2P connection Yes
App CamHi (Adroid/iOS) / HiP2P (Windows)
Supply voltage 12V / 2A

User manual 16
English
Dimensions 192 x 70 x 70 mm
Waterproof IP66
Housing ABS
Working temperature -26°C ~ +80°C / ≤80%RH
Li-Ion battery
Capacity / Voltage 20 A / 12 V
Solar panel
Power/Voltage/Current 60W (max) / 15V ( Vmp) / 4A (Imp)
Charging
Solar charger PWM model
230V charger 12.6 V 5A dedicated for Li-Ion battery

Manual de utilizare
Romana
17
Caracteristici de baza
• Conectare 4G si LAN (conector RJ45)
• Inregistrare pe card micro SD, max. 128 GB (cardul nu este inclus)
• Comunicare audio bidirectionala (microfon si difuzor incorporate)
• Montaj la exterior, clasa de protectie IP66, carcasa ABS
• 4 LED-uri IR pentru vizualizare nocturna pana la 20 m
• 4 LED-uri albe pentru iluminare suplimentara
• Conexiune P2P pentru monitorizare de la distanta
• Control de la distanta prin aplicatia CamHi (Android / iOS) si prin aplicatia
HiP2P Client (PC Windows)
Continutul pachetului
• Camera de supraveghere
• Panou solar
• Suport de instalare pe perete sau stalp
• Baterie reincarcabila Li-Ion 12V 20A integrata in suport
• Alimentator 230V - 12,6V / 5A dedicat incarcarii bateriei Li-Ion
Conexiuni
1. Conector de alimentare 12V - introduceti cablul de alimentare de la
acumulatorul inclus.
2. Conector RJ45 - introduceti un cablu de retea pentru a conecta camera
la router (daca este necesar la prima configurare).
3. Reset -apasati lung pentru a reveni la setarile din fabrica.

Manual de utilizare
Romana
18
Instalarea camerei si detaliere conexiuni
Avertisment: cartela SIM cu date mobile 4G nu trebuie sa aiba codul
PIN activat. Introduceti cartela SIM cu date mobile intr-un telefon mobil,
dezactivati codul PIN de securitate si verificati daca datele mobile sunt
disponibile accesand orice pagina de internet.
1. Deschideti capacul din partea din spate a camerei. Instalati cartela Nano
SIM si cardul micro SD (maxim 128 GB) in camera.
2. Conectati adaptorul de alimentare de la baterie la camera
3. Conectati panoul solar la baterie

Manual de utilizare
Romana
19
4. Porniti alimentarea de la baterie folosind comutatorul rotund rosu:
5. Camera va incepe rotirea si initializarea. Cand camera se opreste din
rotire este gata pentru configurare.
Nota: Inainte de utilizare, va recomandam sa incarcati complet bateria timp
de aproximativ 8 ore cu ajutorul alimentatorului din pachet. Conectati
alimentatorul la conectorul negru cu capac din cauciuc.
6. Informatiile despre baterie sunt furnizate de cele 3 LED-uri situate pe
suportul de instalare.
LED Stanga
Incarcare
LED Central
Baterie
LED Dreapta
Stare Iesire
Aprins: Incarcare solara
Stins: Nu incarca (lipsa
soare)
Clipeste Rosu: Acumulator ≤ 25%
Clipeste Rosu si Verde: Acumulator ≤ 50%
Clipeste Verde: Acumulator≤ 75%
Verde Aprins: Acumulator≤ 100%
Aprins: Iesire activa
Stins: Iesire oprita

Manual de utilizare
Romana
20
Adaugati camera in aplicatia mobila
Mod rapid de configurare
Descarcati si instalati aplicatia CamHi scanand codurile de mai jos:
Android iOS
1. Deschideti aplicatia, creati un cont si conectati-va.
2. Apasati Add camera.
3. In interfata urmatoare, aveti mai multe optiuni pentru a adauga camera:
• Introduceti manual UID-ul camerei, utilizatorul si parola (gasiti aceste
date pe eticheta lipita pe camera). Numele de utilizator si parola implicite
sunt admin, admin.
• Scanati codul QR de pe eticheta lipita pe camera (Scan QR code, add
UID)
4. Dupa ce ati adaugat cu succes camera, apasati pe camera din lista pentru
a vizualiza imaginile realizate de aceasta in timp real.
Nota: Starea camerei trebuie sa fie Online.Daca camera este Oine,
accesati Modul de configurare avansat de la pagina urmatoare.
Other manuals for IP60
1
Table of contents
Languages:
Other PNI Inverter manuals