manuals.online logo
Brands
  1. Home
  2. •
  3. Brands
  4. •
  5. Polycom
  6. •
  7. IP Phone
  8. •
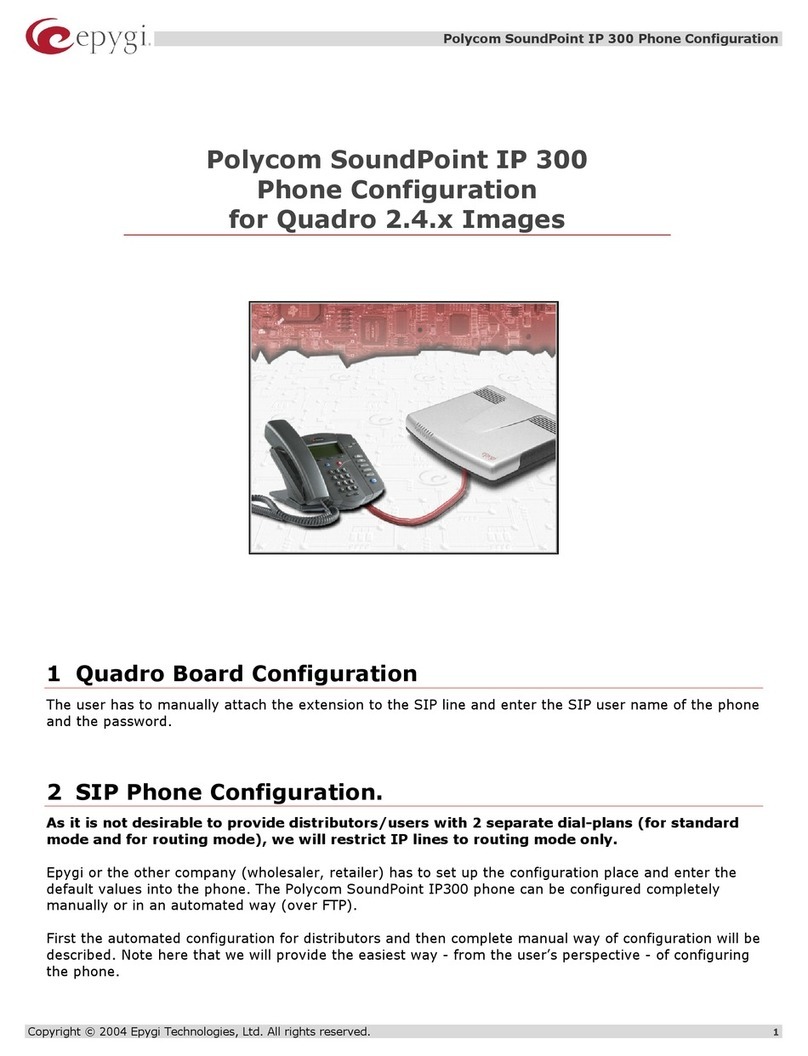
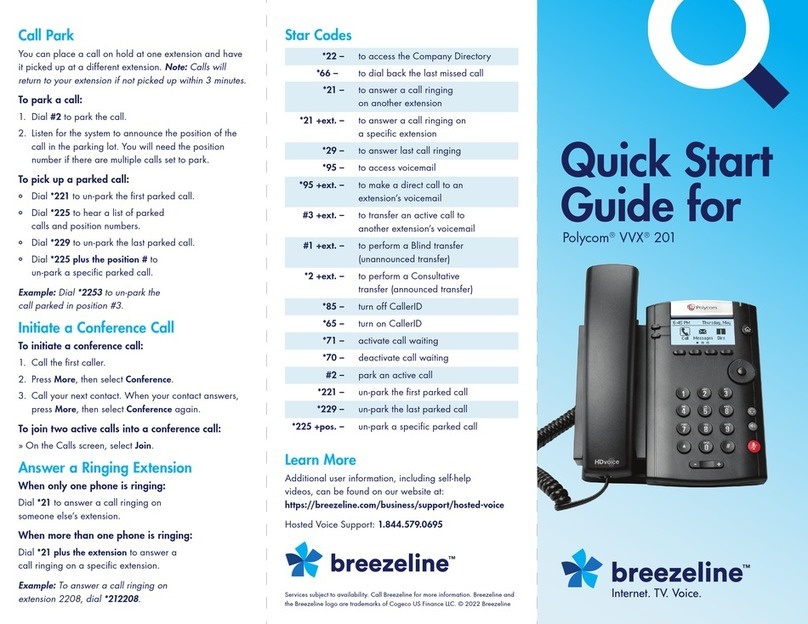
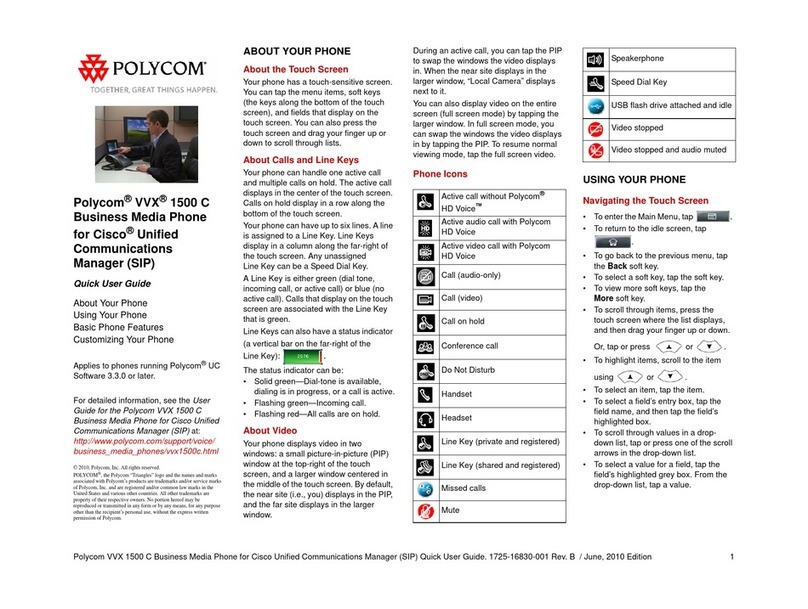
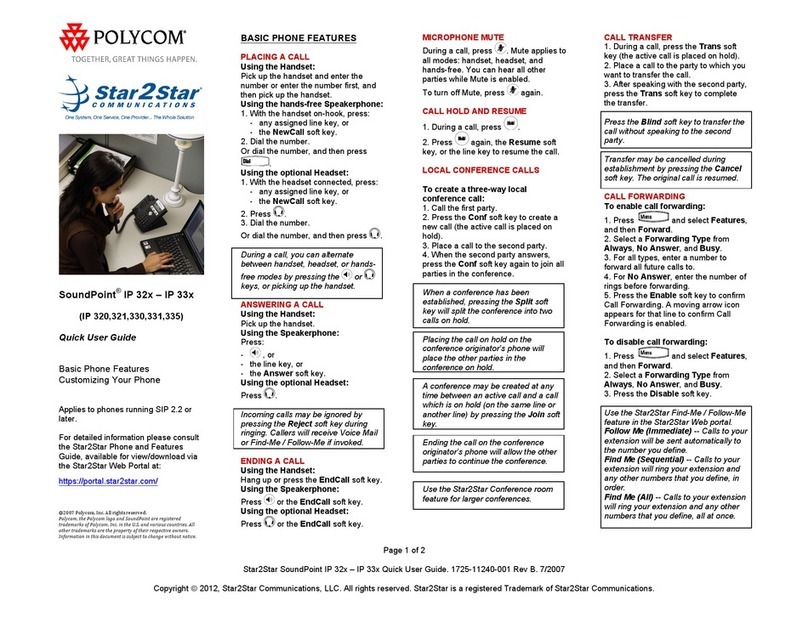
  9. Polycom SoundPoint IP 331 Installation guide

Polycom SoundPoint IP 331 Installation guide

Other manuals for SoundPoint IP 331

24

Other Polycom IP Phone manuals

Polycom SoundPoint IP 335 Instruction manual

Polycom

Polycom SoundPoint IP 335 Instruction manual

Polycom SoundPoint IP 601 Instruction manual

Polycom

Polycom SoundPoint IP 601 Instruction manual

Polycom CX600 User manual

Polycom

Polycom CX600 User manual

Polycom SoundStation IP 7000 User manual

Polycom

Polycom SoundStation IP 7000 User manual

Polycom SoundPoint Installation and operation manual

Polycom

Polycom SoundPoint Installation and operation manual

Polycom SoundPoint IP 300 Instruction Manual

Polycom

Polycom SoundPoint IP 300 Instruction Manual

Polycom VVX 400 User manual

Polycom

Polycom VVX 400 User manual

Polycom VVX 300 Assembly instructions

Polycom

Polycom VVX 300 Assembly instructions

Polycom VVX 250 Instruction manual

Polycom

Polycom VVX 250 Instruction manual

Polycom VVX 350 Assembly instructions

Polycom

Polycom VVX 350 Assembly instructions

Polycom SoundPoint IP 601 User manual

Polycom

Polycom SoundPoint IP 601 User manual

Polycom VVX 600 series User manual

Polycom

Polycom VVX 600 series User manual

Polycom VVX 400 User manual

Polycom

Polycom VVX 400 User manual

Polycom VVX410 User manual

Polycom

Polycom VVX410 User manual

Polycom SoundPoint 320 User manual

Polycom

Polycom SoundPoint 320 User manual

Polycom SoundPoint IP 335 Guide

Polycom

Polycom SoundPoint IP 335 Guide

Polycom SoundPoint IP 600 Instruction manual

Polycom

Polycom SoundPoint IP 600 Instruction manual

Polycom SoundPoint IP 450 Instruction manual

Polycom

Polycom SoundPoint IP 450 Instruction manual

Polycom SoundPoint IP 550 User manual

Polycom

Polycom SoundPoint IP 550 User manual

Polycom VVX 201 User manual

Polycom

Polycom VVX 201 User manual

Polycom SoundStation 6000 User manual

Polycom

Polycom SoundStation 6000 User manual

Polycom CX600 User manual

Polycom

Polycom CX600 User manual

Polycom VVX 401 User manual

Polycom

Polycom VVX 401 User manual

Polycom VVX 600 series User manual

Polycom

Polycom VVX 600 series User manual

Popular IP Phone manuals by other brands

Cortelco C62 VoIP Phone user guide

Cortelco

Cortelco C62 VoIP Phone user guide

VanillaIP Polycom IP300 user manual

VanillaIP

VanillaIP Polycom IP300 user manual

Yealink Yealink SIP-T22P Quick installation guide

Yealink

Yealink Yealink SIP-T22P Quick installation guide

Viking SR-IP product manual

Viking

Viking SR-IP product manual

Yealink VP59 Teams user guide

Yealink

Yealink VP59 Teams user guide

Panasonic KX-UT133-B Administrator's guide

Panasonic

Panasonic KX-UT133-B Administrator's guide

Avaya one-X 9600 Series overview

Avaya

Avaya one-X 9600 Series overview

AVA Enterprises B179 Installation and administration guide

AVA Enterprises

AVA Enterprises B179 Installation and administration guide

Cisco Unified 7900 Series System guide

Cisco

Cisco Unified 7900 Series System guide

Cisco SPA-500 Series user guide

Cisco

Cisco SPA-500 Series user guide

IPitomy IP290 user manual

IPitomy

IPitomy IP290 user manual

Proximus Maestro 3016 IP quick start guide

Proximus

Proximus Maestro 3016 IP quick start guide

Fanvil X4 user manual

Fanvil

Fanvil X4 user manual

Snom 320 quick start guide

Snom

Snom 320 quick start guide

Avaya Integral 5 R3.0 user guide

Avaya

Avaya Integral 5 R3.0 user guide

Yealink Yealink SIP-T46G Guide

Yealink

Yealink Yealink SIP-T46G Guide

Yealink SIP-T52S quick start guide

Yealink

Yealink SIP-T52S quick start guide

Nortel 1140E Getting started

Nortel

Nortel 1140E Getting started

manuals.online logo
manuals.online logoBrands
  • About & Mission
  • Contact us
  • Privacy Policy
  • Terms and Conditions

Copyright 2025 Manuals.Online. All Rights Reserved.

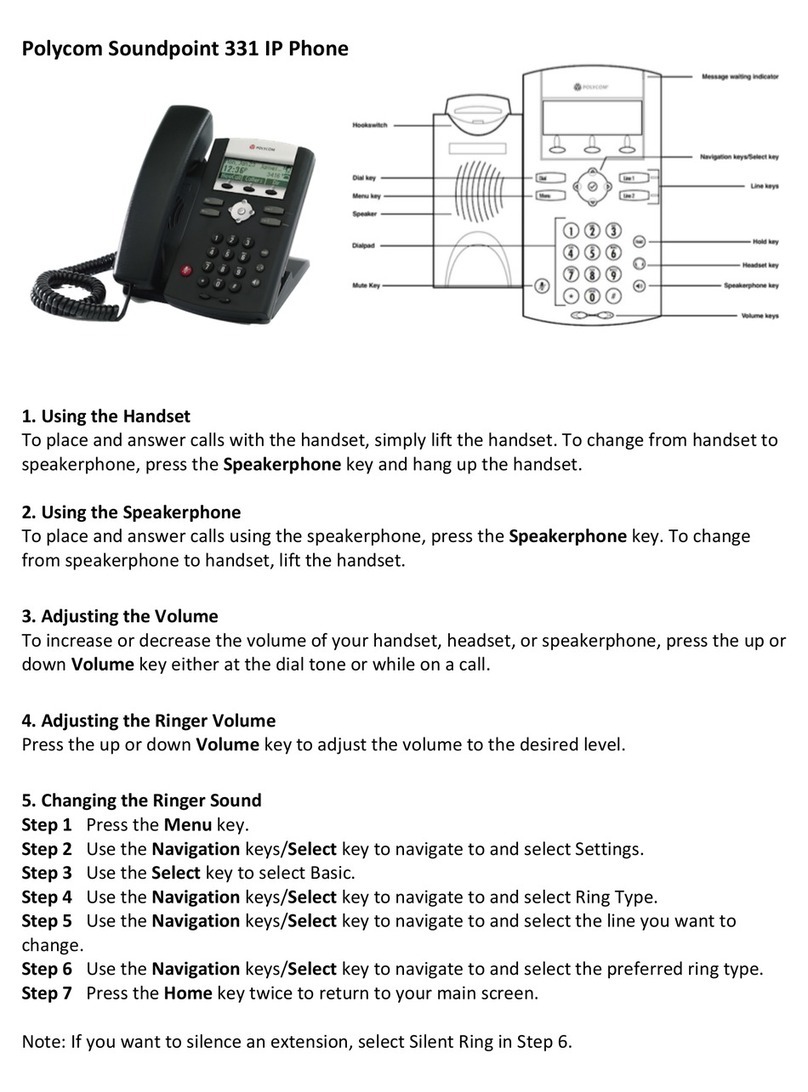
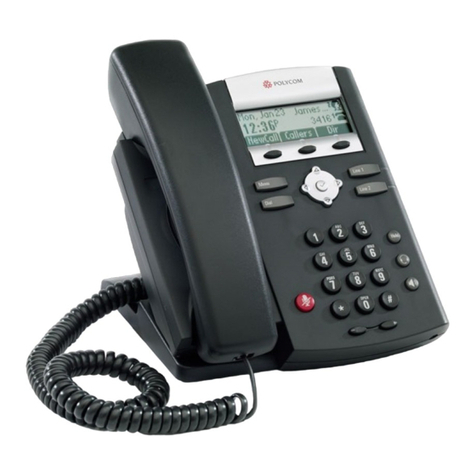
Polycom IP331
Support:
Phone Guides & Online Training
hawaiiantel.com/VoiceSupport
Customer Support
643-8647
Web Portal
bvoip.hawaiiantel.com
Number
Feature
Function
1
MWI
Message Waiting Indicator (MWI) blinks red when a voicemail is received
2
Line Keys
Up to 2 lines or speed dials can be programmed
3
Navigation Pad
Use arrows to move between options on the display. Use the “” button to select a menu option
4
Hold Button
Holds an active call, or resumes a held call
5
Headset Button
Allows you to receive and make calls using an optional headset
6
Speaker Button
Used to make and receive hands-free calls
7
Dial Pad
Used to dial phone numbers, enter alphabetical text and special characters
8
Hands Free Mic
Automatically enabled when using hands-free mode
9
Volume Keys
Adjusts the volume of the handset, headset, speaker and ringer
10
Mute Button
Disables the microphone on an active call
11
Feature Buttons
Dial-Dials phone number or view placed call list.
Menu-Access features such as Do Not Disturb and call forwarding
12
3 Soft Keys
Labeled directly above in the Graphic Display. They’ll display different labels depending on the
menu option chosen.
13
Hookswitch
Activates dialing or deactivates a call when using the handset (located under the handset)
14
Graphic Display
Displays information about calls, soft keys, time, date, caller display information and icons
Polycom IP331
How to Place a Call
Using the Handset
1. Pick-up the handset
2. Dial a number
Using the Speakerphone
1. With the handset on-hook, press the speaker button
2. Dial a number
How to Access Voicemail
1. To access your voicemail dial your 4-digit extension number
2. Enter your voicemail passcode (default is____)
If you’re accessing your Voicemail for the first time, please refer
to the “How to Set up and Manage Your Voicemail” guide
How to Set Do Not Disturb (DND)
1. Press the Menu button
2. Then select Features by pressing 1on the dial pad
3. Select Do Not Disturb by pressing 2on the dial pad
4. Return to the main screen by pressing the Menu button
5. The phone displays a Do Not Disturb message
6. To disable, repeat steps 1 to 3
How to Put a Call on Hold
1. To place an active call on hold, press the Hold button
2. To resume a call, press Hold again or the Resume soft key
How to Set Up a 3-Way Conference
Creating a Conference
1. While on an active call, press the Conf soft key (the active
call will be placed on hold)
2. When you hear the dial tone, enter the number of the party
you wish to have a conference with
3. After the party answers, press the Conf soft key again.
All parties will be part of the conference call.
To Split and Re-join a Conference
1. Press the Split soft key. This will place both active calls on hold
2. Using the up/down arrows, choose one of the held calls
3. Press the Resume soft key to speak with only that party
4. To resume the conference, select the user that is currently on
hold using the up/down arrows, and press the Join soft key
How to Adjust the Ringer and Handset Volume
1. To change the ringer volume - When the phone is idle, press
the -or +buttons located below the Dial Pad
2. To change the handset or speaker volume - During an active
call, press the -or +buttons located below the Dial Pad
How to Transfer a Call
Consultative Transfer (With Announcement)
1. While on an active call, press the Trans soft key (the caller
will be placed on hold)
2. When you hear the dial tone, dial the number of the party
you wish to transfer the call to
3. When the party answers, announce the call and press the
Trans soft key to transfer the original caller
Blind Transfer (Without Announcement)
1. While on an active call, press the Trans soft key (the caller
will be placed on hold)
2. When you hear the dial tone, press the Blind soft key and
dial the destination number of the party you wish to transfer
the call to. The call is transferred.
How to Call Forward
1. Press the Menu button
2. Select Features by pressing 1on the dial pad
3. Select Forward by pressing 3on the dial pad
4. Select the type of forwarding: 1(Always), 2(No Answer),
3(Busy)
5. Press the (check mark) button on the Navigation Pad to
enter a “Contact”forwarding number
6. Enter the forwarding phone number and press the Ok soft key
7. Using the Navigation Pad, scroll down to “Forward” and
press the button
8. Press the (right arrow) button. “Enabled” is displayed on
the screen
9. Press the Ok soft key, followed by the (left arrow) button.
“Save?” will be displayed on the screen.
10. Select the Yes soft key. Forwarding has been set.
How to Access the Business Web Portal
1. Using a Web Browser, go to:
bvoip.hawaiiantel.com
2. Enter your User ID (your 10-digit phone number), and default
Password (____)
3. When you log-in for the first time, change your password.
Your new password must be:
6 characters in length
1 number
1 lowercase letter
1 UPPERCASE letter

1 special character
(e.g: ! @ $ % )
How to Set up Voicemail-to-Email
1. From the Options Menu, click Messaging
2. Click Voice Management to set up voicemail options
3. Under “Additionally…”, check the E-mail a carbon copy box
and enter the email address you’d like your messages sent
to
4. Click OK or Apply to save your changes