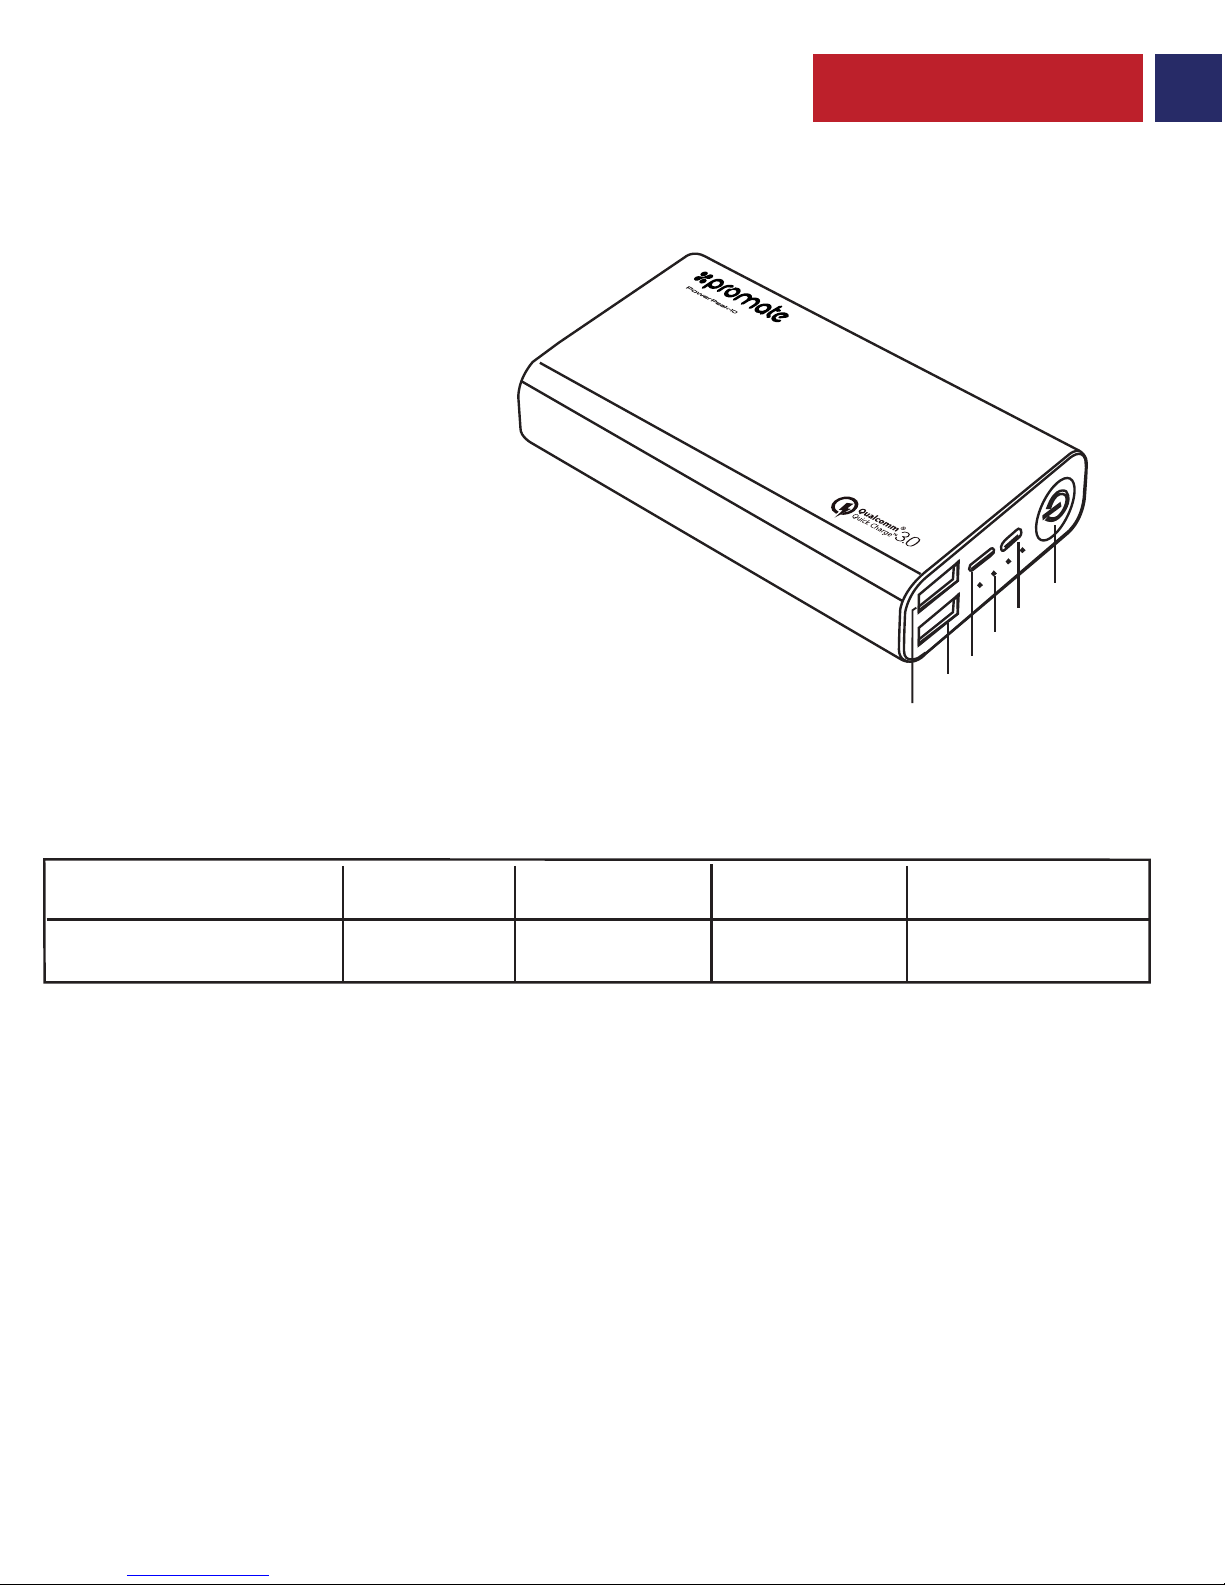
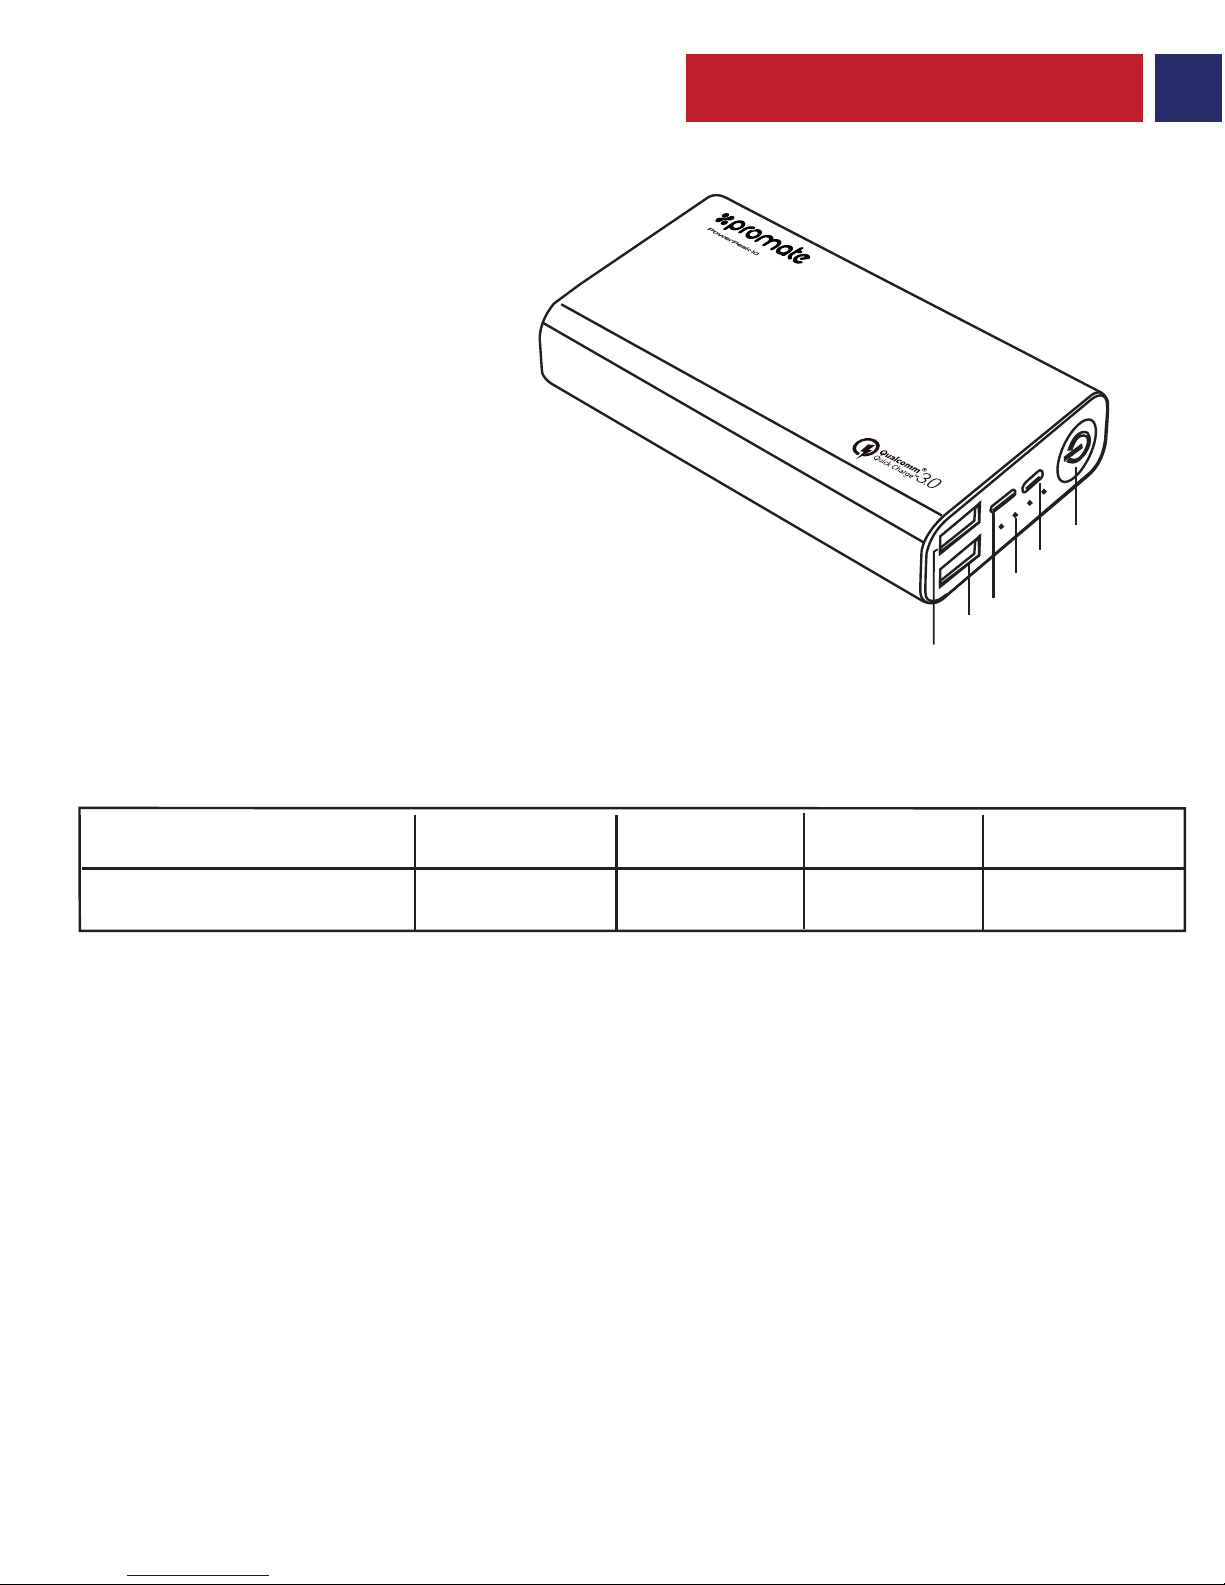
Promate PowerPeak-10 User manual
Other Promate Accessories manuals

Promate
Promate proPad.3 User manual

Promate
Promate Moxi User manual

Promate
Promate AuraPack-10 User manual

Promate
Promate pocketMate-Uni User manual

Promate
Promate volTag-UNI User manual

Promate
Promate Armor User manual

Promate
Promate AuraVolt-10 User manual

Promate
Promate voltag-8 User manual

Promate
Promate Provolta-21 User manual

Promate
Promate SolarTrail-2 User manual

Promate
Promate polyMax-8 User manual

Promate
Promate Titan-20C User manual

Promate
Promate Beam User manual

Promate
Promate Ovally User manual

Promate
Promate RANGER-1 User manual

Promate
Promate SafariMate User manual

Promate
Promate proVolta-30 User manual

Promate
Promate 100 User manual

Promate
Promate Hitch User manual

Promate
Promate EnergyMate User manual