- 7 -
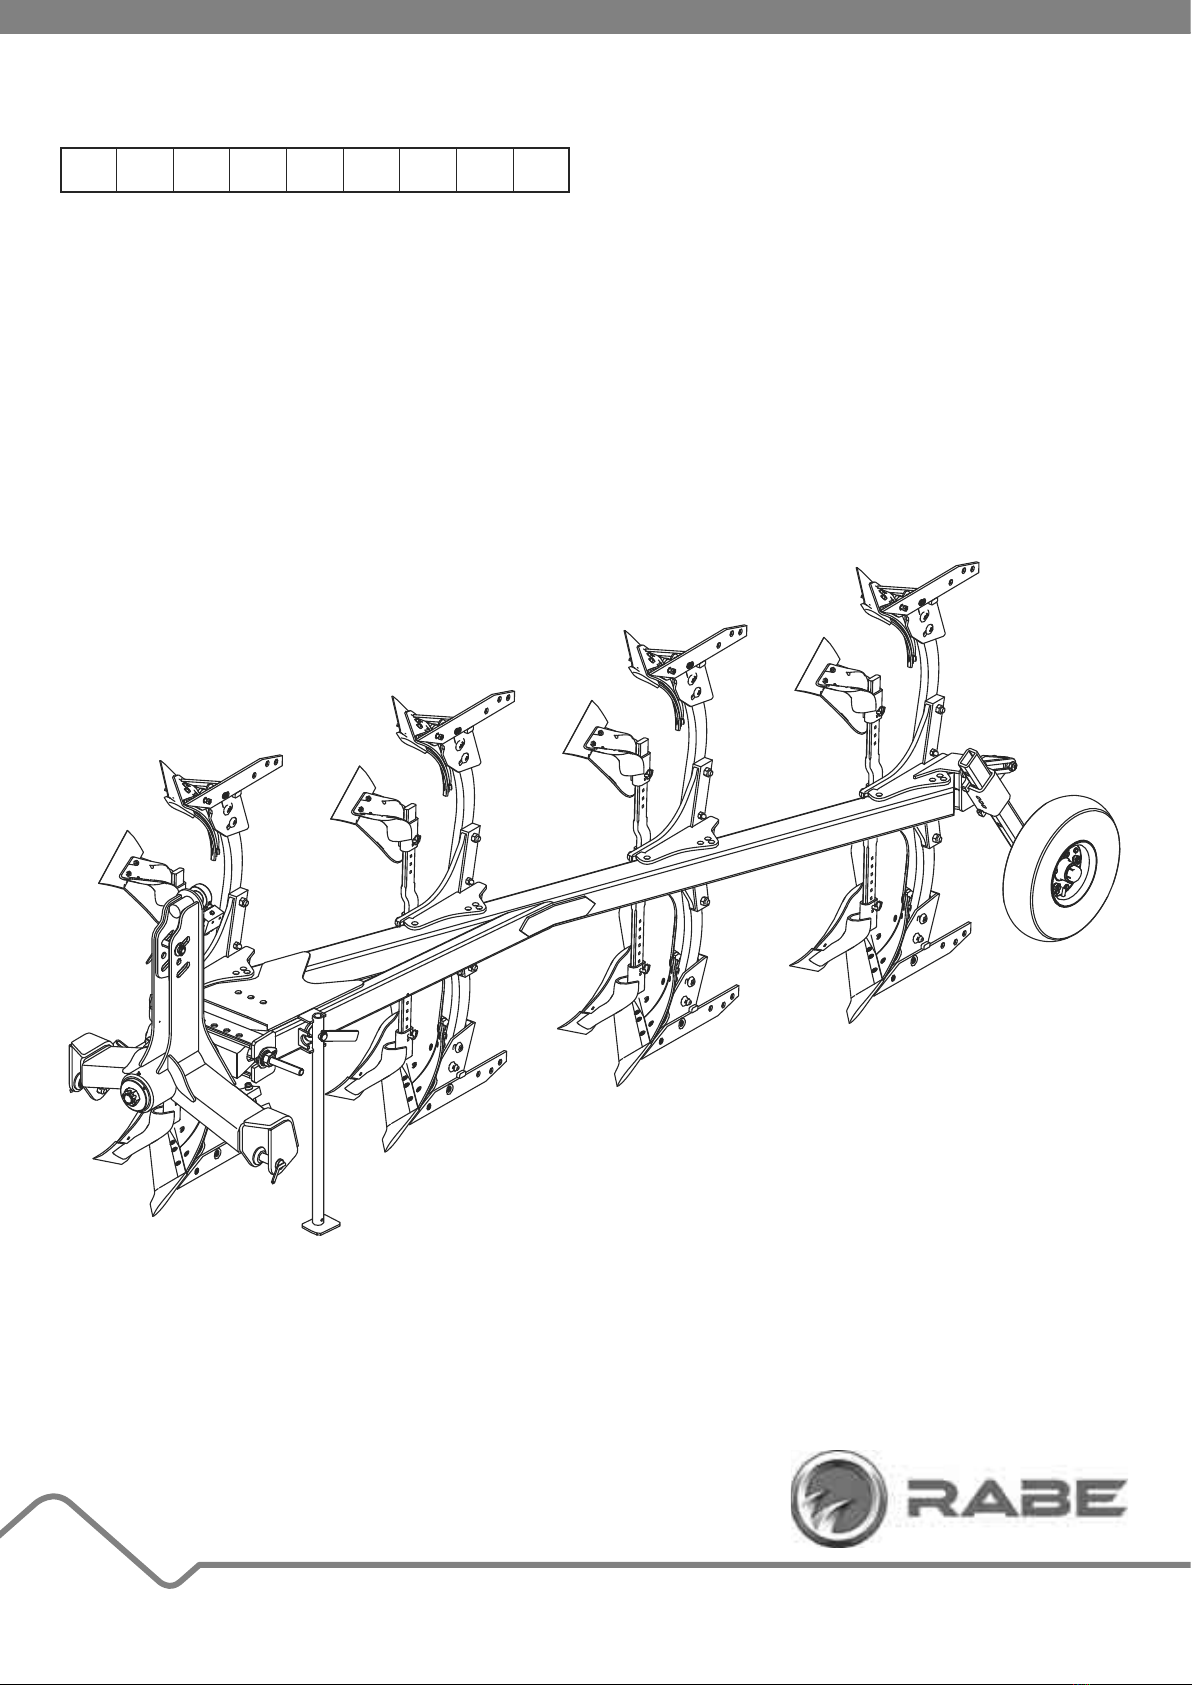
OPERATOR´SMANUAL FITIS 120 M
9901.00.20EN00 - 05/2015
2 SAFETY INSTRUCTIONS AND
RULES
2.1 Safety instructions
2.1.1 General instructions
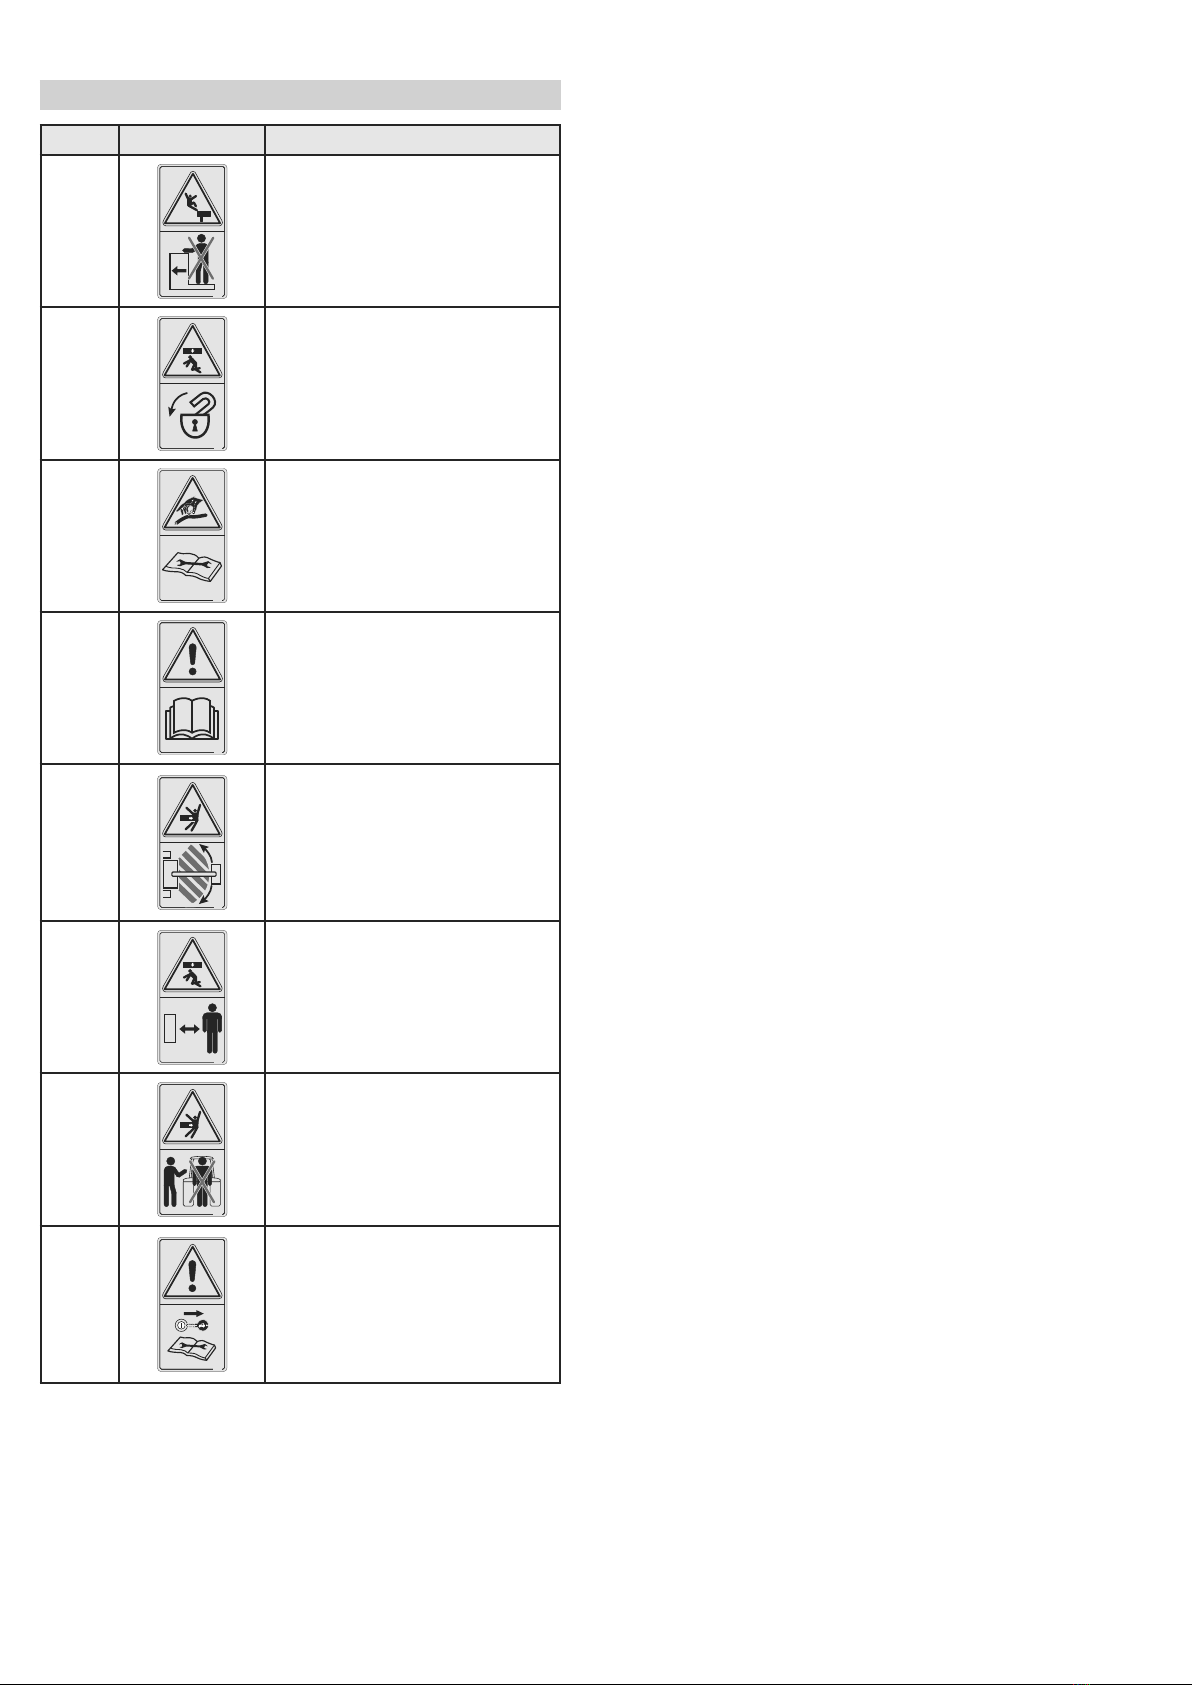
CAUTION:
The risks of accidents during use, maintenance or
repair of the implement can be reduced if you follow
the safety instructions and preventative measures
described in this manual.
ʈOnly the operations and manoeuvres described in this manual
may be performed. The manufacturer is not able to predict
all possible situations involving risks. As a result, the safety
instructions described in the manual and on the implement are
QRWH[KDXVWLYH
ʈAs a user, you must make reasonable allowance for possible
ʈ
risks to yourself, others and implement while you are using it.
CAUTION:
Non-observance of safety and usage instructions,
repair or maintenance instructions for your
implement can result in serious, even fatal
accidents.
2.1.2 2SHUDWRUTXDOL¿FDWLRQ
ʈThe implement may only be used, serviced or repaired by
SHUVRQVZKRDUHIDPLOLDUZLWKLWVVSHFL¿FFKDUDFWHULVWLFVDQG
with the corresponding operational safety modes.
ʈBefore using your implement, familiarise yourself with all the
controls and with its proper operation.
2.1.3 Hitching and unhitching the implement
ʈIf there is only one operator, then the driver himself is
responsible for hitching and unhitching the implement. Use the
H[WHUQDOOLIWFRQWUROV
ʈMake sure that no-one can get between the tractor and the
implement or come close to the implement during the hitching
and unhitching operations.
ʈBefore getting out of the cab to hitch or unhitch the implement,
apply the parking brake, stop the engine and take out the
tractor ignition key.
ʈBefore hitching your implement, make sure that there are no
signs of wear, incipient cracks or any incompatibility with your
tractor on the hitching pins, draw bar hitches or the ball joints.
ʈDepressurise the hydraulic circuit before connecting or
disconnecting the hydraulic couplings.
ʈConnect or disconnect the electrical connections.
ʈCompletely lower the implement to the ground, position the
VXSSRUWOHJVRIWKHLPSOHPHQWEHIRUHXQKLWFKLQJLW0DNHVXUH
WKDWWKHVXUIDFHLVOHYHODQGVXI¿FLHQWO\¿UPWRHQVXUHWKDWWKH
implement is perfectly stable during storage.
ʈIf your implement is parked, make sure that it is stable to avoid
the possibility of physical injury or material damage.
2.1.4 Hydraulic circuit and couplings
CAUTION:
The hydraulic circuit is subject to high pressures.
ʈ,IK\GUDXOLFÀXLGVKRXOGHVFDSHDYRLGDQ\GLUHFWFRQWDFWZLWK
WKHK\GUDXOLFÀXLG7KHSUHVVXULVHGRLOFDQSHQHWUDWHWKHVNLQ
and cause fatal injuries. Immediately consult a doctor in the
event of injury.
ʈObserve the order of assembly of the hydraulic couplings.
Ensure that the tractor couplings are properly positioned
horizontally or vertically.
ʈBefore connecting the hydraulic circuit, clean the couplings on
the tractor and implement, and check that the pressure is zero
both on the tractor and implement side.
ʈReplace damaged or used hydraulic lines, observing the
GLPHQVLRQDOVSHFL¿FDWLRQV
ʈPrior to carrying out any work on the hydraulic system, set the
implement down on the ground, depressurise the hydraulic
circuit, stop the tractor engine and actuate the hydraulic
valves.
2.1.5 Use of the implement
ʈ7KLVLPSOHPHQWLVH[FOXVLYHO\GHVLJQHGIRUVWDQGDUG
agricultural work. Any other use is considered to be contrary to
the implement's normal use and is thus prohibited.
ʈDo not attempt to adjust an implement when this is in motion.
ʈDo not enter the pivoting range of bolted, hydraulic or
mechanical locking elements.
ʈWear clothing and personal protection equipment suited to
the work to be performed (thick leather gloves, safety boots,
SURWHFWLYHJODVVHV«
ʈCreate a safety perimeter for other persons.
ʈ'RQRWSHUIRUPDQ\DGMXVWPHQWZRUNZLWKRXW¿UVWKDYLQJ
perfectly understood the required procedure.
ʈUse suitable tools or equipment for the work to be performed.
ʈCorrectly use the implement and its controls, do not let
untrained persons attempt to operate it.
ʈ'RQRWH[WHQGWKHPHFKDQLFDODGMXVWLQJURGVWRDYRLGWKHULVN
of threads being torn or spontaneous unscrewing.
ʈWhen working alone, the operator must be in his cab and
may never leave his seat. No-one may ride or stand on the
implement when it is in operation.
ʈStop the implement if you notice unusual noises or vibrations.
Identify and eliminate the cause before resuming work.