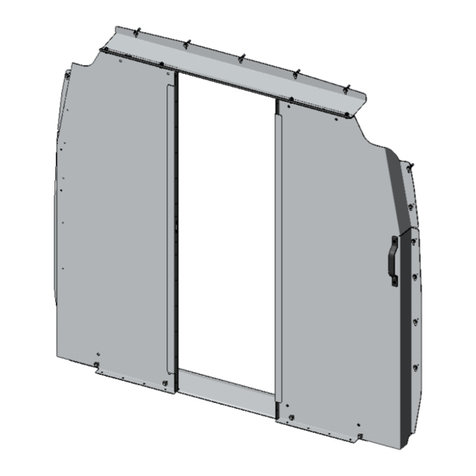
For technical support, contact us at 1-800-565-5321 C10-PC Installation Guide |REV. D1 | Page 2
QUICK START GUIDE
REQUIRED ITEMS
2
PERSONS
qCordless Impact
qCordless Drill
qKnife or Cutter
qMallet
qPhilips Screw Driver
qPlusnut Tool
qRatchet
q1/2" Socket
q7/16" Socket
q10mm Socket
q13mm Socket
qT30 Torque Bit
qT40 Torque Bit
q9/16" Wrench
q1" Holesaw
q1.1 Setup....................................................................................................................................................
q1.1.1 Unpack components; compare with the bill of materials................................................................
q1.1.2 Verify all parts are present...............................................................................................................
q1.1.3 Identify the assembly and installation fastener bags......................................................................
q1.2 Partition Assembly................................................................................................................................
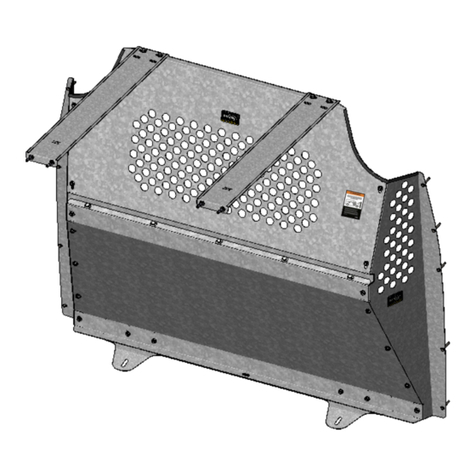
q1.2.1 Remove all the PVC from all the parts, then attach the upper panel to the lower panel................
q1.2.2 Attach the edge trims on these locations.......................................................................................
q1.2.3 Attach both wings to the upper and lower panels..........................................................................
3
3
3
4
5
5
6
6
Phase 1 - Assembly
q2.1 Tips on how to attach a plusnut..........................................................................................................
q2.1.1 Attach plusnut using plusnut gun...................................................................................................
q2.1.2 Attach plusnut using Ranger plusnut tool......................................................................................
q2.2 Vehicle preparation..............................................................................................................................
q2.2.1 Removing handle............................................................................................................................
q2.2.2 Removing overhead plastic............................................................................................................
q2.2.3 Driver and passenger sides preparation.........................................................................................
q2.2.4 Ceiling and oor preparation..........................................................................................................
q2.3 Contoured partition installation...........................................................................................................
q2.3.1 Attach the oor bracket in the van.................................................................................................
q2.3.2 Lift the assembled partition in the van, then bolt both sides of the partition in the van................
q2.3.3 Attach the upper panel in the van, then attach the lower panel to the oor bracket.....................
q2.3.4 Apply the warning label on the upper panel...................................................................................
7
7
7
8
8
9
10
11
12
12
13
14
15
Phase 2 - Installation
