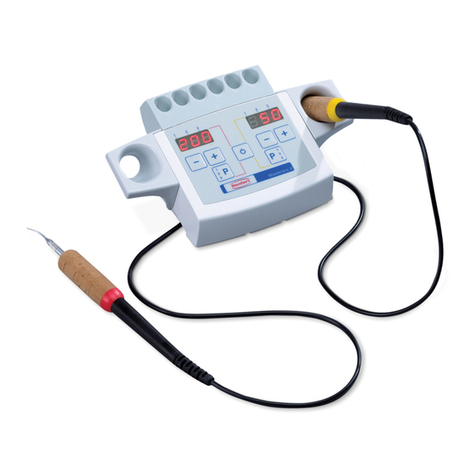
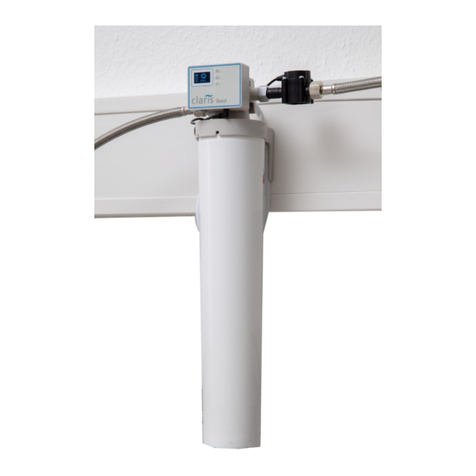
Renfert Twister User manual
Other Renfert Dental Equipment manuals
Renfert
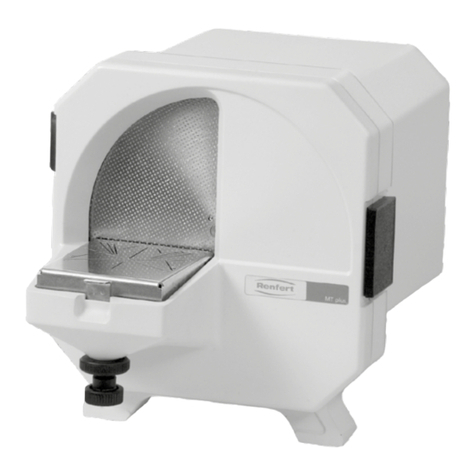
Renfert MT plus User manual

Renfert
Renfert Twister venturi User manual

Renfert
Renfert SYMPRO Operating and installation instructions
Renfert
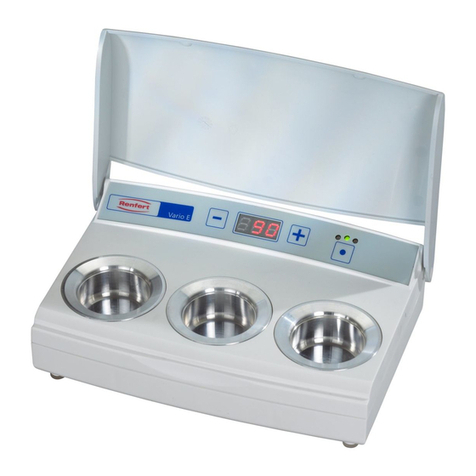
Renfert Vario E User manual

Renfert
Renfert lay:art crystal aqua xl User manual

Renfert
Renfert Millo Installation guide
Renfert
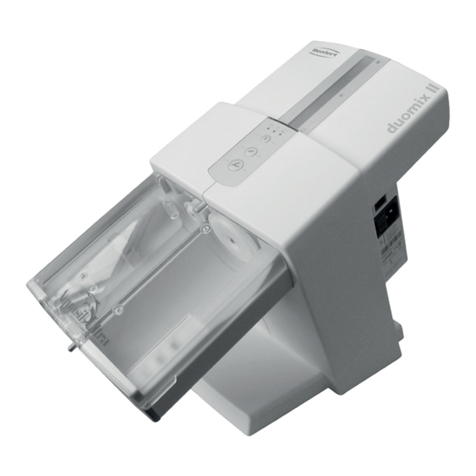
Renfert duomix II User manual
Renfert
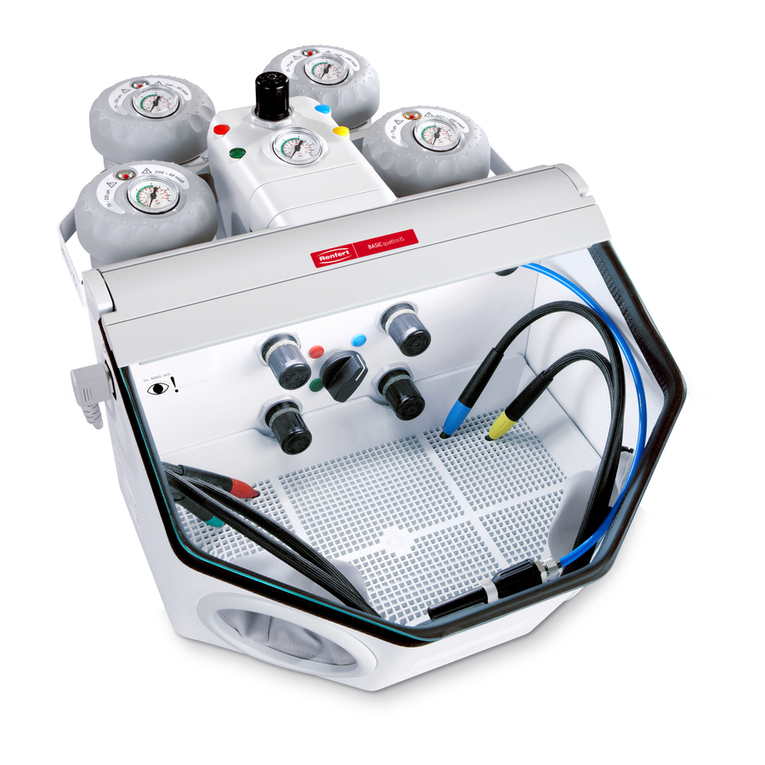
Renfert basic quattro IS Installation guide

Renfert
Renfert Twister evolution pro User manual
Renfert
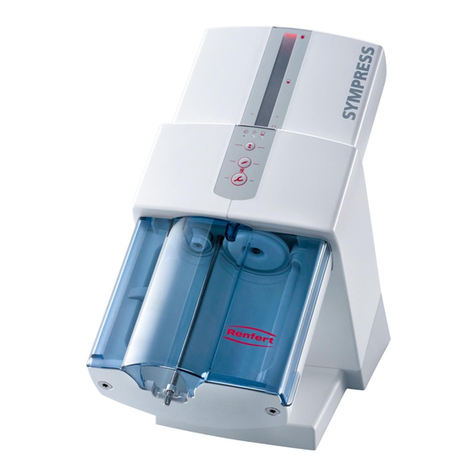
Renfert Sympress 6000-0000 User manual

Renfert
Renfert Vario basic 2960-0005 User manual

Renfert
Renfert Waxlectric light II Installation guide

Renfert
Renfert Pillo User manual

Renfert
Renfert Duomix II User manual
Renfert
Renfert Vortex compact User manual

Renfert
Renfert Basic classic User manual
Renfert
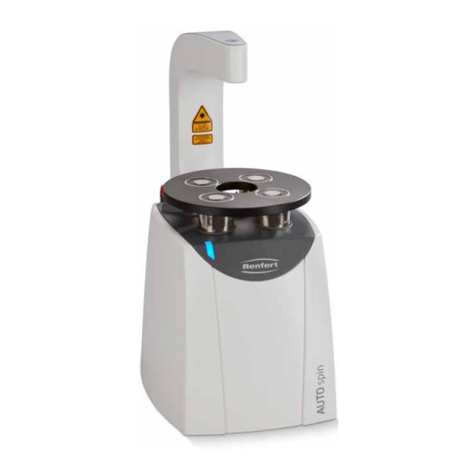
Renfert AUTO spin User manual
Renfert
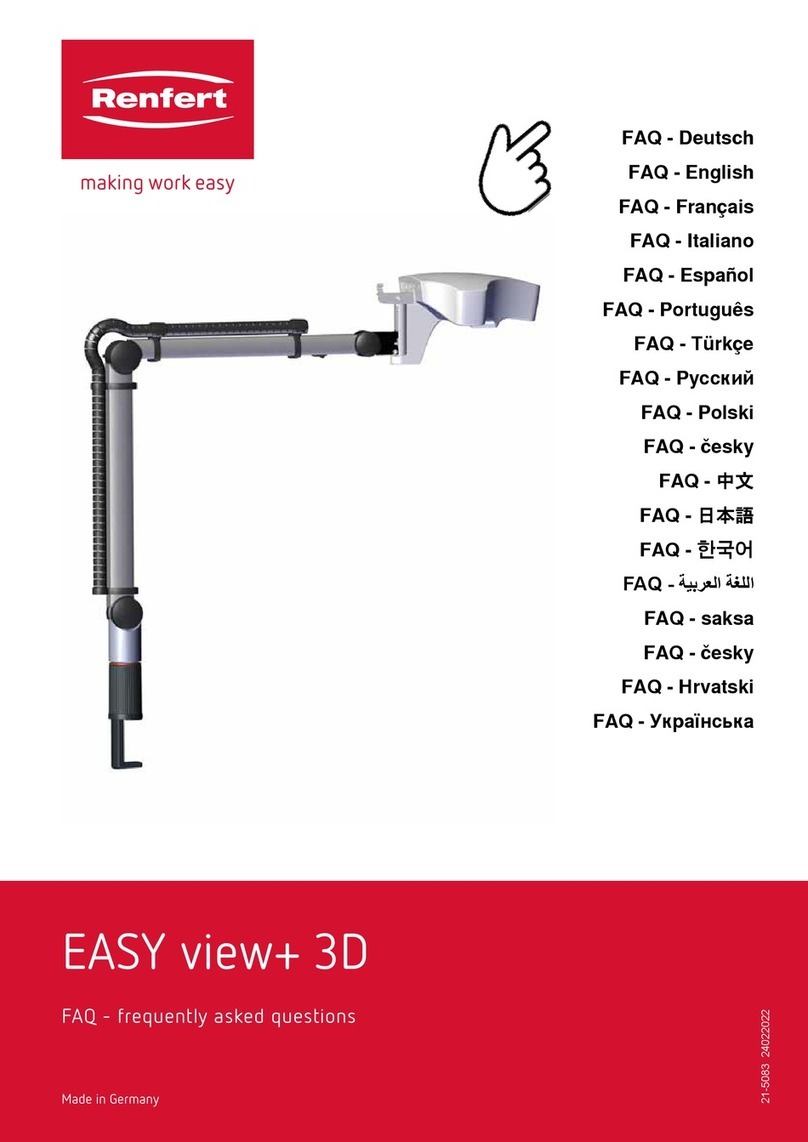
Renfert EASY view+ 3D Instruction Manual

Renfert
Renfert SYMPRO User manual
Renfert
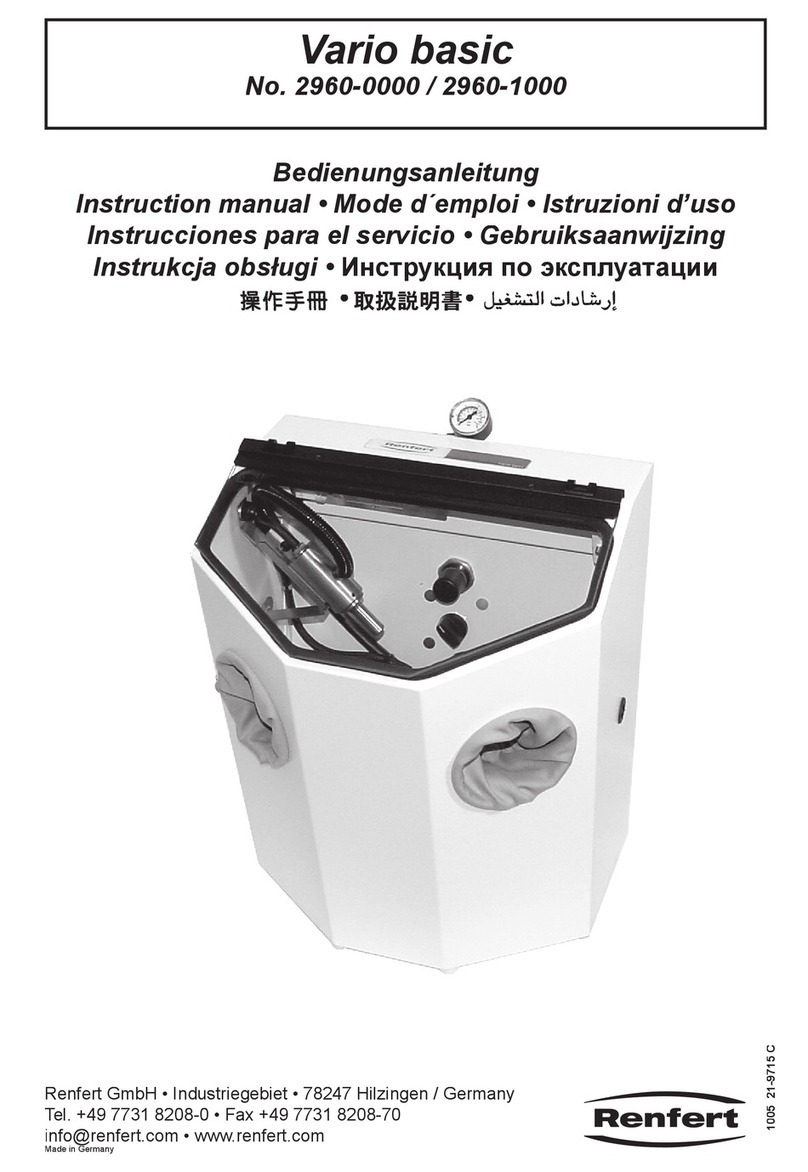
Renfert Vario basic 2960-0000 User manual
Popular Dental Equipment manuals by other brands

Vatech
Vatech EzRay Air VEX-P300 user manual

KaVo
KaVo GENTLEpower LUX Contra-angle 25 LP Technician's Instructions

DENTSPLY
DENTSPLY SmartLite Focus Instructions for use

LM
LM ProPower CombiLED quick guide

Owandy Radiology
Owandy Radiology RX-AC user manual

mectron
mectron Piezosurgery Cleaning and sterilization manual

