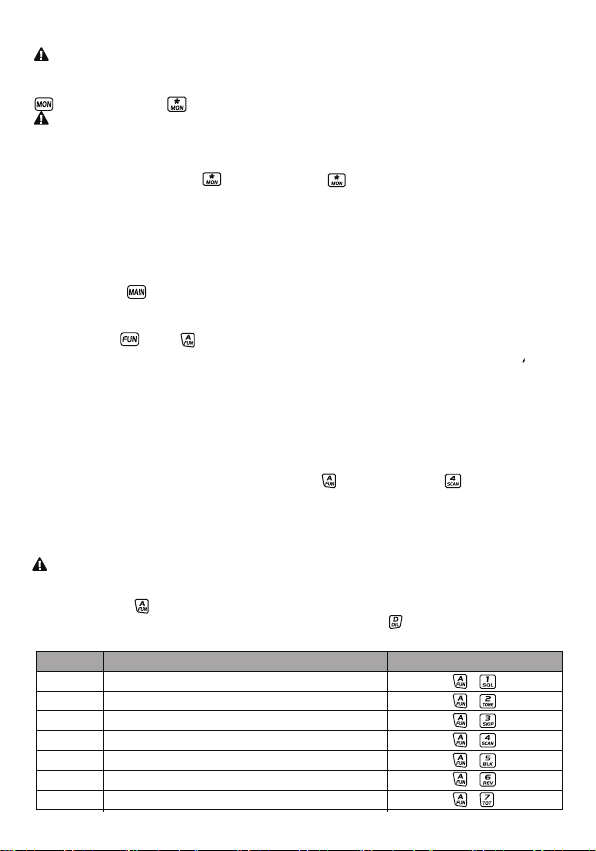
3.3 Microphone
Up /Down key
Indicator
Number key
PTT
MAC
MI C
PPT
2
1
3
4
789
ABCD
560
SQ L
TONE
SCAN
BL K REV
TO T
FUN
V/ M
MAIN
DIL
SUB RP T LA M
PO W
SKI P MO N
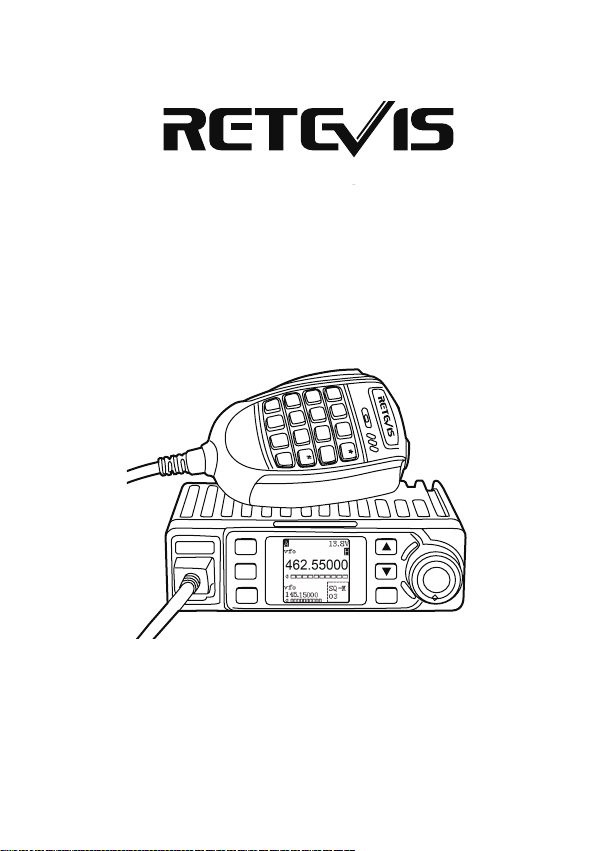
4.BASIC OPERATIONS
4.1 Switching the Power On/Off
1. Turn the Volume knob clockwise to turn on the radio, the radio LCD will display programmed text
and emit a beep sound .
2. Power Off: Turn volume knob anti-clockwise until hear "click" to turn off the radio.
4.2 Adjusting the Volume
Turn volume knob clockwise to increase colume and anti-clockwise to reduce it.
4.3 Switch between Main Channel and Sub Channel
In standby states, press the microphpne key or front panel key to switch between main
channel and sub channel. The top left corner of LCD will display current
main channel .
4.4 Adjust Channel
1. Press microphone key or front panel key to switch the radio to channel mode,press
microphone 【UP】/【DN】key or front panel /key to choose channel .
2. In channel mode, input three numbers by number key to fast choose a channel.
4.5 Adjusting Frequency
1. By number key: In VFO mode, you can input wanted frequency by the microphone number key.
For example if want 145.125Mhz, just press key 1, 4, 5, 1, 2, 5, if want 145Mhz, just press 1, 4, 5.
The input is invalid if the frequency is over range.
2. By step size: In VFO mode, press microphone 【U P 】/ 【D N 】or front panel /
key can change frequency by step size.
Step size can be programmed by software from 2.5K to 50K.
4.6 Store channel
In standby states, press the microphpne key , the top left corner will display Func ,then press
【UP】KEY , the LCD bottom left corner will display Save to XXX,
now press【U P 】/ 【D N 】key to choose a channel number, hold key to store the new
frequency and return to standby.
XXX stands for the channel number, if LCD displays “Null” under “Save TO XXX”, means
current channel is empty.
4.7 Channel Delete
1.In channel mode, press microphone key, then press 【DN】key, the LCD displays “Delete
XXX” and frequency, presss 【U P 】/ 【D N 】key to choose the channel to delete,Hold 【#
LAM】key delelte to current channel.
» “XXX” stands for the channel number, the LCD displays “Null” after chennel deleted
4.8 Receiving
Choose a receiving channel or frequency for receiving call, if the RX signal is week, hold front panel
key or microphone key to monitor weak signal.
»When the RX icon and field strength flashes, but can not hear the calling, it means current
channel receive a matching carrier but unmatching signaling. Refer toCTCSS/ DCS CODE or
Optional Signaling setup in Page 6).
4.10 Transmitting
Hold [PTT] and speak into microphone. the radio start transmit, the screen shows red TX and field
strength. Hold the microphone approximately 2.5-5.0cm from your lips and speak to microphone in
your normal speaking voice to get best timbre.
4.11 Emergency Alarm
In standby, hold key, release it until the LCD displays ALARM, the alarm function turns on.
Program emergency alarm rule shall be programmed by PC software.
4.12 Keypad Lockout
In standby, hold key or key , the radio emit Du sound, the LCD displays LOCK.Now release
the key , the keypad is locked. To turn of key lock, hold key or key untilthe radio emit Du Du, the
LOCK icon disappear. now release the key.
4.13 Transmit Tone Pulse Frequency
Hold PTT and [DN] key will transmit selected Pre-programmed tone pulse frequency.
4.14 VFO Scan and Channel Scan
1. VFO scan: In VFO mode, press microphone key or key to start VFO scan . if the radio has
programm PL1, PH1, ,PL2, PH2, PH2 frequency( in the buttom of channel list), VFO scan will
between PL1-PL2 and PL2-PH2.
2. Channel Scan: In channel mode press microphone key and then press key to start
channel scan. Channel scan setting shall be programmed by PC software.
5. SHORTCUT OPERATION
Press microphone key and then press number key TO fast enter following functions, then press
【U P 】/ 【D N 】key to choose value. Presss 【PTT】key or key to Store.
4
3
4.9 Squelch Off
In standby, press microphone key or front panel key to turn off squelch, the
radio will monitor weak signal.
4.15 VOX On/Off Control
In standby, hold key until LCD dispplays VOX icon, repeater this step or repower on
radio to turn off VOX function.
【V/M】
Note: Before turn on VOX, please set VOX level in 26th menu.
+
+
+
+
+
+
+
Combination Key
Function name
Squelch level setting
Optional signaling setting
Scan Skip
Scan
Busy channel lockout
Frequency reverse
Time out timer
NO
1
2
3
4
5
6
7
Function list