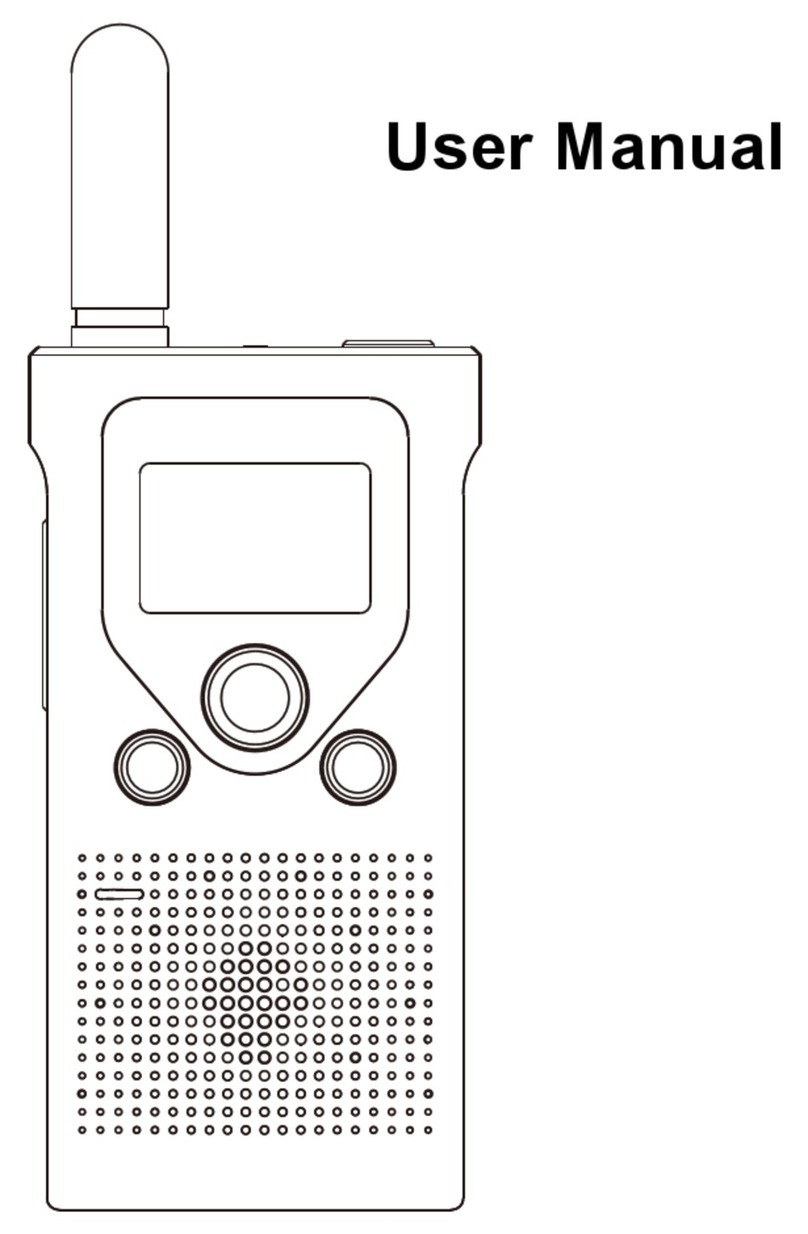
Retevis RB39 User manual

USER’S MANUAL
RB39

Contents
--------------------------------------------------------------------------------01
---------------------------------------------------------------01
----------------------------------------------------------------01
-----------------------------------------------------------------------02
------------------------------------------------------------------02
-----------------------------------------------------------04
------------------------------------------------------------05
----------------------------------------------------------------------------06
Warning
Charging precautions
Function Operations
LED indicators
Optional Functions
Technical Specifications
Factory default settings
WARNING

Warning
Please read this manual carefully before using this walkie-talkie.
·Please do not charge this walkie-talkie in areas that are flammable, explosive and where radio communication
is prohibited (e.g. petrol stations, gas stations, airports, etc.).
·Please do not operate this walkie-talkie without a licence in areas where it is prohibited by government law.
·Please make sure that the walkie-talkie is protected from sunlight and avoid placing it near any heating device.
·Please make sure this radio avoids any dusty, humid and water splashed place, and also avoids to put it near
any heating device
·If the walkie-talkie smells or smokes, please remove the battery pack from the walkie-talkie immediately, and
then contact your nearest dealer.
·The repair of this walkie-talkie is the responsibility of a professional technician and is not be dismantled by
yourself.
Charging precautions
·The charging port is a Type-C USB port.
·When charging the whole walkie-talkie, it is recommended to switch off the walkie-talkie.
·For optimum battery performance use, please charge the battery for at least 5 hours for the first time.
·Please do not charge the battery for a long time as this will shorten the life of the battery. When the battery is
fully charged, please stop charging promptly.
·This charger will only charge the battery of this walkie-talkie, please do not charge other batteries as this will
damage the charger and the battery.
·The battery pack should be stored in a cool, dry place after it has been fully charged. Please do not place the
batterry near fire or in the sun as this is a safety hazard.
·It is not recommended to transmit the walkie-talkie while the it is being charged.
·It is normal for the battery to heat up slightly during the charging process.
Function Operations
1. Antenna
2. Transmit button (PTT)
3. Menu button/programmable button
4. + button : short press for channel increase/long press for
scanning function
5. - button : short press for channel decrease/long press for
alarm function
6. Charging base contact point
7. Speaker
8. Microphone
9. Type-C USB charging port
10. Headphone/programming jack (Jianwu double-pin jack)
11. Power button /LED light
01

LED indicators
Optional Functions
1. Power on / off
•In the off state, press and hold the power button for 3 seconds to turn on the radio and broadcast the current
channel number and the current battery level.
•In the on state, press and hold the power button for 3 seconds to switch off the radio and sound the off tone.
2. Volume adjustment
When the walkie-talkie is in standby or receiving state, short press the power button to adjust the volume of the
radio, and at the same time broadcast the current volume level. The volume can be cyclically adjusted to 0-5
levels
Note: when the volume level is 0, at this time the walkie-talkie reception for the mute mode.
3. Transmitting/receiving
•When the walkie-talkie is in standby, press and hold the transmit button (PTT) to transmit the signal of the
current channel and the LED lights up red.
•Release the transmit button (PTT) to receive the signal from the same channel, the speaker sounds the call and
the LED lights up green.
Note:
•When the walkie-talkie is transmitting, please keep the walkie-talkie in a vertical position and keep the
microphone at a distance of 2.5-5 cm from the mouth. When transmitting, please keep the walkie-talkie at least
2.5 cm from your head or body.
•During the use of the walkie-talkie, there is no need to perform multiple switch-on and switch-off actions,while
adjusting the volume to a level suitable for your hearing.
Before talking on the walkie-talkie:
1. Please set the transmitter and receiver to the same frequency point.
2. Please set the transmitter and receiver to the same CTCSS/DCS for the channel you want to talk to.
4. Channel selection
When the walkie-talkie is in standby mode, short press the [+] or [-] button to select the channel and broadcast
the current channel number.
5. CTCSS/DCS
This radio supports a total of 260 CTCSS/DCS. It can be set 50 CTCSS and 105*2 DCS (N and I phases) in the
programming software (CPS).
6. High / Low power
The user can set the power level of each channel to high or low. High power enables communication with radios
at relatively long distances; and the low power enables communication with radios at close distances.
•The power level of the channel can be set to high or low by the programming software (CPS).
•The power level of the channel can also be set to high or low by using the menu keys.
Steps:
• short press the menu button to cycle, select the power menu
Secondly, the transmit power is switched between high (2W) or low (0.5W) by short pressing the [+] or [-] button.
•short press the transmit button (PTT) to exit the setting and enter standby mode.
Note: Channels 8-14 power levels are set to low and cannot be changed.
7. Call Tone
Green light flashes slowly (5sec)
Green light flashes slowly (200ms)
Red light is always on
Green light is always on
Red light flashes quickly
Green light flashes quickly
Red light flashes quickly
Green light flashes quickly
Red and green lights flash alternately
Green light double flashing
Red light double flashing
Standby status
Scan Status
Being transmited
Being received
Programming software is being operated to read data from the radio
Programming software is being operated to write data to the radio
One-touch frequency transmit mode
One-touch frequency receive mode
Being charged
Fully charged
Low power condition
LED indicator Walkie-talkie working status
02

This radio supports the Call Tone function. When the radio is in standby, double-clicking the [PTT] button will
send a call tone. During the sending process, the local speaker can hear the call tone, and other radio on the
same channel can receive the call tone.
Steps:
•Short press the menu button to cycle, select the call tone menu
•Short press the [+] or [-] button to select the call tone, there are 1-5 types to choose from.
•Short press on the transmit button (PTT) to exit the setting and enter standby mode.
8. Roger Beep
This radio supports the Roger Beep function, which sends an audible signal to the other party that the
transmission has ended. When this function is set to on, the Roger Beep can be heard on the loudspeaker when
the radio is finished.
•Short press the menu button to cycle and select the end sound menu;
•Short press the [+] or [-] button to set the transmission end tone on or off•Short press the transmit button (PTT)
to exit the setting and enter standby mode.
9. Key Beep
This radio supports the Key Beep function. When this function is set to on, a key beep will be emitted when the
radio key is operated to indicate whether the user's operation is valid.
•Short press the menu button to cycle, select the button beep menu
•Short press the [+] or [-] button to set the key tone on or off.
•Short press the transmit button (PTT) to exit the setting and enter standby mode.
10. Channel Lock
•Press and hold the [+] and [-] keys at the same time, the loudspeaker will send two beeps and the channel lock
will be on, and then the channel cannot be adjusted.
•Press and hold the [+] and [-] keys at the same time again, the speaker will send one beep and the channel lock
will be turned off, then the channel can be adjusted.
Note: The above tones are valid when the key tone is on.
11. Keylock function
•Press and hold the menu key and the [-] key of the radio at the same time, the speaker will send a key lock tone
and the key lock function will be turned on. At this time, except for the [PTT] key, all other keys cannot be
operated. A "beep" key failure tone will sound when pressed
•Press and hold the menu key and or [-] key of the radio at the same time again, the speaker will sound the
unlock tone and the lock key function will be turned off, all the keys on the radio can be operated normally.
Note: The above tones are valid when the key tone is on.
12. Channel Scan (Carrier Scan)
•In standby mode, press and hold the [+] key for more than 3 seconds to activate the channel scan function.
When a valid signal is scanned and reception stops, press the [+] key again to continue scanning.
•Press and hold the [+] key again for more than 3 seconds to turn off the channel scanning function.
13. VOX
When the vox is switched on, the radio microphone will detect a loud enough sound input and the radio will
automatically start transmitting, and will exit the transmitting mode when it stops speaking.
•The vox can be set on/off in the programming software (CPS) (menu ticked as on, default unticked).
•The vox can also be set on/off through the menu keys.
Steps:
Firstly, Short press the menu button to cycle, select the voice-activated menu.
Secondly, Short press the [+] or [-] button to set the voice control on (the corresponding voice control level is on)
or off.
Finally, short press the transmit button (PTT) to exit the setting and enter standby mode.
14. VOX Levels
The voice control level can be set to: 0-5, with level 5 being the most sensitive and level 3 being the default.
•The VOX level can be set in the programming software (CPS).
•The VOX level can also be set through the menu keys.
Steps:
Short press the menu button to cycle and select the voice-activated menu.
Short press the [+] or [-] button to set the voice control level.
Short press the launch button (PTT) to exit the setting and enter the standby state.
Note:
15. Compandor
•The Compandor function can be set on/off in the programming software (CPS) (menu ticked as always on,
default ticked).
03
Table of contents
Other Retevis Radio manuals

Retevis
Retevis RT98 User manual

Retevis
Retevis NR630 User manual

Retevis
Retevis RA87 User manual

Retevis
Retevis RB66 User manual

Retevis
Retevis RA86 User manual

Retevis
Retevis RA85 User manual

Retevis
Retevis RT98 User manual

Retevis
Retevis radio series User manual

Retevis
Retevis RT86 User manual

Retevis
Retevis RT647 User manual