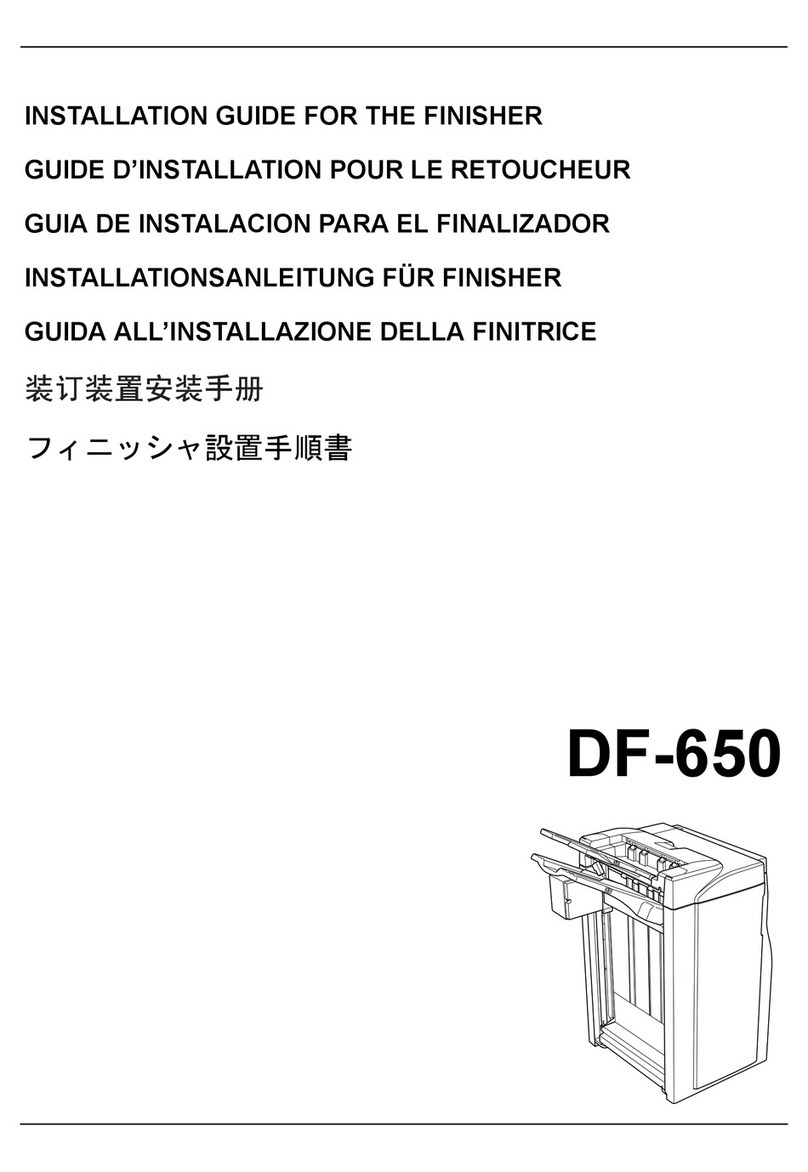
Ricoh SR790 User manual

1000-SHEET FINISHER
(Machine Code: B408)

26 July 2002 MAIN PCB
B408-1
Peripherals
1. REPLACEMENT AND ADJUSTMENT
!CAUTION
Turn off the main power switch and unplug the machine before beginning
any of the procedures in this section.
NOTE: This manual uses the following symbols.
☛: See or Refer to !: Screws ": Connector #: Clip ring
$: E-ring
1.1 MAIN PCB
1. Rear cover [A] (!x 2)
2. Main PCB [B] (!x 4, All ")
B408R110.WMF
B408R109.WMF
[B]
[A]

STAPLER UNIT 26 July 2002
B408-2
1.2 STAPLER UNIT
1. Side cover [A] (!x 2)
2. Open exit guide plate [B]
3. Upper side cover [C] (!x 2)
4. Front cover support plate [D] (!x 1)
5. Front cover [E]
6. Front inner cover [F] (!x 2)
7. Harness [G]
8. Unhook the spring [H]
9. Turn the stapler unit [I] and take it
out.
10. Bracket [J] (!x 2)
B408R102.WMF
B408R113.WMF
B408R114.WMF
[A]
[B]
[C]
[D] [E] [F]
[G]
[H]
[I]
[J]

26 July 2002 MOTORS
B408-3
Peripherals
1.3 MOTORS
1.3.1 SHIFT MOTOR
1. Rear cover (☛1.1)
2. Shift motor [A] (!x 2, "x 1)
1.3.2 STAPLER MOTOR
1. Rear cover (☛1.1)
2. Stapler motor [A] (!x 2, "x 1)
B408R123.WMF
B408R124.WMF
[A]
[A]

MOTORS 26 July 2002
B408-4
1.3.3 UPPER TRANSPORT MOTOR AND EXIT MOTOR
1. Rear cover (☛1.1)
2. Motor assembly [A] (!x 4, "x 2)
3. Upper transport motor [B] (!x 4)
4. Exit motor [C] (!x 4)
1.3.4 LOWER TRANSPORT MOTOR
1. Main PCB (☛1.1)
2. Lower transport motor [A] (!x 2, "x
1)
B408R112.WMF
B408R111.WMF
[A]
[B]
[C]
[A]

26 July 2002 MOTORS AND SENSORS
B408-5
Peripherals
1.4 MOTORS AND SENSORS
1.4.1 PREPARATION
1. Front cover and inner cover (☛1.2)
2. Upper side cover [A] (!x 2)
3. Upper tray [B] (!x 1)
4. Lower side cover [C] (!x 2)
5. Loosen the 2 screws [D].
6. Lower the lower tray guide plate [E].
7. Guide plate [F] (!x 4)
B408R116.WMF
B408R117.WMF
B408R118.WMF
[A]
[B]
[C]
[D]
[E]
[F]

MOTORS AND SENSORS 26 July 2002
B408-6
1.4.2 STACK HEIGHT SENSOR
1. Stack height sensor assembly [A] (!x
1)
2. Stack height sensor [B] ("x 1)
1.4.3 STAPLER TRAY PAPER SENSOR
1. Stapler tray paper sensor [A] ("x 1)
B408R121.WMF
B408R120.WMF
[A]
[B]
[A]

26 July 2002 MOTORS AND SENSORS
B408-7
Peripherals
1.4.4 LOWER TRAY LIFT MOTOR
1. Lower tray lift motor [A] (!x 2, "x 1)
1.4.5 STACK FEED-OUT MOTOR
1. Stack feed-out motor [A] (!x 2, "x 1)
B408R119.WMF
B408R122.WMF
[A]
[A]

JAM DETECTION 26 July 2002
B408-8
2. TROUBLESHOOTING
2.1 JAM DETECTION
Mode
Shift Staple Jam Content
✔✔Entrance sensor:
On check The entrance sensor does not turn on
within the normal time after the main
machine exit sensor turns on
✔✔Entrance sensor:
Off check The entrance sensor does not turn off
within the normal time after it turns on.
✔Lower tray exit sensor:
On check The lower tray exit sensor does not turn
on within the normal time after the
entrance sensor turns off.
✔Tray exit sensor:
Off check The tray exit sensor does not turn off
within the normal time after it turns on.
✔Stapler tray entrance sensor:
On check The stapler tray entrance sensor does
not switch on within the normal time
after the entrance sensor switched on.
✔Stapler tray entrance sensor:
Off check The staple tray entrance sensor does
not turn off within the normal time after it
turns on.
✔Lower tray exit sensor:
On check The lower exit sensor does not turn on
after the feed-out pawl feeds out the
outputs.
✔Lower tray exit sensor:
Off check The lower exit sensor turns on when the
feed-out pawl returns to its home
position after feeding out the outputs.

26 July 2002 DIP SWITCH SETTINGS
B408-9
Peripherals
3. SERVICE TABLES
3.1 DIP SWITCH SETTINGS
The DIP switches should not be set to any combination other than those listed in
the table below.
SW100
1 2 Description
0 0 Normal operation mode (Default)
1 0 Packing mode.
• Before packing the machine, do the following: Set switch 1 to 1 then back to
zero. The lower tray moves to the lowest position. Then turn off the main switch.
• After unpacking the machine, do the following: After turning the main switch back
on, the lower tray returns to home position automatically.

GENERAL LAYOUT 26 July 2002
B408-10
4. DETAILED DESCRIPTIONS
4.1 GENERAL LAYOUT
1. Upper Tray
2. Upper Tray Exit Roller
3. Entrance Roller
4. Tray Junction Gate
5. Upper Transport Roller
6. Stapler Junction Gate
7. Lower Transport Rollers
8. Stapler
9. Stack Feed-out Belt
10. Positioning Roller
11. Shift Roller
12. Lower Tray
13. Lower Tray Exit Roller
B408D101.WMF
1
2 3
4
5
6
7
8
9
10
11
12
13

26 July 2002 ELECTRICAL COMPONENT LAYOUT
B408-11
Peripherals
4.2 ELECTRICAL COMPONENT LAYOUT
1. Upper Cover Switch
2. Paper Limit Sensor
3. Entrance Sensor
4. Exit Guide Plate Motor
5. Exit Guide Plate HP Sensor
6. Front Door Safety Switch
7. Stack Height Sensor
8. Lower Tray Exit Sensor
9. Lower Tray Upper Limit Switch
10. Shift HP Sensor
11. Shift Motor
12. Jogger Fence HP Sensor
13. Positioning Roller Solenoid
14. Stapler HP Sensor
15. Stapler Tray Entrance Sensor
16. Stapler Tray Paper Sensor
17. Stapler Hammer Motor
18. Staple Sheet Sensor
19. Stack Feed-out Belt HP Sensor
20. Stapler Rotation HP Sensor
21. Staple Sensor
B408D102.WMF
B408D103.WMF
1 2 3
4
5
6
7
8
9
10
11
12
13
14
15
16
17
18
19
20
21

ELECTRICAL COMPONENT LAYOUT 26 July 2002
B408-12
22. Tray Junction Gate Solenoid
23. Lower Tray Lift Motor
24. Lower Tray Lower Limit Sensor
25. Stapler Motor
26. Jogger Fence Motor
27. Stack Feed-out Motor
28. Main Board
29. Lower Transport Motor
30. Stapler Junction Gate Solenoid
31. Exit Motor
32. Upper Transport Motor
B408D104.WMF
23
24
25
26
27
28
22
29
30
31
32

10 August, 2001 ELECTRICAL COMPONENT DESCRIPTION
B408-13
Options
4.3 ELECTRICAL COMPONENT DESCRIPTION
Symbol Name Function Index No.
Motors
M1 Upper
Transport
Drives the entrance roller, upper transport
rollers, and upper exit tray rollers. 32
M2 Lower
Transport
Drives the lower transport rollers and
positioning roller. 29
M3 Jogger Fence Drives the jogger fences. 26
M4 Staple Hammer Drives the staple hammer. 17
M5 Stack Feed-out Drives the stack feed-out belt. 27
M6 Exit Guide Plate Opens and closes the exit guide plate. 4
M7 Exit Drives the lower tray exit rollers and the shift
roller. 31
M8 Lower Tray Lift Moves the lower tray up or down. 23
M9 Shift Moves the shift roller from side to side. 11
M10 Stapler Moves the stapler unit from side to side. 25
Sensors
S1 Entrance Detects copy paper entering the finisher and
checks for misfeeds. 3
S2 Paper Limit Detects when the paper stack height in the
upper tray is at its limit. 2
S3 Jogger Fence
HP
Detects when the jogger fence is at home
position. 12
S4 Shift HP Detects when the shift roller is at home position. 10
S5 Stack Feed-out
Belt HP
Detects when the stack feed-out belt is at home
position. 19
S6 Stapler HP Detects when the stapler is at home position. 14
S7 Exit Guide Plate
HP
Detects when the exit guide plate is at home
position. 5
S8 Stapler Tray
Entrance
Detects copy paper entering the stapler tray and
checks for misfeeds. 15
S9 Lower Tray Exit Checks for misfeeds. 8
S10 Stack Height Detects the top of the copy paper stack. 7
S11 Lower Tray
Lower Limit
Detects when lower tray is at its lower limit
position. 24
S12 Stapler Tray
Paper
Detects when there is copy paper in the stapler
tray. 16
S13 Staple Sheet Detects the leading edge of the staple sheet. 18
S14 Stapler Rotation
HP
Detects when the staple hammer is at home
position. 20
S15 Staple Detects whether there are staples in the staple
cartridge. 21
Solenoids
SOL1 Tray Junction
Gate
Drives the tray junction gate. 22
SOL2 Stapler Junction
Gate
Drives the stapler junction gate. 30

ELECTRICAL COMPONENT DESCRIPTION 26 July 2002
B408-14
Symbol Name Function Index No.
SOL3 Positioning
Roller Moves the positioning roller. 13
Switches
SW1 Lower Tray
Upper Limit Detects when the lower tray is at its upper limit
position. 9
SW2 Front Door
Safety Cuts the dc power when the front door is
opened. 6
SW3 Upper Cover Cuts the dc power when the upper cover is
opened. 1
PCBs
PCB1 Main Controls the finisher and communicates with the
copier/printer. 28

26 July 2002 DRIVE LAYOUT
B408-15
Peripherals
4.4 DRIVE LAYOUT
1. Exit Motor
2. Upper Transport Motor
3. Lower Transport Motor
4. Shift Motor
5. Exit Guide Plate Motor
6. Lower Tray Lift Motor
7. Stack Feed-out Motor
8. Jogger Motor
9. Stapler Motor
B408D105.WMF B408D106.WMF
B408D107.WMF
1
3
24 5
6
7
8
9

JUNCTION GATES 26 July 2002
B408-16
4.5 JUNCTION GATES
Depending on the finishing mode, the copies are directed up, straight through, or
down by the combination of the tray junction gate [A] and stapler junction gate [B].
These gates are controlled by the tray junction gate solenoid [C] and stapler
junction gate solenoid [D].
Upper Tray Mode
The tray junction gate solenoid remains off. The copies go up to the upper tray.
Sort/Stack Mode
The tray junction gate solenoid turns on and the stapler junction gate solenoid
remains off. The copies are sent to the lower tray directly.
Staple Mode
The tray junction gate solenoid and the stapler junction gate solenoid both turn on.
The copies go down to the jogger unit.
B408D108.WMF
[A]
[B]
[C]
[D]

26 July 2002 UPPER TRAY
B408-17
Peripherals
4.6 UPPER TRAY
When the paper limit sensor [A] switches on during feed-out for each of three
consecutive sheets of paper, paper overflow is detected.
B408D109.WMF
[A]

LOWER TRAY UP/DOWN MECHANISMS 26 July 2002
B408-18
4.7 LOWER TRAY UP/DOWN MECHANISMS
The vertical position of the lower tray [A] depends on the height of the copied paper
stack on the lower tray. The stack height sensor feeler [B] contacts the top of the
stack, and the lower tray lift motor [C] controls the tray height.
When the lower tray reaches its lowest possible position, the actuator [D] turns on
the lower tray lower limit sensor [E], and copying stops.
Tray Up
When the copy paper on the tray is removed, the stack height sensor [F] turns off
and the tray lifts up. Then, the tray stops when the sensor turns on again (the tray
pushes up the feeler).
If the stack height sensor fails, the lower tray upper limit switch [G] detects the tray
and stops the motor. This is a safety measure against stack height sensor failure.
Sort/Stack Mode (Tray Down)
Every five sheets of paper, the tray goes down until the sensor turns off again.
Then, it goes up until the sensor is on again.
Staple Mode (Tray Down)
After a stapled copy is fed out, the tray goes up for 220 ms and stops for 300 ms.
Then, it goes down for 1 second, waits for 500 ms, then goes up until the sensor
turns on.
B408D112.WMF
[E]
[D]
[A]
[C]
[G] [B] [F]

26 July 2002 PAPER SHIFT MECHANISM
B408-19
Peripherals
4.8 PAPER SHIFT MECHANISM
In the sort/stack mode, the shift roller [A] moves from side to side to separate the
sets of copies.
The horizontal position of the shift roller is controlled by the shift motor [B] and the
shift gear disk [C]. After the trailing edge of the copy passes the upper transport
roller, the shift motor turns on, driving the shift gear disk and the link [D].
After the paper is delivered to the lower tray [E], the shift roller moves to its home
position, which is detected by the shift HP sensor [F]. Then, when the trailing edge
of the next copy passes the upper transport roller, the shift roller shifts again. This
operation is done every sheet.
When the trailing edge of each page in the next set of copies passes the upper
transport roller, the shift roller shifts in the opposite direction.
B408D110.WMF
[A]
[B]
[F] [C]
[E]
[D]
Table of contents
Other Ricoh Finisher manuals

Ricoh
Ricoh SR4110 Quick start guide

Ricoh
Ricoh SR3300 Quick start guide

Ricoh
Ricoh SR3290 Quick start guide

Ricoh
Ricoh SR5060 Quick start guide

Ricoh
Ricoh SR3270 Quick start guide

Ricoh
Ricoh Rh 100 User manual

Ricoh
Ricoh FS-108R User manual

Ricoh
Ricoh SR4120 Quick start guide

Ricoh
Ricoh DDP 92 User manual

Ricoh
Ricoh DDP70 User manual