manuals.online logo
Brands
  1. Home
  2. •
  3. Brands
  4. •
  5. Rielta
  6. •
  7. Security Sensor
  8. •
  9. Rielta C.Nord CN-Glass User manual

Rielta C.Nord CN-Glass User manual

WIRELESS GLASS BREAK
DETECTOR
«CN-Glass»
Introduction
The detector «CN-Glass» (hereinafter, the Detector):
- is intended for detecting destruction of all known kinds of
construction glass: common, quenched, patterned, armored, multilayer
and laminated with polymer film, glass units, as well as hollow glass
blocks installed in structural units (openings) and/or interior elements
of closed spaces;
- transmits status messages via two-way communication in the 433.05
to 434.79 MHz frequency range to the control panel (hereinafter, CP)
supporting the «CN-Contact-R» wireless communication protocol;
- provides case and wall tamper protection;
- may be installed on the wall, ceiling or on a pier between the
monitored glass and curtains;
- ensures remote monitoring of controlled glazed structures of any
shape;
- provides multilevel microprocessor signal processing and functional
self-test;
- adjusts the sensitivity depending on the interference situation at
the monitored facility;
- operates at one of 4 possible operating frequencies;
- automatically switches over backup frequency in case of impairment
of interference conditions at the main operating frequency;
- is able to switch on and off an identification and status LED indication
by the CP relevant command.
Field of Application
The Detector can be applied in offices, shops, museums, exhibition
halls, banks, accommodation rooms, etc.
Specifications
Table 1
Parameter Value
Maximum detection range 6 m
Angle of coverage 120о
Installation height at least 2 m (see Figures 3 – 7)
Operating temperatures range
from minus 20 to +45
°С
Relative air humidity at 25 °С
up to 90 %
Broadcast period (programmed during the
CB binding) 10 sec to 10 min
Weight (without power batteries) maximum 0.1 kg
Dimensions
maximum 105 x 50 x 40 mm
Battery life (under normal conditions, and
messages transmitting period not less than
30 sec)
up to 3 years
IP rating IP30
Binding with the CP
The binding procedure is intended for the logging of the Detector in
the CP (repeater), assignment it’s number, address and the operating
frequency chosen for this CP, initialization of the data coding system
and exchange of service information.
1 Install the СR2032 backup power supply battery into the holder
located on the reverse side of the Detector PCB.
2 Install the PCB into the Detector case, thereafter install the СR123А
main power supply battery.
3 LED indicator blinking green displays the Detector readiness to the
binding procedure.
In case of the LED indication absence, the Detector should be
transferred to the «Binding» mode by closing the «RESET» contacts
until the green LED indicator starts blinking.
4 In case of successful binding with the CP (repeater), the LED
indicator blinks red for 1 sec.
5 The binding procedure is limited up to 100 sec, whereupon the
Detector transfers to the sleep mode. To restart the «Binding» mode
close «RESET» contacts for a short time.
Note – The zone number is determined in accordance to the CP
user manual.
Installation Guide
LED Indication
Table 2
Detector Status
Indication
«Binding» mode LED indicator blinking green periodically
«Alarm»
LED indicator single time blinking red
«Tamper» see section «Communication Quality Appraisal»
«Identification» LED indicators alternate blinking red and green
«Adjustment»
LED indicator blinking green every 1 sec under the DIP-
switch
«
3
»
is ON
«Interference»the LED indicator lights up green
Choosing the Detector Location
Before installing the Detector, get acquainted with the following
requirements:
- it is recommended to install the Detector at least 2 m height (see
examples of installation in Figures 3 – 7);
- when choosing the place of installation, the Detector detection zone
location must be taken into account (Figure 1);
- distance (L) between the Detector and the farthest point of the
monitored glass should not exceed 6 m;
- during joint operation with an active ultrasonic Detector, distance
between Detectors must be not less than 1 m;
- the entire surface of the monitored glass should be available within
the direct visibility of the Detector.
The Detector must be located within the radio visibility zone of
it’s repeater; therefore, it is recommended to estimate the quality of
communication with the CP (repeater).
Top View
Side View
L
L
90о
45о
120
о
Figure 1 – Detection Pattern
Communication Quality Appraising
To estimate the communication quality:
1 Place the Detector on it’s installation place;
2 Press the Detector tightly to a hard surface in order to close the
tamper output;
3 Remove the Detector cover. Whereupon the Detector transmits
a tamper message (the LED indicator lights red) and then the LED
indicator displays communication quality with the CP by a three-grade
scale (see Table 3).
Table 3
LED Indication Communication
Quality Appraisal
Recommendations
Color Mode
Green Three blinks Excellent
Install the Detector at
this place
Green Two blinks Good
Green One blink Communication
established
Choose another place
for installation or use a
repeater*)
Red Four blinks No communication
*) – «CN-Repeater»
Installation of the Detector
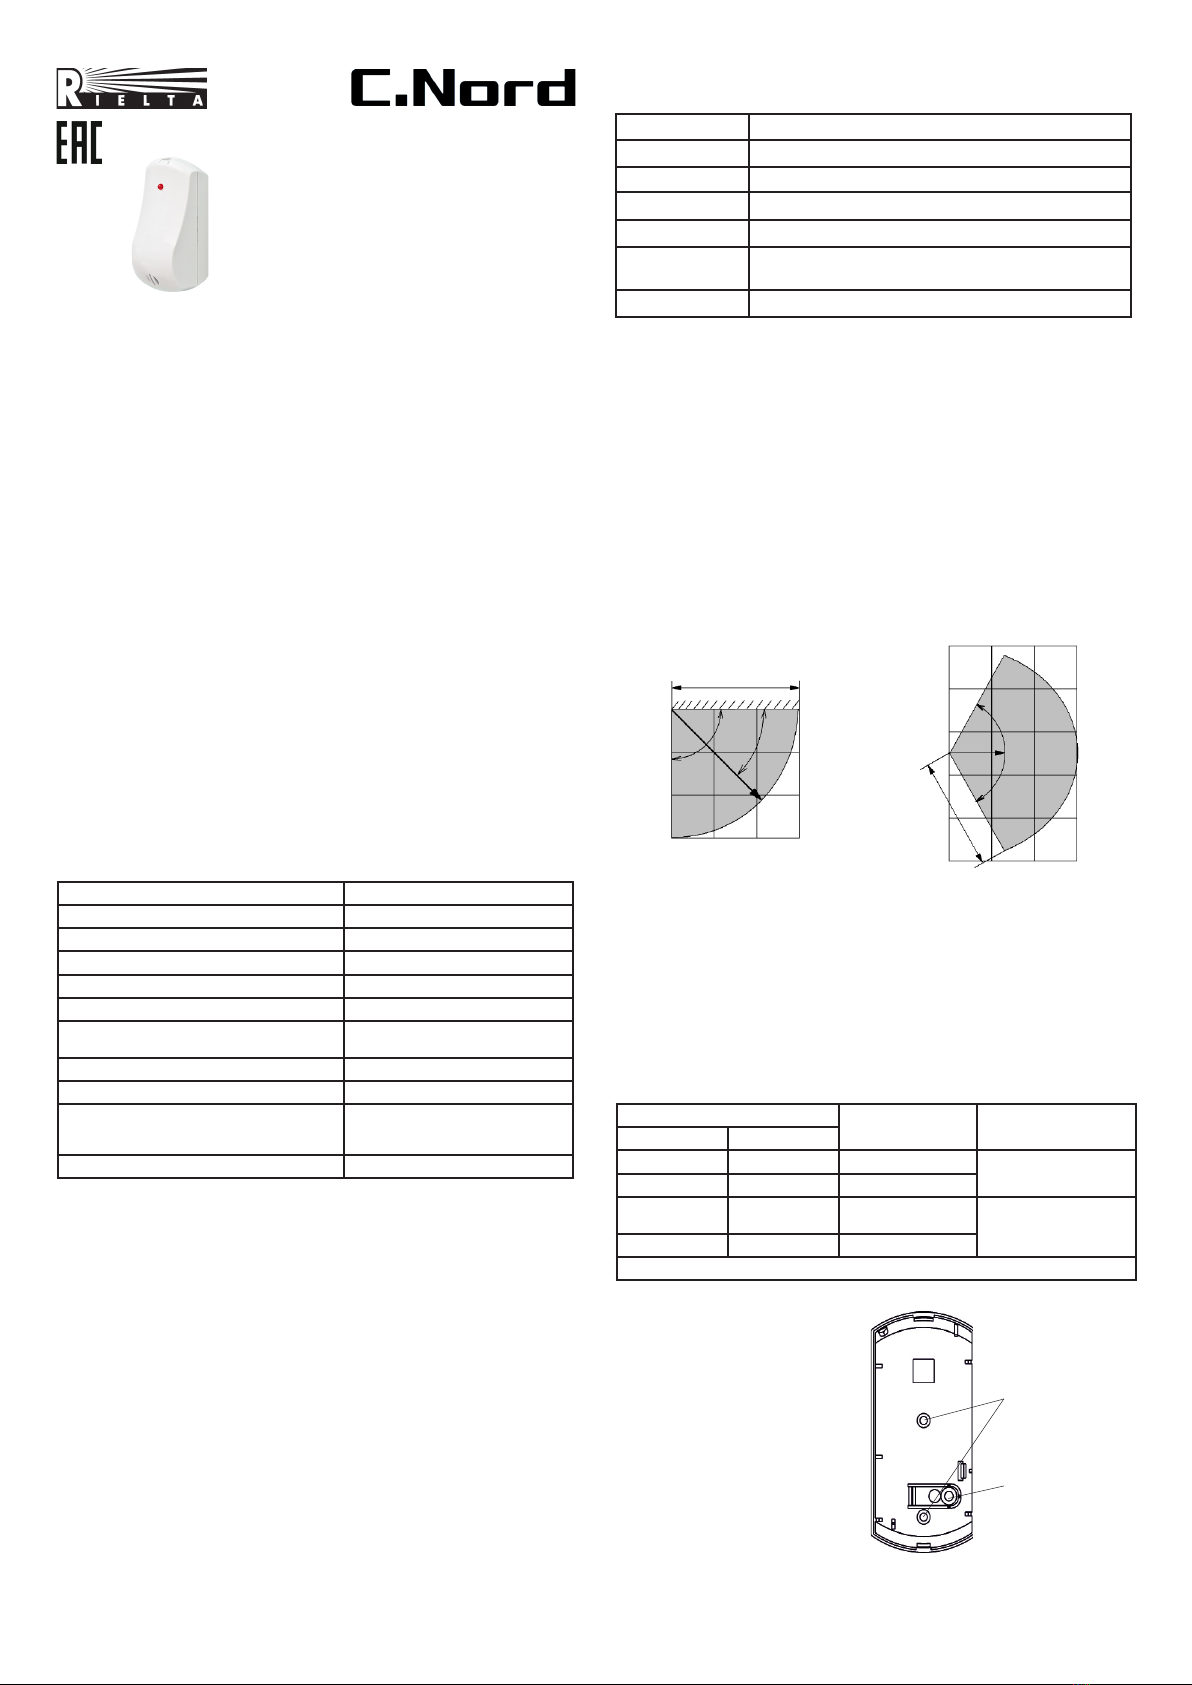
Main fixation holes
for Detector
installation on the
mounting surface
Figure 2 – The Detector Base
Remove the cover and PCB
of the Detector and fasten
the Detector with the help of
screws. Choose the place of
the Detector installation and
mark out its fastenings using
the Detector base (
Figure
2)
for the purpose. Fix the base
by the screws (supplied).
To ensure the tamper
control, the first screw should
be screwed into the opening (1)
at the base center, the second
one must be screwed in a hole
under the wall tamper (2).
Tamper clip hole
1
2
Rev. 3 of 14.09.16
№
00164
3 After the Detector energizing, self-testing process is activated. The
process is accompanied by the LED indicator blinking once per second.
The LED indicator blinking red for 30 sec means a possible fault.
In case of the situation repeat after the Detector is restarted, it is
recommended to substitute the Detector.
4 The «DISARM» command ensures sound processing blocking in
order to avoid false alarm in the rooms during labor hours and to save
the battery charge. The «ARM» command transfers the Detector to
a standby mode.
5 The «Identification» command allows to find the Detector assigned
to the respective monitored zone.
Scope of Delivery
Each Detector unit package contains the items listed in Table 6.
Table 6
Description QNT
Wireless glass break detector «CN-Glass»
Screw 3-3х30.016
CR123A lithiun power supply battery
CR2032 lithiun power supply battery
Wireless glass break detector «CN-Glass». Installation Guide
1 pc.
2 pcs.
1 pc.
1 pc.
1 copy
Storage and Transportation
1 The detectors in original package may be transported by any means
of transportation in closed vehicles over any distances in compliance
with the existing shipping rules concerning the respective means of
transportation.
2 Storage conditions of the detectors: storage premises should not
contain any current-conducting dust, acid and alkali fumes, as well
as corrosive gases or those destroying insulation.
Manufacturer’s Guarantees
«RIELTA» JSC guarantees conformity of the Detector to it’s Technical
Specifications if conditions of transportation, storage, assembling and
operation are observed. The guaranteed storage period is 63 months
since the date of manufacturing the Detector.
The guaranteed period of operation is 60 months since the date of
commissioning within the storage period guaranteed.
For guaranteed maintenance, please contact:
«С.Nord»STCF
Russia, 190020, St. Petersburg,
Obvodny Channel emb., 199-201, build.13, BC «Obvodny Dvor»
Phone: (812) 327-16-36
E-mail: [email protected], [email protected], www.cnord.ru
Note – Warranty obligations do not apply to the power supply
batteries.
Packing Certificate
The Detector «CN-Glass» has been manufactured in compliance
with the active technical documentation, classified as fit for operation
and packed by «RIELTA» JSC.
Packing date _______________________________
month, year
Detector Installation Examples
Correct Detector installation options see Figures 3 – 7, the incorrect one – Figure 8
Adjustment
Set the «1», «2» and «3» DIP-switches to the OFF position. Install
the power supply batteries. Estimate the interference situation in the
room (the green LED indicator should not light up).
The green indicator lighting up means the high level of interference
in the room. Remove the interference sources if possible.
Execute adjustment of the Detector as follows:
- set the «1», «2» DIP-switches to the ON position. After it shift
DIP-switch «3» to the ON position – the «Adjustment» mode is
displayted by the green LED indicator blinking once per second;
- close the cover;
- suspend a steel ball 21 – 22 mm in diameter on a 35 cm long thread
near the farthest part of the monitored glass (ordinary, ornamental,
armed, laminated), deflect it at an angle of 30 – 70° (see Table 4, 45°
for hollow glass blocks). When the green LED indicator switches on,
deliver a test blow.
Table 4
Glass thickness, mm <3 3...4 4...5
5...6
6...7 >7
Ball deflection angle for ordinary,
armed and ornamental glass,
о
30 35 40 45 50 55
Ball deflection angle for hardened
and laminated glass
,
о
45 50 55 60 65 70
In case the CP does not receive an alarm message after test blows,
the Detector sensitivity must be increased by DIP-switches «1» and
«2» (see Table 5).
Table 5
DIP-switch Position Detector Operating Mode
1 2 3
ON
OFF
ON
OFF
OFF
ON
ON
OFF
Sensitivity (detection
range) adjustment
Decrease by 6 dB
Decrease by 12 dB
Decrease by 18 dB (min)
Max. sensitivity
OFF
ON
Standby mode
Acoustic channel setting
- this method produces the most reliable results; however, for
adjustment the Detector for monitoring a multilayer glass or a
small area of glass, it is allowed to use an AFT-100 type electronic
glass break simulator manufactured by the «DSC»company in the
«Plat/Singl» mode or an APC type glass break simulator manufactured
by the «Argus Security»company. Besides, a simulator should be used
for adjustment the Detector to multi-glazed windows;
- check the correctness of the Detector adjustment with the Detector
cover installed;
- after completing the Detector adjustment, set DIP-switch «3» to
the OFF position.
Features and Recommendations
1 The Detector backup power supply is energized whereas the main
battery is installed.
2 The LED indication is switched off automatically in 10 minutes
after the cover is closed. To restore the LED indication lighting it is
enough to open the cover.
Figure 3 – Installing the Detector
on the Ceiling
Detector
max. 6 m
Detector
Figure 5 –Installing the Detector on
the Opposite Wall
Figure 4 – Installing the Detector on
a Side Wall
min. 2 m
max. 6 m
Detector
max. 6 m
min. 2 m
Detector
min. 2 m
max. 6 m
min. 2 m
Figure 8 – Unauthorized Detector
Installation Places
Detector
max. 6 m
Figure 7 – Detector Installation
between the Glass and the Curtains
(Blinds) or on a Window Frame
Figure 6 – Installing the Detector on the Ceiling
(for window openings in the neighboring
walls monitoring)
Detector
max. 6 m
By order of «С.Nord» STCF, www.cnord.ru
Russia, 190020, St. Petersburg,
Obvodny Channel emb., 199-201, build.13, BC «Obvodny Dvor»,
Phone: (812) 327-16-36, [email protected]
Technical support: [email protected], http://support.cnord.ru
Made in Russia
The Manufacturer: «RIELTA» JSC, www.rielta.com
Russia, 197101, St. Petersburg, Chapaeva str., 17
Phone /fax: +7 (812) 233-03-02, 703-13-60, [email protected]
Technical support: phone +7 (812) 233-29-53, 703-13-57, [email protected]

Other Rielta Security Sensor manuals

Rielta FOTON-10MD User manual

Rielta

Rielta FOTON-10MD User manual

Rielta Ladoga MK-RK User manual

Rielta

Rielta Ladoga MK-RK User manual

Rielta STZ-RK User manual

Rielta

Rielta STZ-RK User manual

Rielta C.Nord CN-PIR User manual

Rielta

Rielta C.Nord CN-PIR User manual

Rielta ZVON-1 User manual

Rielta

Rielta ZVON-1 User manual

Rielta Ladoga MK-RK User manual

Rielta

Rielta Ladoga MK-RK User manual

Rielta PYRONE-4i User manual

Rielta

Rielta PYRONE-4i User manual

Rielta PYRONE-SH2-RK User manual

Rielta

Rielta PYRONE-SH2-RK User manual

Rielta FOTON-SH2-RK User manual

Rielta

Rielta FOTON-SH2-RK User manual

Rielta PYRONE-8-RK User manual

Rielta

Rielta PYRONE-8-RK User manual

Rielta PYRONE-8B-RK User manual

Rielta

Rielta PYRONE-8B-RK User manual

Rielta Pyrone-4RK User manual

Rielta

Rielta Pyrone-4RK User manual

Rielta PYRONE-SH2-RK User manual

Rielta

Rielta PYRONE-SH2-RK User manual

Rielta CELSIUS-RK User manual

Rielta

Rielta CELSIUS-RK User manual

Rielta FOTON-16A User manual

Rielta

Rielta FOTON-16A User manual

Rielta FOTON-10B User manual

Rielta

Rielta FOTON-10B User manual

Rielta OCHRANA Ladoga MK-RK User manual

Rielta

Rielta OCHRANA Ladoga MK-RK User manual

Rielta OCHRANA ORLAN User manual

Rielta

Rielta OCHRANA ORLAN User manual

Rielta FOTON-16B User manual

Rielta

Rielta FOTON-16B User manual

Rielta STEKLO-3RK User manual

Rielta

Rielta STEKLO-3RK User manual

Rielta PYRONE-SH User manual

Rielta

Rielta PYRONE-SH User manual

Rielta STEKLO-3M User manual

Rielta

Rielta STEKLO-3M User manual

Rielta Pyrone-4D User manual

Rielta

Rielta Pyrone-4D User manual

Rielta FOTON-15A User manual

Rielta

Rielta FOTON-15A User manual

Popular Security Sensor manuals by other brands

Eaton CEAG GuideLed Cinema 11011 CG-S Mounting and operating instructions

Eaton

Eaton CEAG GuideLed Cinema 11011 CG-S Mounting and operating instructions

Raypak Latching Lockout Module C-5 product manual

Raypak

Raypak Latching Lockout Module C-5 product manual

RKI Instruments 82-5223 Operator's manual

RKI Instruments

RKI Instruments 82-5223 Operator's manual

e2v CCD42-90 manual

e2v

e2v CCD42-90 manual

Amprobe TMULD-300 user manual

Amprobe

Amprobe TMULD-300 user manual

Drive 12036-ADJ manual

Drive

Drive 12036-ADJ manual

THORLABS PDA30B user guide

THORLABS

THORLABS PDA30B user guide

Cardin Elettronica CDR 871 manual

Cardin Elettronica

Cardin Elettronica CDR 871 manual

Tyco WS4933 Series Installation and operating instructions

Tyco

Tyco WS4933 Series Installation and operating instructions

Thermo Scientific Dionex UltiMate 3000 Series operating instructions

Thermo Scientific

Thermo Scientific Dionex UltiMate 3000 Series operating instructions

Perfect Prime MW0002 instruction manual

Perfect Prime

Perfect Prime MW0002 instruction manual

Dors 145 user manual

Dors

Dors 145 user manual

jablotron JA-83M manual

jablotron

jablotron JA-83M manual

Honeywell Home VISTA-GSM4G Installation and setup guide

Honeywell Home

Honeywell Home VISTA-GSM4G Installation and setup guide

UTC Fire and Security Det-Tronics X2200 instructions

UTC Fire and Security

UTC Fire and Security Det-Tronics X2200 instructions

Nordson X9800 manual

Nordson

Nordson X9800 manual

Chamberlain CWPIPR manual

Chamberlain

Chamberlain CWPIPR manual

RBR ecom LSG Service manual

RBR

RBR ecom LSG Service manual

manuals.online logo
manuals.online logoBrands
  • About & Mission
  • Contact us
  • Privacy Policy
  • Terms and Conditions

Copyright 2025 Manuals.Online. All Rights Reserved.