manuals.online logo
Brands
  1. Home
  2. •
  3. Brands
  4. •
  5. Rielta
  6. •
  7. Security Sensor
  8. •
  9. Rielta ZVON-1 User manual

Rielta ZVON-1 User manual

1 Introduction
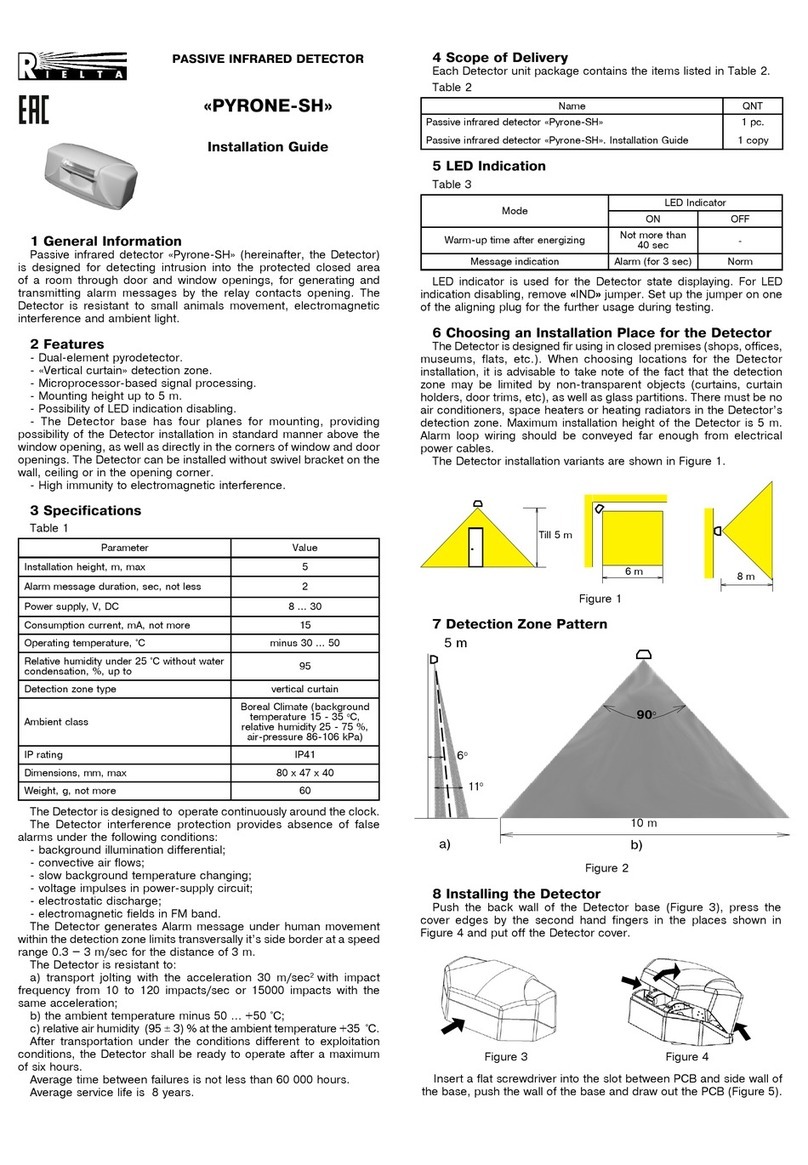
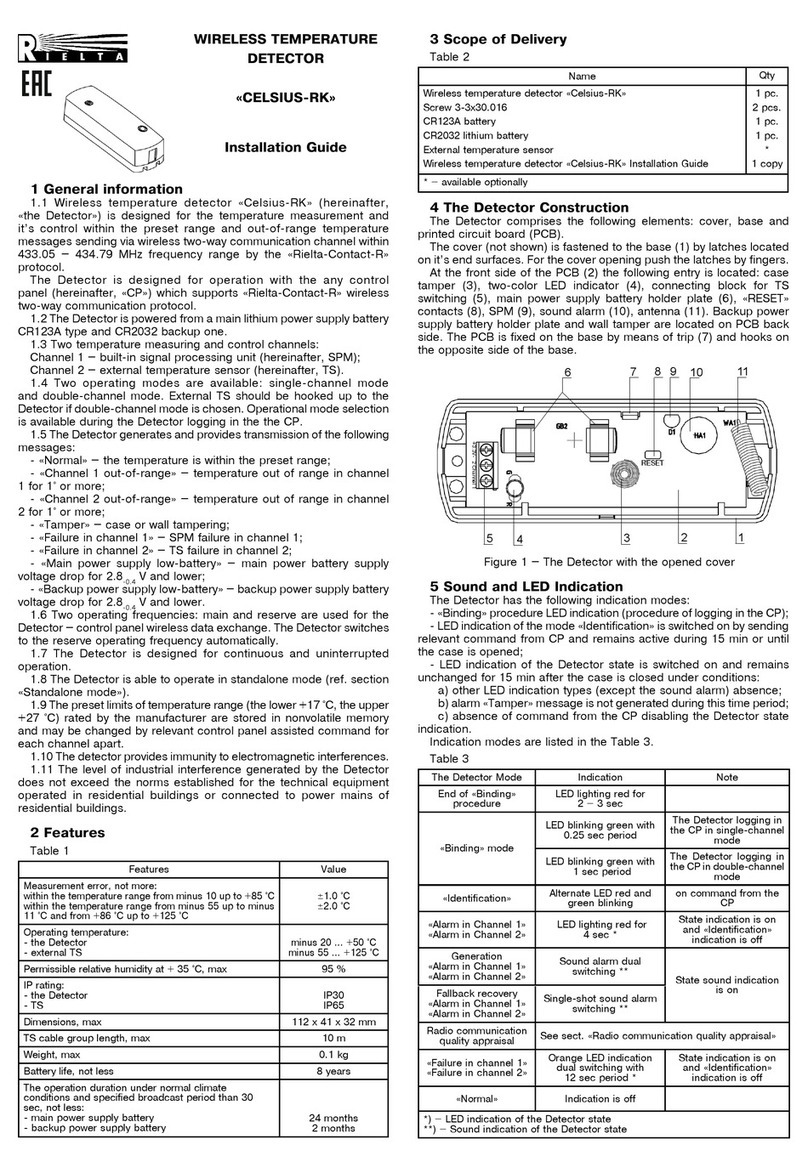
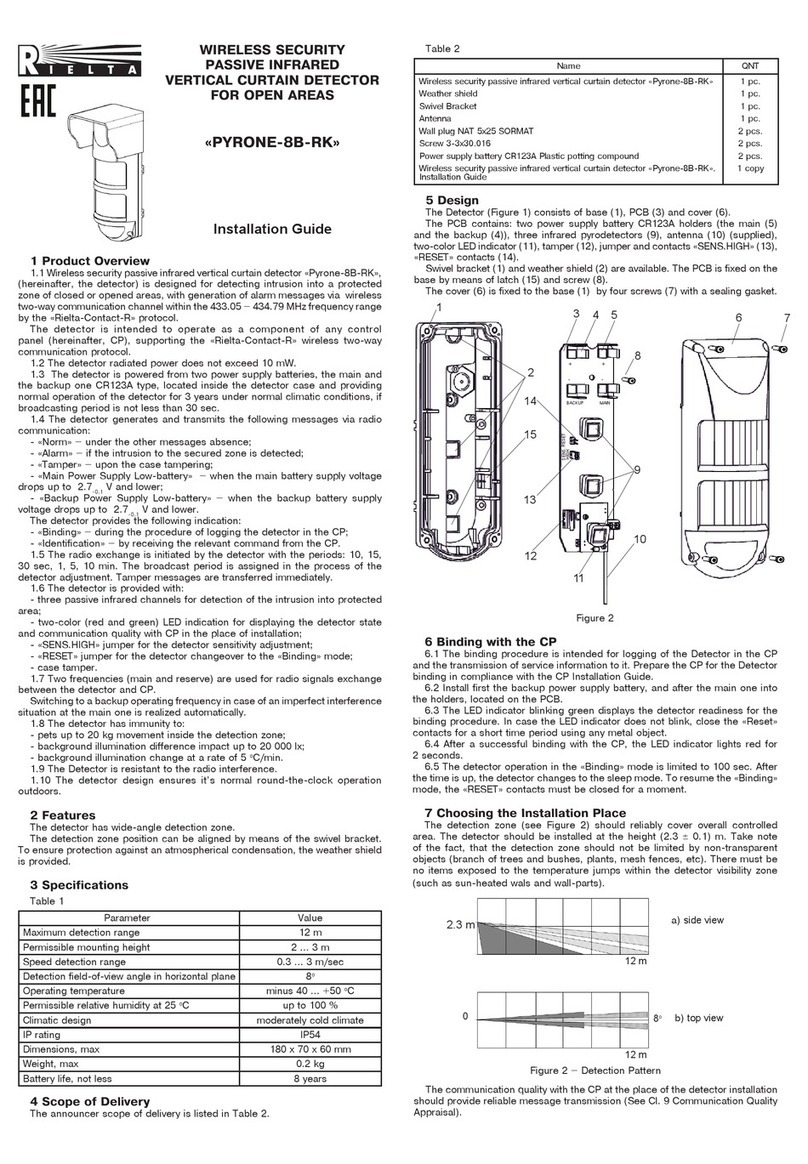
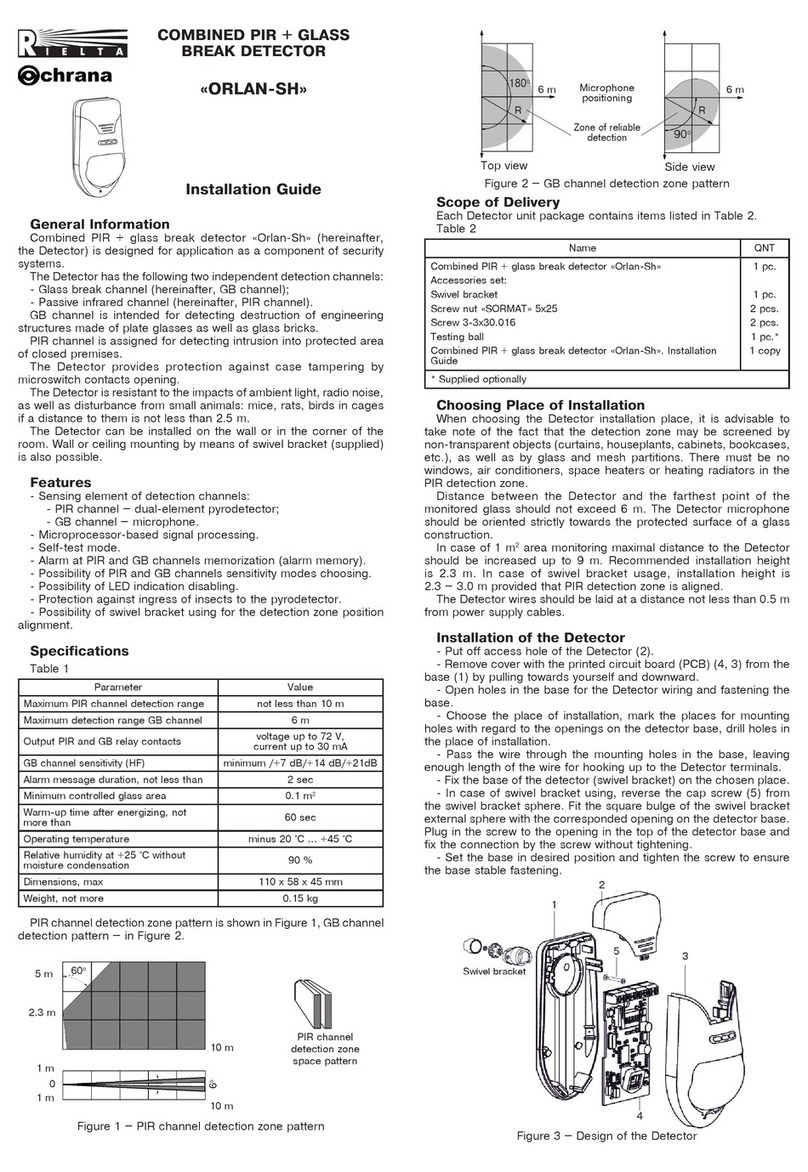
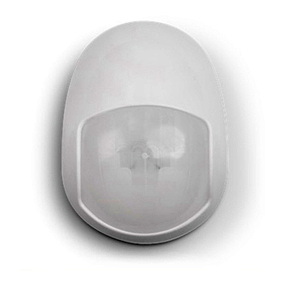
Glass break detector «Zvon-1» ver. 1 (hereinafter, the Detector) is
designed to provide the following tasks performance:
- detecting destruction of construction glass: common and laminated
with polymer film, installed in structural units (openings) and/or interior
elements of closed spaces;
- generates alarm messages by alarm loop contacts opening;
- generates tamper message by «TAMPER» contacts opening;
- possibility of wall or ceiling installation, as well as installation at
partition between secured glass and a curtain.
2 Specifications
Table 1
Parameter Value
Maximal detection range, not less than:
- at minimum monitored glass area 0,1 m2
- at minimum monitored glass area 1 m2
6 m
10 m
Power supply
9 … 17 V DC
Warm up time
3 sec
Alarm message duration, not less than 2 sec
Operating temperature minus 20 … +45 оС
Permissible relative humidity at temperature 20 оC90 %
IP rating IP30
Consumption current, not more than 23 mА
Dimensions, not more than 80 х 47 х 29 mm
Mass, not more than 0.06 kg
Average service life, not less 8 years
* – Area of visible (opened) surface of a glass (glass unit), installed into a
window frame
3 Informational Content
Table 2
Status LED Indicator Contects
Red Yellow Green AL TAMPER
«Norm» OFF OFF OFF
Closed Closed
«Alarm»
ON * *
Opened
*
«Switching ON»
«Low Power
Supply»
«Interference on the
1-st Frequency»
* ON * * *
«Interference on the
2-nd Frequency»
* * ON * *
«Adjustment»
* * ON (at 1 Hz
frequency) *
Opened
* – without changes
4 Detection Zone Pattern
GLASS BREAK
DETECTOR
«ZVON-1» ver. 1
Installation Guide
Figure 2 – The Detector without Cover
PCB comprises marked terminals (11) for connection with control
panel, anti tamper switch (4), three LED indicators (8), microphone (10)
and jumpers (7) for the Detector adjustment.
6.2 For the Detector installation act as follows:
- insert a flat screwdriver into the slot at the side wall of the cover,
push the latch (5) and put off the cover;
- fasten the base with the PCB by the screw to the mounting surface
at the chosen place of installation;
- open the necessary quantity oh holes (12) in the sidewall of the
base, insert and pull wires through them;
- connect the Detector to the control panel in accordance with it’s
manual.
7 Switching ON and Adjustment
Install jumpers MODE and IND, remove SENS jumper.
Energize the Detector. At this moment red LED indicator should light
up for 3 sec and get out, what is indicating the Detector turnover to
standby mode. If indication displays interferences presence, eliminate
it cause if possible.
Fulfill the Detector adjustment as follows:
- remove the MODE jumper (mode «Adjustment»);
- suspend a steel ball 21 – 22 mm in diameter on a 35 cm long
thread near the farthest part of the monitored glass, deflect it at an
angle of 30 – 70° (see Table 4). Deliver a blow to the most distant place
of the secured glass. If red indicator is not lighting after test blows, the
Detector sensitivity should be increased by installation of SENS jumper;
- check adjustment correctness of the Detector with the closed cover.
Changeover of the Detector from «Adjustment» to «Standby» mode
is fulfilled by MODE jumper installation (see Table 3) or in 15 min
automatically.
For monitoring the Detector availability, it is allowed to use electronic
glass break simulator during adjustment.
Table 4
Glass thickness, mm <3 3...4 4...5
5...6
6...7 >7
Ball deflection angle for ordinary,
armed and ornamental glass,
0
30 35 40 45 50 55
Ball deflection angle for,
hardened and laminated glass,
0
45 50 55 60 65 70
- it is recommended to install the Detector at least 2 m height (see
examples of installation in Figures 3 – 6);
- during joint operation with an active ultrasonic Detector, distance
between Detectors must be not less than 1 m;
- the entire surface of the monitored glass should be available within
the direct visibility of the Detector;
- distance (L) between the Detector and the farthest point of the
monitored glass should not exceed 10 m;
- the Detector operation mode is set in accordance with Table 3.
Table 3
JUMPER REMOVED INSTALLED
SENS MINIMUM MAXIMUM
MODE ADJUST NORMAL
IND OFF ON
6 Installing the Detector
6.1 The Detector comprises cover and base (1) with installed printed
circuit board (PCB) (3). Cover is fixed on a base by two lugs (9) and
a latch (5). The base design includes openable holes (12) for wiring
and a hole (2) for fastening a base to the mounting surface. PCB is
fastened to the base by lugs (9) and screw (6).
Top view
Side view
L
L
90о45о
120
о
6 m
6 m
Figure 1
5 Choosing the Detector Location
Before installing the Detector, get acquainted with the following
requirements:
1 3 562
27
8
99 10
JUMPER REMOVED INSTALLED
MINIMUM MAXIMUM
ADJUST
NORMAL
OFF ON
SENS
MODE
IND
SENS MODE IND
+12V- AL Tamper
11
12
4
Rev. 0 of 24.02.16
№00202
Made in Russia
10 Storage and Transportation
The Detectors in their original packing may be shipped by any
transport means in covered vehicles (in railway, cars, trucks, sealed
heated compartments of aircraft, ship cargo holds, etc). The storage
room should be free from current-conducting dust, acid vapors, alkali
and gases that cause corrosion and destroy insulation.
11 Acceptance and Packing Certificate
Glass break detector «Zvon-1» ver.1 has been manufactured in
compliance with the active technical documentation and classified as
fit for operation and packed by «RIELTA» JSC.
Person in charge of acceptance and packing
QC representative_________________ __________________.
day, year, month
8 Scope of Delivery
Each Detector unit package contains the items listed in Table 5.
Table 5
Name
QNT
Glass break Detector «Zvon-1» ver. 1
Testing steel ball
Glass break Detector «Zvon-1» ver. 1. Installation Guide
1 pc.
*
1 copy
* – Supplied optionally
9 Manufacturer’s Guarantees
The manufacturer guarantees conformity of the Detector to the
Technical Specifications requirements provided the transportation,
storage, installation and operation conditions are observed.
The guaranteed shelf life of the Detector is 63 months since the date
of manufacture.
The guaranteed useful life is 60 months since the day of putting into
operation within the guaranteed shelf life.
The Detectors that are found non-conforming to the Technical
Specifications requirements shall be repaired by manufacturer, provided
the installation and operation rules have been complied with.
«RIELTA» JSC, www.rielta.com
Chapaeva Str. 17, Saint Petersburg, Russia, 197101, [email protected]
Tel./fax: +7 (812) 233-0302, 703-1360,
Technical support, tel. +7 (812) 233-29-53, 703-13-57, [email protected]
Detector Installation Examples
Correct Detector installation options see Figures 3 – 6, the incorrect one – Figure 7.
Figure 3 – Installing the Detector
on the Ceiling
Detector
max. 10 m
Detector
Figure 5 –Installing the Detector on the
Opposite Wall
Figure 4 – Installing the Detector on
a Side Wall
min. 2 m
max. 10 m
Detector
max. 10 m
min. 2 m
Detector
min. 2 m
max. 10 m
min. 2 m
Figure 7 – Unauthorized Detector
Installation Places
Detector
max. 10 m
Figure 6 – Detector Installation
between the Glass and the Curtains
(Blinds) or on a Window Frame

Other Rielta Security Sensor manuals

Rielta STEKLO-3RK User manual

Rielta

Rielta STEKLO-3RK User manual

Rielta PYRONE-8-RK User manual

Rielta

Rielta PYRONE-8-RK User manual

Rielta Ladoga MK-RK User manual

Rielta

Rielta Ladoga MK-RK User manual

Rielta STZ-RK User manual

Rielta

Rielta STZ-RK User manual

Rielta PYRONE-SH2-RK User manual

Rielta

Rielta PYRONE-SH2-RK User manual

Rielta PYRONE-8B-RK User manual

Rielta

Rielta PYRONE-8B-RK User manual

Rielta C.Nord CN-Glass User manual

Rielta

Rielta C.Nord CN-Glass User manual

Rielta FOTON-SH2-RK User manual

Rielta

Rielta FOTON-SH2-RK User manual

Rielta PYRONE-SH User manual

Rielta

Rielta PYRONE-SH User manual

Rielta FOTON-12-RK User manual

Rielta

Rielta FOTON-12-RK User manual

Rielta FOTON-10B User manual

Rielta

Rielta FOTON-10B User manual

Rielta FOTON-10M User manual

Rielta

Rielta FOTON-10M User manual

Rielta STZ-RK User manual

Rielta

Rielta STZ-RK User manual

Rielta UDAR User manual

Rielta

Rielta UDAR User manual

Rielta GRAN-RK User manual

Rielta

Rielta GRAN-RK User manual

Rielta FOTON-15A User manual

Rielta

Rielta FOTON-15A User manual

Rielta Ladoga MK-RK User manual

Rielta

Rielta Ladoga MK-RK User manual

Rielta FOTON-17 User manual

Rielta

Rielta FOTON-17 User manual

Rielta FOTON-21 User manual

Rielta

Rielta FOTON-21 User manual

Rielta PYRONE-5 User manual

Rielta

Rielta PYRONE-5 User manual

Rielta ORLAN-D User manual

Rielta

Rielta ORLAN-D User manual

Rielta CELSIUS-RK User manual

Rielta

Rielta CELSIUS-RK User manual

Rielta PYRONE-SH2-RK User manual

Rielta

Rielta PYRONE-SH2-RK User manual

Rielta FOTON-15B User manual

Rielta

Rielta FOTON-15B User manual

Popular Security Sensor manuals by other brands

MSA FlameGard 5 quick start guide

MSA

MSA FlameGard 5 quick start guide

Bosch RF940U installation instructions

Bosch

Bosch RF940U installation instructions

ABLE Ultima OPIR-5 Installation & maintenance instructions

ABLE

ABLE Ultima OPIR-5 Installation & maintenance instructions

Hilti PS 35 operating instructions

Hilti

Hilti PS 35 operating instructions

Extronic Electronic PD-33 DL installation instructions

Extronic Electronic

Extronic Electronic PD-33 DL installation instructions

REED R5044 instruction manual

REED

REED R5044 instruction manual

Kingspan SafePro 2 Installer's guide

Kingspan

Kingspan SafePro 2 Installer's guide

IQ-group E-700 Installer's guide

IQ-group

IQ-group E-700 Installer's guide

Servodan niko 41-720 user manual

Servodan

Servodan niko 41-720 user manual

ESYLUX PD-C360i/24 DIMplus manual

ESYLUX

ESYLUX PD-C360i/24 DIMplus manual

Elektor TAPIR Construction manual

Elektor

Elektor TAPIR Construction manual

ST Quadrat LUX-top GBD-RR 465 installation instructions

ST Quadrat

ST Quadrat LUX-top GBD-RR 465 installation instructions

MAXIMUM Security Multi Zone manual

MAXIMUM Security

MAXIMUM Security Multi Zone manual

UTC Fire and Security Det-Tronics Dual Spectrum PM-5MPX instructions

UTC Fire and Security

UTC Fire and Security Det-Tronics Dual Spectrum PM-5MPX instructions

Honeywell Home SIXCOMBO-CN Quick installation guide

Honeywell Home

Honeywell Home SIXCOMBO-CN Quick installation guide

EDS SCL-01 technical information

EDS

EDS SCL-01 technical information

EMX Industries RAVEN instruction manual

EMX Industries

EMX Industries RAVEN instruction manual

steute sWave 2.4 GHz-safe Mounting and wiring instructions

steute

steute sWave 2.4 GHz-safe Mounting and wiring instructions

manuals.online logo
manuals.online logoBrands
  • About & Mission
  • Contact us
  • Privacy Policy
  • Terms and Conditions

Copyright 2025 Manuals.Online. All Rights Reserved.