manuals.online logo
Brands
  1. Home
  2. •
  3. Brands
  4. •
  5. Roland
  6. •
  7. Printer Accessories
  8. •
  9. Roland PNS-642 User manual

Roland PNS-642 User manual

This manual suits for next models

3

Other Roland Printer Accessories manuals

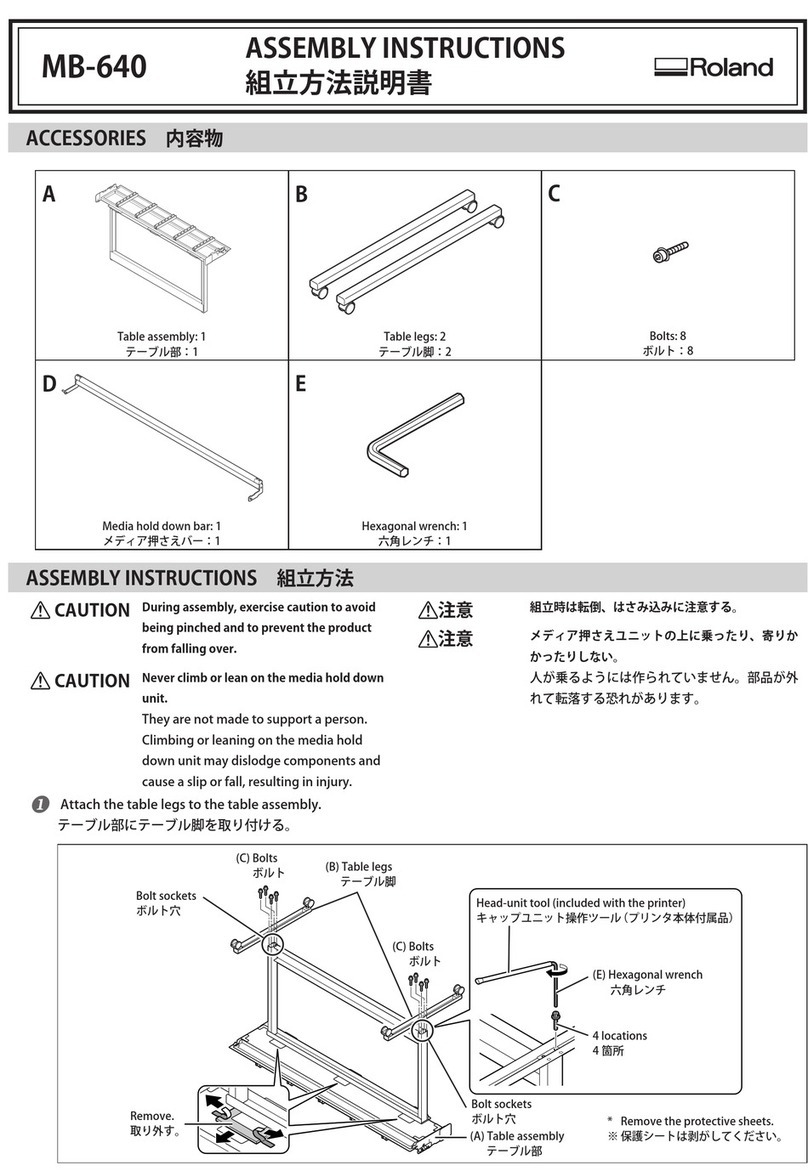
Roland MB-640 User manual

Roland

Roland MB-640 User manual

Roland HU-600 User manual

Roland

Roland HU-600 User manual

Roland PNS-52 User manual

Roland

Roland PNS-52 User manual

Roland EU-1000MF User manual

Roland

Roland EU-1000MF User manual

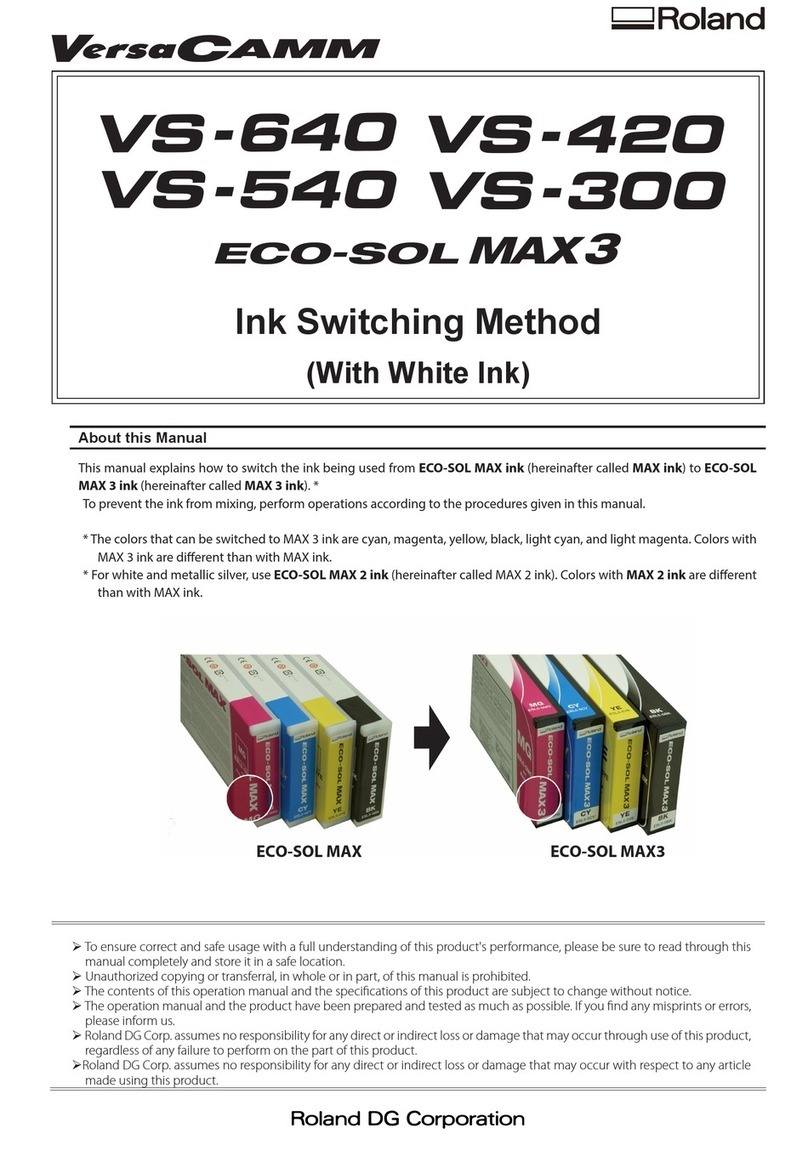
Roland VS-420 User manual

Roland

Roland VS-420 User manual

Roland DU2-64 Instructions and recipes

Roland

Roland DU2-64 Instructions and recipes

Roland TB-30 User manual

Roland

Roland TB-30 User manual

Roland VersaCamm VP-540i User manual

Roland

Roland VersaCamm VP-540i User manual

Roland SolJet SJ-600 User manual

Roland

Roland SolJet SJ-600 User manual

Roland TB-30 User manual

Roland

Roland TB-30 User manual

Roland Metaza MPX-95 Gift Kit GK-1 User manual

Roland

Roland Metaza MPX-95 Gift Kit GK-1 User manual

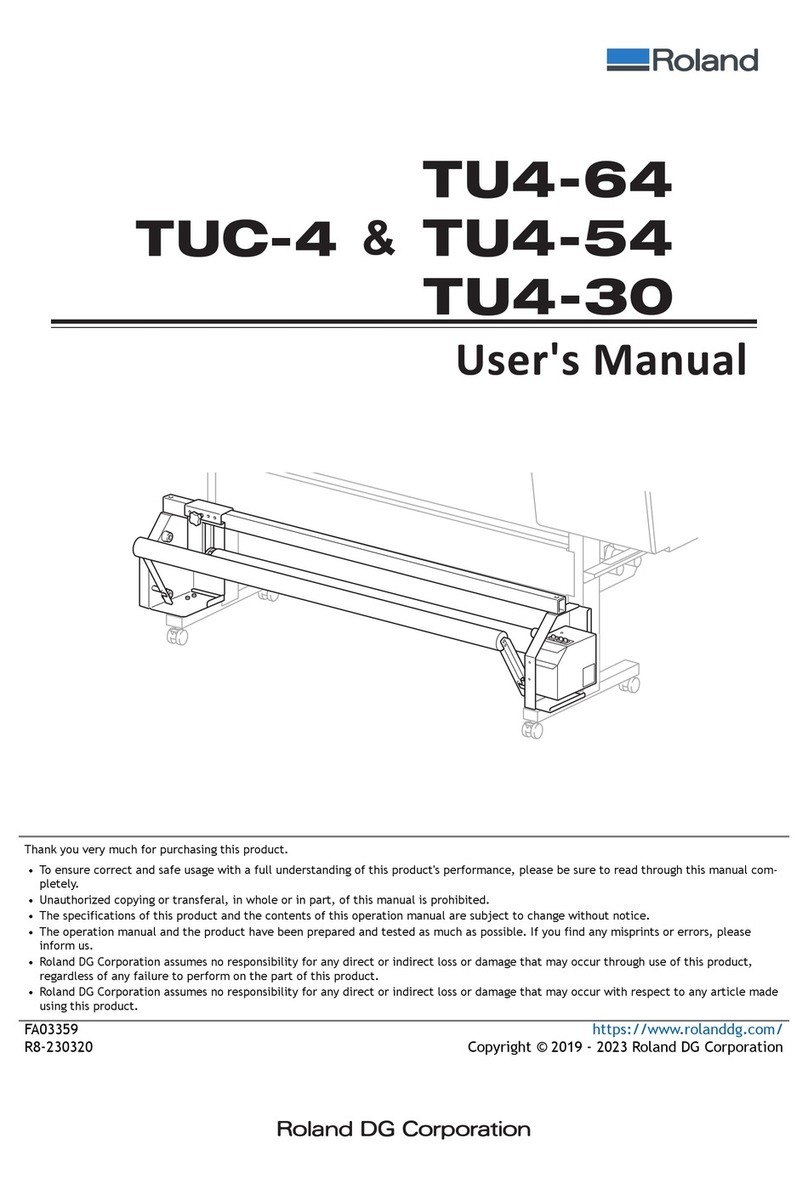
Roland TU4-64 User manual

Roland

Roland TU4-64 User manual

Roland ZV-23A User manual

Roland

Roland ZV-23A User manual

Roland PNS-50 User manual

Roland

Roland PNS-50 User manual

Roland ZEC-U5032 User manual

Roland

Roland ZEC-U5032 User manual

Popular Printer Accessories manuals by other brands

Epson T078620 Product information sheet

Epson

Epson T078620 Product information sheet

Brother TN630 instructions

Brother

Brother TN630 instructions

Formax 6204 Series Maintenance manual

Formax

Formax 6204 Series Maintenance manual

Xerox C11 - DocuPrint Color Inkjet Printer user manual

Xerox

Xerox C11 - DocuPrint Color Inkjet Printer user manual

REA JET HR pro 2K user manual

REA

REA JET HR pro 2K user manual

HP Laserjet,Color Laserjet 4si user guide

HP

HP Laserjet,Color Laserjet 4si user guide

oliser MS 45 instructions

oliser

oliser MS 45 instructions

Xerox EFI EXP6000 Specification sheet

Xerox

Xerox EFI EXP6000 Specification sheet

Epson T6248 Product information sheet

Epson

Epson T6248 Product information sheet

Canon TonerRobot EP-27 instruction manual

Canon

Canon TonerRobot EP-27 instruction manual

Kyocera KM-6230 Instruction handbook

Kyocera

Kyocera KM-6230 Instruction handbook

Triumph Adler DF-710 Instruction handbook

Triumph Adler

Triumph Adler DF-710 Instruction handbook

Star Micronics TSP800 Series install guide

Star Micronics

Star Micronics TSP800 Series install guide

Citizen CBM-202PC Series user manual

Citizen

Citizen CBM-202PC Series user manual

Canon Color imageCLASS MF8170c installation instructions

Canon

Canon Color imageCLASS MF8170c installation instructions

Codonics Virtua 1VCX-LR833 Technical brief

Codonics

Codonics Virtua 1VCX-LR833 Technical brief

TonerRefillKits ReChargX RX126 instructions

TonerRefillKits

TonerRefillKits ReChargX RX126 instructions

Epson T059920 Material safety data sheet

Epson

Epson T059920 Material safety data sheet

manuals.online logo
manuals.online logoBrands
  • About & Mission
  • Contact us
  • Privacy Policy
  • Terms and Conditions

Copyright 2025 Manuals.Online. All Rights Reserved.

注意 開梱・設置・移動は 2 人以上で行ってください。
本体が落下し、けがをすることがあります。
注意 本体とスタンドを付属のボルトで固定してください。
本体が落下し、けがをすることがあります。
注意 本体をスタンドにセットする時、指を挟まないようにしてください。
けがをすることがあります。

 (B) 台車と (A) ステイを組立てます。
 (G) スクリューを締め付けた後、(H) キャップを取付けます。
 (G) スクリュー 4 本と (J) 六角レンチ ( 大 ) を使います。
 (A) ステイは穴の数が 8 個ある面が上になります。
 (B) 台車は左右の側面穴の小さい方を (A) ステイ側におくように組立ててください。
 (G) スクリューを仮止めした後、平らな所に置いてからスクリューを締め付けてくだ
  さい。

(C) スタンド脚を (B) 台車へ取付けます。
 (C) スタンド脚の向きは内側と外側があります。(下図参照)
 スクリューは全て仮止めにしてください。
 (E) 取付金具、(I) スクリュー、(J) 六角レンチ ( 大 ) を使います。

 手順

で組立てたスタンド脚を逆さ
まにします。
 (G) スクリュー4本を (B) 台車の底面
穴に取付けます。
仮止めしたすべてのスクリュー ( 手順

で仮止めしたスクリューを含む ) をしっ
かりと締め付け、キャップをはめます。
 (G) スクリュー 4 本と (J) 六角レンチ ( 大 )
を使います。

(F) シートハンガーのブレーキを一時的にはずします。
 (J) 六角レンチ ( 小 ) を使います。

 (F) シートハンガーを (C) スタンド脚外側から取り付けます。
 折り曲げ部分は外側に向けます。
 (D) シャフトを取り付けます。
 手順

で取り外したブレーキを取り付けます。
 (K) スクリュー4本と (J) 六角レンチ ( 小 ) を使います。
 シートハンガーには左右の区別があります。シートハンガーブレーキを左側の方に取
り付けます。
 ストッパーの付いているシャフトを外側に、付いていないシャフトを内側にセットし
 てください。

スタンドに本体を取り付けます。
 (K) スクリュー 6 本と (J) 六角レンチ ( 小 ) を使います。
 シャフト側を背面に向けて、本体を取り付けます。
ブレーキ
(F) シートハンガー
内容物
A C E G I K
ステイ:1 スタンド脚 :2 取付金具:2 スクリュー ( ワッシャー付 )
:8 ( スタンド組立用 )
スクリュー ( ワッシャー付 )
:16 ( 取付金具用 )
スクリュー:10
( シートハンガー、本体取付け用 )
B D F H J
台車:2 シャフト:2 シートハンガー:2 キャップ:8
((G) スクリュー用 )
( 大 )  ( 小 )
六角レンチ:2
組立方法
ストッパー:2
ブレーキあり
ブレーキなし
※シートハンガーは 4 セットまで取付け可能です。
取り付けたシートハンガーのセット数、ロールシートをのせる事ができます。
シートハンガーとシャフトのセット (HS-640/500/400/300) は、別売にてご
用意しております。
PNS-642/502/402/302 組立方法説明書
(G) スクリュー
( ワッシャー付 )
(H) キャップ
(C) スタンド脚
(E) 取付金具
内側      外側
(I) スクリュー
( ワッシャー付 )8 本
(B) 台車 (A) ステイ
(H) キャップ
(G) スクリュー
( ワッシャー付 )
外側内側
( 左右 4 個穴のある面が上 )
http://www.rolanddg.co.jp/DOC-0188
Copyright©2001-2010RolandDGCorporation
(K) スクリュー
ロック
解除
ストッパー
(K) スクリュー
(D) シャフト
(K) スクリュー
CAUTION Unpacking, installation, and moving must be carried out by
two or more persons.
Failure to do so may result in falling of the unit, leading to in-
jury.
CAUTION Use the joining screws to secure the unit to the stand.
Failure to do so may result in falling of the unit, leading to in-
jury.
CAUTION Use care to avoid pinching the ngers when placing the unit
on the stand.
Doing so may result in injury.

 Assemble the caster ats (B) and the stay (A).
 Tighten the screws (G), then attach the caps (H).
Use four screws (G) and the large hexagonal wrench (J).
Orient the stay (A) so that the surface with eight holes faces up.
Assemble the caster ats (B) and the stay (A) with the side of each caster at (B) that
has small holes touching the ends of the stay (A).
Tighten the screws (G) so that they are nger-tight, then place on a at surface and
tighten the screws completely.

Attach the stand legs (C) to the caster ats (B).
Each stand leg (C) has an inner side and an outer side. (See the gure below.)
Tighten all screws to nger-tight.
Use the mounting xtures (E), the screws (I), and the large hexagonal wrench (J).

Turn the stand legs you assembled
in step

upside-down.
 Use four screws (G) to install in the
holes on the bottom surfaces of the
caster ats (B).
Securely tighten all finger-tight
screws (including the screws loosely
tightened in step

), then t on the
caps.
Use four screws (G) and the large hexagonal
wrench (J).

Temporarily remove the brake from the sheet hanger (F).
Use the small hexagonal wrench (J).

 Attach the sheet hangers (F) from the outer sides of the stand legs
(C). Orient so that the bent portions face outward.
 Install the shafts (D).
Attach the brake you removed in step

.
Use four screws (K) and the small hexagonal wrench (J).
The left and right sheet hangers are dierent. Attach the sheet hanger that is provided
with the brake to the left side.
Arrange the shaft with no stopper on the inner side and the shaft with a stopper on
the outer side.

Mount the unit on the stand.
Use six screws (K) and the small hexagonal wrench (J).
Place the stand with the shafts on the rear side, and mount the unit on the stand.
(K) Screws
(K) Screws
Brake
Accessories
A C E G I K
Stay:1 Stand legs:2 Mounting xtures: 2 Screws with washers: 8
(for stand assembly)
Screws with washers: 16
(for mounting xtures)
Screws : 10
(for installing the sheet
hangers and unit)
B D F H J
Caster ats: 2 Shafts: 2 Sheet hangers: 2 Caps: 8
(for (G) screws )
(Large) (Small)
Hexagonal wrenches: 2
Assembly Instructions
Stoppers:2 No brake
With brake
(C) Stand leg
(E) Mounting xture
Inner side Outer side
(I) Screws with washers:8
(H) Cap
Outer sideInner side
(B) Caster at
(G)Screw with washer
(A) Stay
Orient so that the surface with four
holes each on the left and right faces up.
R5-100726
PNS-642/502/402/302 ASSEMBLY INSTRUCTIONS
http://www.rolanddg.com/
(H) Cap
(G)Screw with
washer
Up to 4 sets of the sheet hangers can be attached.
As many rolls of the material as the sheet hangers can be loaded on
the unit.
A set of sheet hangers and shafts (HS-640/500/400/300) is available
and can be purchased separately.
Lock
Release
Stoppers
(D) Shafts
(K) Screws
(F) Sheet hanger