manuals.online logo
Brands
  1. Home
  2. •
  3. Brands
  4. •
  5. Roland
  6. •
  7. Printer Accessories
  8. •
  9. Roland TB-30 User manual

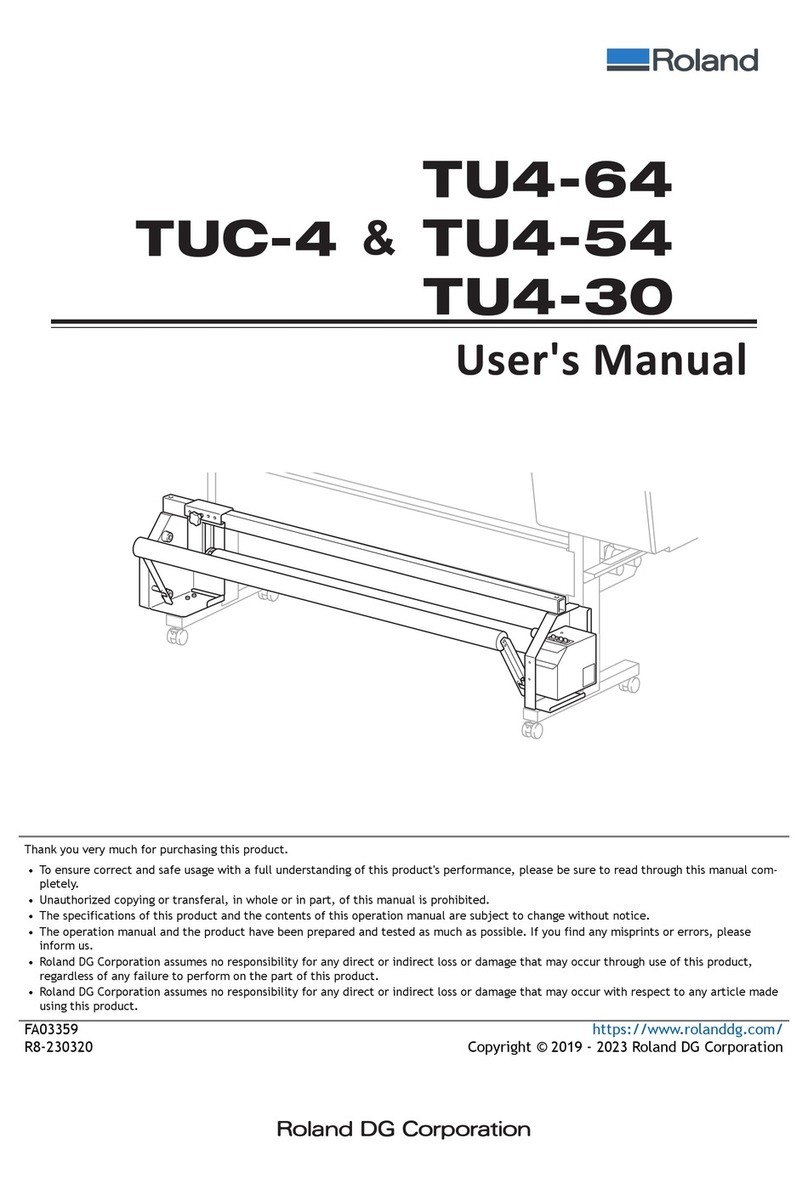
Roland TB-30 User manual

R3-210716
Thank you very much for purchasing this product.
• To ensure correct and safe usage with a full understanding of this product's performance, please be sure to
read through this manual completely and store it in a safe locaon.
• Unauthorized copying or transferal, in whole or in part, of this manual is prohibited.
• The contents of this document and the specicaons of this product are subject to change without noce.
• This document and the product have been prepared and tested as much as possible. If you nd any misprints
or errors, please inform us.
• Roland DG Corporaon assumes no responsibility for any direct or indirect loss or damage that may occur
through use of this product, regardless of any failure to perform on the part of this product.
• Roland DG Corporaon assumes no responsibility for any direct or indirect loss or damage that may occur
with respect to any arcle made using this product.
Company names and product names are trademarks or registered trademarks of their respecve holders.
Copyright © 2020-2021 Roland DG Corporaon
hp://www.rolanddg.com/
Contents
Contents ......................................................................................................1
Tension Bar Unit Assembly Method..............................................................2
Features of This Machine .......................................................................... 2
Included Items........................................................................................... 2
Assembly Method...................................................................................... 2
1
Features of This Machine
This machine is a tension bar unit that is used as a set with the TUC-4 automac media take-up
unit. The tension bar unit is aached to the LEC2-330.
This machine applies tension to the media to stretch it out when prinng on thin lm material
or other such media that lacks rmness. It is eecve in take-up when feeding the media just
with the le and right pinch rollers.
Included Items
Tension roller (1) Hexagonal wrench (1) Screw (short; 6) Posioning pin (1)
Screw (long; 4) Weight (2)
Assembly Method
IMPORTANT
Do not remove the tape xing in place the oang roller (weight roller) before aaching this
roller to the machine.
Tension Bar Unit Assembly Method
2
Procedure
A Aach a weight to the dancer roller of the take-up unit.
MEMO
The procedure for the right side is shown below. The operaons are the same for the le
side, but instrucons pertaining to the le and right sides must be reversed.
1
Temporarily ghten the (long) screws in the weight (in two locaons).
IMPORTANT
Using the incorrect weights on the right and le sides will result in the labels being
upside down. Aach the weights so that the labels are oriented correctly. Aach the
weights so that their labels are oriented as shown in the following gure.
2
Set the weight on the dancer roller arm as shown in the gure.
Orient the weight so that the at side faces out.
3
Push the weight up and to the outside.
3
Tension Bar Unit Assembly Method
4
Use the hexagonal wrench to ghten the screws.
B Open the front cover.
C Remove the screws (in two locaons), and then remove the front UV shield.
D Use the hexagonal wrench to remove the (right and le) front table stays.
Point
Store the front table stays and the screws so that you do not lose them.
4
Tension Bar Unit Assembly Method
E Temporarily aach the tension roller to the machine.
1
Aach a (short) screw (in one locaon) to the posion (A) shown in the gure.
Temporarily ghten the screw, leaving a space between the screw head and the plate of
approximately 5 mm (0.20 in.).
A
2
Insert the hook (F) of the right bracket of the tension roller into the bracket
slot (H) of the machine. At the same me, pass the screw (S) aached in step (1)
through the hole (B) in the right bracket of the tension roller. Then, push the
bracket down to catch the hook on the slot.
Point
Aach the oang roller so that it is located in the top posion as indicated by A in the
following gure.
H
F
B
S
A
5
Tension Bar Unit Assembly Method
3
While keeping the oang roller in the top posion, insert the hook (F) of the
le bracket of the tension roller into the bracket slot (H) of the machine.
4
Align the screw holes of the le bracket and the machine.
5
Insert (short) screws into the le bracket of the tension roller (in three loca-
ons) and temporarily ghten these screws.
H
F
6
Tension Bar Unit Assembly Method
6
Insert (short) screws into the right bracket of the tension roller (in two loca-
ons) and temporarily ghten these screws.
F Fix the tension roller in place on the machine.
1
Open the (boom) le cover.
2
Insert the posioning pin at the posion indicated by A in the gure.
Adjust the tension roller posion so that the posioning pin protrudes out from the
machine by 7 mm (0.28 in.) or less.
7 mm
(0.28 in.) or less
Posioning
pin
A
7
Tension Bar Unit Assembly Method
3
With the posioning pin aached, use the hexagonal wrench to fully ghten
the screws on the le bracket of the tension roller (in three locaons).
4
Use the hexagonal wrench to fully ghten the screws on the right bracket of
the tension roller (in three locaons).
5
Remove the posioning pin.
Put the (right and le) front table stays, screws (four), and posioning pin into a plasc
bag or a similar container and store these items so that you do not lose them.
6
Close the (boom) le cover.
8
Tension Bar Unit Assembly Method
G Remove the tape xing in place the oang roller.
H Move the oang roller to the machine side.
I Aach the front UV shield.
9
Tension Bar Unit Assembly Method
J Use screws (in two locaons) to x the front UV shield in place.
MEMO
When loading media, refer to “TB-30 — Loading Media” which you can view from the
following hyperlink or QR code.
"hps://downloadcenter.rolanddg.com/LEC2-640
10
Tension Bar Unit Assembly Method

Other manuals for TB-30

1

Other Roland Printer Accessories manuals

Roland ZEC-U5032 User manual

Roland

Roland ZEC-U5032 User manual

Roland MB-640 User manual

Roland

Roland MB-640 User manual

Roland VersaCamm VP-540i User manual

Roland

Roland VersaCamm VP-540i User manual

Roland TU4-64 User manual

Roland

Roland TU4-64 User manual

Roland SolJet SJ-600 User manual

Roland

Roland SolJet SJ-600 User manual

Roland ZV-23A User manual

Roland

Roland ZV-23A User manual

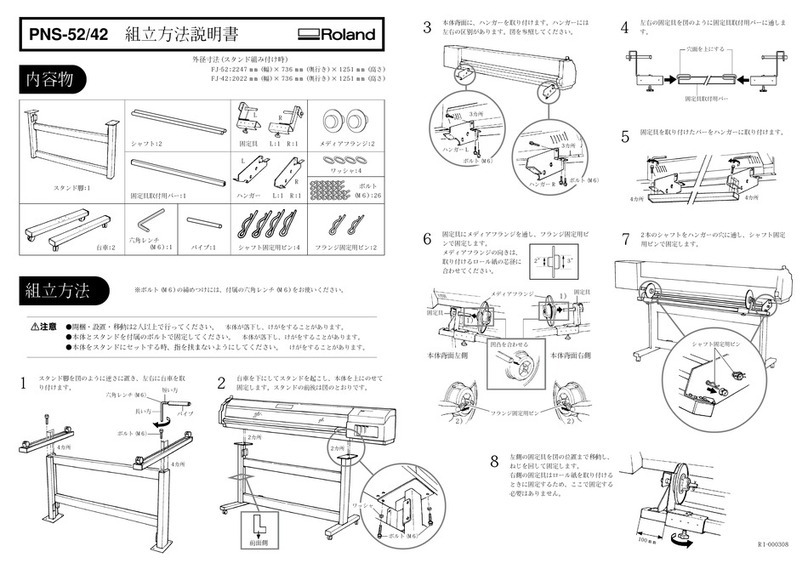
Roland PNS-52 User manual

Roland

Roland PNS-52 User manual

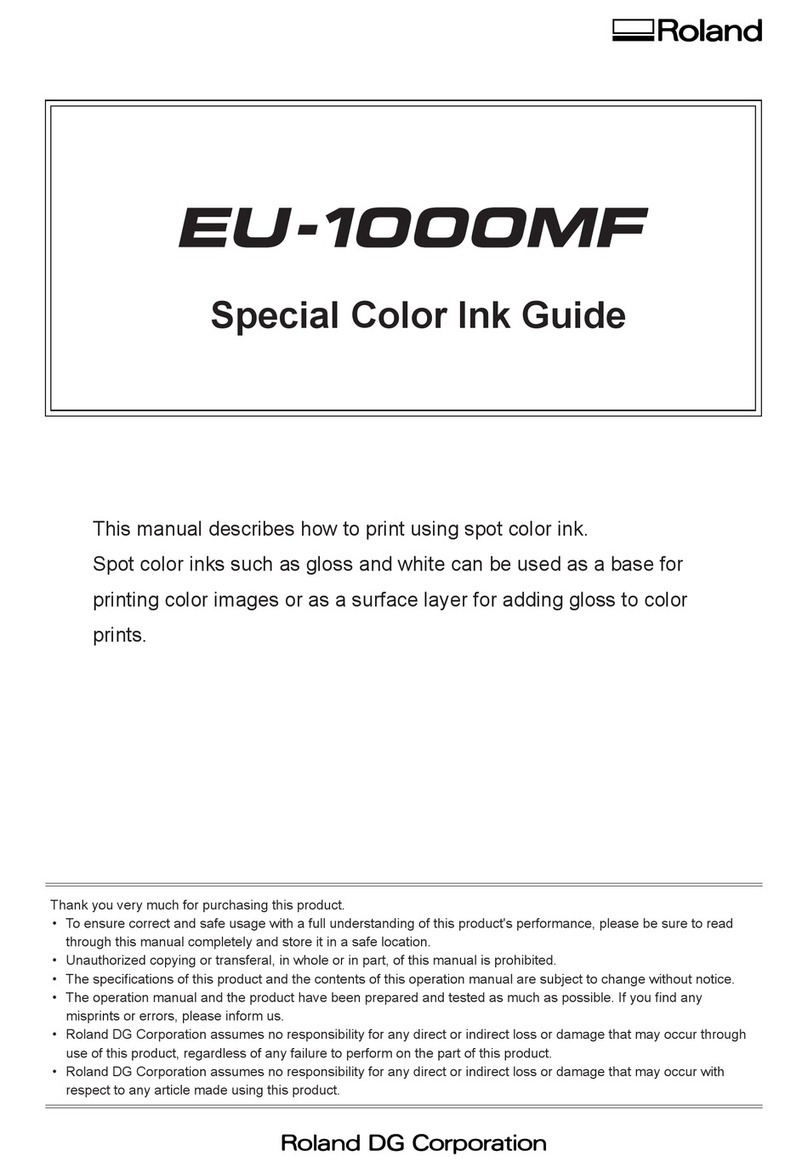
Roland EU-1000MF User manual

Roland

Roland EU-1000MF User manual

Roland Metaza MPX-95 Gift Kit GK-1 User manual

Roland

Roland Metaza MPX-95 Gift Kit GK-1 User manual

Roland TB-30 User manual

Roland

Roland TB-30 User manual

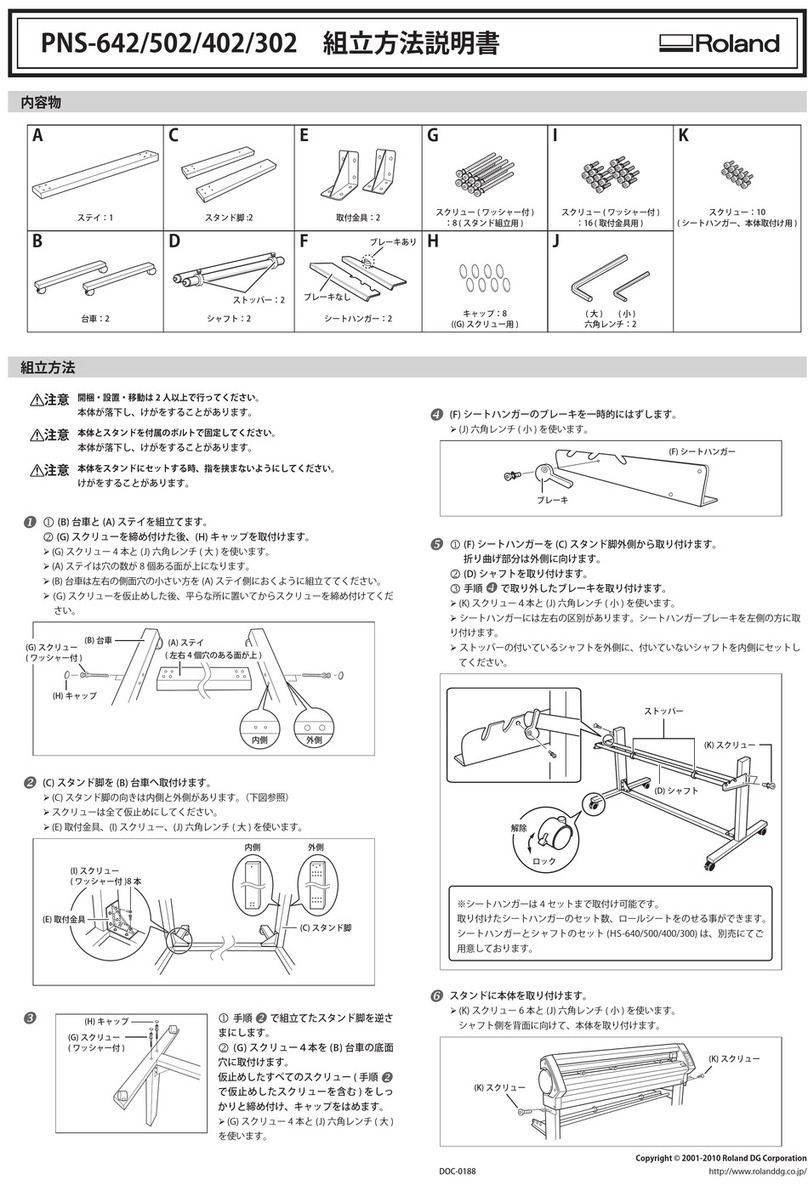
Roland PNS-642 User manual

Roland

Roland PNS-642 User manual

Roland DU2-64 Instructions and recipes

Roland

Roland DU2-64 Instructions and recipes

Roland HU-600 User manual

Roland

Roland HU-600 User manual

Roland VS-420 User manual

Roland

Roland VS-420 User manual

Roland PNS-50 User manual

Roland

Roland PNS-50 User manual

Popular Printer Accessories manuals by other brands

Ricoh FT4227 manual

Ricoh

Ricoh FT4227 manual

Kyocera FS-1700 user guide

Kyocera

Kyocera FS-1700 user guide

Konica Minolta IP-011 Service handbook

Konica Minolta

Konica Minolta IP-011 Service handbook

Canon Arizona 1300 Technical guide

Canon

Canon Arizona 1300 Technical guide

Toshiba GA-1190 Setup guide

Toshiba

Toshiba GA-1190 Setup guide

Epson T543100 Material safety data sheet

Epson

Epson T543100 Material safety data sheet

Star Micronics TSP700 Series Replacement

Star Micronics

Star Micronics TSP700 Series Replacement

Xaar 1003 manual

Xaar

Xaar 1003 manual

Canon iR Security Kit-A2 INSTALLATION PROCEDURE

Canon

Canon iR Security Kit-A2 INSTALLATION PROCEDURE

HP Laserjet,Color Laserjet 2550L install guide

HP

HP Laserjet,Color Laserjet 2550L install guide

Canon Finisher-U1 Portable manual

Canon

Canon Finisher-U1 Portable manual

imagistics DL750 user manual

imagistics

imagistics DL750 user manual

Intermec EasyCoder 4420 user manual

Intermec

Intermec EasyCoder 4420 user manual

Ricoh Container Stacker Unpacking & setup instructions

Ricoh

Ricoh Container Stacker Unpacking & setup instructions

Citizen PPU-700 Service manual

Citizen

Citizen PPU-700 Service manual

Canon DADF-H1 Service manual

Canon

Canon DADF-H1 Service manual

SATO CL4NX RIDF manual

SATO

SATO CL4NX RIDF manual

Utax DF 420 Service manual

Utax

Utax DF 420 Service manual

manuals.online logo
manuals.online logoBrands
  • About & Mission
  • Contact us
  • Privacy Policy
  • Terms and Conditions

Copyright 2025 Manuals.Online. All Rights Reserved.