manuals.online logo
Brands
  1. Home
  2. •
  3. Brands
  4. •
  5. Royalcraft
  6. •
  7. Indoor Furnishing
  8. •
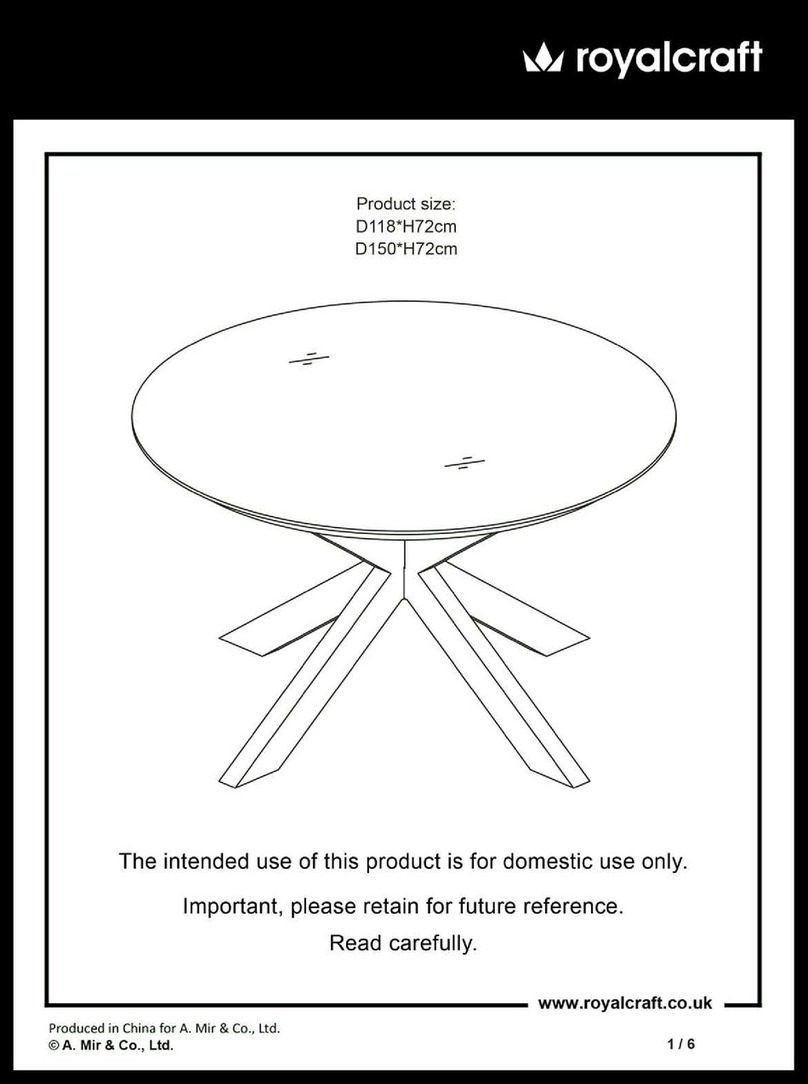
  9. Royalcraft NEVADA User manual

Royalcraft NEVADA User manual

Other Royalcraft Indoor Furnishing manuals

Royalcraft Faro User manual

Royalcraft

Royalcraft Faro User manual

Royalcraft FARO-04 User manual

Royalcraft

Royalcraft FARO-04 User manual

Royalcraft PARLOUSET-WS User manual

Royalcraft

Royalcraft PARLOUSET-WS User manual

Royalcraft Aspen User manual

Royalcraft

Royalcraft Aspen User manual

Royalcraft Panama Corner Sofa Set User manual

Royalcraft

Royalcraft Panama Corner Sofa Set User manual

Royalcraft Faro 4pcs User manual

Royalcraft

Royalcraft Faro 4pcs User manual

Royalcraft Cannes KD Carver User manual

Royalcraft

Royalcraft Cannes KD Carver User manual

Royalcraft Bo User manual

Royalcraft

Royalcraft Bo User manual

Royalcraft Lisbon User manual

Royalcraft

Royalcraft Lisbon User manual

Royalcraft Santorini Set User manual

Royalcraft

Royalcraft Santorini Set User manual

Royalcraft Wentworth Oval Rattan Dining Table User manual

Royalcraft

Royalcraft Wentworth Oval Rattan Dining Table User manual

Royalcraft W155-D92 Series User manual

Royalcraft

Royalcraft W155-D92 Series User manual

Royalcraft Bali User manual

Royalcraft

Royalcraft Bali User manual

Royalcraft Weather Shield Seychelles Comfort Chair User manual

Royalcraft

Royalcraft Weather Shield Seychelles Comfort Chair User manual

Royalcraft Milan User manual

Royalcraft

Royalcraft Milan User manual

Royalcraft Berlin 5 Seater Sofa Set User manual

Royalcraft

Royalcraft Berlin 5 Seater Sofa Set User manual

Royalcraft Faro User manual

Royalcraft

Royalcraft Faro User manual

Royalcraft Faro 4pcs User manual

Royalcraft

Royalcraft Faro 4pcs User manual

Royalcraft Alderley 6 Seat Round Table Dining Set –... User manual

Royalcraft

Royalcraft Alderley 6 Seat Round Table Dining Set –... User manual

Royalcraft Palma User manual

Royalcraft

Royalcraft Palma User manual

Royalcraft Weather Shield Wentworth LH User manual

Royalcraft

Royalcraft Weather Shield Wentworth LH User manual

Royalcraft Palermo 180x75cm Wicker Look Folding Table User manual

Royalcraft

Royalcraft Palermo 180x75cm Wicker Look Folding Table User manual

Royalcraft Christleton Corner Dining Set User manual

Royalcraft

Royalcraft Christleton Corner Dining Set User manual

Royalcraft Wentworth User manual

Royalcraft

Royalcraft Wentworth User manual

Popular Indoor Furnishing manuals by other brands

Regency LWMS3015 Assembly instructions

Regency

Regency LWMS3015 Assembly instructions

Furniture of America CM7751C Assembly instructions

Furniture of America

Furniture of America CM7751C Assembly instructions

Safavieh Furniture Estella CNS5731 manual

Safavieh Furniture

Safavieh Furniture Estella CNS5731 manual

PLACES OF STYLE Ovalfuss Assembly instruction

PLACES OF STYLE

PLACES OF STYLE Ovalfuss Assembly instruction

Trasman 1138 Bo1 Assembly manual

Trasman

Trasman 1138 Bo1 Assembly manual

Costway JV10856 manual

Costway

Costway JV10856 manual

moss DESIGN Caisson Credenza Assembly instructions

moss DESIGN

moss DESIGN Caisson Credenza Assembly instructions

Aquaglide FULL DECK 15.0 owner's manual

Aquaglide

Aquaglide FULL DECK 15.0 owner's manual

AREBOS AR-HE-SW30 user manual

AREBOS

AREBOS AR-HE-SW30 user manual

Till-Hilft Fulda 87005.330 Assembly instructions

Till-Hilft

Till-Hilft Fulda 87005.330 Assembly instructions

Twoey Outside 2010 quick start guide

Twoey Outside

Twoey Outside 2010 quick start guide

Hettich Easys 200 operating instructions

Hettich

Hettich Easys 200 operating instructions

The bedboss RELAX 404 Series owner's manual

The bedboss

The bedboss RELAX 404 Series owner's manual

Oeseder Möbelindustrie Bern 991 720 Assembly instructions

Oeseder Möbelindustrie

Oeseder Möbelindustrie Bern 991 720 Assembly instructions

Costway HW68469 user manual

Costway

Costway HW68469 user manual

Next ALIX A27743 Assembly instructions

Next

Next ALIX A27743 Assembly instructions

BROSA Hans Assembly guide

BROSA

BROSA Hans Assembly guide

Prodigg MINIKA PBA015T-FUR installation manual

Prodigg

Prodigg MINIKA PBA015T-FUR installation manual

manuals.online logo
manuals.online logoBrands
  • About & Mission
  • Contact us
  • Privacy Policy
  • Terms and Conditions

Copyright 2025 Manuals.Online. All Rights Reserved.

Produced in China for A. Mir & Co., Ltd.
© A. Mir & Co., Ltd. 2 / 6
www.royalcraft.co.uk
Before you start
Warnings
IMPORTANT, RETAIN FOR FUTURE REFERENCE
READ CAREFULLY
See enclosed instructions for assembly, safety and care
information.
Failure to follow the warnings could result in serious injury.
Handle heavy parts with care.
Ensure that this product is fully assembled as illustrated before use.
This product should only be used on firm, level ground.
Keep small parts out of reach of children.
Do not stand or climb onto this product.
This product is intended for domestic use only.
Furniture can be dangerous if incorrectly used. No liability will be
accepted for damage or injury caused by incorrect use of this
product.
Dos
When you are ready to start, make sure that you have the right
tools, plenty of space and a clean, dry area for assembly.
Unwrap all packaging materials and place the components on a
suitable surface to prevent scratching your product.
Check the pack and make sure you have all parts listed. In the
event of problems or missing parts, please contact the seller.
Check all screws and bolts are tightened and inspect regularly.
This product is suitable for all year outdoor use. However, to
prolong its life we recommend that during severe weather
conditions, including high winds, rain, hail, thunderstorms, extreme
heat and cold temperatures, the product should be stored inside in
a cool, dry place.
To best preserve the synthetic rattan, please use a protective cover
when your furniture is not in use. We would also recommend using
a gazebo or parasol over your furniture during the summer period
and prolonged sunny spells. This will help prevent harmful UV rays
from damaging and discolouring the material.
Ensure that the product is clean and dry before storage.
Clean your product with a sponge and warm soapy water then wipe
with a clean, dry cloth.
When cleaning glass panels use a damp cloth or leather with
washing up liquid or soft soap if necessary.
Where instructions as to the; storage, commissioning, installation,
use and maintenance of the goods or (if there is none) good trade
practice are not followed and a defect arises this will void the
12 month manufacturer's guarantee on the product.
Don’ts
Do not use scourers, abrasives, washing powders, chemical
cleaners or any other substances containing abrasives since
these substances can damage the product, including the glass
panel.
To preserve the table top design do not place greasy / oily items
directly onto the surface. Use place-mats to prevent
spillages of food or drink.
Do not place very hot or very cold items on the glass surface
unless adequately thick table-mats are used to prevent such
items from coming into contact with the glass.
Do not use the table as a chopping surface.
Do not strike the table with hard or pointed items.
Do not sit or lean on the table.
Do not use power tools to construct this product.
Do not use this product if parts are missing, damaged or worn.
Do not stand or climb onto the product and do not use it as a
ladder, as this could lead to it unbalancing and overturning.
Never drag furniture when moving it, always lift it.
Number of people required for assembly
Two people.
Time to assemble
30 Minutes
Tools required
Tips:
It is best not to fully tighten the nuts and
bolts until they are all correctly located.
Only carefully tighten them when you
are satisfied with the alignment of all
components.
Be careful not to overtighten.
NEVADA 6 SEATER CUBE - TABLE
Assembly Instructions
Produced in China for A. Mir & Co., Ltd.
© A. Mir & Co., Ltd. 3 / 6
www.royalcraft.co.uk
Components, fixtures & fittings (not actual size)
Parts List
Part
No. Diagram Qty. Part
No. Diagram Qty.
A
Table Top Frame
1 PC B
Short Leg
2 PCS
C
Long Leg
1 PC D
Glass Top
1 PC
E
Connecting Panel
2 PCS F
Connecting Panel
2 PCS
S1
Spanner
1 PC W15
M6*15mm Bolt
26 PCS
F2
Bolt Head Cap
26 PCS F3
Flat Washer
26 PCS
F4
Spring Washer
26 PCS
mm
10
20
30
40
50
60
70
80
90
100
110
120
130
140
150
160
170
180
190
200
210
220
0
NEVADA 6 SEATER CUBE - TABLE
Assembly Instructions
Produced in China for A. Mir & Co., Ltd.
© A. Mir & Co., Ltd. 4 / 6
www.royalcraft.co.uk
Step by step assembly instructions
All Bolt Head Caps should not be attached before finally tightening all Bolts with Spanner.
Step One
Open the packaging, take out the contents and
carefully leave the glass on the carton until
the rest of the table is fully assembled.
With the help of another person, place the
Table Top Frame (A) upside down on a flat,
non-abrasive surface to avoid scratching
the table surface or rim.
Do NOT assemble the Legs (B&C) to
the Table Top Frame (A) while it is still
resting on the Glass Top (D).
Step Two
With the help of another person,
place the Long Leg (C)
through the Short Legs (B) ,
combine them by Connecting Panel (E)
using Flat Washers (F3), Spring Washers (F4),
Bolts (W15) and Bolt Head Caps (F2).
C
E
F3
F4
W15
F2
B
NEVADA 6 SEATER CUBE - TABLE
Assembly Instructions
Produced in China for A. Mir & Co., Ltd.
© A. Mir & Co., Ltd. 5 / 6
www.royalcraft.co.uk
Step Three
With the help of another person, turn over the above partly-assembled parts, combine them
by Connecting Panel (F) using the Flat Washers (F3), Spring Washers (F4), Bolts (W15) and
Bolt Head Caps (F2).
Step Four
With the help of another person, place the above partly-assembled parts onto the
Table Top Frame (A) using the Flat Washers (F3), Spring Washers (F4), Bolts (W15) and
Bolt Head Caps (F2).
Once you are satisfied with the alignment of all components, carefully tighten all bolts
using Spanner (S1), cover all Bolt Heads with Bolt Head Caps (F2).
C
F
F3
F4
W15
F2
B
A
F3
F4
W15
F2
NEVADA 6 SEATER CUBE - TABLE
Assembly Instructions
Produced in China for A. Mir & Co., Ltd.
© A. Mir & Co., Ltd. 6 / 6
www.royalcraft.co.uk
Step Five
With the help of another person,
carefully lift the partly-assembled
table in upright position.
Level the table with
adjustable feet screws.
During this step (Levelling step and
Bolts-tightening step), you may have to
try for several times.
Step Six
With the help of another person, carefully lift the Glass Top (D) and place it onto
the Table Top Frame (A).
The glass top should be securely inlaid into the Table Top Frame (A).
Make sure the glass top is evenly rested on the rubber pads which are pre-equipped on the
inner edge of the Table Top Frame (A).
Your table is now ready for use.
Note: If a parasol is used together with this Table, during high winds, the Parasol should
be taken away and store in a safe place.
PLEASE KEEP THESE INSTRUCTIONS FOR FUTURE REFERENCE
D
A
Adjustable Foot Screw
NEVADA 6 SEATER CUBE - TABLE
Assembly Instructions