manuals.online logo
Brands
  1. Home
  2. •
  3. Brands
  4. •
  5. Safety 1st
  6. •
  7. Safety Equipment
  8. •
  9. Safety 1st 48484 User manual

Safety 1st 48484 User manual

Información de seguridad importante
Después de su colocación, verifique que funcione correctamente tirando
firmemente de la puerta o el cajón. Si la traba no sujeta firmemente la puer-
ta al tirar del picaporte, ajuste la altura de la traba para lograr una unión
segura.
Un niño sin supervisión puede ser capaz de inutilizar la protección que ofrece
este producto. Para que este producto funcione efectivamente durante más
tiempo, evite que los niños vean como se opera. Si los niños ven cómo usted
libera una traba, un pestillo o una cubierta, podrían aprender más rápido la
manera de inutilizar cualquier tipo de dispositivo de seguridad.
©2013 Cosco Management, Inc. All Rights Reserved. Todos derechos reservados.
www.djgusa.com (800) 544-1108 www.safety1st.com
Made in CHINA. Hecho en CHINA. Styles and colors may vary. Los estilos y los colores pueden variar.
Distributed by (distribuido por) Dorel Juvenile Group, Inc., 2525 State St., Columbus, IN 47201-7494
Dorel Distribution Canada, 873 Hodge, St. Laurent, QC H4N 2B1
12/03/13 4358-6349A
Secure Close Handle Lock
48484, HS173
User Guide
Traba para manijas con cierre seguro
48484, HS173
Guía
del Usuario
Important Safety Information
Check for security after installation by tugging firmly on the door. If the
lock does not securely hold the door when tugged, adjust the lock to
obtain a secure connection.
Your child will eventually be able to defeat this product. To keep this
product effective for as long as possible, avoid letting children see how
you operate child safety devices. Watching you disengage a lock, latch or
cover could enable them to learn sooner how to defeat it.
ADULT INSTALLATION REQUIRED.
CAUTION: This product is only a deterrent. It is not a substi-
tute for proper adult supervision.
DO NOT use product if damaged or broken.
FOR INDOOR HOME USE ONLY.
REQUIERE INSTALACIÓN POR PARTE DE UN ADULTO.
PRECAUCIÓN: Este producto es sólo un elemento disuasivo. El
mismo no reemplaza la supervisión adecuada por parte de un adul-
to. NO utilice este producto si se encuentra roto o dañado.
PARA USO DOMÉSTICO ÚNICAMENTE EN INTERIORES.
WARNING:
• Do not use this product to guard against toxic and dan-
gerous substances, or sharp-edged or pointed objects.
Such materials should always be placed “high up” or
otherwise made completely inaccessible to children.
AVISO:
• No utilice este producto para evitar que los niños ten-
gan acceso a sustancias tóxicas y peligrosas u objetos
punzantes y cortantes. Tales materiales siempre deben
colocarse en lugares “altos” u otros lugares a los que
los niños no puedan llegar de ninguna manera.

ANTES DE COMENZAR:
• Lea todas las instrucciones antes de instalar.
• Guarde estas instrucciones para su uso futuro.
• Retire todo el contenido del embalaje y deseche la caja y/o las bolsas de polietileno.
• Despliegue e identifique todas las piezas.
• No devuelva este producto al lugar donde lo compró. Si falta alguna pieza,
envíe un correo electrónico a consumer@djgusa.com, llame al Departamento de
Relaciones con el Consumidor al (800) 544-1108, o envíe un fax al (800) 207-8182.
También puede visitar nuestro sitio web en www.safety1st.com. Tenga a mano el
número de modelo (48484, HS173) y el código de fecha (fecha de fabricación),
que se encuentran indicados en el paquete.
BEFORE YOU BEGIN:
• Read all instructions before installing.
• Keep these instructions for future use.
• Remove all contents from packaging and discard box, and/or poly bags.
• Lay out and identify all parts.
• Do not return this product to the place of purchase. If any parts are
missing, email consumer@djgusa.com, call Consumer Relations at
(800) 544-1108, or fax at (800) 207-8182. You can also visit our website
at www.safety1st.com. Have the model number ready (48484, HS173)
and date code (manufacture date) located on package.
To Clean Para limpiar
Wipe clean. Keep lock dry. Limpie con un paño. Mantenga la traba seca.
To Use Para Usar
To Open Para abrir
Push in gray button and slide upward. Pull each strap up through
slot to unlock (Figure 2).
Presione el botón gris y deslícelo hacia arriba. Tire de ambos lados de la
correa hacia arriba para pasar a través de las ranuras y destrabar.
2 Pull up on left strap until end is
free. Center lock between a pair of
cabinet handles. Insert free end of
strap through left cabinet handle.
1 Push in gray button and slide
upward.
3 Reinsert strap through slot and
feed through. Pull on protruding
end to tighten.
4 Repeat by inserting right strap
through right cabinet handle
(Figure 1).
1 2
2 Tire hacia arriba de la correa izquierda hasta
liberar el extremo de la misma. Centre la traba
entre un par de manijas de un armario. Pase el
extremo libre de la correa a través de la manija
izquierda del armario.
1 Presione el botón gris y deslícelo hacia arriba.
3 Vuelva a pasar la correa a través de la ranura. Tire
del extremo que sobresale para ajustar.
4 Repita el procedimiento pasando la correa
derecha a través de la manija derecha del
armario.

This manual suits for next models

1

Other Safety 1st Safety Equipment manuals

Safety 1st 3202005000 User manual

Safety 1st

Safety 1st 3202005000 User manual

Safety 1st QUIET NIGHT User manual

Safety 1st

Safety 1st QUIET NIGHT User manual

Safety 1st 10404 User manual

Safety 1st

Safety 1st 10404 User manual

Safety 1st SIMPLY PRESSURE XL User manual

Safety 1st

Safety 1st SIMPLY PRESSURE XL User manual

Safety 1st HS129 User manual

Safety 1st

Safety 1st HS129 User manual

Safety 1st HS311 User manual

Safety 1st

Safety 1st HS311 User manual

Safety 1st FLAT STEP GATE User manual

Safety 1st

Safety 1st FLAT STEP GATE User manual

Safety 1st 3202001600 User manual

Safety 1st

Safety 1st 3202001600 User manual

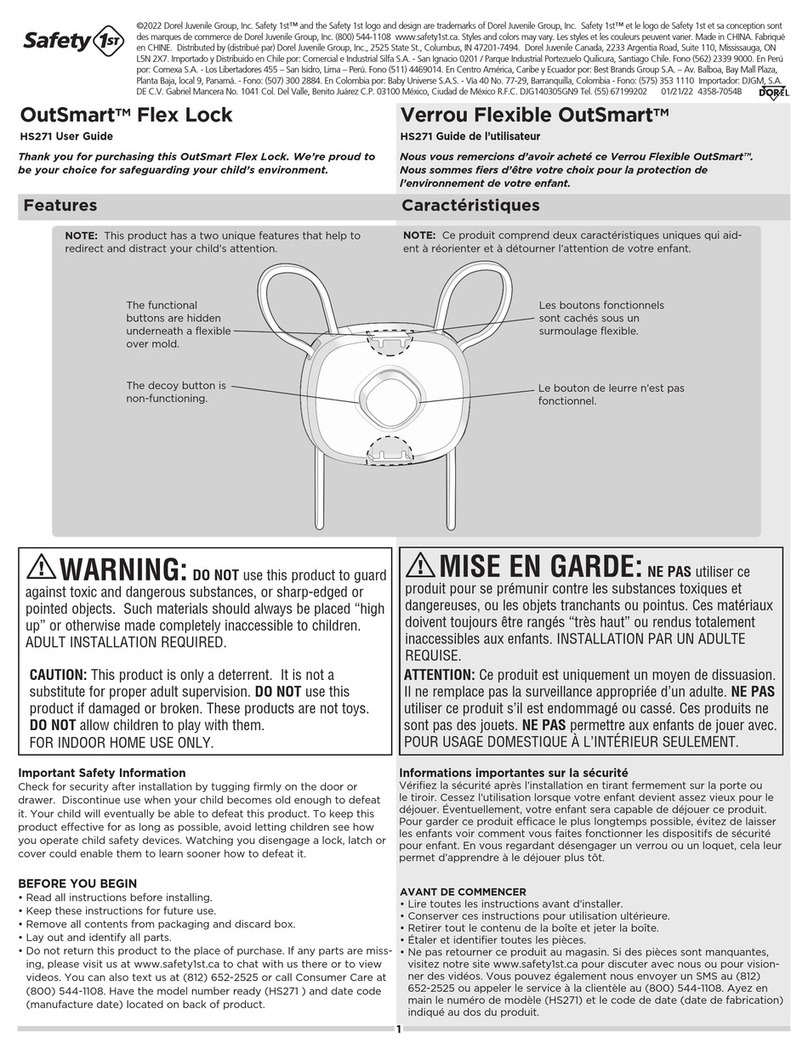
Safety 1st OutSmart Flex Lock HS271 User manual

Safety 1st

Safety 1st OutSmart Flex Lock HS271 User manual

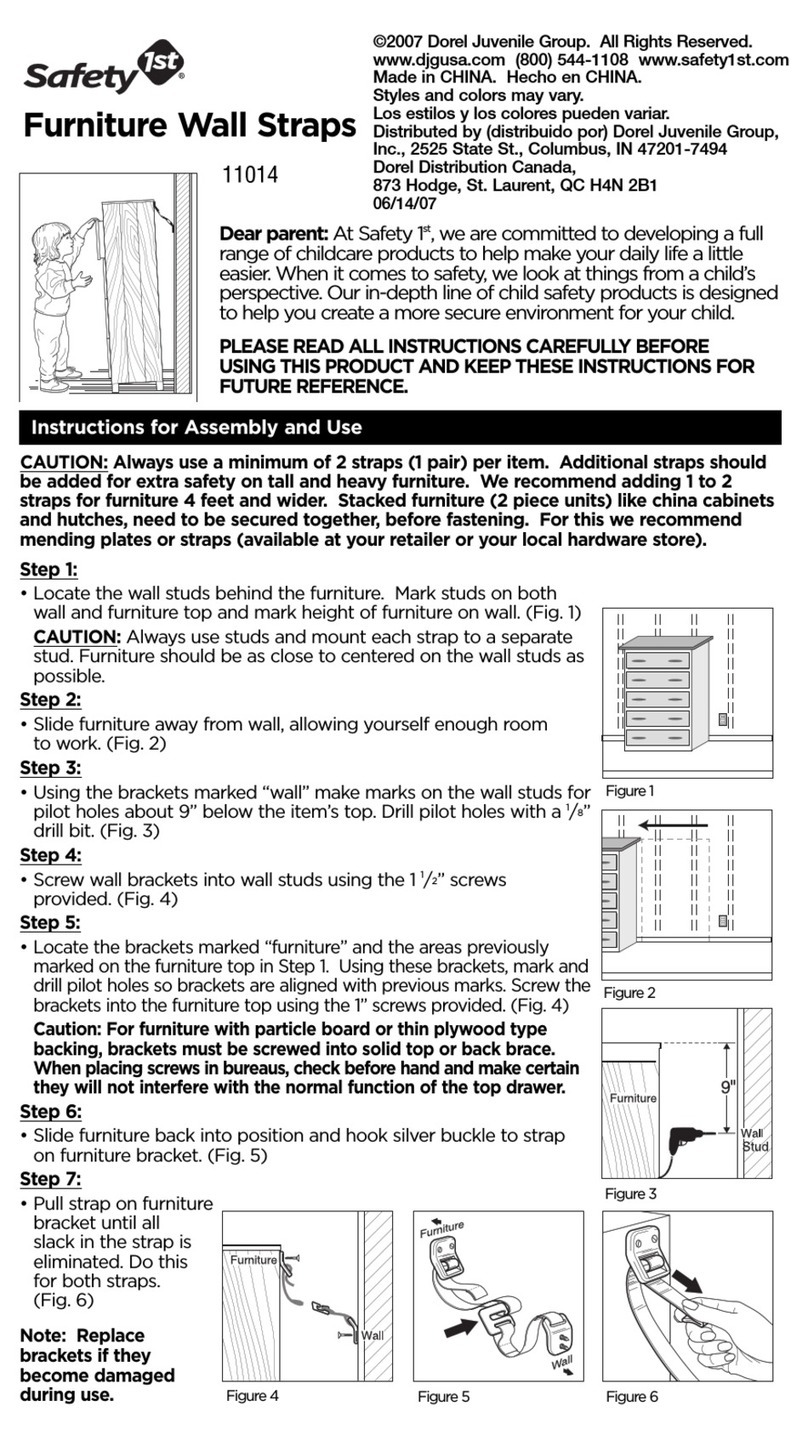
Safety 1st 11014 Operator's manual

Safety 1st

Safety 1st 11014 Operator's manual

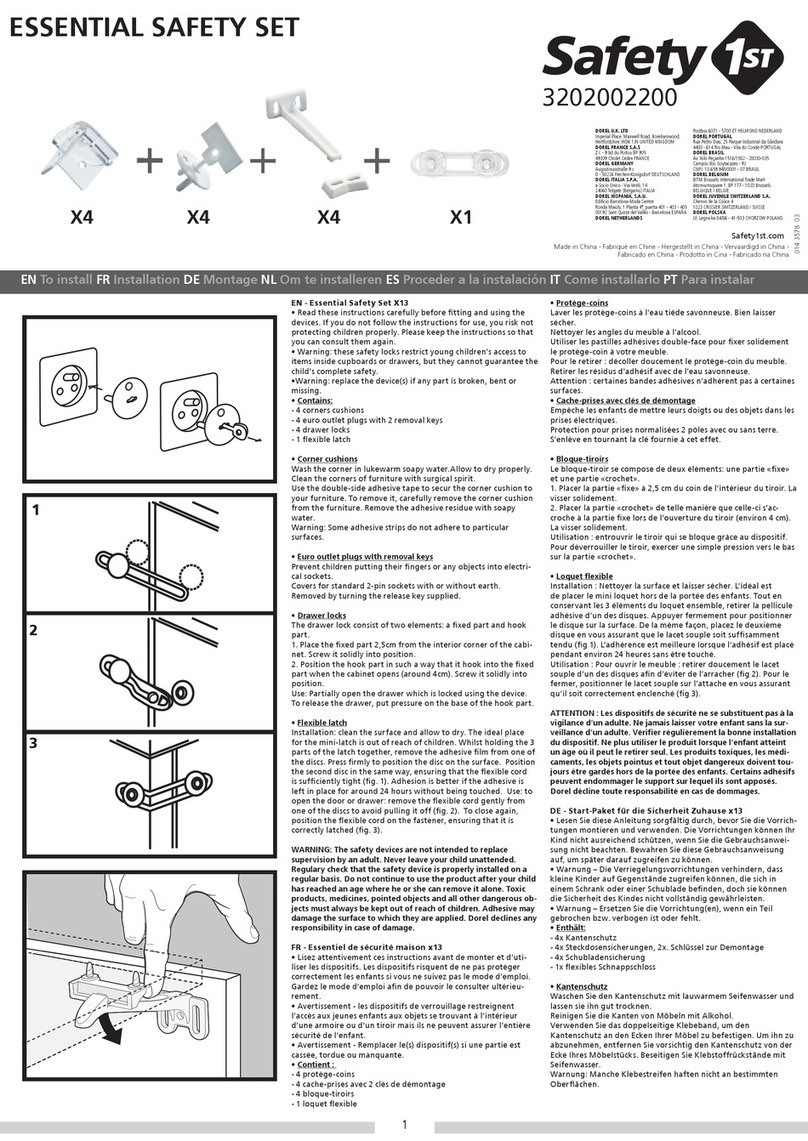
Safety 1st ESSENTIAL SAFETY SET User manual

Safety 1st

Safety 1st ESSENTIAL SAFETY SET User manual

Safety 1st Wide & Sturdy Sliding Gate GA089 User manual

Safety 1st

Safety 1st Wide & Sturdy Sliding Gate GA089 User manual

Popular Safety Equipment manuals by other brands

asecos V Series user manual

asecos

asecos V Series user manual

TRQ MIZAR SI Series manual

TRQ

TRQ MIZAR SI Series manual

STI STI-7534 quick start guide

STI

STI STI-7534 quick start guide

IRUDEK PRO 100 Instructions for use

IRUDEK

IRUDEK PRO 100 Instructions for use

Spinlock ALTO manual

Spinlock

Spinlock ALTO manual

KStrong AFT751010 User instruction manual

KStrong

KStrong AFT751010 User instruction manual

Jula 330-020 Operating instructions in original

Jula

Jula 330-020 Operating instructions in original

EDELRID Belay Station Sling Deluxe manual

EDELRID

EDELRID Belay Station Sling Deluxe manual

U-Line H-6928 quick start guide

U-Line

U-Line H-6928 quick start guide

WeatherTech FaceShield Air Assembly instructions

WeatherTech

WeatherTech FaceShield Air Assembly instructions

Scott Safety FM2 manual

Scott Safety

Scott Safety FM2 manual

InLine Motion Face Shield Assembly instructions

InLine Motion

InLine Motion Face Shield Assembly instructions

MARWOOD SG 80 Safety information and operating instructions

MARWOOD

MARWOOD SG 80 Safety information and operating instructions

DEZEGA CARBO CI-30 KS user manual

DEZEGA

DEZEGA CARBO CI-30 KS user manual

Petzl TREESBEE manual

Petzl

Petzl TREESBEE manual

TEUFELBERGER Slaice Manufacturer's information and instructions for use

TEUFELBERGER

TEUFELBERGER Slaice Manufacturer's information and instructions for use

Protekt WR 020 instruction manual

Protekt

Protekt WR 020 instruction manual

ESP duceri EMDLED3WMBULK2 quick start guide

ESP

ESP duceri EMDLED3WMBULK2 quick start guide

manuals.online logo
manuals.online logoBrands
  • About & Mission
  • Contact us
  • Privacy Policy
  • Terms and Conditions

Copyright 2025 Manuals.Online. All Rights Reserved.