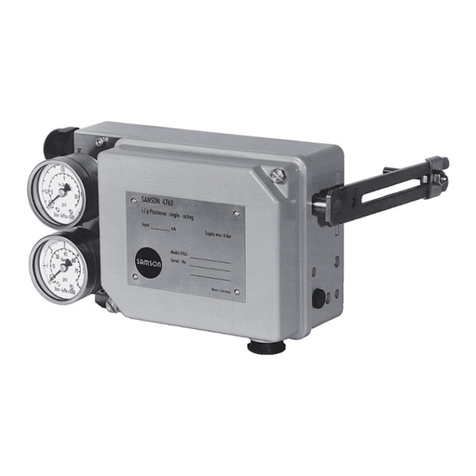
Samson 4763 Service manual
Other Samson Valve Positioner manuals

Samson
Samson TROVIS 3731-3 Service manual

Samson
Samson 3730 Series Service manual

Samson
Samson 3785 series Service manual

Samson
Samson TROVIS 3730-1 Service manual

Samson
Samson 3730-0 Service manual

Samson
Samson 3730 Series Service manual
Samson
Samson 3785 series Service manual
Samson
Samson 3730-4 Service manual

Samson
Samson 3730 Series Service manual

Samson
Samson 3730-2 Service manual
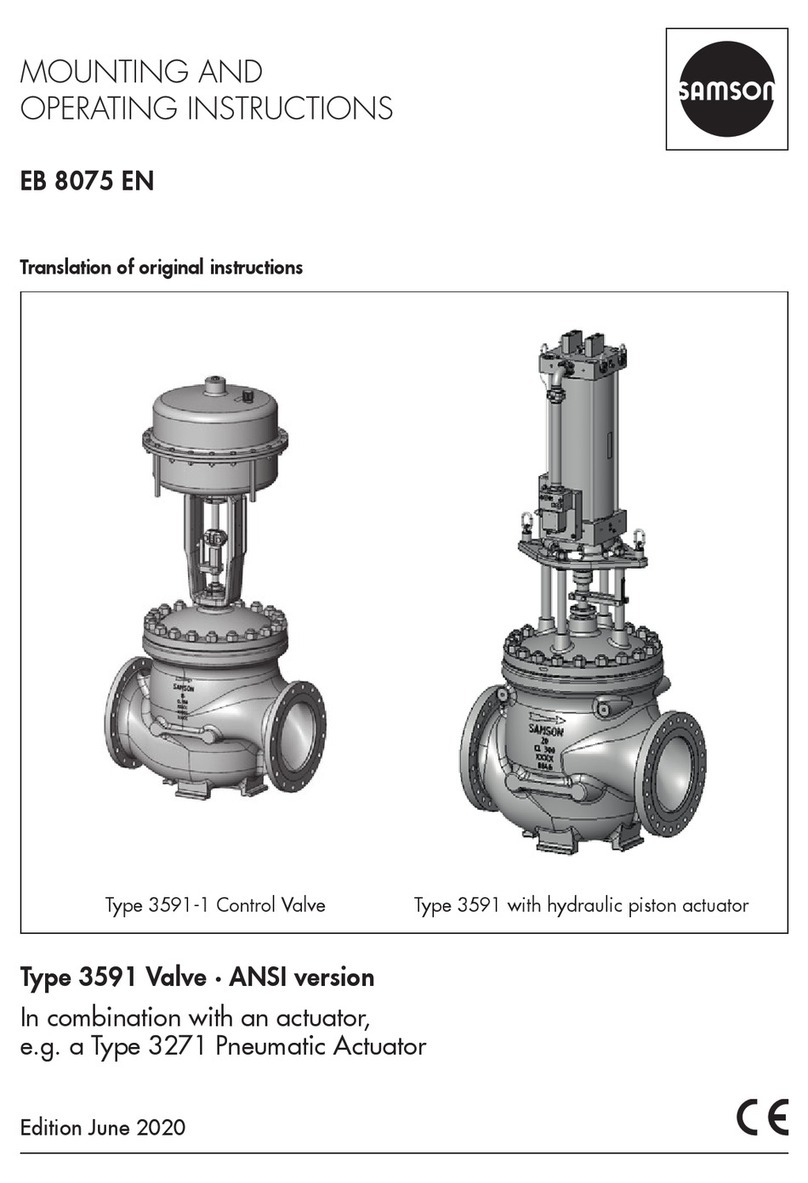
Samson
Samson EB 8075 EN Service manual
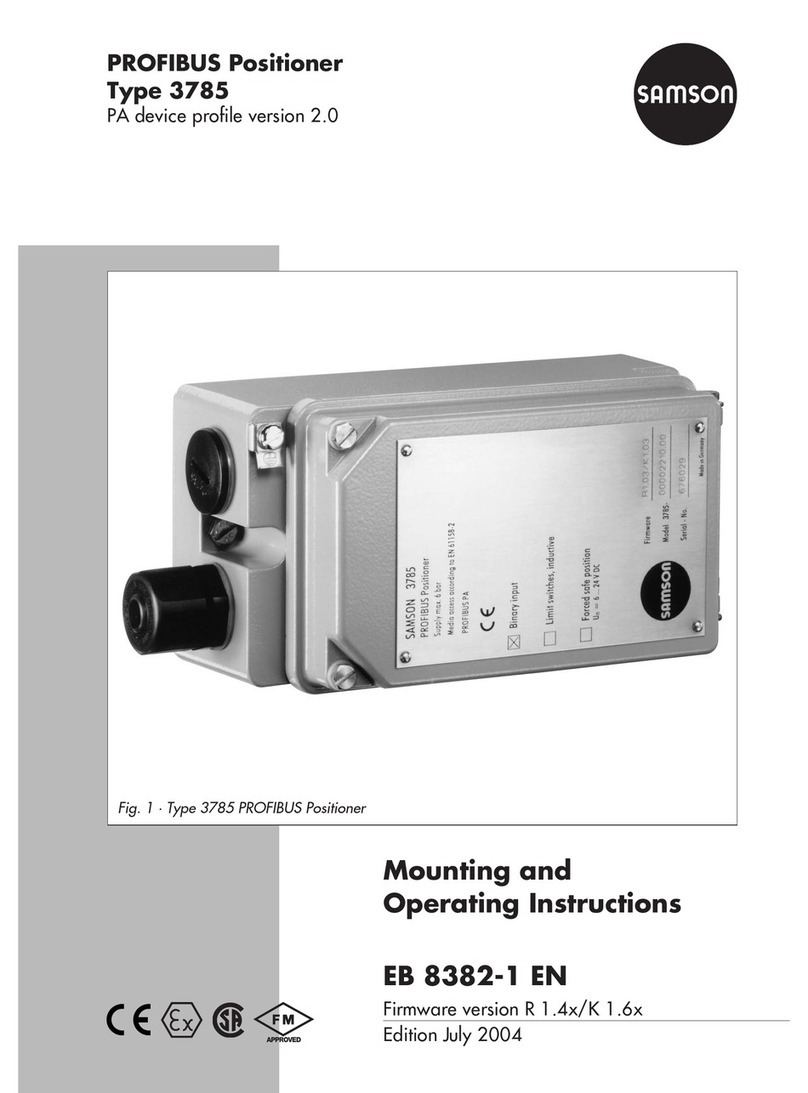
Samson
Samson 3785 series Service manual

Samson
Samson 3730-0 User manual

Samson
Samson 3724 Service manual

Samson
Samson TROVIS 3731-3 Service manual
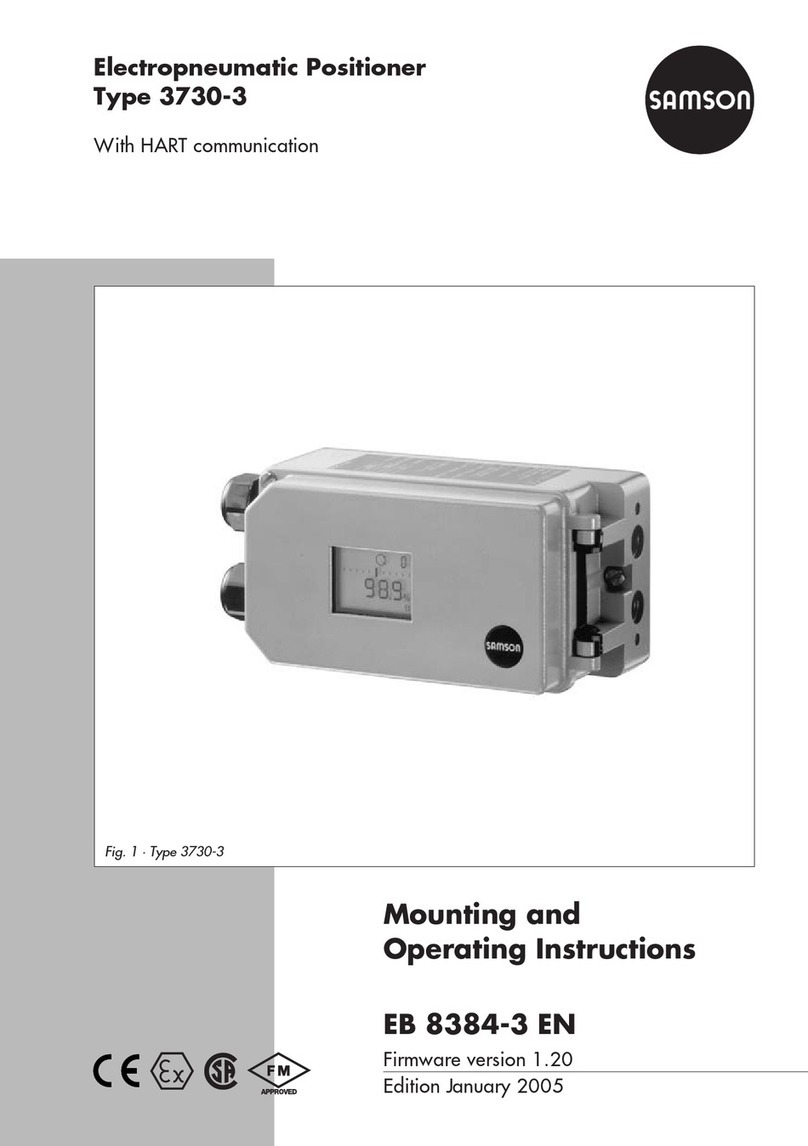
Samson
Samson TROVIS 3730-3 Service manual

Samson
Samson 3730 Series Service manual

Samson
Samson TROVIS 3730-1 Setup guide
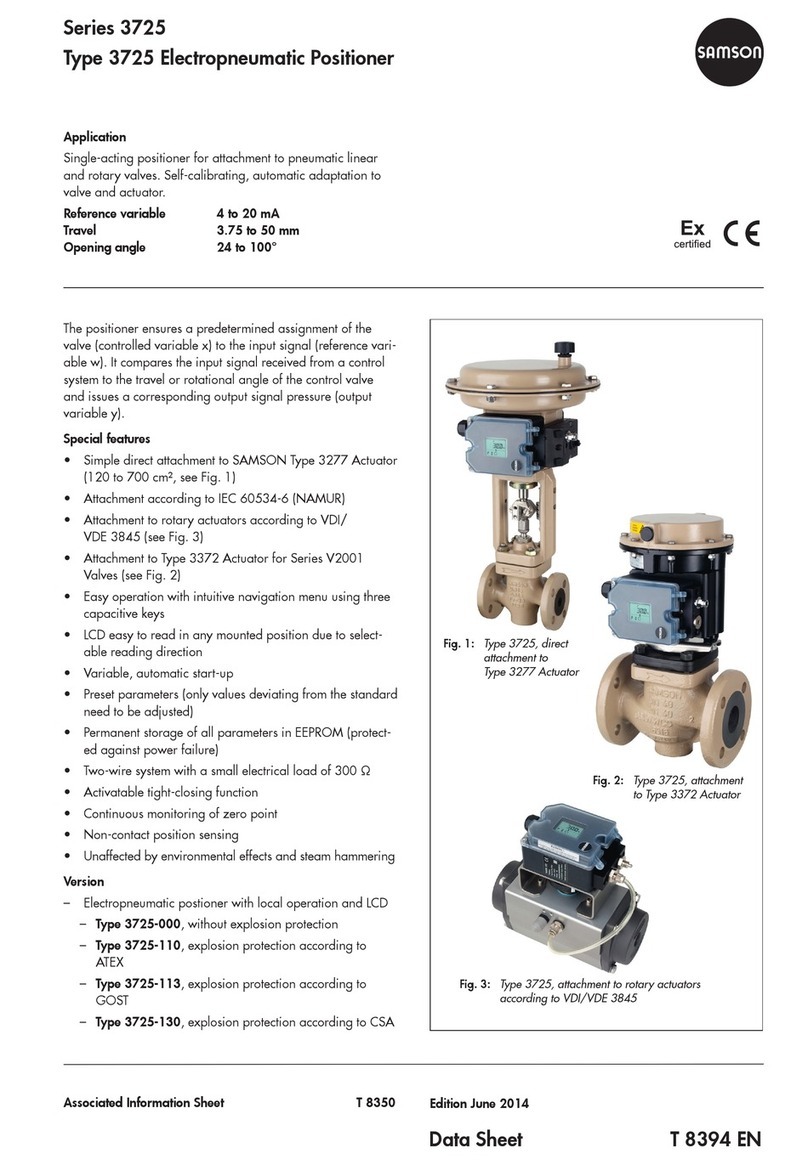
Samson
Samson 3725 series User manual
Samson
Samson 4763 Service manual
Popular Valve Positioner manuals by other brands

Parker
Parker MX80L series product manual

Westlock
Westlock Quantum 2800 Installation & operating instructions

ESCO Technologies
ESCO Technologies ETS LINDGREN 2302-001 user manual

SMC Networks
SMC Networks IP8000 manual

Flowserve
Flowserve Logix 3400MD User instructions

halstrup-walcher
halstrup-walcher HIPERDRIVE instruction manual


