8 ACCO-NT SATEL
driller c/w a set of drill bits.
6.1 Installation plan
Installation should be preceded by preparation of a plan of the access control system. It is
advisable to draw a sketch of the building, showing lay-out of all devices to be included in the
system, i.e. control panel, access control modules, terminals, activators, door sensors,
expansion modules, detectors, signaling devices, etc.
6.2 Estimation of the system current consumption
At the stage of planning the access control system, you should sum up all the currents
consumed by all devices included in the system (control panel mainboard, access control
modules, expanders, etc.). The calculation must also include the current for charging the
battery connected to the power supply unit. If the sum of currents exceeds the current output
of the power supply connected to the control panel, an additional power supply unit must be
used in the system.
The sum of currents consumed by devices connected to the additional power supply must not
exceed its current output.
When planning connection of devices to individual supply outputs (control panel, access
control modules, etc.), you should bear in mind that the sum of currents consumed by those
devices must not exceed the maximum current-carrying capacity of these outputs.
Current-carrying capacity of the +EX supply output on control panel mainboard
is 0.5 A, and that of the AUX outputs is 0.5 A in total.
6.3 Cabling
For the RS-485 communication bus, use the twisted-pair type of cable (e.g. UTP –
unscreened twisted-pair cable).
To make connections between the control panel and the devices connected to the expander
bus, it is advisable to use the unshielded non-twisted cable (using the twisted-pair type of
cable, e.g. UTP, STP, FTP, is not recommendable).
Select cross-section of the power supply wires so that the supply voltage drop between the
power supply and the supplied device should not exceed 1 V as against the output voltage.
In order to guarantee correct functioning of the system components it is important that
resistance and capacitance of the signal wires be as low as possible. When the distances
between the devices are greater, several wires connected in parallel may have to be used for
each signal, in order to reduce conductor resistance. This, however, may lead in
consequence to an increase in conductor capacitance. Too high resistance or capacitance of
the cables connecting the control panel to expansion modules can prevent the devices from
working correctly. When selecting the length of cables, follow recommendations set out in
sections on connection of particular types of devices.
When making the cabling, remember that there must be sufficient distance between the low-
voltage wires and the 230 V AC power supply wires. Avoid running the signal cables in
parallel to and in close proximity of the 230 V AC supply cables.
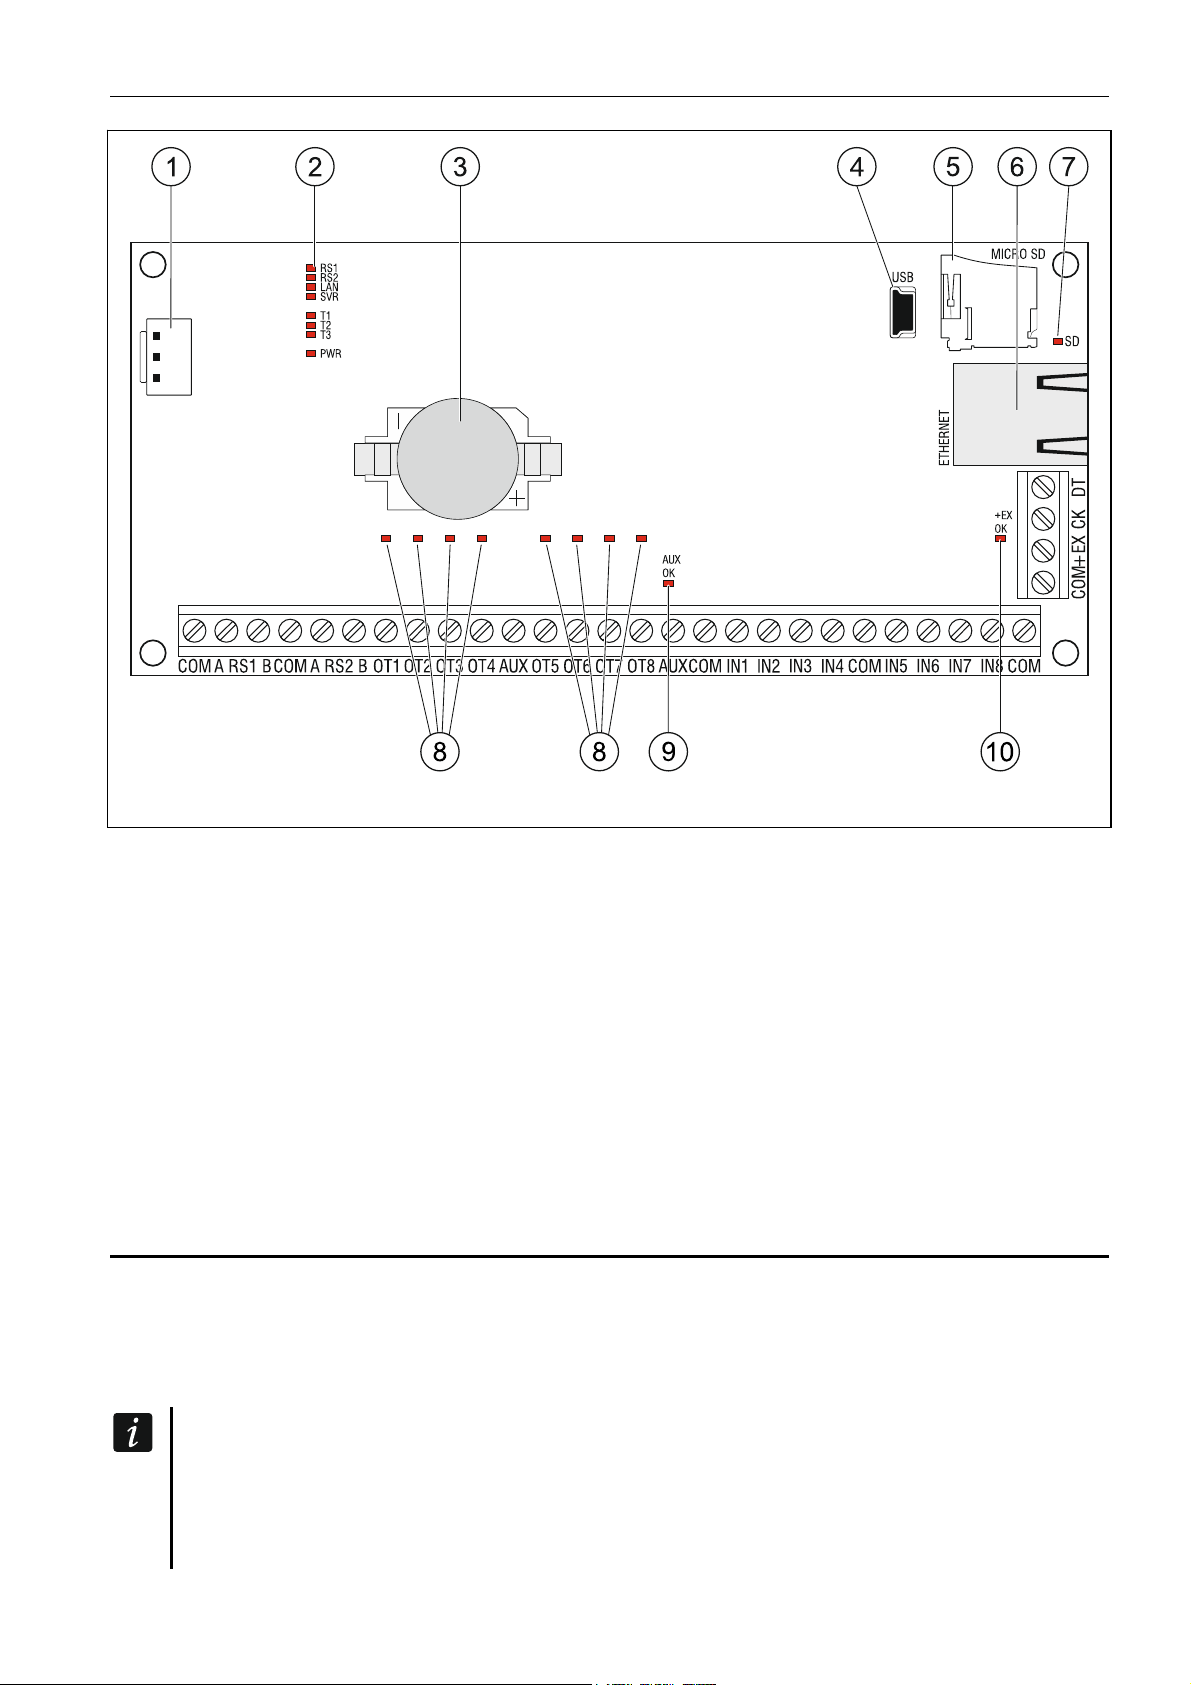
6.4 Installing the control panel mainboard
The control panel mainboard contains electronic components sensitive to
electric charges.