Satel INT-SK User manual

INT-SK
Partition keypad
Firmware version 2.02 int-sk_en 08/20
SATEL sp. z o.o. • ul. Budowlanych 66 • 80-298 Gdańsk • POLAND
tel. +48 58 320 94 00
www.satel.eu

IMPORTANT
The device should be installed by qualified personnel.
Read carefully this manual before proceeding to installation.
Changes, modifications or repairs not authorized by the manufacturer shall void your rights
under the warranty.
SATEL aims to continually improve the quality of its products, which may result in changes in
their technical specifications and software. Current information about the changes being
introduced is available on our website.
Please visit us:
http://www.satel.eu
The declaration of conformity may be consulted at www.satel.eu/ce
The following symbols may be used in this manual:
- note;
- caution.

CONTENTS
1. Features ...........................................................................................................................2
2. Installation ........................................................................................................................2
2.1 Address setting...........................................................................................................3
2.2 Description of terminals..............................................................................................4
3. Configuring .......................................................................................................................4
3.1 Description of parameters and options.......................................................................4
4. Using ................................................................................................................................8
4.1 LED indicators ............................................................................................................8
4.2 Sound signaling..........................................................................................................8
4.2.1 Beeps generated when operating ........................................................................8
4.2.2 Signaling events...................................................................................................8
4.3 Code...........................................................................................................................9
4.4 Available functions......................................................................................................9
4.4.1 [Code] ...........................................................................................................9
4.4.2 [Code] ...........................................................................................................9
4.4.3 Quick arming......................................................................................................10
4.4.4 Triggering the alarm from keypad ......................................................................10
4.4.5 Silencing alarm at the partition keypad ..............................................................10
4.4.6 Code changing...................................................................................................10
4.5 Impact of the EN 50131 standard on keypad use.....................................................10
5. Specifications .................................................................................................................11

2 INT-SK SATEL
The INT-SK partition keypad:
•allows the user to control one partition of the alarm system,
•can control the access to a single door.
The keypad is compatible with the INTEGRA / INTEGRA Plus alarm control panels.
Fig. 1. INT-SK partition keypad with closed and open flap cover.
1. Features
•Arming / disarming and alarm clearing in partition.
•Capability of triggering alarm from the keypad.
•Single door control:
– relay output for control of electric strike, electromagnetic lock or another door actuator,
– door status input (NC).
•Control of “24. MONO switch” and “25. BI switch” type outputs.
•The ability to change access code by the user.
•LEDs indicating the partition status.
•12 keys with backlighting.
•Built-in sounder.
•Tamper protection against enclosure opening and removal from the wall.
2. Installation
Disconnect power before making any electrical connections.

SATEL INT-SK 3
The keypad is designed for indoor installation. The place of installation should be readily
accessible to the system users.
1. Open the keypad enclosure.
2. Set the partition keypad address (see “Address setting” p. 3).
3. Place the enclosure base on the wall and mark the location of mounting holes.
4. Drill the holes for wall plugs (anchors).
5. Run the wires through the opening in the enclosure base.
6. Using wall plugs (anchors) and screws, fasten the enclosure base to the wall. Select wall
plugs specifically intended for the mounting surface (different for concrete or brick wall,
different for drywall, etc.).
7. Connect the CLK, DTA and COM terminals to the appropriate terminals of the control
panel expander bus (see the control panel installer manual). It is recommended that an
unshielded non-twisted cable be used for making the connection. If you use the twisted-
pair type of cable, remember that CLK (clock) and DTA (data) signals must not be sent
through one twisted-pair cable. The wires must be run in one cable.
8. If the partition keypad is to control an electric strike, electromagnetic lock or another door
actuator, connect this device to the NO terminals as shown in Fig. 2. It is not
recommended that the door actuator be powered from the same source as the partition
keypad.
Fig. 2. Connecting the actuator to the keypad.
9. If the keypad is to supervise the door status, connect the detector supervising the door
status to the IN and COM terminals. If the keypad is not to supervise the door status,
connect the IN terminal to the COM terminal or, when configuring the keypad, set value 0
for the “Max. door open time” parameter.
10.Connect the power wires to the +12V and COM terminals. The keypad may be powered
directly from the control panel, from an expander with power supply or from a power
supply unit.
11.Close the keypad enclosure.
12.Power on the alarm system.
13.Start the identification function in the control panel (see the control panel installer
manual). The keypad will be identified as “INT-S/SK”.
2.1 Address setting
An individual address (different from that in the other devices connected to the control panel
bus) must be set in the keypad.

4 INT-SK SATEL
To set the address, use the DIP switches on the electronics board. The switches have
numbers assigned to them. The number for OFF position is 0. The numbers assigned to the
switches in ON position are presented in the table 1. The sum of these numbers is the
address set.
Switch (ON position)
1 2 3 4 5
Number
1
2
4
8
16
Table 1.
Fig. 3. Examples of partition keypad address setting.
2.2 Description of terminals
NO - relay output
IN - door status input (NC)
COM - common ground
+12V - power input
DTA - data (expander communication bus)
CLK - clock (expander communication bus)
3. Configuring
The keypad settings you can configure using:
•DLOADX program: “Structure” window “Hardware” tab “Expansion modules”
branch [keypad name],
•LCD keypad: “Service mode” “Structure” “Hardware” “Expanders” “Settings”
[keypad name].
3.1 Description of parameters and options
Names of parameters and options from the DLOADX program are used in this manual.
Shown in square brackets at the description of a parameter or option is the name presented
on the display of the LCD keypad.
Name – individual name of the device (up to 16 characters).
Partition – partition operated by the keypad.
Lock [Lock feature] – if this option is enabled, the keypad can control the access to a single
door (the following parameters are available: “Lock features”, “Relay ON time”, “Max. door
open time” etc.).

SATEL INT-SK 5
Lock features [Lock function] – mode of operation of the relay output after the access is
granted:
ON if partition armed [On if part.armed] – the relay output will be turned on until the
partition is armed. When the partition is armed, users cannot get access (to get access,
the user must disarm the partition).
Fixed ON time [ON time] – the relay output will be turned on for the “Relay ON time”.
Fixed ON time – OFF if door open [ON, openoff] – the relay output will be turned on
until the door is opened (door status input is disconnected from common ground),
however not longer than for the “Relay ON time”.
Fixed ON time – OFF if door closed [ON, closeoff] – the relay output will be turned on
until the door is closed (door status input is reconnected to common ground), however
not longer than for the “Relay ON time”.
Relay ON time – the time during which the relay output can be turned on after the access is
granted. You can program from 1 to 255 seconds. The parameter does not apply to the
“ON if partition armed” mode.
Fig. 4. DLOADX program: parameters and options of partition keypad.
Relay [Relay type] – status of the deactivated relay:
NO [Normal.open NO] – the relay contacts are open (they close on activating the relay).

6 INT-SK SATEL
NC [Normal.closed NC] – the relay contacts are closed (they open on activating the relay).
Authorization control [Unauth. event] – if this option is enabled, unauthorized opening of
the door will save the event to the control panel memory.
Alarm on unauth. access [Unauth. alarm] – if this option is enabled, unauthorized opening
of the door when the partition is armed will trigger an alarm. The option is available if the
“Authorization control” option is enabled.
Max. door open time [Max. door open] – the maximum period of time during which the door
can be open (the door status input can be disconnected from common ground). If the door
is open longer, audible alarm will be triggered in the keypad, and the event will be saved to
the control panel memory. You can enter from the 0 to 255 seconds. If you enter 0, the
door can be open for any long period of time.
Dependent on door (1) / Dependent on door (2) – you can select the door that must be
closed so that the user can get access (turn the relay output on). It allows you to create an
airlock. You may select a door supervised by another expander or alarm system zone
programmed as type “57 Technical – door open”.
Confirmation – method of providing feedback to the user after using the keypad:
No – no feedback.
Sound – the keypad will use sounds to give feedback to the user.
Backlight – the keypad will use key backlight to give feedback to the user.
Code+* do not disarm [Code*not dis.] – if this option is enabled, entering the code and
pressing will not disarm the partition (to disarm the partition, the user must enter the
code and press ).
Access if armed [Code*in arm] – if the option is enabled, the users can gain access (turn
the relay output on) when the partition is armed. If the option is disabled, the users cannot
gain access when the partition is armed. The option is available, if the “Code+* do not
disarm” option is enabled. The option does not apply to the “ON if partition armed” mode.
Users [Master users / Users] – the administrators and users which are permitted to use the
keypad.
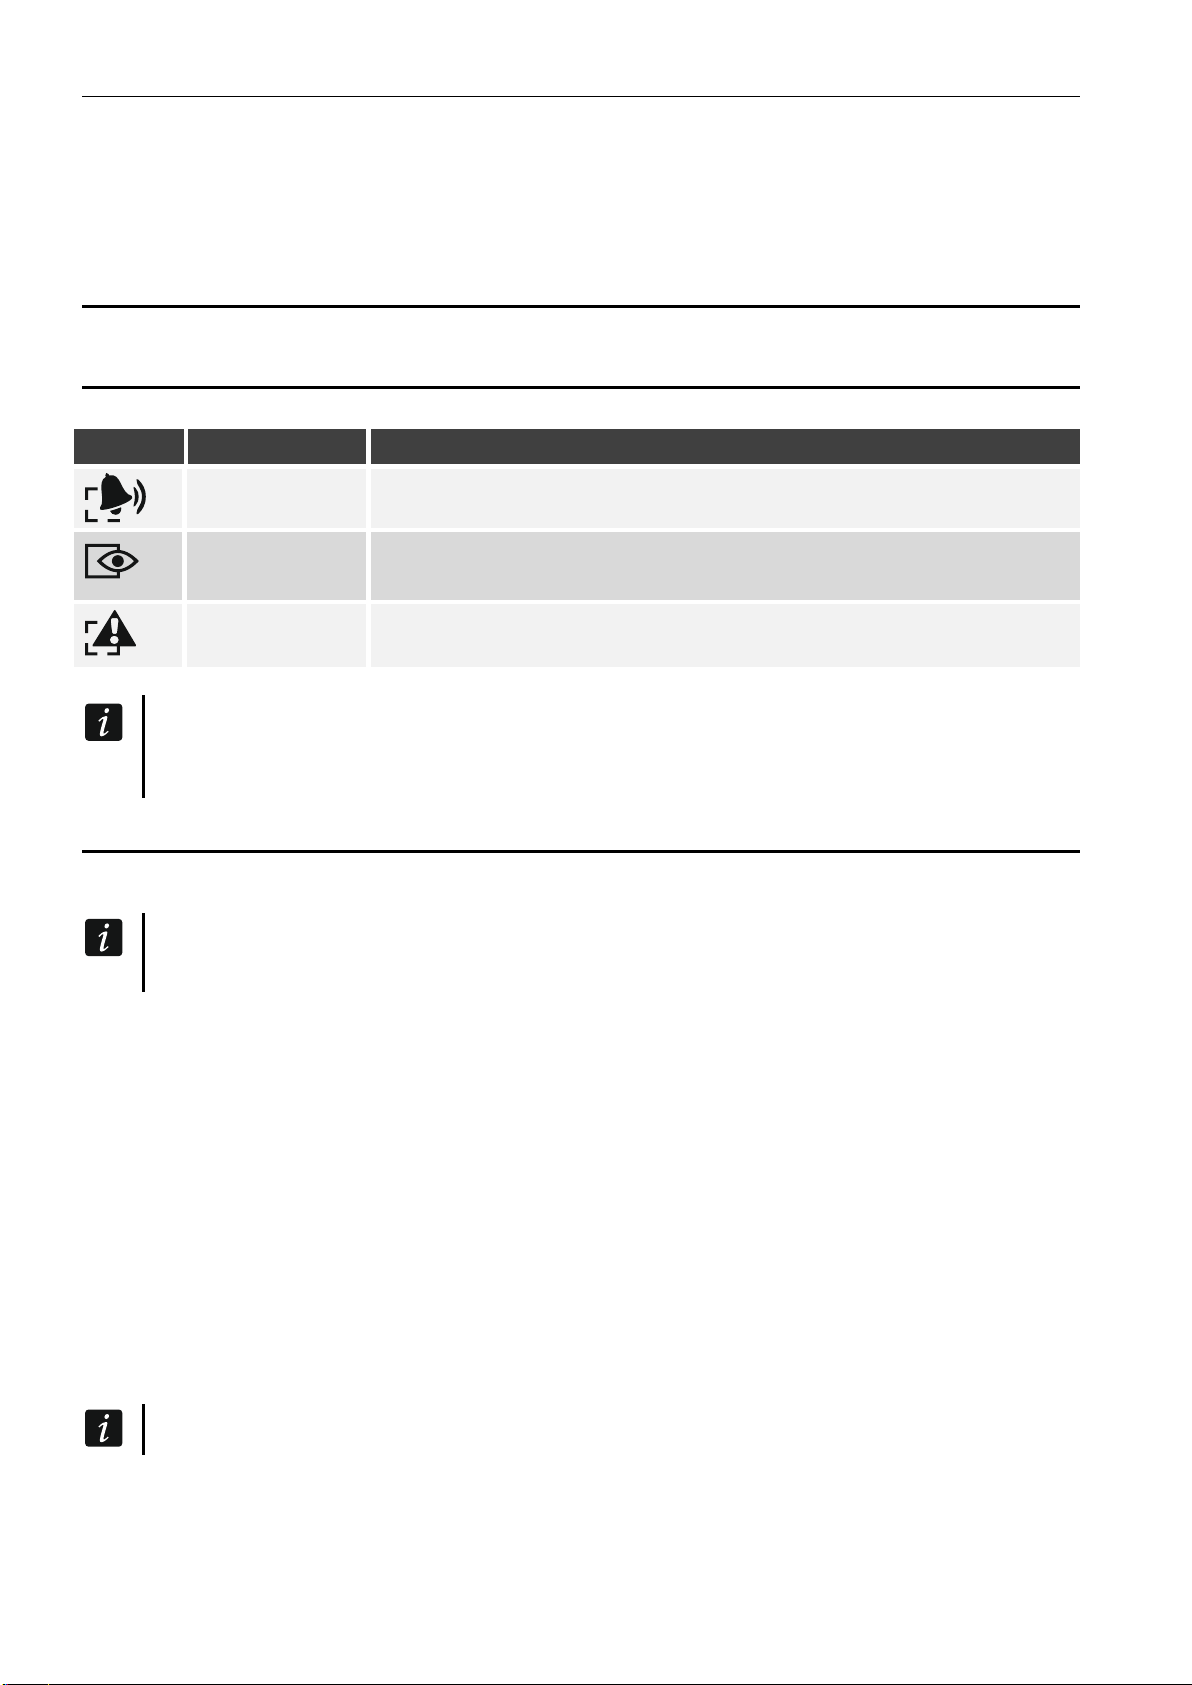
FIRE alarm – if this option is enabled, pressing and holding for 3 seconds will trigger
the fire alarm.
AUX. alarm [Medical alarm] – if this option is enabled, pressing and holding for 3
seconds will trigger the medical alarm.
PANIC alarm – if this option is enabled, pressing and holding for 3 seconds will trigger
the panic alarm.
silent [Silent panic] – if this option is enabled, the panic alarm triggered from the keypad will
be a silent one, i.e. the keypad will not indicate it, there will be no audible signal, but the
alarm will be reported to the monitoring station. The silent panic alarm is useful when the
control panel is sending events to the monitoring station, but unauthorized persons should
not be aware of the alarm being triggered. This option is available, if the “PANIC alarm”
option is enabled.
Alarm 3 incorrect codes [3 wrong codes] – if this option is enabled, entering a wrong code
three times will trigger an alarm.
Quick arming [Quick arm] – if this option is enabled, the user needs no code to arm the
partition using the keypad.
Control “BI” output [BI outs ctrl.] – if this option is enabled, the ““Bi” output operating” type
of users can use the keypad to control outputs.
Control “MONO” output [MONO outs ctr.] – if this option is enabled, the ““Mono” output
operating” type of users can use the keypad to control outputs.

SATEL INT-SK 7
Partition blocking [Part.blocking] – if the option is enabled, using the code by a user of the
“Blocking partition” or “Guard” type will block the armed partition (violating a zone
belonging to the partition will trigger no alarm). The duration of blocking is to be defined for
the partition or the user (the user of “Blocking partition” type).
Guard round control [Guard control] – if this option is enabled, using the code by a user of
the “Guard” type will be registered as the guard round.
Changing access code [Changing code] – if this option is enabled, the user can change
own code from the partition keypad.
Exit delay clearing enable [Fin.exit time] – if the option is enabled, the user can terminate
the partition exit delay countdown by pressing successively and (if the “Exit
delay clearing” option is enabled for the partition).
Alarm signal [Alarm (time)] – if this option is enabled, the keypad will audibly signal alarms
throughout the “Global alarm time” (parameter programmed in the control panel).
Alarm signal (until canceled) [Alarm (latch)] – if this option is enabled, the partition keypad
will audibly signal alarms until they are cleared.
Sign. entry delay [Entry time] – if this option is enabled, the partition keypad will audibly
signal the entry delay countdown.
Sign. exit delay [Exit time] – if this option is enabled, the partition keypad will audibly signal
the exit delay countdown.
Auto-Arm delay countdown [Auto-arm delay] – if this option is enabled, the partition keypad
will audibly signal the auto-arm delay countdown.
Acc. code sign. (hardware) [Code entered] – if this option is enabled, the partition keypad
will confirm with a single beep that the code has been entered. The signaling is useful
when there is a delay between entering the code and the sounds emitted after verification
of the code by the control panel.
CHIME [Chime zones] – if this option is enabled, the partition keypad will audibly signal
violation of zones with “Chime in module” option enabled, belonging to the partition
operated by means of the keypad.
No auto-reset after 3 tamp. [No autorst.3t.] – if this option is enabled, the feature reducing
the number of tamper alarms from the module to three is disabled (the feature prevents
multiple logging of the same events and applies to successive uncleared alarms).
Backlight – keys backlight operation mode:
No – always off.
Auto – on for about 40 seconds after pressing any key. Additionally, it can be turned on if
a specific event occurs (see the “Auto-backlight” parameter).
Permanent – always on.
Auto-backlight – if the keys backlight comes on automatically, you can additionally define
whether and what event will turn the backlight on:
No – the keys backlight will not be additionally turned on.
Zone violation – the keys backlight will additionally go on if a selected zone is violated.
Entry delay, part. – the keys backlight will additionally go on if entry delay countdown
starts in the selected partition.
Unlock door if fire [Doors on fire] – you can define whether and when the fire alarm will
unlock the door controlled by the partition keypad (i.e. will activate the relay output):
No [no open] – the door will not be unlocked in the event of fire alarm.
Part. fire alarm [on partit. fire] – the door will be unlocked in the event of fire alarm in the
partition to which the keypad is assigned.

8 INT-SK SATEL
Object fire alarm [on object fire] – the door will be unlocked in the event of fire alarm in
the object to which the keypad is assigned.
Fire alarm [on any fire] – the door will be unlocked in the event of fire alarm in the alarm
system.
4. Using
4.1 LED indicators
LED
Color
Description
red
ON
or
flashing
– alarm or alarm memory
green
ON – partition is armed
flashing – exit delay countdown is running in the partition
yellow
flashing – trouble or trouble memory (the LED goes out when
the partition is armed)
Information about the armed state can be extinguished after a preset time.
All LEDs flashing in turn indicate that there is no communication with the control panel.
4.2 Sound signaling
4.2.1 Beeps generated when operating
The installer can disable the sound signaling or replace it with flashing of the keys
backlight (see “Configuring”).
1 short beep – any number key is pressed or the code is used.
2 short beeps – acceptance of the first code during two code arming / disarming.
3 short beeps – confirmation of:
– starting the procedure of arming (there is exit delay in the partition) or arming (there is
no exit delay in the partition),
– disarming and/or alarm clearing.
4 short and 1 long beeps – confirmation of function execution.
3 pairs of short beeps – code change is required.
1 long beep – refusal to arm (there are violated zones in the partition or there is a trouble).
2 long beeps – unknown code.
3 long beeps – unavailable function.
4.2.2 Signaling events
The installer defines whether events are to be signaled audibly (see “Configuring”).
5 short beeps – zone violation (CHIME).
Long beep every 3 seconds, followed by a series of short beeps for 10 seconds
and 1 long beep – countdown of exit delay (if the time is shorter than 10 seconds, only
the final sequence of short beeps will be generated).

SATEL INT-SK 9
A sequence of 7 beeps of diminishing duration, repeated every few seconds –
countdown of auto-arming delay.
2 short beeps every second – countdown of entry delay.
Continuous beep – alarm.
Long beep every 2 seconds – alarm memory.
Long beep every second – fire alarm.
Short beep every 2 seconds – fire alarm memory.
Very short beeps – door open too long.
4.3 Code
Most of the functions are available after entering the code. By factory default, the following
codes are programmed in the control panel:
service code: 12345
object 1 master user (administrator) code: 1111
The factory default codes should be changed before you start using your alarm
system
Do not make your code available to other people.
4.4 Available functions
Availability of the functions depends on:
•type and rights of the user,
•keypad settings,
•partition state.
If you use the code to arm / disarm the partition and the and LEDs start
flashing alternately, this will mean that the keypad is waiting for the code of the other
user (arming / disarming using 2 codes).
4.4.1 [Code]
Enter the code and press to:
•disarm the partition,
•clear alarm,
•gain access (turn on the expander relay output),
•toggle the state of “25. BI switch” type outputs,
•turn on the “24. MONO switch” type outputs,
•confirm the guard round,
•temporary block the partition.
You can start two or more functions at the same time (e.g. disarming, alarm clearing and
gaining access).
4.4.2 [Code]
Enter the code and press to:
•start the procedure of partition arming / arm the partition,
•disarm the partition,

10 INT-SK SATEL
•clear alarm,
•gain access (turn on the expander relay output),
•toggle the state of “25. BI switch” type outputs,
•turn on the “24. MONO switch” type outputs,
•confirm the guard round,
•temporary block the partition,
•unblock access to cash machine.
You can start two or more functions at the same time (e.g. disarming, alarm clearing and
gaining access).
4.4.3 Quick arming
The installer may permit arming without using the code.
1. To select the arming mode, press one of the keys:
- full arming,
- full arming + bypasses,
- arming without interior,
- arming without interior and without entry delay.
2. Press . This will start the partition arming procedure (if the exit delay is 0, the partition
will be armed instantly).
4.4.4 Triggering the alarm from keypad
The installer can permit triggering alarms from the keypad. To trigger an alarm, do the
following:
fire alarm – press and hold down for about 3 seconds,
medical (auxiliary) alarm – press and hold down for about 3 seconds,
panic alarm – press and hold down for about 3 seconds. The installer defines whether
the audible or silent panic alarm will be triggered.
4.4.5 Silencing alarm at the partition keypad
Press any number key to silence the keypad sounder during an alarm condition for about 40
seconds.
4.4.6 Code changing
You can change your code if the “Changing access code” option is enabled.
1. Press and hold the key for about 3 seconds.
2. When the and LEDs start flashing alternately, enter the old code and press .
3. When the and LEDs start flashing alternately, enter the new code and press
.
4.5 Impact of the EN 50131 standard on keypad use
If the control panel has been configured in accordance with the requirements of Standard
EN 50131 for Grade 2 (INTEGRA) or Grade 3 (INTEGRA Plus):
•the keypad does not signal alarms,
•the LED indicates alarms only after entering the code,
•flashing of the LED indicates a trouble, bypassed zones or an alarm,

SATEL INT-SK 11
•the LED goes out after 60 seconds (Grade 3),
•quick arming functions are not available,
•arming procedure cannot be initiated, if there are violated zones in the partition or there is
a trouble in the system,
•the partition will not be armed if, at the moment of completion of exit delay countdown:
– there is a violated zone in partition which was not violated when the arming procedure
was started,
– there is a trouble which did not exist when the arming procedure was started.
5. Specifications
Supply voltage.................................................................................................... 12 VDC ±15%
Standby current consumption..........................................................................................35 mA
Maximum current consumption........................................................................................55 mA
Relay output (resistive load) .................................................................................1 A / 30 VDC
Environmental class according to EN50130-5.........................................................................II
Operating temperature range...............................................................................-10°C...+55°C
Maximum humidity..........................................................................................................93±3%
Dimensions....................................................................................................144 x 80 x 27 mm
Weight...............................................................................................................................160 g
Other manuals for INT-SK
1
Table of contents
Other Satel Keypad manuals

Satel
Satel INT-TSI User manual

Satel
Satel VERSA-LCDM-WRL User manual

Satel
Satel INT-TSG User guide

Satel
Satel INT-SF User manual

Satel
Satel INT-KLCDK-GR User manual

Satel
Satel CA-6 KLED-S User manual

Satel
Satel PRF-LCD-WRL User manual

Satel
Satel INT-SCR-BL User manual

Satel
Satel INT-SK-GR User manual

Satel
Satel INT-S Series User manual