SATEL OPAL Pro 7
Figure 11 shows the way the dusk sensor operates. On the timeline the T time delay is presented (in operating
mode T=15 min, in configuring mode T=3 s). Illustrated with the letter H light intensity hysteresis and time delay
make the sensor immune to short and accidental changes of light intensity. Table 1 presents light intensity
values for three detection thresholds.
Light intensity [lx]
Detection threshold Turning on [PON] Turning off [POFF]
minimum 10 170
default 25 100
maximum 30 80
Table 1.
All parameters set in the configuring mode are written in the detector non-volatile memory and are
retained even after power loss.
If the detector is to be pet immune, for the infrared and microwave sensors do not set the detection
sensitivity higher than default.
Starting configuring mode
Press MODE button on the detector electronics board for 2 seconds or apply the common ground to the SVCE
terminal. After starting the configuring mode, the green LED starts to blink, it means that you can configure the
sensitivity of the microwave sensor.
Entering the configuring mode disables the anti-mask feature. The anti-mask feature will be
automatically enabled after you exit the configuring mode.
Signaling in the configuring mode
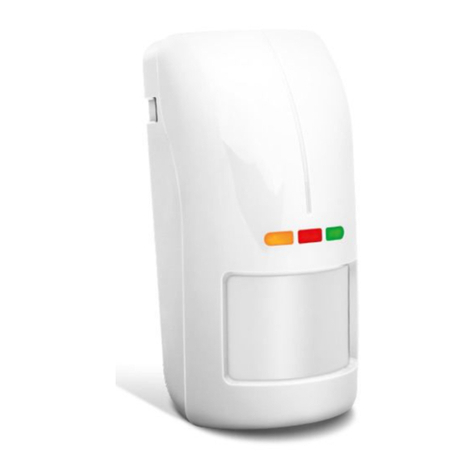
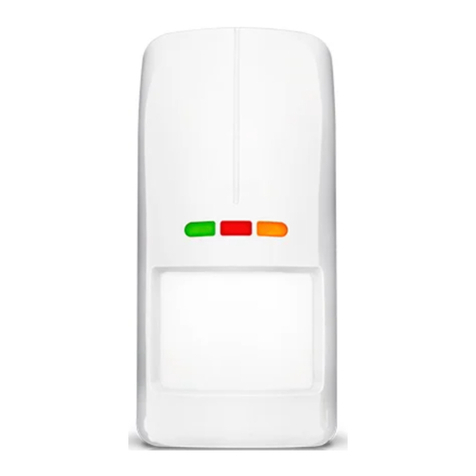
The way in which LEDs operate during configuring of the sensors is as follows.
The microwave sensor
green LED – blinking indicates microwave sensor configuring, blinking frequency gives information about
sensitivity (higher blinking frequency = higher sensor sensitivity),
yellow LED – signals motion detection – ON for 2 seconds.
The PIR sensor
yellow LED – blinking indicates PIR sensor configuring, blinking frequency gives information about sensitivity
(higher blinking frequency = higher sensor sensitivity),
green LED – signals motion detection – ON for 2 seconds.
The dusk sensor
red LED – blinking indicates dusk sensor configuring, blinking frequency gives information about the set
detection threshold (higher blinking frequency = higher detection threshold),
yellow LED – ON when the light intensity is below the set threshold.
Reaching the bottom or top limit of adjustment setting is indicated by the LED which is ON for 3
seconds.
Configuring by means of the detector buttons
By pressing buttons -(value decreasing) and +(value increasing) set the sensitivity / detection threshold of the
sensor.
Pressing buttons -and +simultaneously restores default settings for the configured sensor. Keeping
the buttons pressed for 3 seconds restores default settings for all sensors.
Pressing MODE button briefly allows starting configuring of another sensor. Blinking of the proper LED will
indicate which sensor is being configured (see: “Signaling in the configuring mode”).

