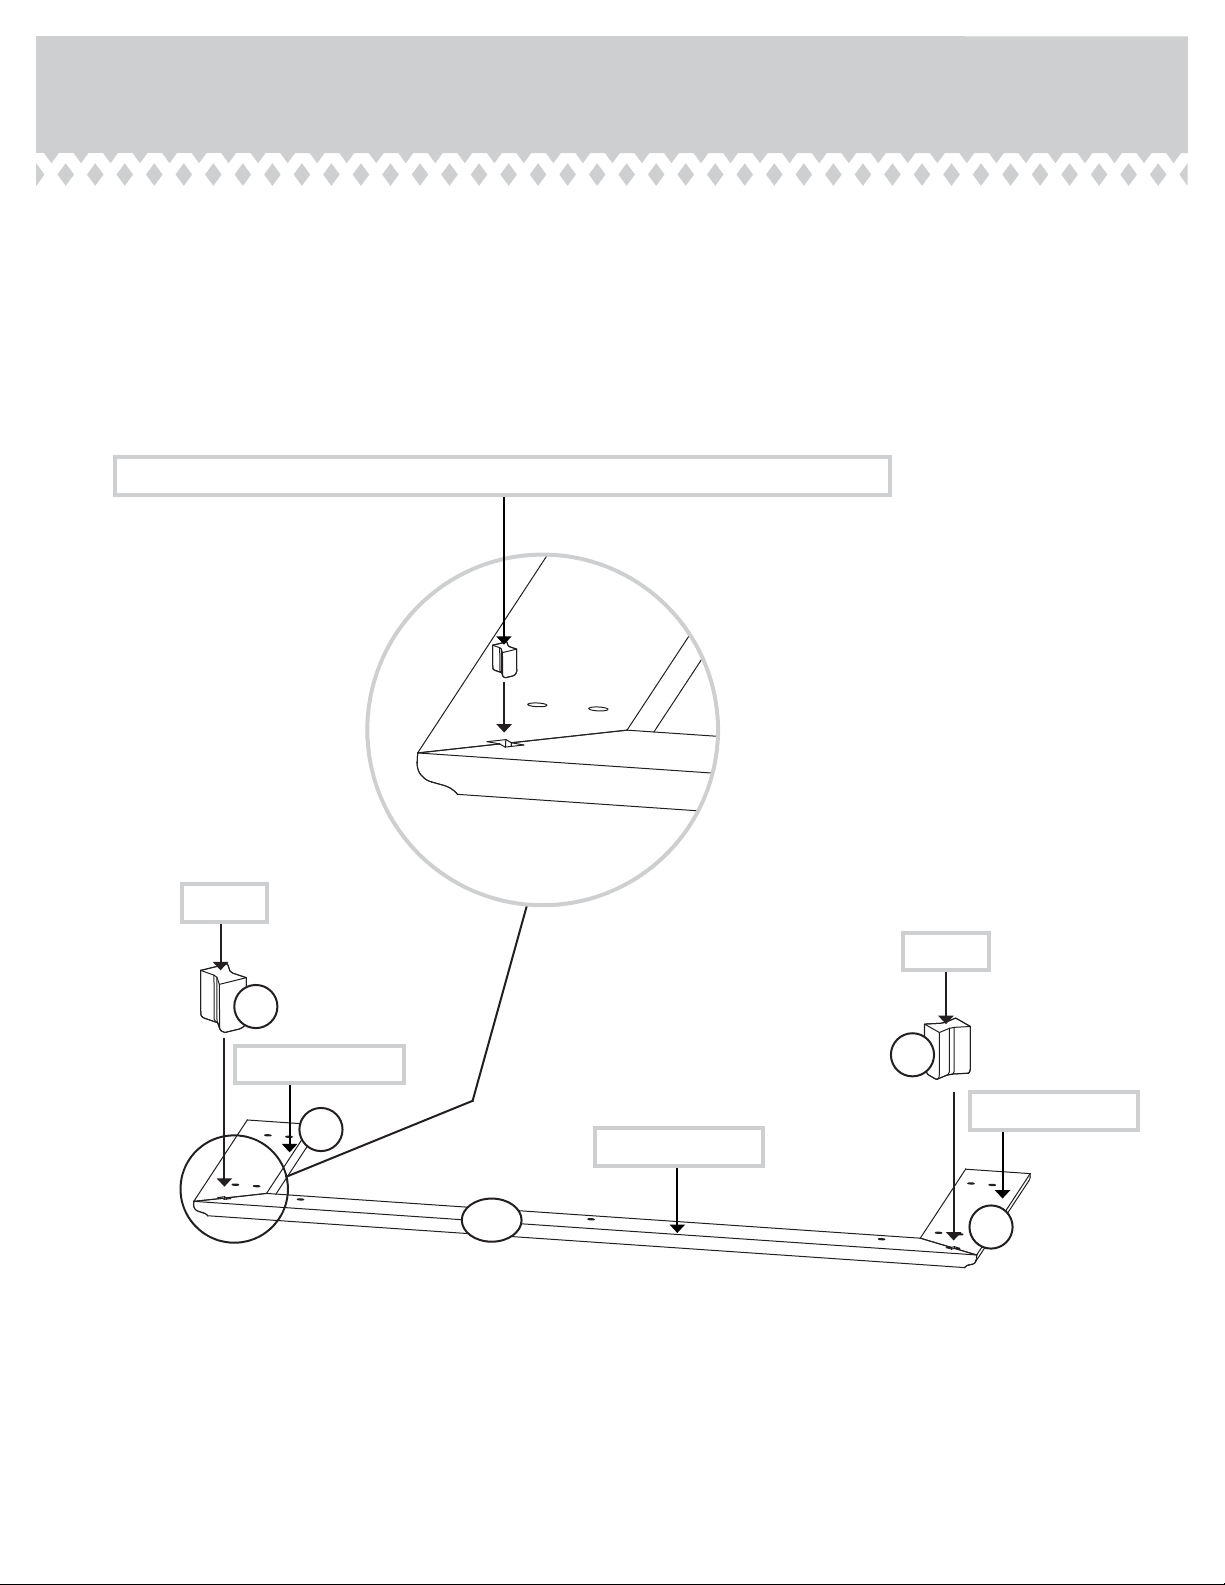
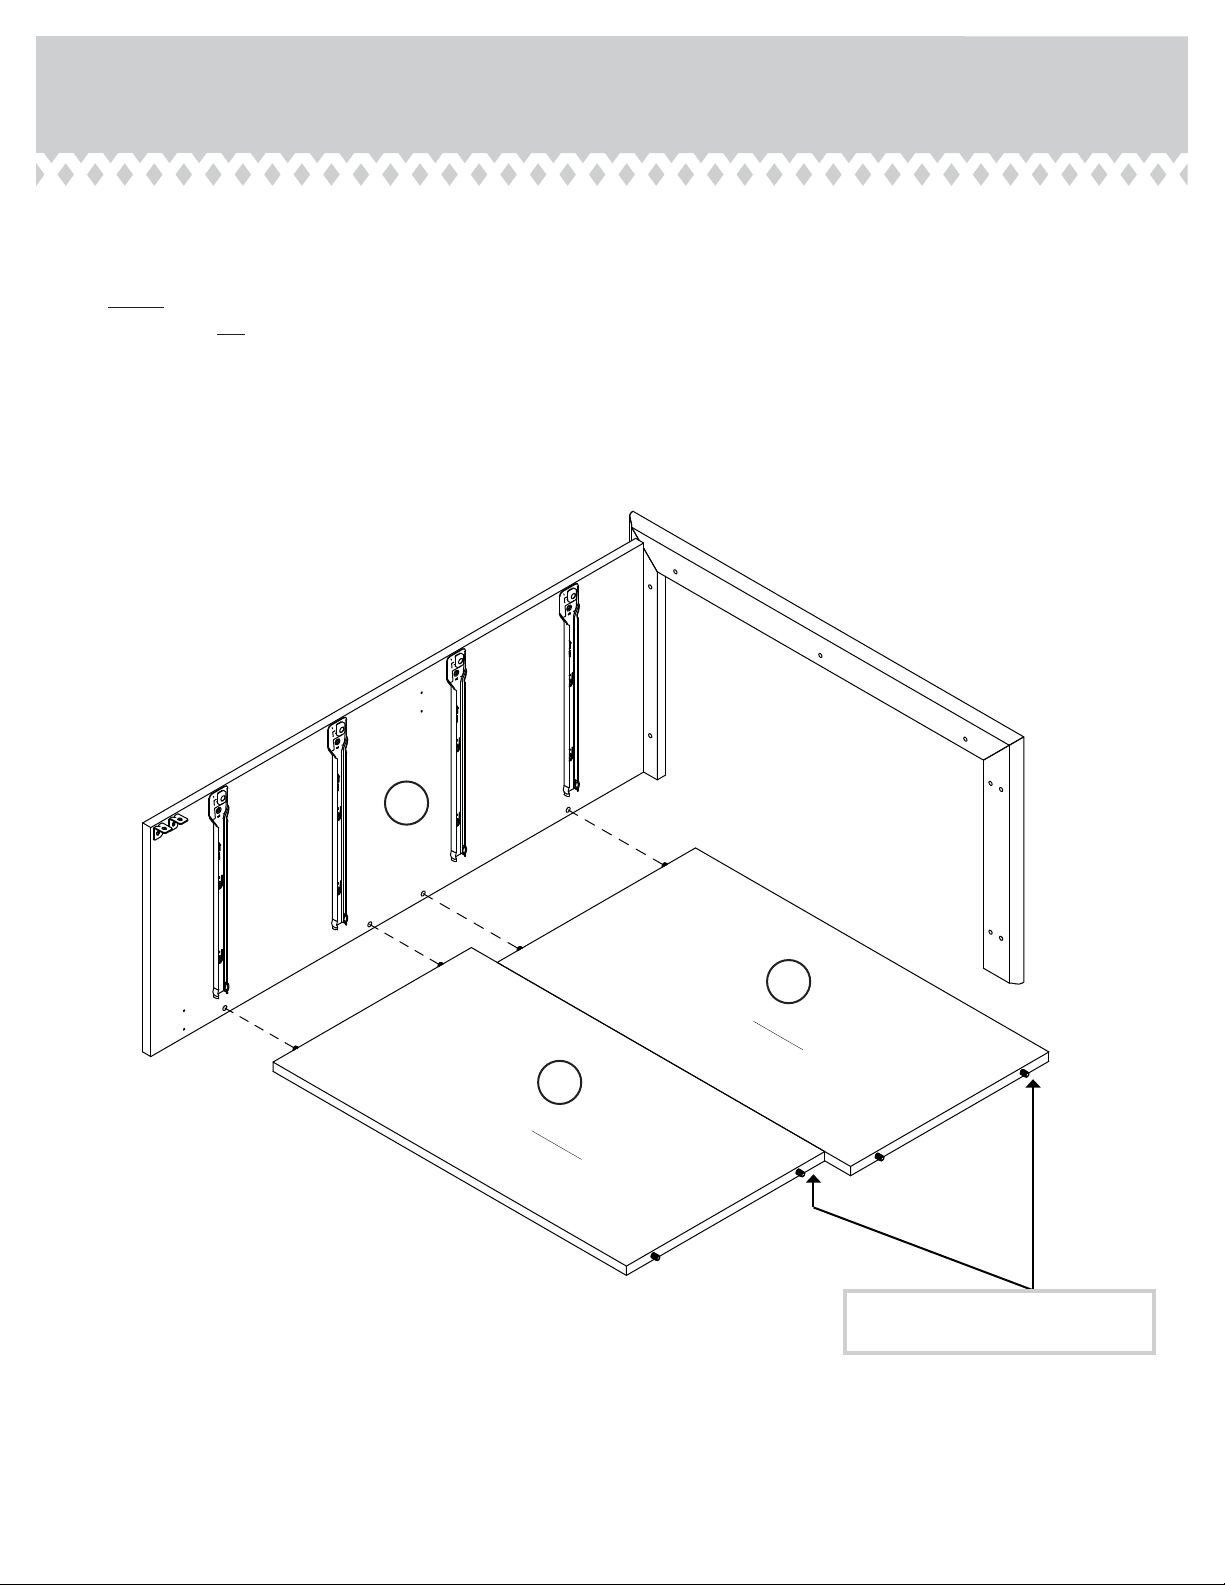
Sauder 401291 User manual
Other Sauder Indoor Furnishing manuals

Sauder
Sauder Summit Station 427287 User manual

Sauder
Sauder Rollingwood 431407 User manual

Sauder
Sauder Briarbrook Credenza 430074 User manual

Sauder
Sauder Portage Park 427478 User manual

Sauder
Sauder Harbor View 420474 User manual

Sauder
Sauder 409944 User manual

Sauder
Sauder North Avenue 424933 User manual

Sauder
Sauder WoodTrac422452 User manual

Sauder
Sauder Studio RTA Deco 408687 User manual

Sauder
Sauder North Avenue 420042 User manual

Sauder
Sauder Beginnings 413037 User manual

Sauder
Sauder 422290 User manual

Sauder
Sauder 423408 User manual

Sauder
Sauder Harbor View 423661 User manual

Sauder
Sauder Harbor View 402902 User manual

Sauder
Sauder Harbor View 403793 User manual

Sauder
Sauder Cannery Bridge 415910 User manual

Sauder
Sauder Carson Forge 416967 User manual

Sauder
Sauder Embassy Point 414706 User manual

Sauder
Sauder Lateral File 107302 User manual


Popular Indoor Furnishing manuals by other brands

Regency
Regency LWMS3015 Assembly instructions

Furniture of America
Furniture of America CM7751C Assembly instructions

Safavieh Furniture
Safavieh Furniture Estella CNS5731 manual

PLACES OF STYLE
PLACES OF STYLE Ovalfuss Assembly instruction

Trasman
Trasman 1138 Bo1 Assembly manual

Costway
Costway JV10856 manual