manuals.online logo
Brands
  1. Home
  2. •
  3. Brands
  4. •
  5. Sauder
  6. •
  7. Indoor Furnishing
  8. •
  9. Sauder Briarbrook Credenza 430074 User manual

Sauder Briarbrook Credenza 430074 User manual

sauder.com
NOTE: THIS INSTRUCTION
BOOKLET CONTAINS IMPORTANT
SAFETY INFORMATION.
PLEASE READ AND KEEP FOR
FUTURE REFERENCE.
sauder.com
CONTACT US FIRST
BEFORE MAKING ANY RETURNS TO THE STORE.
sauder.com
CONTACT US FIRST
BEFORE MAKING ANY RETURNS TO THE RETAILER.
Visit sauder.com/service to order replacement parts, view video assembly tips, or chat with a live rep.
Prefer the phone? Give us a ring at 1-800-445-1527.
Customer Service is available Monday-Friday - 9 a.m. to 5:30 p.m. EST (except holidays)
Sauder.com
Share your journey!
English pg 1-24
Français pg 25-28
Español pg 29-32
Lot # 573698 10/04/21
Purchased: __________________
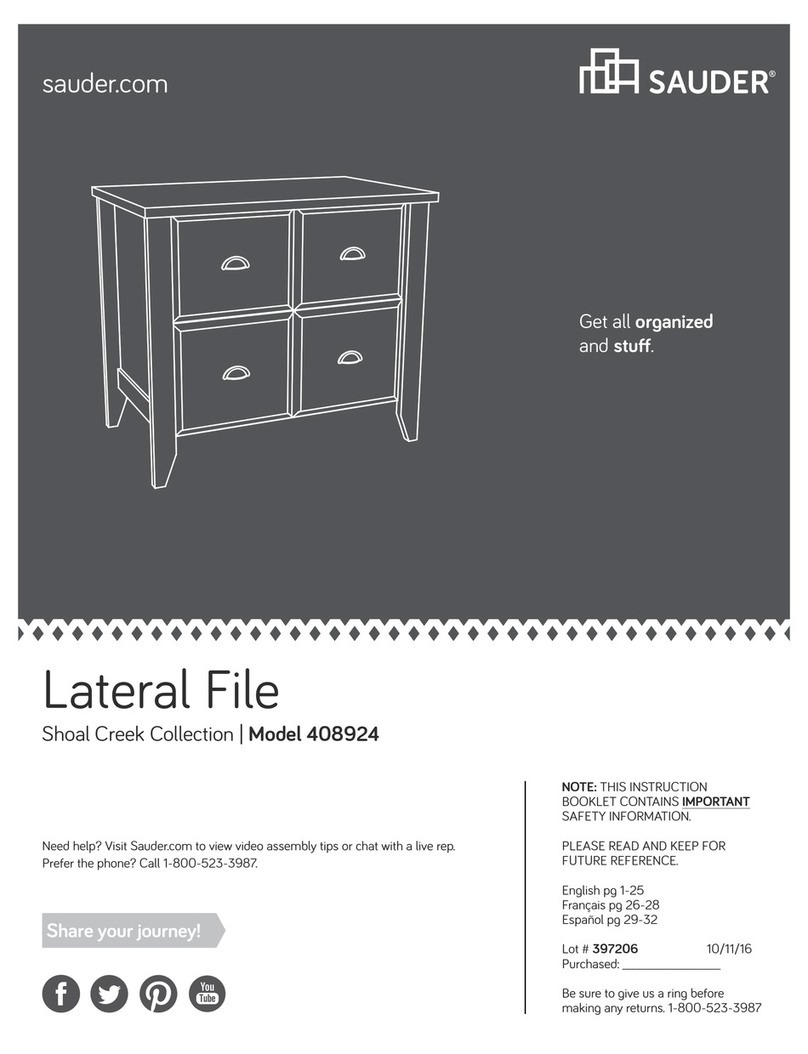
Credenza
Briarbrook Collection | Model 430074
For things 'n such.
Part Identification
Hardware Identification
Hardware Usage Guide
Assembly Steps
Français
Español
Safety
Warranty
Hammer
Not actual size
No. 2 Phillips Screwdriver
Tip Shown Actual Size
Table of Contents Assembly Tools Required
3
4-5
6
6-24
25-28
29-32
33-34
35
Page 2 www.sauder.com/service 430074
Part Identification
åWhile not all parts are labeled, some of the parts will have a label or an inked letter on the edge
to help distinguish similar parts from each other. Use this part identification to help identify similar parts.
Now you know
our ABCs.
A TOP (1)
B LEFT END (1)
C RIGHT END (1)
D LEFT UPRIGHT (1)
E RIGHT UPRIGHT (1)
F BACK (1)
G SHELF (1)
H LEFT DOOR (1)
J RIGHT DOOR (1)
K DRAWER FRONT (2)
L LEFT DRAWER SIDE (2)
M RIGHT DRAWER SIDE (2)
N DRAWER BACK (2)
P LEFT END FRAME (1)
Q RIGHT END FRAME (1)
R BRACE (2)
S BOTTOM (1)
V DRAWER BOTTOM (2)
Page 3www.sauder.com/service430074
A
B
C
D
E
F
G
H
J
K
L
M
N
V
P
Q
R
S
R
K
L
M
N
V
Hardware Identification
åScrews are shown actual size. You may receive extra hardware with your unit.
Page 4 www.sauder.com/service 430074
LARGE WOOD
DOWEL - 20
7SMALL WOOD
DOWEL - 8
8
HIDDEN
CAM - 23
5CAM
SCREW - 23
6
4FILE BAR - 4
3FILE GLIDE - 4
1EXTENSION
RAIL - 4 2EXTENSION
SLIDE - 4
(EXTENSION SET SHOWN SEPARATED)
L-WRENCH - 1
16
FELT PAD CARD - 1
13 HOLE PLUG - 4
14 APPLIQUE CARD - 1
15
PULL - 4
1211 HINGE - 4
10 STRIKE
PLATE - 2
9MAGNETIC
CATCH - 1
Hardware Identification
åScrews are shown actual size. You may receive extra hardware with your unit.
Page 5www.sauder.com/service430074
1/2" HEX HEAD SCREW - 16
24
1/2" PAN HEAD SCREW - 8
22
9/16" FLAT HEAD SCREW - 24
21
1-3/16" FLAT HEAD SCREW - 8
19
1-9/16" HEX HEAD SCREW - 6
17 1-9/16" FLAT HEAD SCREW - 7
18
5/8" FLAT HEAD SCREW - 2
20
SILVER 1/2" FLAT HEAD SCREW - 2
23
BLACK 1/2" FLAT HEAD SCREW - 24
25
Hardware Usage Guide
HOW TO USE A HIDDEN CAM & CAM SCREW OR CAM DOWEL
NOTE: Various CAM SCREWS or a CAM DOWEL may be used.
Cam Screws Cam Dowel
Turn the CAM SCREW or
gently tap the CAM DOWEL
until the shoulder is against
the surface of the part.
1.
Hidden Cam
Arrow
Push a HIDDEN CAM into
the part. The arrow in the
HIDDEN CAM must point
toward the hole in the
edge of the board.
Hole
2.
3.
1
2
Insert the CAM SCREW or CAM DOWEL into the
HIDDEN CAM. Tighten the HIDDEN CAM.
Page 6 www.sauder.com/service 430074
Step 1
å Assemble your unit on a carpeted floor or on the empty carton to
avoid scratching your unit or the floor.
å Push seven HIDDEN CAMS (5) into the BACK (F) and SHELF (G).
Look for this icon. It means a video assembly tip is
available at www.sauder.com/service/tips
Find the numbered video or scan the QR code.
Page 7www.sauder.com/service430074
1
5
Arrow 5
Arrow
Arrow
5
F
G
å Insert two LARGE WOOD DOWELS (7) into the SHELF (G).
å Fasten the SHELF (G) to the BACK (F). Use three 1-9/16"
FLAT HEAD SCREWS (18).
å NOTE: You should start each SCREW a few turns before
completely tightening any of them.
å NOTE: Be sure the WOOD DOWELS in the SHELF insert
into the BACK.
Step 2
Page 8 www.sauder.com/service 430074
F
G
7
1-9/16" FLAT HEAD SCREW
(3 used in this step)
18
Surface with
HIDDEN CAMS
Edge with
HIDDEN CAMS
Step 3
Page 9www.sauder.com/service430074
5
Arrow
7
å Separate the EXTENSION SLIDES (2) from the EXTENSION RAILS (1) as shown in the upper
diagram below. Be prepared, the parts are greasy.
å Fasten two EXTENSION RAILS (1) to the UPRIGHTS (D and E). Use six BLACK 1/2" FLAT
HEAD SCREWS (25).
å NOTE: For each EXTENSION RAIL, turn a SCREW into the 1st hole shown in the enlarged
diagram. Then, slide the inner cartridge of the EXTENSION RAIL in to find the other holes that
line up with the holes in the UPRIGHT. Turn a SCREW into these holes.
å NOTE: The EXTENSION SLIDES will be used later for the DRAWERS.
å Push four HIDDEN CAMS (5) into the UPRIGHTS (D and E).
Open end
Open end
E
D
1
1
2 1
Push the black lever and pull the SLIDE from the RAIL.
Use these holes.
1st hole
Open end
BLACK 1/2" FLAT HEAD SCREW
(6 used in this step)
25
1st hole
1st hole
å Insert four LARGE WOOD DOWELS (7) into the SHELF (G).
å Fasten the UPRIGHTS (D and E) to the SHELF (G). Use four 1-9/16"
FLAT HEAD SCREWS (18).
å NOTE: You should start each SCREW a few turns before completely
tightening any of them.
å NOTE: Be sure the WOOD DOWELS in the SHELF insert into
the UPRIGHTS.
Step 4
Page 10 www.sauder.com/service 430074
7
7
1-9/16" FLAT HEAD SCREW
(4 used in this step)
18
These holes
must be here.
G
E
D
å Push four HIDDEN CAMS (5) into the ENDS (B and C).
å Turn four CAM SCREWS (6) into the ENDS (B and C).
Step 5
Page 11www.sauder.com/service430074
B
C
1
6
5
Arrow
Step 6
Page 12 www.sauder.com/service 430074
7
å Fasten two EXTENSION RAILS (1) to the ENDS (B and C). Use six
BLACK 1/2" FLAT HEAD SCREWS (25).
å NOTE: For each EXTENSION RAIL, turn a SCREW into the 1st hole
shown in the enlarged diagram. Then, slide the inner cartridge of
the EXTENSION RAIL in to find the other holes that line up with the
holes in the END. Turn a SCREW into these holes.
Open end
Open end
B
C
1
1
1
Use these holes.
1st hole
Open end
BLACK 1/2" FLAT HEAD SCREW
(6 used in this step)
25
1st hole
1st hole
å Insert four LARGE WOOD DOWELS (7) into the ENDS (B and C).
å Fasten the ENDS (B and C) to the SHELF (G). Tighten four
HIDDEN CAMS.
å NOTE: Be sure the WOOD DOWELS in the ENDS insert into
the SHELF.
Step 7
Page 13www.sauder.com/service430074
1
7
B
C
G7
å Turn eleven CAM SCREWS (6) into the TOP (A).
å Fasten the MAGNETIC CATCH (9) to the TOP (A) exactly
as shown. Use two 5/8" FLAT HEAD SCREWS (20).
Step 8
Page 14 www.sauder.com/service 430074
1
6
(11 used)
A
9
5/8" FLAT HEAD SCREW
(2 used in this step)
20
å Insert ten LARGE WOOD DOWELS (7) into the TOP (A).
å Fasten the TOP (A) to the ENDS (B and C), UPRIGHTS (D
and E), and BACK (F). Tighten eleven HIDDEN CAMS.
å NOTE: Be sure the WOOD DOWELS in the TOP insert
into the ENDS, UPRIGHTS, and BACK.
Step 9
Page 15www.sauder.com/service430074
1
B
C
A
E
D
7
7
F
å Carefully turn your unit onto its top.
å Fasten the BRACES (R) to the SHELF (G). Tighten six
1-9/16" HEX HEAD SCREWS (17) using the L-WRENCH (16).
å NOTE: You should start each SCREW a few turns before
completely tightening any of them.
Step 10
Page 16 www.sauder.com/service 430074
16
R
G
R
1-9/16" HEX HEAD SCREW
(6 used in this step)
17
å Carefully turn your unit onto its back.
å NOTE: You should start each SCREW a few turns before completely
tightening any of them.
å Fasten the END FRAMES (P and Q) to the ENDS (B and C). Tighten eight
1/2" HEX HEAD SCREWS (24) using the L-WRENCH (16).
å NOTE: Pay close attention to the location of the holes in the top edges of
the END FRAMES (P and Q).
å Fasten the BOTTOM (S) to the END FRAMES (P and Q). Tighten four
1/2" HEX HEAD SCREWS (24) using the L-WRENCH (16).
å Fasten the END FRAMES (P and Q) to the BRACES (R). Tighten four 1/2"
HEX HEAD SCREWS (24) using the L-WRENCH (16).
Step 11
Page 17www.sauder.com/service430074
R
R
B
P
CQ
S
16
1/2" HEX HEAD SCREW
(16 used in this step)
24
The holes are
closer to the
back edge.
å Peel the FELT PADS from the FELT PAD CARD (13). Stick a
FELT PAD onto each corner of each END FRAME (P and Q).
å Fasten four HINGES (11) to the DOORS (H and J). Use eight
9/16" FLAT HEAD SCREWS (21).
å Fasten two STRIKE PLATES (10) to the DOORS (H and J). Use
two SILVER 1/2" FLAT HEAD SCREWS (23).
Step 12
Page 18 www.sauder.com/service 430074
P
Q
11
10
J
H
SILVER 1/2" FLAT HEAD SCREW
(2 used for the STRIKE PLATES)
23
13
9/16" FLAT HEAD SCREW
(8 used for the HINGES)
21
å Carefully stand your unit upright.
å Fasten the DOORS (H and J) to the UPRIGHTS (D and E).
Use sixteen 9/16" FLAT HEAD SCREWS (21).
å Fasten two PULLS (12) to the DOORS (H and J). Use four
1/2" PAN HEAD SCREWS (22).
Step 13
Page 19www.sauder.com/service430074
J
H
E
D
12
12
1/2" PAN HEAD SCREW
(4 used for the PULLS)
22
9/16" FLAT HEAD SCREW
(16 used for the HINGES)
21
å Fasten two EXTENSION SLIDES (2) to the DRAWER SIDES (L
and M). Use six BLACK 1/2" FLAT HEAD SCREWS (25).
å NOTE: The open end of the EXTENSION SLIDE will overhang
the end of the DRAWER SIDE.
å Repeat this step for the remaining drawer.
Step 14
Page 20 www.sauder.com/service 430074
Open end
M
L
2
2
2
BLACK 1/2" FLAT HEAD SCREW
(12 used in this step)
25
Open end
Edge with holes

Other Sauder Indoor Furnishing manuals

Sauder Embassy Point 414192 User manual

Sauder

Sauder Embassy Point 414192 User manual

Sauder Dakota Pass 422593 User manual

Sauder

Sauder Dakota Pass 422593 User manual

Sauder Boulevard Cafe 422420 User manual

Sauder

Sauder Boulevard Cafe 422420 User manual

Sauder Palladia 411861 User manual

Sauder

Sauder Palladia 411861 User manual

Sauder Barrister Lane 418270 User manual

Sauder

Sauder Barrister Lane 418270 User manual

Sauder 412321 User manual

Sauder

Sauder 412321 User manual

Sauder worksense MASON PEAK Hutch 427809 User manual

Sauder

Sauder worksense MASON PEAK Hutch 427809 User manual

Sauder OFFICE WORKS AFFIRM 427438 User manual

Sauder

Sauder OFFICE WORKS AFFIRM 427438 User manual

Sauder County Line 416977 User manual

Sauder

Sauder County Line 416977 User manual

Sauder 413327 User manual

Sauder

Sauder 413327 User manual

Sauder 414675 User manual

Sauder

Sauder 414675 User manual

Sauder Harvey Park 420284 User manual

Sauder

Sauder Harvey Park 420284 User manual

Sauder 413123 User manual

Sauder

Sauder 413123 User manual

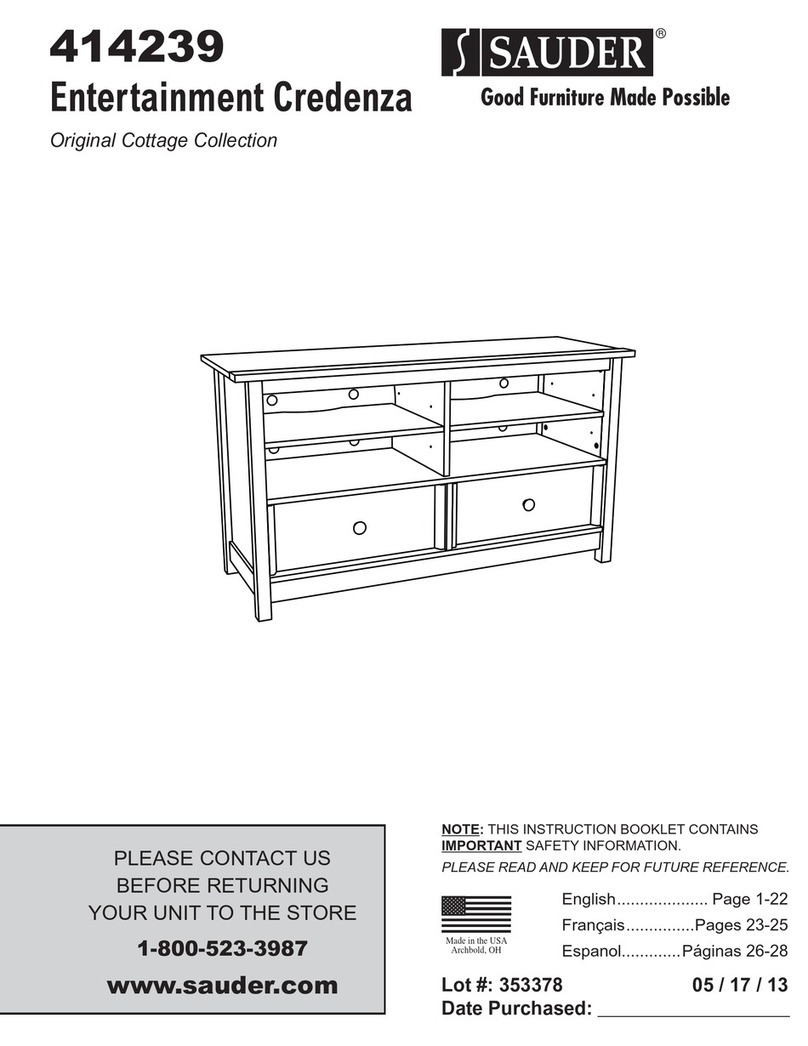
Sauder 414239 User manual

Sauder

Sauder 414239 User manual

Sauder Boulevard Cafe 420667 User manual

Sauder

Sauder Boulevard Cafe 420667 User manual

Sauder 433242 User manual

Sauder

Sauder 433242 User manual

Sauder Harvest Mill 404963 User manual

Sauder

Sauder Harvest Mill 404963 User manual

Sauder Edge Water 408696 User manual

Sauder

Sauder Edge Water 408696 User manual

Sauder 413852 User manual

Sauder

Sauder 413852 User manual

Sauder 413074 User manual

Sauder

Sauder 413074 User manual

Sauder Avenue Eight 416514 User manual

Sauder

Sauder Avenue Eight 416514 User manual

Sauder Transit 414417 User manual

Sauder

Sauder Transit 414417 User manual

Sauder Hammond 428246 User manual

Sauder

Sauder Hammond 428246 User manual

Sauder worksense BERGEN CIRCLE 426290 User manual

Sauder

Sauder worksense BERGEN CIRCLE 426290 User manual

Popular Indoor Furnishing manuals by other brands

Argos 146/3093 Assembly instructions

Argos

Argos 146/3093 Assembly instructions

Mocka Sadie Assembly instructions

Mocka

Mocka Sadie Assembly instructions

Better Homes and Gardens BH10-084-001-17 manual

Better Homes and Gardens

Better Homes and Gardens BH10-084-001-17 manual

eliving FURNITURE CUPPA Series Assembly instruction

eliving FURNITURE

eliving FURNITURE CUPPA Series Assembly instruction

idesk Pommerac Chair Assembly instructions

idesk

idesk Pommerac Chair Assembly instructions

GFW OTTAWA Assembly instructions

GFW

GFW OTTAWA Assembly instructions

Furniture of America YNJ-1460 Assembly instructions

Furniture of America

Furniture of America YNJ-1460 Assembly instructions

Safavieh Furniture Callia FOX4268 manual

Safavieh Furniture

Safavieh Furniture Callia FOX4268 manual

Ameriwood HOME 5317340EBL manual

Ameriwood HOME

Ameriwood HOME 5317340EBL manual

DURAVIT White Tulip WT 7063 Mounting instructions

DURAVIT

DURAVIT White Tulip WT 7063 Mounting instructions

Dorel Living DA8274 manual

Dorel Living

Dorel Living DA8274 manual

Customer Minded Associates Nesting Work Table Assembly instructions

Customer Minded Associates

Customer Minded Associates Nesting Work Table Assembly instructions

J&K 30WR Assembly instructions

J&K

J&K 30WR Assembly instructions

Birlea corona Assembly instructions

Birlea

Birlea corona Assembly instructions

Weelko Organic+ 1022AB2 manual

Weelko

Weelko Organic+ 1022AB2 manual

BLACK RED WHITE MALCOLM S325-SZFN1D Assembly

BLACK RED WHITE

BLACK RED WHITE MALCOLM S325-SZFN1D Assembly

Next SUSSEX 427741-209 Assembly instructions

Next

Next SUSSEX 427741-209 Assembly instructions

byLIVING JONNY 110 Assembly instructions

byLIVING

byLIVING JONNY 110 Assembly instructions

manuals.online logo
manuals.online logoBrands
  • About & Mission
  • Contact us
  • Privacy Policy
  • Terms and Conditions

Copyright 2025 Manuals.Online. All Rights Reserved.