manuals.online logo
Brands
  1. Home
  2. •
  3. Brands
  4. •
  5. Sauder
  6. •
  7. Indoor Furnishing
  8. •
  9. Sauder Hudson 427873 User manual

Sauder Hudson 427873 User manual

sauder.com
NOTE: THIS INSTRUCTION
BOOKLET CONTAINS IMPORTANT
SAFETY INFORMATION.
PLEASE READ AND KEEP FOR
FUTURE REFERENCE.
sauder.com
CONTACT US FIRST
BEFORE MAKING ANY RETURNS TO THE STORE.
sauder.com
CONTACT US FIRST
BEFORE MAKING ANY RETURNS TO THE RETAILER.
Sauder.com
Share your journey! Lot # 572777 10/13/21
Purchased: __________________
Enlish p 1-28
Français p 29-32
Español p 33-36
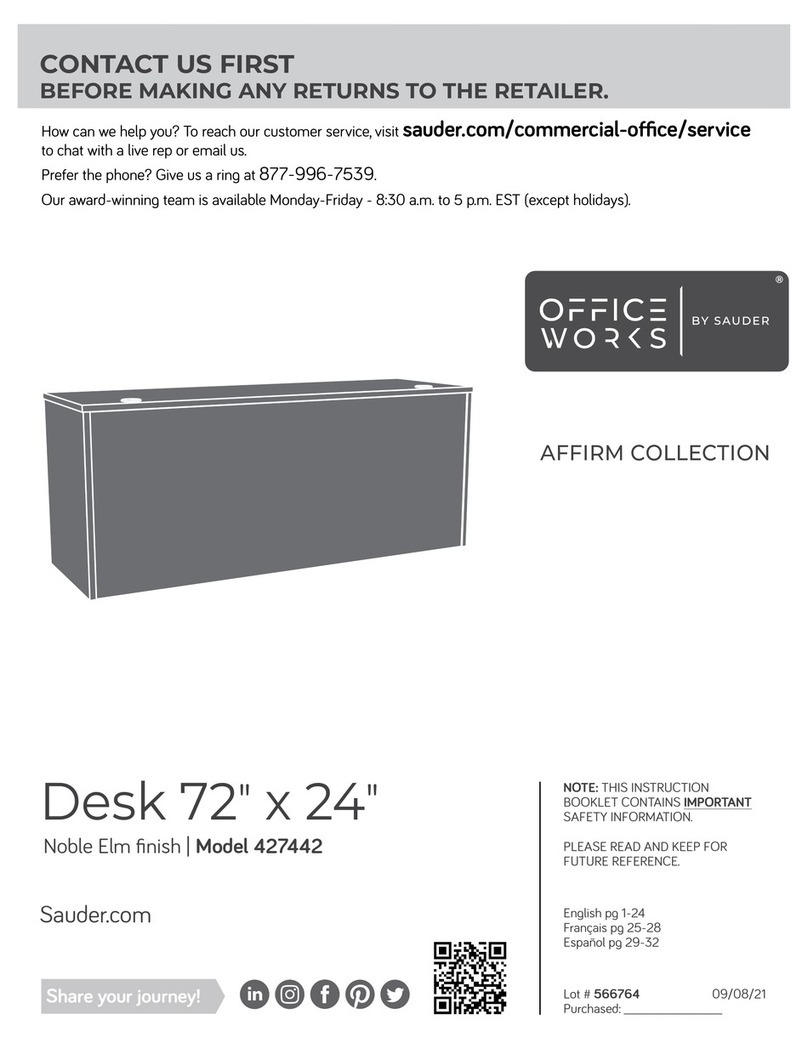
3-Drawer
Mobile Pedestal
Hudson Elm finish | Model 427873
AFFIRM COLLECTION
How can we help you? To reach our customer service, visit sauder.com/commercial-oce/service
to chat with a live rep or email us.
Prefer the phone? Give us a rin at
877-996-7539
.
Our award-winnin team is available Monday-Friday - 8:30 a.m. to 5 p.m. EST (except holidays).
Table of Contents Assembly Tools Required
Part Identification
Hardware Identification
Hardware Usage Guide
Assembly Steps
Français
Español
Safety
Warranty
Hammer
Not actual size
No. 2 Phillips Screwdriver
Tip Shown Actual Size
3
4-5
7
6-28
29-32
33-36
37-38
39
Adjustable Wrench
427873 www.sauder.com/commercial-oce/servicePae 2
Part Identification
åWhile not all parts are labeled, some of the parts will have a label or an inked letter on the edge
to help distinguish similar parts from each other. Use this part identification to help identify similar parts.
Now you know
our ABCs.
A RIGHT END (1)
B LEFT END (1)
C TOP (1)
D BACK (1)
D78 LARGE DRAWER BACK (1)
D109 DRAWER BACK (2)
D579 RIGHT DRAWER SIDE (2)
D580 LEFT DRAWER SIDE (2)
D581 LARGE RIGHT DRAWER SIDE (1)
D582 LARGE LEFT DRAWER SIDE (1)
D707 LARGE DRAWER BOTTOM (1)
D716 DRAWER BOTTOM (2)
E BOTTOM (1)
F BASE (1)
G DRAWER FRONT (2)
H LOCKING DRAWER FRONT (1)
A
B
C
D
E
FH
D78 D581
D707
D582
G
D579
D716
D580
D109
427873www.sauder.com/commercial-oce/service Pae 3
Hardware Identification
åScrews are shown actual size. You may receive extra hardware with your unit.
(EXTENSION SET SHOWN SEPARATED)
EXTENSION
SLIDE - 2
40MC
EXTENSION
RAIL - 2
40MA 10A SLIDE
CAM - 6 8B FILE
ROD - 2
15B FILE
GLIDE - 2 8CN NON-SWIVEL
CASTER - 2 8CS SWIVEL
CASTER - 2 42F WOOD DOWEL - 16
40CA CABINET RIGHT - 2 40CB CABINET LEFT - 2 40CC DRAWER RIGHT - 2 40CD DRAWER LEFT - 2
4G METAL
BRACKET - 4 34G INTERLOCK
MECHANISM - 1 62G DRAWER
ACTUATOR - 2 76G L - LOCK
BRACKET - 1
427873 www.sauder.com/commercial-oce/servicePae 4
Hardware Identification
åScrews are shown actual size. You may receive extra hardware with your unit.
77G Z - LOCK
BRACKET - 1 21J LOCK PACK - 1 202K PULL - 3 10M TOUCH-UP PEN - 1
1S BLACK 9/16" LARGE HEAD SCREW - 28 3S GOLD 5/16" FLAT HEAD SCREW - 24
37S BLACK 7/8" MACHINE SCREW - 6 51S BLACK 9/16" PAN HEAD SCREW - 3
30S BLACK 1-9/16" FLAT HEAD SCREW - 12
11S BLACK 1/2" FLAT HEAD SCREW - 6
427873www.sauder.com/commercial-oce/service Pae 5
Hardware Usae Guide
1. Insert the dowel end of the FASTENER into the
hole of the adjoinin part.
NOTE: The dowel end of the FASTENER must
remain fully inserted in the hole of the adjoinin
part while lockin the FASTENER.
2. Tihten the FASTENER with a Phillips
screwdriver as tiht as possible.
Dowel end
2.
Push a TWIST-LOCK® FASTENER
into the lare hole in the part.
1.
HOW TO USE A TWIST-LOCK®FASTENER
427873 www.sauder.com/commercial-oce/servicePae 6
å Assemble your unit on a carpeted floor or on the empty
carton to avoid scratchin your unit or the floor.
å Insert two WOOD DOWELS (42F) into the BACK (D).
å NOTE: You may need to ently tap the WOOD DOWEL in
with your hammer.
å Fasten the BOTTOM (E) to the BACK (D). Tihten one
TWIST-LOCK® FASTENER.
å NOTE: Be sure the WOOD DOWELS in the BACK insert
into the BOTTOM.
Step 1 2
D
E
Surface with
TWIST-LOCK®
FASTENERS
Surface with
TWIST-LOCK®
FASTENERS
Some assembly
(and snacks) required.
42F
42F
427873www.sauder.com/commercial-oce/service Pae 7
Step 2
å Fasten two CABINET RIGHTS (40CA) to the
RIGHT END (A). Use four GOLD 5/16" FLAT HEAD
SCREWS (3S) throuh holes #1 and #3.
These holes
must be here.
5
1
2
3
4
A
GOLD 5/16" FLAT HEAD SCREW
(4 used in this step)
3S Roller end
Ede with
TWIST-LOCK®
FASTENERS
1
2
3
4
427873 www.sauder.com/commercial-oce/servicePae 8
Step 3 7
å Separate the EXTENSION SLIDES (40MC) from the EXTENSION RAILS (40MA) as shown in the upper diaram below. Be
prepared, the parts are reasy.
å Fasten one EXTENSION RAIL (40MA) to the RIGHT END (A). Use two GOLD 5/16" FLAT HEAD SCREWS (3S) throuh
holes #1 and #4.
å NOTE: For each EXTENSION RAIL, turn a SCREW into the hole shown in the enlared diaram. Then, slide the inner cartride
of the EXTENSION RAIL in to find the other hole that lines up with the hole in the END. Turn a SCREW into this hole.
å NOTE: The EXTENSION SLIDES will be used later for the LARGE DRAWER.
Push the black lever in and pull the SLIDE from the RAIL.
40MA40MC
A
1
2
3
4
Open end
GOLD 5/16" FLAT HEAD SCREW
(2 used in this step)
3S
427873www.sauder.com/commercial-oce/service Pae 9
Step 4
å Fasten the INTERLOCK MECHANISM (34G) to the RIGHT END (A).
Use three BLACK 9/16" PAN HEAD SCREWS (51S).
å Fasten the L-LOCK BRACKET (76G) to the RIGHT END (A) exactly
as shown. Use two BLACK 9/16" LARGE HEAD SCREWS (1S).
BLACK 9/16" LARGE HEAD SCREW
(2 used for the BRACKET)
1S
A
34G
76G
BLACK 9/16" PAN HEAD SCREW
(3 used for the MECHANISM)
51S
427873 www.sauder.com/commercial-oce/servicePae 10
å Insert four WOOD DOWELS (42F) into the
RIGHT END (A).
å NOTE: You may need to ently tap the WOOD DOWEL
in with your hammer.
å Fasten the BACK (D) and BOTTOM (E) to the RIGHT
END (A). Tihten four TWIST-LOCK® FASTENERS.
å NOTE: Be sure the WOOD DOWELS in the END and
insert into the BACK and BOTTOM.
Step 5
A
2
D
E
42F
(4 used)
427873www.sauder.com/commercial-oce/service Pae 11
Step 6
1
2
3
4
5
å Fasten two CABINET LEFTS (40CB) to the LEFT END (B).
Use four GOLD 5/16" FLAT HEAD SCREWS (3S) throuh
holes #1 and #3.
Roller end
B
Ede with
TWIST-LOCK®
FASTENERS 1
2
3
4
GOLD 5/16" FLAT HEAD SCREW
(4 used in this step)
3S
427873 www.sauder.com/commercial-oce/servicePae 12
Step 7 7
B
3
2
1
4
GOLD 5/16" FLAT HEAD SCREW
(2 used in this step)
3S
å Fasten the remainin EXTENSION RAIL (40MA) to the LEFT
END (B). Use two GOLD 5/16" FLAT HEAD SCREWS (3S)
throuh holes #1 and #4.
å NOTE: For each EXTENSION RAIL, turn a SCREW into the
hole shown in the enlared diaram. Then, slide the inner
cartride of the EXTENSION RAIL in to find the other hole that
lines up with the hole in the END. Turn a SCREW into this hole.
Open end
427873www.sauder.com/commercial-oce/service Pae 13
Step 8 2
B
D
E
å Insert four WOOD DOWELS (42F) into
the LEFT END (B).
å NOTE: You may need to ently tap the WOOD DOWEL
in with your hammer.
å Fasten the LEFT END (B) to the BACK (D) and
BOTTOM (E). Tihten four TWIST-LOCK® FASTENERS.
å NOTE: Be sure the WOOD DOWELS in the BACK and
BOTTOM insert into the END.
42F
(4 used)
427873 www.sauder.com/commercial-oce/servicePae 14
Step 9
å Insert six WOOD DOWELS (42F) into the TOP (C).
å NOTE: You may need to ently tap the WOOD DOWEL in
with your hammer.
å Fasten the ENDS (A and B) and BACK (D) to the
ENDS (A and B). Tihten five TWIST-LOCK® FASTENERS.
å NOTE: Be sure the WOOD DOWELS in the TOP insert into
the ENDS and BACK.
A
D
B
C
2
Just think. The sooner
you do this, the sooner
you do somethin else.
42F
42F
(6 used)
427873www.sauder.com/commercial-oce/service Pae 15
Step 10
å Fasten four METAL BRACKETS (4G) to the
ENDS (A and B) and BOTTOM (E). Use four
BLACK 9/16" LARGE HEAD SCREWS (1S).
å NOTE: Be sure the BRACKETS are even with the edes of
the ENDS and BOTTOM.
å Fasten the BASE (F) to the METAL BRACKETS on the
ENDS and BOTTOM. Use four BLACK 9/16" LARGE
HEAD SCREWS (1S).
4G
BLACK 9/16" LARGE HEAD SCREW
(8 used in this step)
1S
4G
4G
A
B
E
F
Ede with
wrapped seam
427873 www.sauder.com/commercial-oce/servicePae 16
Step 11
å Fasten the CASTERS (8CN and 8CS) to the BOTTOM (E)
exactly as shown. Use sixteen BLACK 9/16" LARGE
HEAD SCREWS (1S).
BLACK 9/16" LARGE HEAD SCREW
(16 used in this step)
1S
E
8CN
8CS
The small tab
should be here.
427873www.sauder.com/commercial-oce/service Pae 17
Step 12
BLACK 9/16" LARGE HEAD SCREW
(2 used in this step)
1S
G
77G
With the palm of
your hand, tap
the DRAWER
BOTTOM down
into the roove.
The tabs should insert freely
into the slots. Gently tilt the
DRAWER SIDES side to side
until the tabs slip into the slots.
Groove
Be sure the DRAWER
BOTTOM inserts into the
DRAWER FRONT roove.
G
D716
D716
Unfinished
surface
9
D580
D579
D580
D579
G
D580
D579
D109
å Fasten the Z-LOCK BRACKET (77G) to one of the
DRAWER FRONTS (G). Use two BLACK 9/16" LARGE
HEAD SCREWS (1S).
å Insert the DRAWER SIDES (D579 and D580) at an anle
into the slot at each end of the DRAWER FRONT (G).
å Slide the DRAWER BOTTOM (D716) into the rooves
in the DRAWER SIDES (D579 and D580) and
DRAWER FRONT (G).
å Fasten the DRAWER BACK (D109) to the DRAWER
SIDES (D579 and D580). Use four BLACK 1-9/16" FLAT
HEAD SCREWS (30S).
å NOTE: Be sure the DRAWER BOTTOM (D716) inserts
into the roove of the DRAWER BACK (D109).
å Repeat this step for the remaining small DRAWER.
12
34
Be sure the
DRAWER
BOTTOM
inserts into
the DRAWER
BACK roove.
30S
Start each screw a few turns before
completely tihtenin any of them.
BLACK 1-9/16" FLAT HEAD SCREW
(8 used in this step)
427873 www.sauder.com/commercial-oce/servicePae 18
Step 13
å Insert a SLIDE CAM (10A) into each DRAWER SIDE (D579 and D580).
å Fasten the DRAWER RIGHT (40CC) to the RIGHT DRAWER SIDE (D579)
and the DRAWER LEFT (40CD) to the LEFT DRAWER SIDE (D580). Use
four GOLD 5/16" FLAT HEAD SCREWS (3S) throuh holes #2 and #4.
å NOTE: The screw head in the CAM must be visible throuh the slotted
hole in the SLIDE.
å Repeat this step for the remainin small DRAWER.
GOLD 5/16" FLAT HEAD SCREW
(8 used in this step)
3S Drawer Slide
Center the screw in the oval hole.
10A
Screw head - turn CAM to line up holes in
the SLIDES with holes in DRAWER SIDES
10A
Roller end
Roller end
1
2
3
4
1
2
3
4
5
D580
D579
427873www.sauder.com/commercial-oce/service Pae 19
Step 14
With the palm of
your hand, tap
the DRAWER
BOTTOM down
into the roove.
å Fasten the LARGE DRAWER BACK (D78) to the LARGE DRAWER SIDES (D581 and D582). Use four
BLACK 1-9/16" FLAT HEAD SCREWS (30S).
å NOTE: Be sure the DRAWER BOTTOM (D707) inserts into the roove of the DRAWER BACK (D78).
1 2
3
å Insert the LARGE DRAWER SIDES (D581 and D582)
at an anle into the slot at each end of the LOCKING
DRAWER FRONT (H).
å Slide the LARGE DRAWER BOTTOM (D707) into the
rooves in the LARGE DRAWER SIDES (D581 and D582)
and LOCKING DRAWER FRONT (H).
The tabs should insert freely
into the slots. Gently tilt the
DRAWER SIDES side to side
until the tabs slip into the slots.
Groove
30S
Start each screw a few turns before
completely tihtenin any of them.
BLACK 1-9/16" FLAT HEAD SCREW
(4 used in this step)
Be sure the DRAWER
BOTTOM inserts into the
DRAWER FRONT roove.
H
D707
D707
D78
Unfinished
surface
Be sure the
DRAWER
BOTTOM
inserts into
the DRAWER
BACK roove.
9
D582
D581 D582
D581
H
D582
D581
427873 www.sauder.com/commercial-oce/servicePae 20

Other Sauder Indoor Furnishing manuals
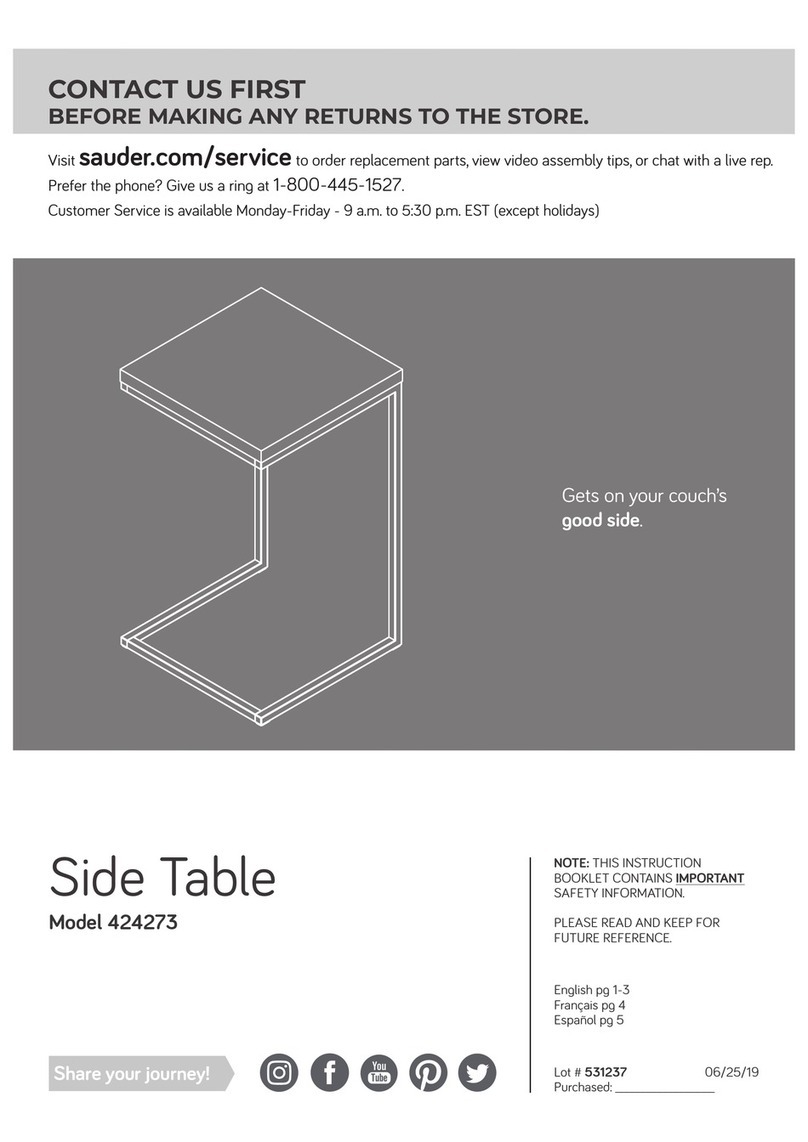
Sauder 415543 User manual

Sauder

Sauder 415543 User manual

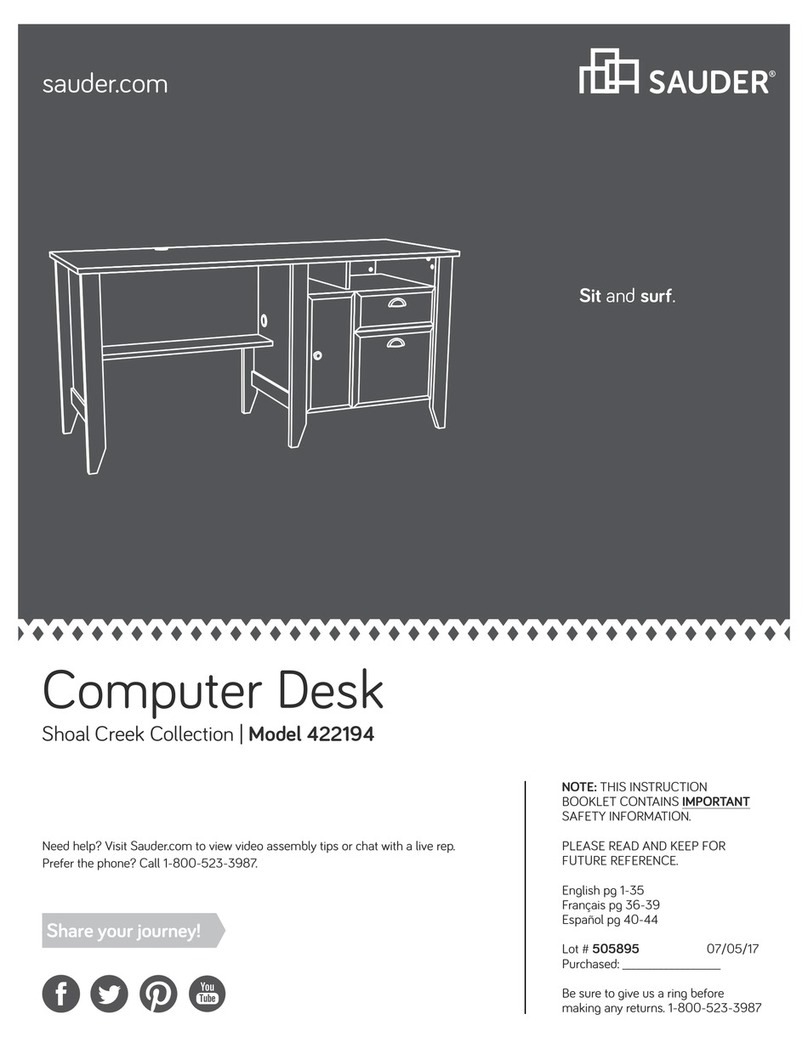
Sauder Shoal Creek 422194 User manual

Sauder

Sauder Shoal Creek 422194 User manual
Sauder WHISKER User manual

Sauder

Sauder WHISKER User manual

Sauder Harvey Park 420869 User manual

Sauder

Sauder Harvey Park 420869 User manual

Sauder 417244 User manual

Sauder

Sauder 417244 User manual

Sauder Worksense BERGEN CIRCLE 426288 User manual

Sauder

Sauder Worksense BERGEN CIRCLE 426288 User manual

Sauder 427470 User manual

Sauder

Sauder 427470 User manual

Sauder North Avenue 420035 User manual

Sauder

Sauder North Avenue 420035 User manual

Sauder Office Port 408294 User manual

Sauder

Sauder Office Port 408294 User manual

Sauder Caraway Etagere 414111 User manual

Sauder

Sauder Caraway Etagere 414111 User manual

Sauder Anywhere Dakota Pass 418231 User manual

Sauder

Sauder Anywhere Dakota Pass 418231 User manual

Sauder Hudson Court 425833 User manual

Sauder

Sauder Hudson Court 425833 User manual

Sauder Shoal Creek 412093 User manual

Sauder

Sauder Shoal Creek 412093 User manual

Sauder Boulevard Cafe 420645 User manual

Sauder

Sauder Boulevard Cafe 420645 User manual

Sauder 410367 User manual

Sauder

Sauder 410367 User manual

Sauder Office Works Affirm 426274 User manual

Sauder

Sauder Office Works Affirm 426274 User manual

Sauder 407468 User manual

Sauder

Sauder 407468 User manual

Sauder 419954 User manual

Sauder

Sauder 419954 User manual

Sauder Clifford Place 433360 User manual

Sauder

Sauder Clifford Place 433360 User manual

Sauder 401291 User manual

Sauder

Sauder 401291 User manual

Sauder Cannery Bridge 429512 User manual

Sauder

Sauder Cannery Bridge 429512 User manual

Sauder Worksense MASON PEAK 427827 User manual

Sauder

Sauder Worksense MASON PEAK 427827 User manual

Sauder Shoal Creek 411236 User manual

Sauder

Sauder Shoal Creek 411236 User manual

Sauder 426928 User manual

Sauder

Sauder 426928 User manual

Popular Indoor Furnishing manuals by other brands

SUNARGY Smart Comfort 166 Assembly instructions

SUNARGY

SUNARGY Smart Comfort 166 Assembly instructions

Safavieh Furniture AMH5733 quick start guide

Safavieh Furniture

Safavieh Furniture AMH5733 quick start guide

IMS FORINVEST SAINT GERMAIN Assembly instruction

IMS FORINVEST

IMS FORINVEST SAINT GERMAIN Assembly instruction

Home Styles 88 5527 08 quick start guide

Home Styles

Home Styles 88 5527 08 quick start guide

Home Decorators Collection ALSTER TJ-0401V3622BR Assembly instructions

Home Decorators Collection

Home Decorators Collection ALSTER TJ-0401V3622BR Assembly instructions

Suncast Brilliant by Design BMEB2000 Series Assembly instructions

Suncast

Suncast Brilliant by Design BMEB2000 Series Assembly instructions

GrainWood MC0603 Assembly instructions

GrainWood

GrainWood MC0603 Assembly instructions

STAND STEADY CHRKNPNBL quick start guide

STAND STEADY

STAND STEADY CHRKNPNBL quick start guide

Timbertech Impression Rail Express installation guide

Timbertech

Timbertech Impression Rail Express installation guide

Alice's Home TOBIAS IKSCANDIOUL12 manual

Alice's Home

Alice's Home TOBIAS IKSCANDIOUL12 manual

Möbel AS CLFV331 Assembling Instruction

Möbel AS

Möbel AS CLFV331 Assembling Instruction

OYPLA Home 3823 user manual

OYPLA Home

OYPLA Home 3823 user manual

AMQ ACTIV-Pro3 installation guide

AMQ

AMQ ACTIV-Pro3 installation guide

BROSA Chablis Outdoor Dining Table Assembly guide

BROSA

BROSA Chablis Outdoor Dining Table Assembly guide

Wilhelm Schildmeyer Vigo 646185 Assembly instructions

Wilhelm Schildmeyer

Wilhelm Schildmeyer Vigo 646185 Assembly instructions

ROOMS TO GO GLOB 4302-1 Assembly instructions

ROOMS TO GO

ROOMS TO GO GLOB 4302-1 Assembly instructions

Vente Unique HALIA 7099-3S Product description

Vente Unique

Vente Unique HALIA 7099-3S Product description

Direct Wicker TURIN ROUND Assembly instructions

Direct Wicker

Direct Wicker TURIN ROUND Assembly instructions

manuals.online logo
manuals.online logoBrands
  • About & Mission
  • Contact us
  • Privacy Policy
  • Terms and Conditions

Copyright 2025 Manuals.Online. All Rights Reserved.