manuals.online logo
Brands
  1. Home
  2. •
  3. Brands
  4. •
  5. Sauder
  6. •
  7. Indoor Furnishing
  8. •
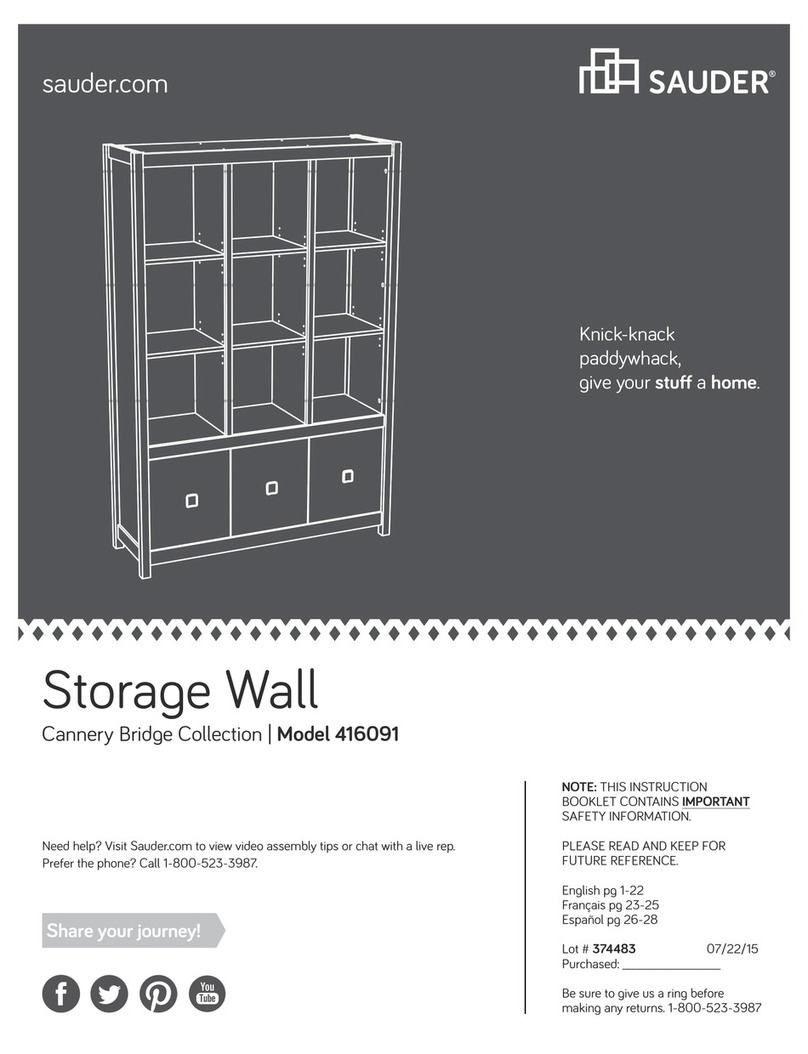
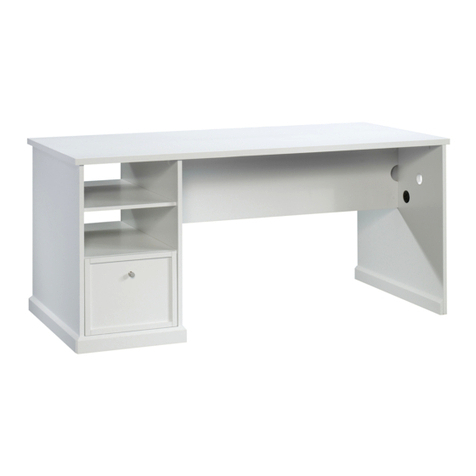
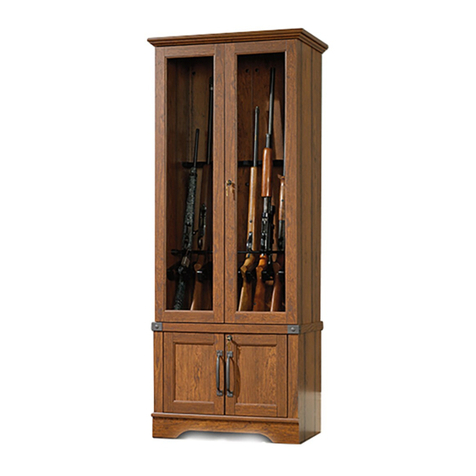
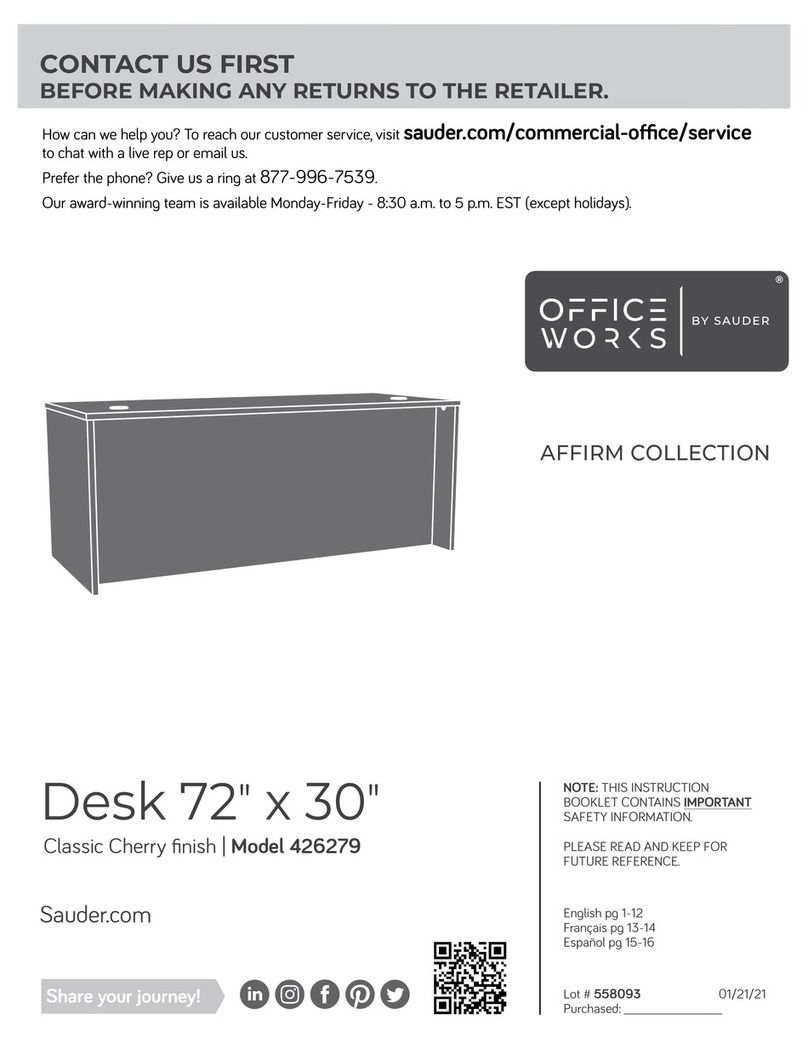
  9. Sauder OFFICE WORKS AFFIRM 426466 User manual

Sauder OFFICE WORKS AFFIRM 426466 User manual

sauder.com
NOTE: THIS INSTRUCTION
BOOKLET CONTAINS IMPORTANT
SAFETY INFORMATION.
PLEASE READ AND KEEP FOR
FUTURE REFERENCE.
sauder.com
CONTACT US FIRST
BEFORE MAKING ANY RETURNS TO THE STORE.
sauder.com
CONTACT US FIRST
BEFORE MAKING ANY RETURNS TO THE RETAILER.
Sauder.com
Share your journey!
English pg 1-15
Français pg 16-18
Español pg 19-21
Reception Hutch
Classic Cherry finish | Model 426466
Lot # 574100 11/16/21
Purchased: __________________
AFFIRM COLLECTION
How can we help you? To reach our customer service, visit sauder.com/commercial-oce/service
to chat with a live rep or email us.
Prefer the phone? Give us a ring at
877-996-7539
.
Our award-winning team is available Monday-Friday - 8:30 a.m. to 5 p.m. EST (except holidays).
Table of Contents Assembly Tools Required
Hammer
Not actual size
No. 2 Phillips Screwdriver
Tip Shown Actual Size
Hardware Identification
Part Identification
Hardware Usage Guide
Assembly Steps
Français
Español
Safety
Warranty
2
3
5
5-15
16-18
19-21
22
23
Hardware Identification
åScrews are shown actual size. You may receive extra hardware with your unit.
TAPE CARD/
PREP PAD KIT - 1
182M
Isopropyl
Alcohol 70%
Prep Pad
1S BLACK 9/16" LARGE HEAD SCREW - 8
9M TOUCH-UP PEN - 1
41G PLATE - 2
TWIST-LOCK®
FASTENER COVER - 23
114P
42F WOOD DOWEL - 16
426466 www.sauder.com/commercial-oce/servicePage 2
Part Identification
åWhile not all parts are labeled, some of the parts will have a label or an inked letter on the edge
to help distinguish similar parts from each other. Use this part identification to help identify similar parts.
Now you know
our ABCs.
A RIGHT END (1)
B LEFT END (1)
C LONG TOP (1)
D SHORT TOP (1)
E UPRIGHT (2)
F SHORT BACK (1)
G LONG BACK (1)
A
B
C
D
E
E
F
G
426466www.sauder.com/commercial-oce/service Page 3
Optional Accessories (sold separately)
å This piece of furniture accommodates one or more of the following optional accessories (sold separately).
å Powered Grommet (Item 427829)
The Powered Grommet is designed to replace any existing grommet provided with your furniture.
å To purchase the Powered Grommet, scan this QR code. (Or go to sauder.com)
å Articulating Keyboard Shelf (Item 426468)
The Articulating Keyboard Shelf is designed to be fastened to the underside of your desk, desk return, or credenza top.
å To purchase the Articulating Keyboard Shelf, scan this QR code. (Or go to sauder.com)
å LED Light (Item 426494)
The LED Light is designed to be fastened to the underside of a hutch.
å To purchase the LED Light, scan this QR code. (Or go to sauder.com)
426466 www.sauder.com/commercial-oce/servicePage 4
Hardware Usage Guide
1. Insert the dowel end of the FASTENER into the
hole of the adjoining part.
NOTE: The dowel end of the FASTENER must
remain fully inserted in the hole of the adjoining
part while locking the FASTENER.
2. Tighten the FASTENER with a Phillips
screwdriver as tight as possible.
Dowel end
2.
Push a TWIST-LOCK® FASTENER
into the large hole in the part.
1.
HOW TO USE A TWIST-LOCK®FASTENER
Step 1
å You have the option to use the Reception Hutch
as a Straight or a Corner.
å If you want the Reception Hutch to be used as a
Straight, go to the next step.
å If you want the Reception Hutch to be used as a
Corner, go to Step 8
Straight (Left or Right)
Steps 2 - 7
Corner
Steps 8 - 18
Look for this icon. It means a video assembly tip is
available at www.sauder.com/service/tips
Find the numbered video or scan the QR code. 0
426466www.sauder.com/commercial-oce/service Page 5
Step 2
F
2
å Assemble your unit on a carpeted floor or on the empty carton to avoid scratching
your unit or the floor.
å Insert three WOOD DOWELS (42F) into the SHORT BACK (F) exactly as shown.
å NOTE: You may need to gently tap the WOOD DOWEL in with your hammer.
å Fasten the ENDS (A and B) and one of the UPRIGHTS (E) to the SHORT BACK (F).
Tighten five TWIST-LOCK® FASTENERS.
å NOTE: Be sure the WOOD DOWELS in the LONG BACK insert into the
ENDS and UPRIGHT.
Surface with
TWIST-LOCK®
FASTENERS
Surface with
TWIST-LOCK®
FASTENERS
Edge with
TWIST-LOCK®
FASTENERS
Edge with
TWIST-LOCK®
FASTENERS
Edge with
TWIST-LOCK®
FASTENERS
Surface with
TWIST-LOCK®
FASTENERS
Surface without
TWIST-LOCK®
FASTENERS
E
A
B
42F
(3 used)
426466 www.sauder.com/commercial-oce/servicePage 6
å Insert five WOOD DOWELS (42F) into the
ENDS (A and B), UPRIGHT (E), and SHORT BACK (F).
å NOTE: You may need to gently tap the WOOD DOWEL in
with your hammer.
å Fasten the LONG TOP (C) to the ENDS (A and B),
UPRIGHT (E), and SHORT BACK (F)
Step 3
F
C
2
A
B
42F
(5 used)
E
Just think. The sooner
you do this, the sooner
you do something else.
426466www.sauder.com/commercial-oce/service Page 7
Step 4
å Your 426466 Reception Hutch can be fastened
to a Desk/Credenza and Desk Return combo in
either orientation.
426271
426279
426271
426279
426466 www.sauder.com/commercial-oce/servicePage 8
Step 5
426279
426271
Isopropyl
Alcohol 70%
Prep Pad
182M
å This unit is made to sit on the 426279 Desk/Credenza and the
426271 Desk Return. Open the TAPE CARD/PREP PAD KIT (182M)
and open the Alcohol Prep Pad to wipe the top surface of the Desk
and Return as shown in the diagram.
å Peel four double stick strips from the TAPE CARD and stick them
onto the edges of the Desk and Return as shown at the positions
marked 1 if you want your unit on the left.
å Peel four double stick strips from the TAPE CARD and stick them
onto the edges of the Desk and Return as shown at positions
marked 2 if you want your unit on the right.
å Next, peel the paper covering from the double stick strips.
182M
Wipe the top surface of
the Desk in this area.
1
1
2
2
426466www.sauder.com/commercial-oce/service Page 9
Step 6
å IMPORTANT: The Reception Hutch cannot be moved after it is set in place.
Pre-plan the Reception Hutch placement, then place it completely on the
attaching surface.
å With the help of another person, carefully center the Reception Hutch
onto your 426279 Desk/Credenza and the 426271 Desk Return in your
chosen position.
å NOTE: The back edges of the
Reception Hutch
and Desk must be even.
STOP
The Reception Hutch
cannot be moved after it
is set in place. Pre-plan
the Reception Hutch
placement, then place
it completely on the
attaching surface.
Caution
Two person
lift required
426279
426271
The back
edges must
be even.
426466 www.sauder.com/commercial-oce/servicePage 10
Step 7
å Using your hammer, gently tap a TWIST-LOCK® FASTENER COVER (114P) onto each visible TWIST-LOCK® FASTENER.
å For long-term care and maintenance of your unit, you may touch up the edges with the TOUCH-UP PEN (9M).
å NOTE: Please read the back pages of the instruction booklet for important safety information.
å This completes assembly. Clean with a damp cloth. Wipe dry.
9M
114P
(22 used)
And to celebrate, why not share your success story at sauder.com or
50 lbs.
426466www.sauder.com/commercial-oce/service Page 11
Step 8 2
å Insert two WOOD DOWELS (42F) into
the BACKS (F and G).
å NOTE: You may need to gently tap the WOOD DOWEL in
with your hammer.
å Fasten the UPRIGHTS (E) to the BACKS (F and G).
Tighten two TWIST-LOCK® FASTENERS.
å NOTE: Be sure the WOOD DOWELS in the BACKS
insert into the UPRIGHTS.
E
E
F
G
Surface with
TWIST-LOCK®
FASTENERS
Surface with
TWIST-LOCK®
FASTENERS
Surface with TWIST-LOCK® FASTENERS
Edge with TWIST-LOCK® FASTENERS
42F
(2 used)
Just think. The sooner
you do this, the sooner
you do something else.
426466 www.sauder.com/commercial-oce/servicePage 12
Step 9
å Insert one WOOD DOWEL (42F) into the RIGHT END (A).
å NOTE: You may need to gently tap the WOOD DOWEL in
with your hammer.
å Fasten the RIGHT END (A) to the SHORT BACK (F).
Tighten two TWIST-LOCK® FASTENERS.
å NOTE: Be sure the WOOD DOWEL in the RIGHT END
inserts into the SHORT BACK.
å Repeat this step for the LEFT END (B) and LONG BACK (G).
F
A
G
B
Surface with TWIST-LOCK® FASTENERS
Edge with TWIST-LOCK® FASTENERS
Surface without TWIST-LOCK® FASTENERS
Surface with
TWIST-LOCK®
FASTENERS
Surface with
TWIST-LOCK®
FASTENERS
2
42F
426466www.sauder.com/commercial-oce/service Page 13
å Insert one WOOD DOWEL (42F) into the SHORT BACK (F).
å NOTE: You may need to gently tap the WOOD DOWEL in with
your hammer.
å Fasten the SHORT BACK (F) to the LONG BACK (G).
Tighten two TWIST-LOCK® FASTENERS.
å NOTE: Be sure the WOOD DOWEL in the SHORT BACK
inserts into the LONG BACK.
Step 10
F
G
Edge with TWIST-LOCK® FASTENERS
Surface with
TWIST-LOCK®
FASTENERS
Surface with
TWIST-LOCK®
FASTENERS
2
42F
426466 www.sauder.com/commercial-oce/servicePage 14
Step 11
å Insert eleven WOOD DOWELS (42F) into the
ENDS (A and B), UPRIGHTS (E), and BACKS (F and G).
å NOTE: You may need to gently tap the WOOD DOWEL in
with your hammer.
F
E
E
BA
G
42F
(11 used)
426466www.sauder.com/commercial-oce/service Page 15
å Fasten the PLATES (41G) to the LONG TOP (C). Use four
BLACK 9/16" LARGE HEAD SCREWS (1S).
Step 12
C
BLACK 9/16" LARGE HEAD SCREW
(4 used in this step)
1S
41G
426466 www.sauder.com/commercial-oce/servicePage 16
Step 13
å Fasten the LONG TOP (C) to the RIGHT END (A),
UPRIGHT (E), and BACKS (F and G). Tighten nine
TWIST-LOCK® FASTENERS.
å NOTE: Be sure the WOOD DOWELS in the RIGHT END,
UPRIGHT, and BACKS insert into the LONG TOP.
F
E
C
A
G
2
426466www.sauder.com/commercial-oce/service Page 17
å Fasten the SHORT TOP (D) to the LEFT END (B),
UPRIGHT (E), and LONG BACK (G). Tighten six
TWIST-LOCK® FASTENERS.
å NOTE: Be sure the WOOD DOWELS in the LEFT END,
UPRIGHT, and LONG BACK insert into the SHORT TOP.
å Fasten the SHORT TOP (D) to the PLATES (41G). Use four
BLACK 9/16" LARGE HEAD SCREWS (1S).
Step 14
G
B
2
E
D
BLACK 9/16" LARGE HEAD SCREW
(4 used in this step)
1S
426466 www.sauder.com/commercial-oce/servicePage 18
Step 15
å Your Reception Hutch can be fastened to the
426279 Desk/Credenza and 426271 Desk Return
combo in either orientation.
426279
426271
426279
426271
Almost time to
celebrate! With a nap.
426466www.sauder.com/commercial-oce/service Page 19
Step 16
426279
426271
Isopropyl
Alcohol 70%
Prep Pad
182M
Wipe the top surface of
the Desk in this area.
å Carefully lay your unit onto its back edges.
å This unit is made to sit on the 426279 Desk/Credenza and the
426271 Desk Return. Open the TAPE CARD/PREP PAD KIT (182M)
and open the Alcohol Prep Pad to wipe the top surface of the Desk
and Return as shown in the diagram.
å Peel four double stick strips from the TAPE CARD and stick them
onto the edges of the Desk and Return as shown in the diagram.
å Next, peel the paper covering from the double stick strips.
182M
182M
426466 www.sauder.com/commercial-oce/servicePage 20

Other Sauder Indoor Furnishing manuals
Sauder 401323 User manual

Sauder

Sauder 401323 User manual

Sauder 413123 User manual

Sauder

Sauder 413123 User manual

Sauder 415547 User manual

Sauder

Sauder 415547 User manual

Sauder Manhattan Gate 429257 User manual

Sauder

Sauder Manhattan Gate 429257 User manual

Sauder 413043 User manual

Sauder

Sauder 413043 User manual

Sauder Rock Glen 425773 User manual

Sauder

Sauder Rock Glen 425773 User manual

Sauder 408761 User manual

Sauder

Sauder 408761 User manual

Sauder Entertainment Credenza 412922 User manual

Sauder

Sauder Entertainment Credenza 412922 User manual

Sauder 412720 User manual

Sauder

Sauder 412720 User manual

Sauder Harbor View 401323 User manual

Sauder

Sauder Harbor View 401323 User manual

Sauder worksense MASON PEAK 427807 User manual

Sauder

Sauder worksense MASON PEAK 427807 User manual

Sauder Palladia 422002 User manual

Sauder

Sauder Palladia 422002 User manual

Sauder Boone Mountain 416598 User manual

Sauder

Sauder Boone Mountain 416598 User manual

Sauder Boone Mountain 416561 User manual

Sauder

Sauder Boone Mountain 416561 User manual

Sauder Cannery Bridge 429510 User manual

Sauder

Sauder Cannery Bridge 429510 User manual

Sauder Tremont Row 427970 User manual

Sauder

Sauder Tremont Row 427970 User manual

Sauder Via 401443 User manual

Sauder

Sauder Via 401443 User manual

Sauder OfficeWorks AFFIRM 427428 User manual

Sauder

Sauder OfficeWorks AFFIRM 427428 User manual

Sauder Harbor View 158085 User manual

Sauder

Sauder Harbor View 158085 User manual

Sauder Via 419641 User manual

Sauder

Sauder Via 419641 User manual

Sauder Avenue Eight 416514 User manual

Sauder

Sauder Avenue Eight 416514 User manual

Sauder Library 412177 User manual

Sauder

Sauder Library 412177 User manual

Sauder North Avenue 420275 User manual

Sauder

Sauder North Avenue 420275 User manual

Sauder Mates Bed 423003 User manual

Sauder

Sauder Mates Bed 423003 User manual

Popular Indoor Furnishing manuals by other brands

Girsberger Diagon quick start guide

Girsberger

Girsberger Diagon quick start guide

Amart Furniture OPTIMUS 62580 Assembly instruction

Amart Furniture

Amart Furniture OPTIMUS 62580 Assembly instruction

DURAVIT L-Cube LC 7382 Mounting instructions

DURAVIT

DURAVIT L-Cube LC 7382 Mounting instructions

Kimball Senator Assembly instructions

Kimball

Kimball Senator Assembly instructions

Sam K Steel II Assembly instructions

Sam

Sam K Steel II Assembly instructions

Blanco 511-745 Specification sheet

Blanco

Blanco 511-745 Specification sheet

FourStarGroup 11211851 Assembly instructions

FourStarGroup

FourStarGroup 11211851 Assembly instructions

Emmezeta BUGS821B Assembling Instruction

Emmezeta

Emmezeta BUGS821B Assembling Instruction

Gami HANGUN G36 manual

Gami

Gami HANGUN G36 manual

Hay CPH 90 instruction manual

Hay

Hay CPH 90 instruction manual

Profijt Meubel PAPILLON DR1 Assembly instruction

Profijt Meubel

Profijt Meubel PAPILLON DR1 Assembly instruction

Inspire 203-576 Assembly instructions

Inspire

Inspire 203-576 Assembly instructions

FourStar 11210915A Assembly instructions

FourStar

FourStar 11210915A Assembly instructions

Coaster 801574 Assembly instructions

Coaster

Coaster 801574 Assembly instructions

Rapid Racking DS25 Assembly guide

Rapid Racking

Rapid Racking DS25 Assembly guide

LF Allen + Roth OLIVER 24W 900844 installation manual

LF

LF Allen + Roth OLIVER 24W 900844 installation manual

DURAVIT Vero VE 6414 installation instructions

DURAVIT

DURAVIT Vero VE 6414 installation instructions

Forte SRCL1181B Assembling Instruction

Forte

Forte SRCL1181B Assembling Instruction

manuals.online logo
manuals.online logoBrands
  • About & Mission
  • Contact us
  • Privacy Policy
  • Terms and Conditions

Copyright 2025 Manuals.Online. All Rights Reserved.