manuals.online logo
Brands
  1. Home
  2. •
  3. Brands
  4. •
  5. Sauder
  6. •
  7. Indoor Furnishing
  8. •
  9. Sauder SmartCenter 422196 User manual

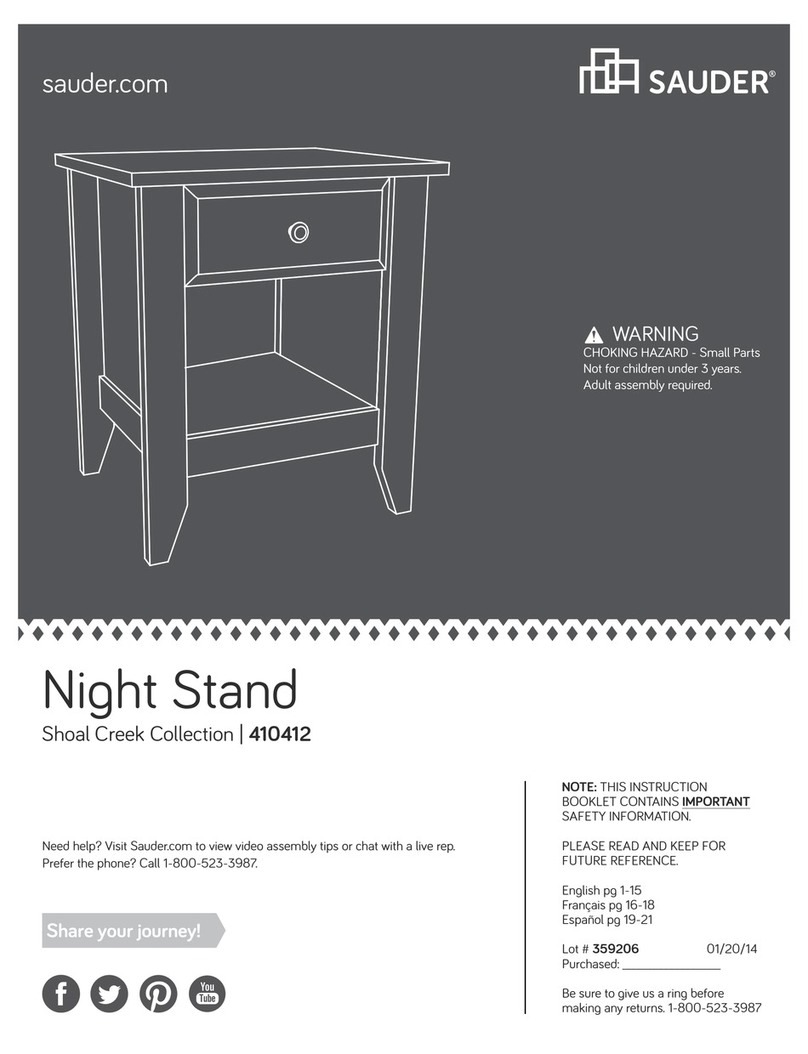
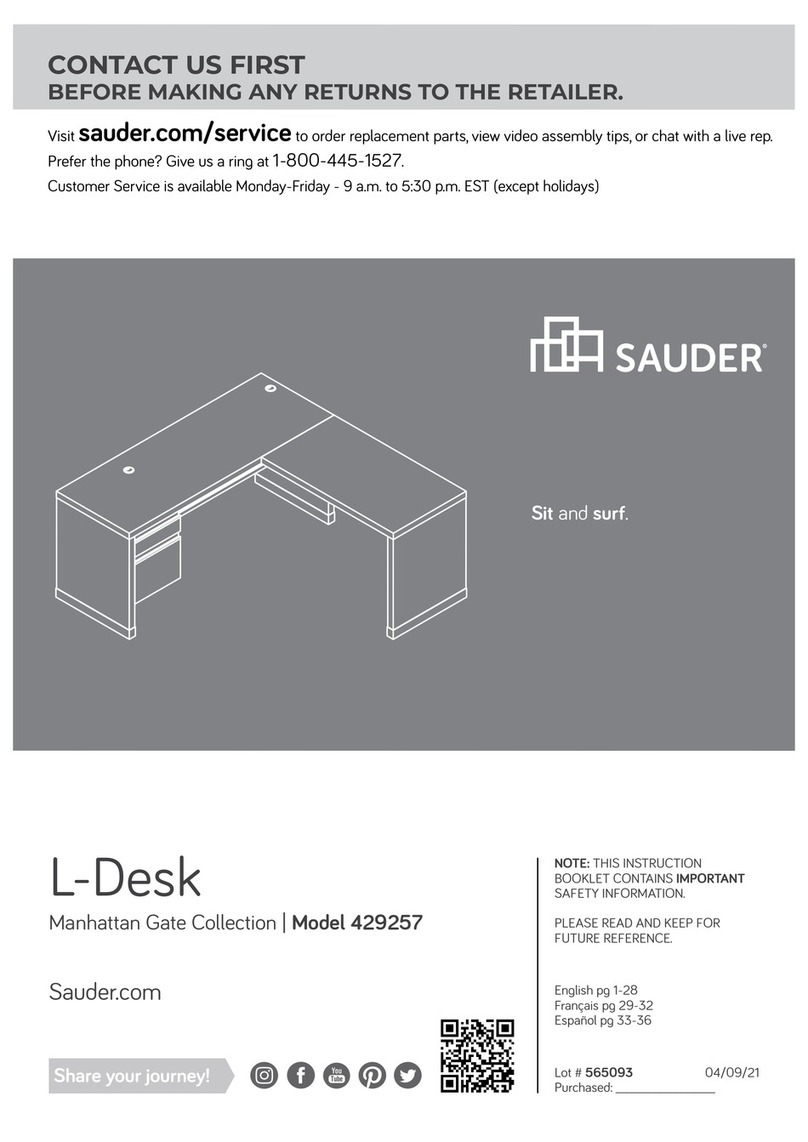
Sauder SmartCenter 422196 User manual

Need help? Visit Sauder.com to view video assembly tips or chat with a live rep.
Prefer the phone? Call 1-800-523-3987.
Share your journey!
sauder.com
NOTE: THIS INSTRUCTION
BOOKLET CONTAINS IMPORTANT
SAFETY INFORMATION.
PLEASE READ AND KEEP FOR
FUTURE REFERENCE.
English pg 1-23
Français pg 24-26
Español pg 27-29
Lot # 505047 06/26/17
Purchased: __________________
Be sure to give us a ring before
making any returns. 1-800-523-3987
SmartCenter® Side Table
Shoal Creek Collection | Model 422196
Plus up a room.
Plug in your life.
Table of Contents Assembly Tools Required
Part Identification
Hardware Identification
Assembly Steps
Français
Español
Safety
Warranty
Hammer
Not actual size
No. 2 Phillips Screwdriver
Tip Shown Actual Size
Skip the power trip.
This time.
2-3
4
5-23
24-26
27-29
30
31
422196 www.sauder.com/servicesPage 2
Now you know
our ABCs.
Part Identification
åWhile not all parts are labeled, some of the parts will have a label or an inked letter on the edge
to help distinguish similar parts from each other. Use this part identification to help identify similar parts.
A RIGHT END (1)
B LEFT END (1)
C FIXED TOP (1)
D SLIDING TOP (1)
E BACK (1)
F RIGHT DRAWER UPRIGHT (1)
G LEFT DRAWER UPRIGHT (1)
H SHELF (1)
I SHELF MOLDING (1)
J BOTTOM (1)
K FRONT/BACK SKIRT (2)
L SIDE SKIRT (2)
M RIGHT FRONT/LEFT REAR LEG (2)
N LEFT FRONT/RIGHT REAR LEG (2)
O DRAWER FRONT (1)
Now you know
our ABCs.
Part Identification
422196www.sauder.com/services Page 3
A
B
C
D
E
F
G
H
I
J
KL
M
N
O M
N
L
K
Hardware Identification
åScrews are shown actual size. You may receive extra hardware with your unit.
422196 www.sauder.com/servicesPage 4
(EXTENSION SET SHOWN SEPARATED)
PEXTENSION RAIL - 2 QEXTENSION SLIDE - 2 OUTLET - 1
6D
BLACK 9/16" PAN HEAD SCREW - 2
25S
SILVER 3/4" MACHINE SCREW - 2
20S
BLACK 1-1/4" FLAT HEAD SCREW - 2
7S
SUPPORT PIN - 2
5R
CAM COVER - 8
12P
CORD CLIP - 2
4P
3S GOLD 5/16" FLAT HEAD SCREW - 8
PULL - 1
7K
BLACK 1/2" FLAT HEAD SCREW - 1
11S
CAM SCREW - 16
8F
GROMMET - 1
10P
STRIKE PLATE - 1
6I
HIDDEN CAM - 34
1F
CAM DOWEL - 18
2F
BLACK 1-15/16" FLAT HEAD SCREW - 2
113S
7F TWIST-LOCK®
FASTENER - 10
MAGNETIC
CATCH - 1
3I
Step 1 Look for this icon. It means a
video assembly tip is available at
www.sauder.com/services/tips
422196www.sauder.com/services Page 5
å Assemble your unit on a carpeted floor or on the empty
carton to avoid scratching your unit or the floor.
å To begin assembly, push a SAUDER TWIST-LOCK®
FASTENER (7F) into the large holes in the ENDS (A
and B), BACK (E), and DRAWER UPRIGHTS (F and G).
(10 used)
7F
Do not tighten the TWIST-LOCK® FASTENERS in this step. 7F
7F
A
B
E
F
G
7F
Some assembly
(and snacks) required.
Step 2
422196 www.sauder.com/servicesPage 6
Insert the metal end of the CAM
DOWEL into the HIDDEN CAM.
Arrow
å Push eighteen HIDDEN CAMS (1F) into the DRAWER UPRIGHTS (F
and G), SHELF (H), and BOTTOM (J). Then, insert the metal end of
a CAM DOWEL (2F) into each HIDDEN CAM.
Do not tighten the HIDDEN CAMS in this step.
1F
2F
Arrow
Arrow
1F
2F
H
J
F
G
Arrow
1F
2F
(18 used)
Step 3
422196www.sauder.com/services Page 7
K
L
å Push sixteen HIDDEN CAMS (1F) into the exact holes
shown in the ENDS (A and B) and SKIRTS (K and L).
Arrow
The arrow in the HIDDEN
CAM must point toward the
hole in the edge of the board.
Hole
1F
Arrow
(16 used)
Arrow
1F
K
L
A
B
Step 4
422196 www.sauder.com/servicesPage 8
N
M
M
N
å Turn sixteen CAM SCREWS (8F) into the LEGS (M and N).
8F
8F
(16 used)
8F
Step 5
422196www.sauder.com/services Page 9
å Separate the EXTENSION SLIDES (Q) from the EXTENSION RAILS (P) as
shown in the upper diagram below. Be prepared, the parts are greasy.
å Fasten the EXTENSION RAILS (P) to the ENDS (A and B). Use four GOLD 5/16"
FLAT HEAD SCREWS (3S).
å NOTE: For each EXTENSION RAIL, turn a SCREW into the hole shown in the
enlarged diagram. Then, slide the inner cartridge of the EXTENSION RAIL in to
find the other hole that lines up with the hole in the END. Turn a SCREW into
this hole.
å NOTE: The EXTENSION SLIDES will be used later for the DRAWER UPRIGHTS.
GOLD 5/16" FLAT HEAD SCREW
(4 used in this step)
3S
PQ
Push the black lever in and pull the SLIDE from the RAIL.
Open end
Open end
A
B
P
P
This hole
must be here.
Surface with HIDDEN CAMS Surface with HIDDEN CAMS
Step 6
422196 www.sauder.com/servicesPage 10
å Insert the GROMMET (10P) into the large hole in the SHELF (H).
å Fasten the OUTLET (6D) to the SHELF (H). Use two BLACK
9/16" PAN HEAD SCREWS (25S).
å NOTE: Be sure to position the OUTLET exactly as shown.
å Fasten the SHELF MOLDING (I) to the SHELF (H). Use two
BLACK 1-1/4" FLAT HEAD SCREWS (7S).
å Insert the MAGNETIC CATCH (3I) into the exact hole shown in
the SHELF (H).
Surface without
HIDDEN CAMS
H
I
Edge without holes
6D
BLACK 9/16" PAN HEAD SCREW
(2 used for the OUTLET)
25S
BLACK 1-1/4" FLAT HEAD SCREW
(2 used for the SHELF MOLDING)
7S
3I
10P
Step 7
422196www.sauder.com/services Page 11
H
å Fasten the BACK (E) to the SHELF (H). Use two BLACK
1-15/16" FLAT HEAD SCREWS (113S).
E
Curved edge
Surface with
TWIST-LOCK®
FASTENERS
BLACK 1-15/16" FLAT HEAD SCREW
(2 used in this step)
113S
Step 8
422196 www.sauder.com/servicesPage 12
å Fasten the RIGHT END (A) and SIDE SKIRT (L) to the
LEFT FRONT/RIGHT REAR LEG (N). Tighten three
HIDDEN CAMS.
å Fasten the RIGHT FRONT/LEFT REAR LEG (M) to
the RIGHT END (A) and SIDE SKIRT (L). Tighten three
HIDDEN CAMS.
1
2
A
Surface with
HIDDEN CAMS
M
N
L
These surfaces
should be even.
Edge with
TWIST-LOCK®
FASTENER
Surface with
HIDDEN CAMS
These holes
must be here.
These surfaces
should be even.
Step 9
422196www.sauder.com/services Page 13
B
L
Surface with
HIDDEN CAMS
å Fasten the LEFT END (B) and SIDE SKIRT (L) to the
RIGHT FRONT/LEFT REAR LEG (M). Tighten three
HIDDEN CAMS.
å Fasten the LEFT FRONT/RIGHT REAR LEG (N) to the
LEFT END (B) and SIDE SKIRT (L). Tighten three
HIDDEN CAMS.
M
N
These surfaces
should be even.
Edge with
TWIST-LOCK®
FASTENER
These surfaces
should be even.
Surface with
HIDDEN CAMS
These holes
must be here.
Side Step: Make
nachos. (Optional, but
recommended.)
Step 10
422196 www.sauder.com/servicesPage 14
å Fasten the FRONT/BACK SKIRTS (K) to the short edges
of the BOTTOM (J). Tighten four HIDDEN CAMS.
å NOTE: The ends of the FRONT/BACK SKIRTS will not be
even with the edges of the BOTTOM.
Surface with HIDDEN CAMS
K
The ends of the
FRONT/BACK SKIRTS
will not be even with the
edges of the BOTTOM.
Start Tighten
Arrow
Minimum
190 degrees
Caution
Risk of damage or
injury. HIDDEN CAMS
must be completely
tightened. HIDDEN
CAMS that are not
completely tightened
may loosen, and parts
may separate. To
completely tighten:
Arrow
Maximum
210 degrees
Surface with HIDDEN CAMS
Surface without HIDDEN CAMS
J
K
å Fasten the BACK (E) to the RIGHT END (A). Tighten a
TWIST-LOCK® FASTENER.
å Fasten the SHELF (H) to the RIGHT END (A). Tighten two
HIDDEN CAMS.
Step 11
422196www.sauder.com/services Page 15
Arrow
Minimum
190 degrees
Maximum
210 degrees
How to use the SAUDER TWIST-LOCK® FASTENER
1. Insert the dowel end of the FASTENER into the
hole of the adjoining part.
NOTE: The dowel end of the FASTENER must
remain fully inserted in the hole of the adjoining
part while locking the FASTENER.
2. Tighten the FASTENER with a Phillips
screwdriver as tight as possible.
Dowel end
A
M
N
H
E
Surface with
HIDDEN CAMS
Surface with
HIDDEN CAMS
å Fasten the BOTTOM (J) and FRONT/BACK SKIRTS (K)
to the SIDE SKIRTS (L) and LEGS (M and N). Tighten five
HIDDEN CAMS.
Step 12
422196 www.sauder.com/servicesPage 16
Arrow
Minimum
190 degrees
Maximum
210 degrees
M
N
L
J
K
K
Surface with
HIDDEN CAMS
å Fasten the LEFT END (B), SIDE SKIRT (L), and LEGS (M
and N) to the BACK (E), SHELF (H), BOTTOM (J), and
FRONT/BACK SKIRTS (K). Tighten seven HIDDEN CAMS
and one TWIST-LOCK® FASTENER.
Step 13
422196www.sauder.com/services Page 17
J
K
K
H
E
B
N
M
L
Surface without
HIDDEN CAMS
Arrow
Minimum
190 degrees
Maximum
210 degrees
Step 14
422196 www.sauder.com/servicesPage 18
å Using your hammer, gently tap a CAM COVER (12P) onto
each HIDDEN CAM in the SHELF (H).
å Turn two CORD CLIPS (4P) into the holes in the SHELF (H).
(4 used)
To cover HIDDEN CAMS
12P
4P
(2 used)
H
Step 15
422196www.sauder.com/services Page 19
å Carefully stand your unit upright.
å Insert the SUPPORT PINS (5R) into the FIXED TOP (C).
å Using your hammer, gently tap a CAM COVER (12P) onto each
HIDDEN CAM in the ENDS (A and B).
å Fasten the FIXED TOP (C) to the ENDS (A and B) and
BACK (E). Tighten four TWIST-LOCK® FASTENERS.
5R
F
L
I
P
O
V
E
R
C
C
Edge with
SUPPORT PINS
Surface without holes
A
E
B
Surface with holes
(4 used)
To cover HIDDEN CAMS
12P
Step 16
422196 www.sauder.com/servicesPage 20
å Fasten the EXTENSION SLIDES (Q) to the DRAWER
UPRIGHTS (F and G). Use four GOLD 5/16" FLAT HEAD
SCREWS (3S) through holes #1 and #3.
Open end
GOLD 5/16" FLAT HEAD SCREW
(4 used in this step)
3S
1
2
3
QOpen end
1
2
3
Q
Edge with
TWIST-LOCK®
FASTENERS
F
Edge with
CAM DOWELS
Surface without
TWIST-LOCK®
FASTENERS
G
Surface without
TWIST-LOCK®
FASTENERS
Edge with
CAM DOWELS
Almost time to
celebrate! With a nap.

Other Sauder Indoor Furnishing manuals
Sauder County 418529 User manual

Sauder

Sauder County 418529 User manual

Sauder Hammond 430786 User manual

Sauder

Sauder Hammond 430786 User manual

Sauder Edge Water 419100 User manual

Sauder

Sauder Edge Water 419100 User manual

Sauder 411312 User manual

Sauder

Sauder 411312 User manual

Sauder 414686 User manual

Sauder

Sauder 414686 User manual

Sauder 418213 User manual

Sauder

Sauder 418213 User manual

Sauder Nova Loft 425211 User manual

Sauder

Sauder Nova Loft 425211 User manual

Sauder 417886 User manual

Sauder

Sauder 417886 User manual

Sauder WHISKER User manual

Sauder

Sauder WHISKER User manual

Sauder Cannery Bridge 426140 User manual

Sauder

Sauder Cannery Bridge 426140 User manual

Sauder Shoal Creek 410287 User manual

Sauder

Sauder Shoal Creek 410287 User manual

Sauder Palladia 422002 User manual

Sauder

Sauder Palladia 422002 User manual

Sauder Nova Loft 423720 User manual

Sauder

Sauder Nova Loft 423720 User manual

Sauder 401822 User manual

Sauder

Sauder 401822 User manual

Sauder North Avenue 420035 User manual

Sauder

Sauder North Avenue 420035 User manual

Sauder Studio RTA Deco 408687 User manual

Sauder

Sauder Studio RTA Deco 408687 User manual

Sauder Via 419642 User manual

Sauder

Sauder Via 419642 User manual

Sauder 418735 User manual

Sauder

Sauder 418735 User manual

Sauder Harbor View 403680 User manual

Sauder

Sauder Harbor View 403680 User manual

Sauder Camarin Series User manual

Sauder

Sauder Camarin Series User manual

Sauder Aspen Post 427022 User manual

Sauder

Sauder Aspen Post 427022 User manual

Sauder Manhattan Gate 429256 User manual

Sauder

Sauder Manhattan Gate 429256 User manual

Sauder Orchard Hills 418651 User manual

Sauder

Sauder Orchard Hills 418651 User manual

Sauder HomePlus Collection 411967 User manual

Sauder

Sauder HomePlus Collection 411967 User manual

Popular Indoor Furnishing manuals by other brands

Gautier Office U01-SUNDAY 123 Assembly instructions

Gautier Office

Gautier Office U01-SUNDAY 123 Assembly instructions

Ticaa Jasmin 140 Instructions for use

Ticaa

Ticaa Jasmin 140 Instructions for use

overstock 194S8308-AC Assembly instruction

overstock

overstock 194S8308-AC Assembly instruction

Init NT-C1142 Assembly instructions

Init

Init NT-C1142 Assembly instructions

Home affaire Oslo 75157 Assembly instructions

Home affaire

Home affaire Oslo 75157 Assembly instructions

SACAGAWEA DESIGNS VK-1230 Assembly instructions

SACAGAWEA DESIGNS

SACAGAWEA DESIGNS VK-1230 Assembly instructions

Unfinished Furniture of Wilmington BE-20 Assembly instructions

Unfinished Furniture of Wilmington

Unfinished Furniture of Wilmington BE-20 Assembly instructions

Brevi Securella 300 Instructions for use

Brevi

Brevi Securella 300 Instructions for use

Mooreco Height Adjustable Flipper Assembly instructions

Mooreco

Mooreco Height Adjustable Flipper Assembly instructions

Homelegance Marrin 1444-5 Assembly instruction

Homelegance

Homelegance Marrin 1444-5 Assembly instruction

Opera FLO instructions

Opera

Opera FLO instructions

Gateway Office Furniture 5CSSBE2-DG operating manual

Gateway Office Furniture

Gateway Office Furniture 5CSSBE2-DG operating manual

Kimball Alterna Assembly instructions

Kimball

Kimball Alterna Assembly instructions

Costway GP GOPLUS HW66330 user manual

Costway

Costway GP GOPLUS HW66330 user manual

World Market 543575 Assembly instructions

World Market

World Market 543575 Assembly instructions

STRUCTUBE ANJOU Assembly instructions

STRUCTUBE

STRUCTUBE ANJOU Assembly instructions

Ovela THEODORE OVTHEODRKGA user guide

Ovela

Ovela THEODORE OVTHEODRKGA user guide

Star 73-1515 Assembly instructions

Star

Star 73-1515 Assembly instructions

manuals.online logo
manuals.online logoBrands
  • About & Mission
  • Contact us
  • Privacy Policy
  • Terms and Conditions

Copyright 2025 Manuals.Online. All Rights Reserved.