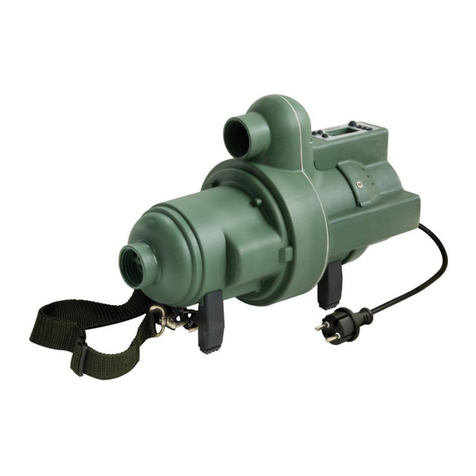
ATTENZIONE, IN CASO DI SURRISCALDAMENTO DOVUTO ALL’USO PROLUNGATO, IL GONFIATORE
SI ARRESTERA’ AUTOMATICAMENTE PER EVITARE DANNI AI SUOI COMPONENTI.
IL GONFIATORE SI PUÒ DANNEGGIARE A CAUSA DI SABBIA, POLVERE O ACQUA CHE PENETRANO
ALL’INTERNO DELLA PORTA DI INGRESSO. CIÒ CAUSERÀ IL SURRISCALDAMENTO E DANNI AI
COMPONENTI INTERNI. IN TAL CASO SPEGNERE IMMEDIATAMENTE IL GONFIATORE.
9. SOLUZIONE DEI PROBLEMI
PROBLEMA POSSIBILE CAUSA POSSIBILE SOLUZIONE
Il gonatore non
si avvia
Il gonatore non
gona/sgona
Cavo non collegato
adeguatamente.
Errato collegamento del tubo.
Cavo danneggiato.
Collegare il cavo.
Collegare il tubo dell’aria alla
bocca corretta.
Rivolgersi a un centro di
assistenza SCOPREGA.
Probabile problema elettronico. Rivolgersi a un centro di
assistenza SCOPREGA.
Pressione bassa
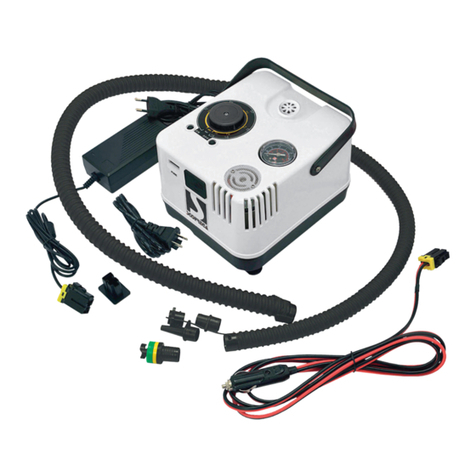
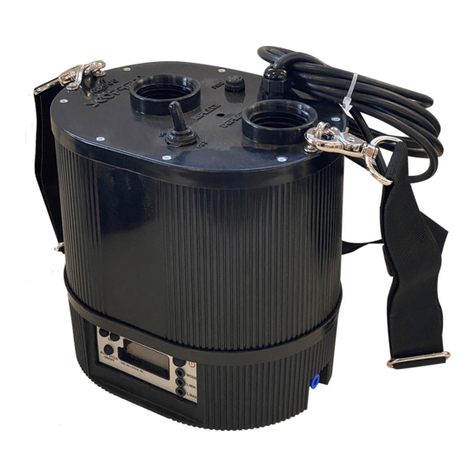
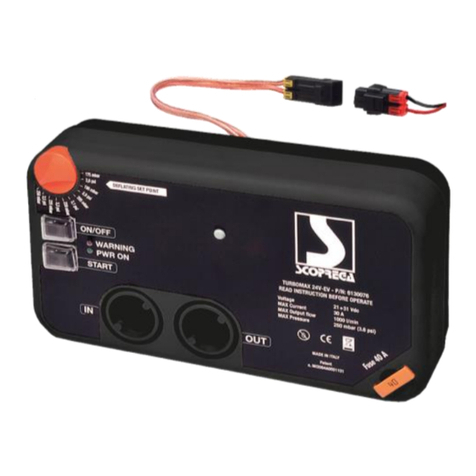
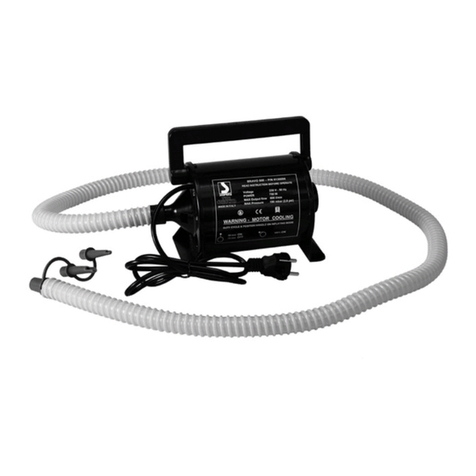
Gli accessori raccomandati nell’utilizzo del gonatore sono quelli originali SCOPREGA.
L’uso di qualsiasi accessorio non raccomandato per questo gonatore può essere pericoloso.
1. Collegare il tubo alla bocca di aspirazione (Punto 2, Figura 1).
2. Collegare il tubo alla valvola dell’unità gonabile. È importante scegliere il raccordo adatto
alla valvola e vericare che non ci siano perdite di aria. Accertarsi che non vi siano strozzature,
impedimenti o perdite nel percorso dell’aria.
3. Accendere il gonatore selezionando ON sull’interruttore di accensione (Punto 1, Figura 1).
4. Spegnere il gonatore una volta ultimato lo sgonaggio portando su OFF l’interruttore di
accensione
NB: Il gonatore non si arresta automaticamente.
8. PER SGONFIARE
10. ACCESSORI
7. PER GONFIARE
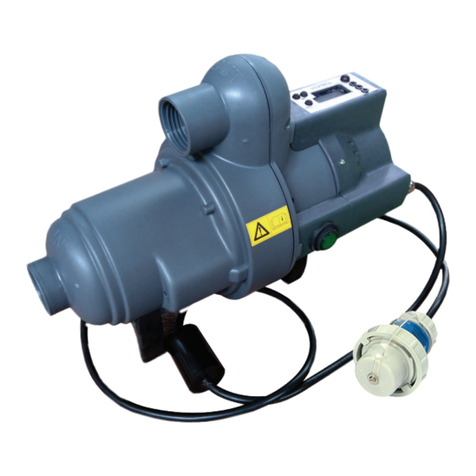
1. Collegare il gonatore all’alimentazione elettrica mediante il cavo fornito. Il GE 900 AA+ è dotato
di una spina per il collegamento diretto da 230V (o 120V a seconda del modello).
2. Collegare il tubo dell’aria alla bocca di uscita (Punto 3, Figura 1).
3. Collegare l’altra estremità del tubo alla valvola di gonaggio dell’unità gonabile. È importante
scegliere il raccordo adatto alla valvola e vericare che non ci siano perdite di aria.
Accertarsi che non vi siano strozzature, impedimenti o perdite nel percorso dell’aria.
4. Avviare il gonaggio portando su ON l’interruttore di accensione (Punto 1, Figura 1).
5. Spegnere il gonatore portando su OFF l’interruttore di accensione non appena il gonabile
raggiunge la pressione necessaria.
NB: il gonatore non si arresta automaticamente
CONSIDERARE LA PRESSIONE DI GONFIAGGIO MASSIMA E ADEGUATA DEL GONFIABILE.
