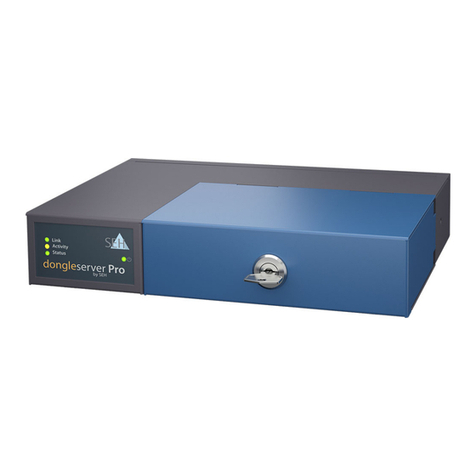
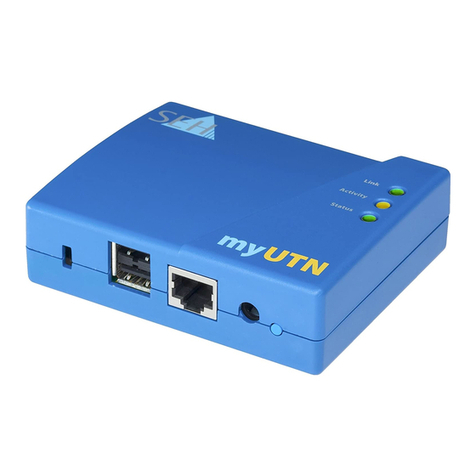
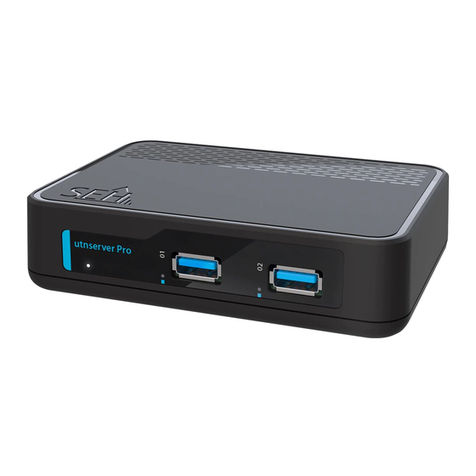
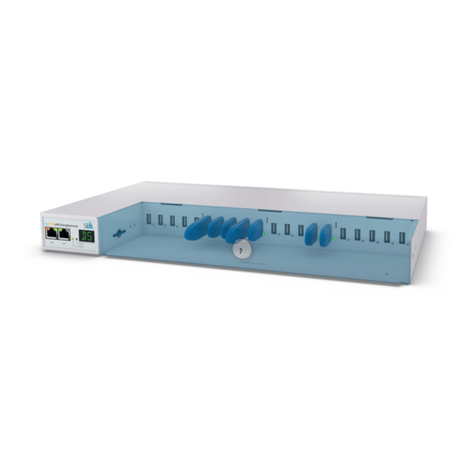
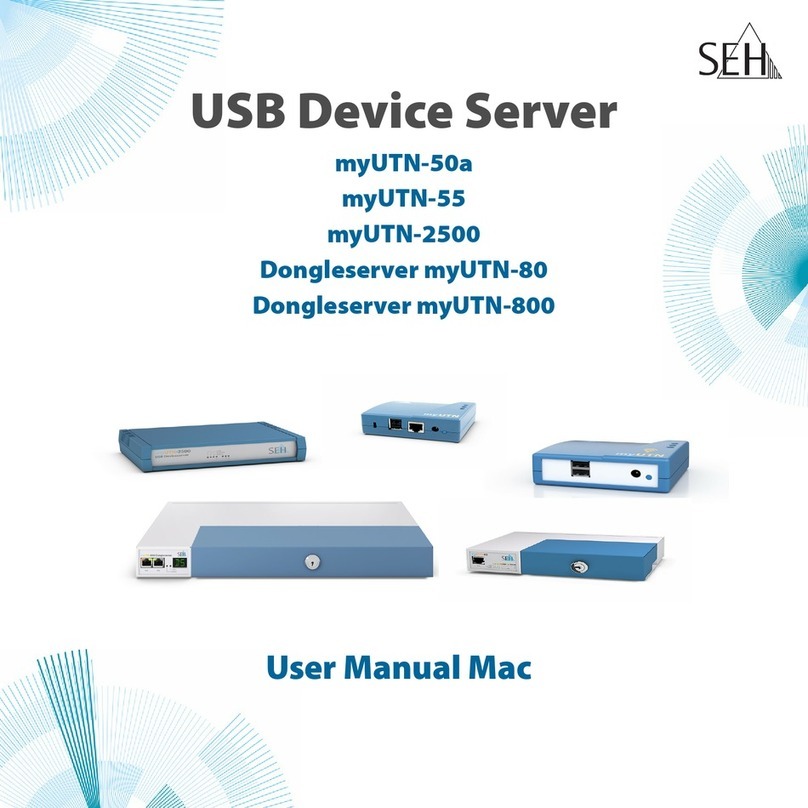
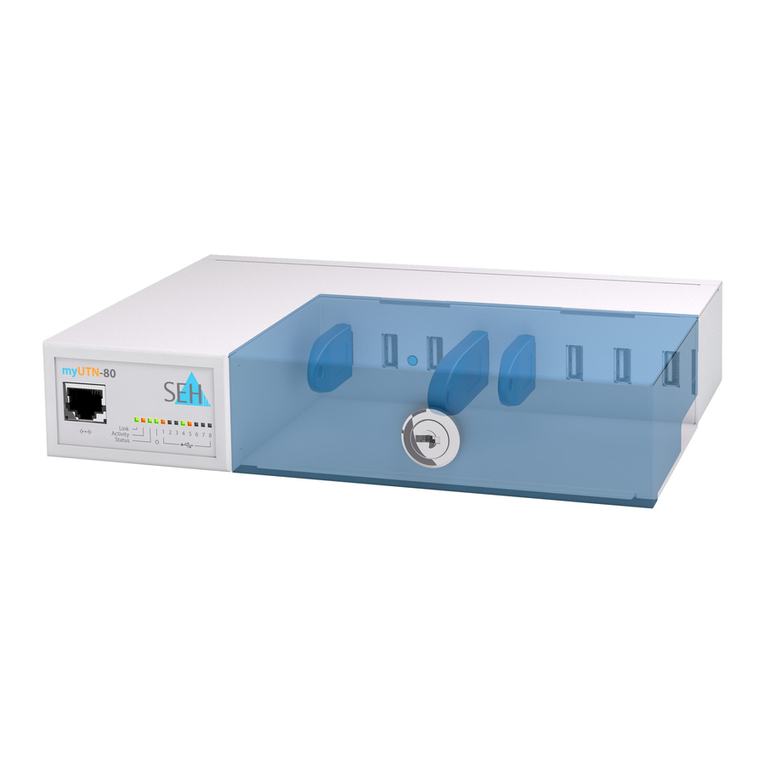
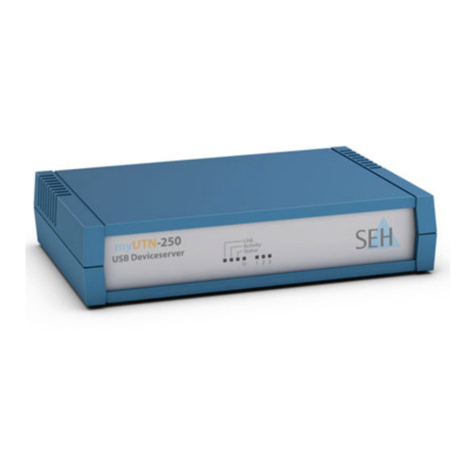
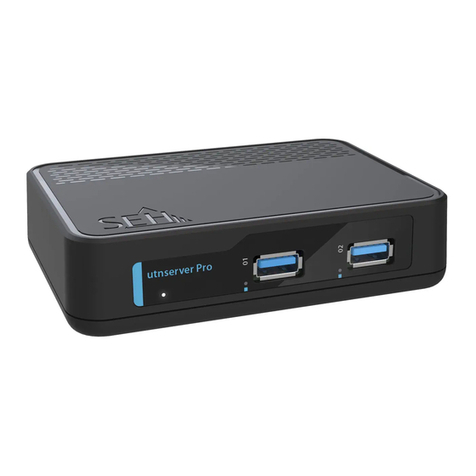
SEH myUTN-50a User manual

USB Deviceservers & USB Dongleservers
myUTN User Manual
Linux
USB Deviceservers
myUTN-50a, myUTN-55, myUTN-2500
USB Dongleservers
myUTN-80, myUTN-800

Manufacturer & Contact
Document
Type: User Manual
Title: myUTN User Manual Linux
Version: 4.0 | 2018-06
Legal Information
SEH Computertechnik GmbH has endeavored to ensure that the information in this documentation is correct. If
you detect any inaccuracies please inform us at the address indicated above. SEH Computertechnik GmbH will not
accept any liability for any error or omission. The information in this manual is subject to change without notifi-
cation.
The original manual is the German version of this document and shall govern. All non-German versions of this
document are translation of the original manual.
All rights are reserved. Copying, other reproduction, or translation without the prior written consent from SEH
Computertechnik GmbH is prohibited.
© 2018 SEH Computertechnik GmbH
All trademarks, registered trademarks, logos and product names are property of their respective owners.
SEH Computertechnik GmbH
Suedring 11
33647 Bielefeld
Germany
Phone: +49 (0)521 94226-29
Fax: +49 (0)521 94226-99
Support: +49 (0)521 94226-44
Email: [email protected]
Web: http://www.seh-technology.com

myUTN User Manual Linux
1 General Information........................................................................................ 1
1.1 Product ..............................................................................................................................................................................................1
1.2 Documentation ..............................................................................................................................................................................3
1.3 Support and Service......................................................................................................................................................................4
1.4 Your Safety .......................................................................................................................................................................................4
1.5 First Steps .........................................................................................................................................................................................5
2 Administration Methods................................................................................. 6
2.1 Administration via myUTN Control Center ..........................................................................................................................6
2.2 Administration via the SEH UTN Manager............................................................................................................................8
2.3 Administration via Email .......................................................................................................................................................... 14
3 Network Settings ........................................................................................... 16
3.1 How to Configure IPv4 Parameters......................................................................................................................................17
3.2 How to Configure IPv6 Parameters......................................................................................................................................18
3.3 How to Configure WLAN.......................................................................................................................................................... 19
3.4 How to Configure the DNS...................................................................................................................................................... 21
3.5 How to Configure SNMP .......................................................................................................................................................... 22
3.6 How to Configure Bonjour ...................................................................................................................................................... 23
3.7 How to Configure Email (POP3 and SMTP)........................................................................................................................ 23
3.8 How to Use the UTN Server in VLAN Environments (only myUTN-80 and later)................................................. 25
4 Device Settings .............................................................................................. 27
4.1 How to Configure the Device Time......................................................................................................................................27
4.2 How to Assign a Description................................................................................................................................................... 27
4.3 How to Assign a Name to a USB Port...................................................................................................................................28
4.4 How to Disable a USB Port (only myUTN-80 and later).................................................................................................28
4.5 How to Configure the UTN (SSL) Port..................................................................................................................................29
4.6 How to Get Messages (only myUTN-80 and later)..........................................................................................................29
4.7 How to Configure Acoustic Signals (myUTN-800 only) ................................................................................................ 30
4.8 How Do I Determine What is Shown in the Display? (myUTN-800 only)................................................................31
5 Working with the SEH UTN Manager ........................................................... 33
5.1 How to Find UTN Servers/USB Devices in the Network................................................................................................33
5.2 How to Establish a Connection to a USB Device .............................................................................................................35
5.3 How to Cut the Connection between the USB Device and the Client ....................................................................36
5.4 How to Request an Occupied USB Device......................................................................................................................... 36
5.5 How to Automate USB Device Connections and Program Starts .............................................................................36
5.6 How to Find Status Information on USB Ports and USB Devices...............................................................................38
5.7 How to Use the Selection List and Manage User Access Rights with It................................................................... 39
5.8 How to Use the SEH UTN Manager without Graphical User Interface (utnm)...................................................... 41
6 Security........................................................................................................... 45
6.1 How to Encrypt the USB Connection................................................................................................................................... 45
6.2 How to Encrypt the Connection to the myUTN Control Center ................................................................................ 47
6.3 How to Define the Encryption Strength for SSL/TLS Connections........................................................................... 47
6.4 How to Protect Access to the myUTN Control Center (User Accounts).................................................................. 49
6.5 How to Block Ports of the UTN Server (TCP Port Access Control) ............................................................................. 50
6.6 How to Control Access to USB Devices (only myUTN-80 and later)......................................................................... 51
6.7 How to Block USB Device Types............................................................................................................................................52
6.8 How to Use Certificates ............................................................................................................................................................52

myUTN User Manual Linux
6.9 How to Configure Network Authentication (IEEE 802.1X)...........................................................................................56
7 Maintenance .................................................................................................. 59
7.1 How to Restart the UTN Server ..............................................................................................................................................60
7.2 How to Update.............................................................................................................................................................................60
7.3 How to Backup Your Configuration .....................................................................................................................................60
7.4 How to Reset Parameters to their Default Values........................................................................................................... 62
8 Appendix ........................................................................................................ 63
8.1 Glossary .......................................................................................................................................................................................... 64
8.2 Troubleshooting .........................................................................................................................................................................65
8.3 Parameter Lists ............................................................................................................................................................................68
8.4 SEH UTN Manager – Feature Overview............................................................................................................................... 92
8.1 Index................................................................................................................................................................................................ 94

1
myUTN User Manual Linux General Information
1 General Information
• Product 1
• Documentation 3
• Support and Service 4
• Your Safety 4
• First Steps 5
1.1 Product
Purpose
UTN servers comprise USB Deviceservers and USB Dongleservers. As USB Deviceservers they make non-network-
ready USB devices (e.g. USB hard disk drives, USB printers, etc.) and as USB Dongleservers non-network-ready USB
dongles accessible via TCP/IP network. For this purpose, the USB devices respectively USB dongles will be con-
nected to the USB ports of the UTN server. Then the UTN (UTN = USB to Network) functionality and the corre-
sponding software tool 'SEH UTN Manager' establish a virtual USB connection between USB device respectively
USB dongle and client. The USB device respectively USB dongle can be used as if it were connected locally.
System Requirements
The UTN server has been designed for the use in TCP/IP networks.
The SEH UTN Manager runs on the following systems:
• Windows XP or later except for Windows Vista and Windows Server 2008
(For Windows 7 and Windows Server 2008 R2 KB3033929 http://technet.microsoft.com/en-us/library/security/3033929 must be in-
stalled.)
• OS X 10.8.x, OS X 10.9.x, OS X 10.10.x, OS X 10.11.2 and later, macOS 10.12.x and later
(OS X 10.11.2 and later: operating system induced limited USB device support. macOS 10.12.x and later: operating system induced lim-
ited USB device support.)
• Linux: *.deb (for Debian-based systems) and *.rpm (for Red Hat-based systems) installation packages are avail-
able for 64-bit systems. A successful installation cannot be guaranteed due to the multitude of Linux varieties!
The installation must be carried out on your own.
In the following 64-bit systems the installation was tested successfully:
Debian: Debian 8.10, Debian 9, Ubuntu 14.04, Ubuntu 16.04
Red Hat: CentOS 6.9, CentOS 7.4, Fedora 25, Fedora 26, openSUSE Leap 42.3, Oracle 6.9, Oracle 7.4, Red Hat
Enterprise Linux 7.4, SUSE Linux Enterprise 12.3
• IPv4 TCP/IP network
Important:
The Dongleservers myUTN-80 and myUTN-800 are exclusively designed for the de-
ployment of USB dongles.
Important:
Hereinafter USB dongles and USB devices are referred to as 'USB devices'.

2
myUTN User Manual Linux General Information
This document describes the usage in Linux environments. Information about the usage in other environments
can be found in the relevant system-specific User Manual. More details can be found in chapter ’Documentation’
3.
Combination with Associated Products
You can combine the UTN server with additional SEH Computertechnik GmbH products to ideally adapt the use
of your devices to your environment!
Serviceplus
For the Dongleservers myUTN-80 and myUTN-800 service contracts, the Serviceplus packages, are available. The
Serviceplus package extends the manufacturer's guarantee of a Dongleserver from 36 to 60 months. In addition,
you will receive quickly and easily an advance replacement device in case of a defect. Serviceplus packages must
be purchased separately.
Detailed information:
https://www.seh-technology.com/services/service-packages.html
Rack Mount Kits
For a perfect and safe storage of your Dongleserver we recommend the 'Rack Mount Kits' (RMK). With the instal-
lation kits, you can install the Dongleservers in 19" server racks.
Detailed information:
https://www.seh-technology.com/products/rack-mount-kits.html
Important:
The support of isochronous USB devices (e.g. cameras, microphones, speakers, etc.)
depends on
• the operating system:
- Windows
- Linux
• the UTN server model
(information can be found in the respective product information)
• the software version:
- firmware/software for UTN servers: 14.5.5 or later
- SEH UTN Manager: 3.1.4 or later

3
myUTN User Manual Linux General Information
1.2 Documentation
Please load all current documents from our Website:
http://www.seh-technology.com
Further applicable documents
Thee UTN documentation consists of the following documents:
Symbols and Legend
A variety of symbols and mark-ups are used within this document.
Quick Installation Guide Print, PDF Information on safety, technical data, instructions for
hardware installation and initial setup, and declarations
of conformity.
User Manual PDF Detailed description of the UTN server configuration and
administration. System-specific instructions for the fol-
lowing systems:
- Windows
- OS X/macOS
- Linux
Online help HTML Information on how to use the web interface 'myUTN
Control Center'.
(Embedded into web interface; no download.)
Product information Print, PDF Features and technical data
Brochures Print, PDF
Open source licenses online http://www.seh-technology.com/services/licenses.html
WARNING
Warning A warning contains important information that must be heeded. Non-
observance may lead to malfunctions.
Important:
Important information These notes contain crucial information for failure-free operation.
Requirement Requirements that must be met before you can begin the action.
• Numeration Listing
1. Numeration Step-by-step instructions
Result Outcome of a performed action
Tip Recommendations and beneficial advice
Reference (Within the document you can use hyperlinks.)
Bold Established terms (e.g. of buttons, menu items, or selection lists)
Courier Code (e.g. for command lines or scripts), Paths
'Proper names' Single quotation marks identify proper names

4
myUTN User Manual Linux General Information
1.3 Support and Service
SEH Computertechnik GmbH offers extensive Support. If you have any questions, please contact us.
All information and downloads regarding your product is available on our website:
1.4 Your Safety
Read and observe all safety regulations and warnings found in the documentation, on the device and on the pack-
aging. This will avoid potential misuse and prevent damages to people and devices.
Intended Use
The UTN server is used in TCP/IP networks and has been designed for use in office environments. It allows network
users to access non-network-ready USB devices.
Improper Use
All uses of the device that do not comply with the functionalities described in the myUTN documentation are re-
garded as improper uses.
Safety Regulations
Before starting the initial setup of the UTN server, read and observe the safety regulations in the 'Quick Installation
Guide'. This document is enclosed in the packaging in printed form.
Warnings
Read and observe all warnings mentioned in this document. Warnings are found before any instructions known
to be dangerous. They are presented as follows:
Liability and Guarantee
SEH Computertechnik GmbH will not accept any liability for personal injuries, property damages and consequen-
tial damages resulting from the non-observance of the mentioned safety regulations and warnings. Non-obser-
vance will also result in any guarantee claims becoming void.
Monday through Thursday
Friday
8:00 a.m. to 4:45 p.m.
8:00 a.m. to 15:15 p.m.
+49 (0)521 94226-44
suppor[email protected]
http://www.seh-technology.com
WARNING
Warning!

5
myUTN User Manual Linux General Information
Modifications to the Device and Repairs
It is not allowed to make modifications to the hardware and software or to try to repair the device. If your device
needs to be repaired, contact our support 4.
1.5 First Steps
1. Read and observe the security regulations in order to avoid damages to people and devices 4.
2. Install the hardware. The hardware installation includes connecting the UTN server to the network, USB devic-
es, and power grid ‘‘Quick Installation Guide‘.
3. Install the software. The software installation includes installing the required software tool 'SEH UTN Manager'
on your client and assigning an IP address ‘‘Quick Installation Guide‘.
4. Configure the UTN server so that it is optimally embedded it into your network and sufficiently protected. All
information on how to do this you will find in this document.
5. Use the SEH UTN Manager to establish and manage connections to the USB devices which are connected to
the UTN server 33.
You can find information on the UTN documentation in chapter
’Documentation’ 3.

6
myUTN User Manual Linux Administration Methods
2 Administration Methods
You can administer, configure and maintain the UTN server in a number of ways:
• Administration via myUTN Control Center 6
• Administration via the SEH UTN Manager 8
• Administration via Email 14
2.1 Administration via myUTN Control Center
The UTN server has a user interface, the myUTN Control Center which can be opened in an Internet browser (e.g.
Mozilla Firefox).
The UTN server can be configured, monitored and maintained via the myUTN Control Center.
• Open myUTN Control Center in Browser 6
• myUTN Open Control Center via SEH UTN Manager 6
• myUTN Open Control Center via InterCon-NetTool 6
• Controls 7
Open myUTN Control Center in Browser
The UTN server is connected to the network and the power grid.
The UTN server has a valid IP address 17.
1. Open your browser.
2. Enter the IP address of the UTN server as the URL.
The myUTN Control Center is displayed in the browser.
myUTN Open Control Center via SEH UTN Manager
The UTN server is connected to the network and the power grid.
The UTN server has a valid IP address 17.
The SEH UTN Manager is installed on the client 8.
1. Start the SEH UTN Manager.
2. In the selection list, select the UTN server.
3. In the menu bar, select UTN Server – Configure.
Your browser opens and the myUTN Control Center is displayed.
myUTN Open Control Center via InterCon-NetTool
1. Start the InterCon-NetTool.
2. In the device list, select the UTN server.
3. In the menu bar, select Actions – Launch Browser.
Your browser opens and the myUTN Control Center is displayed.
Important:
If the myUTN Control Center is not displayed, check if a gateway is configured (
17) and the proxy settings of your browser.

7
myUTN User Manual Linux Administration Methods
Controls
Figure 1: myUTN Control Center
1 Menu item After selecting a menu item (simple mouse click), the available submenu
items are displayed to the left.
2 Submenu items After selecting a submenu item, the corresponding page with its content
is displayed.
3 Page Menu content
4 Product & Company Manufacturer’s contact details and additional product information.
5 Sitemap Overview of and direct access to all pages of the myUTN Control Center.
6 Flags Language selection
7 ? icon Online help
1
3
54 6
2
7

8
myUTN User Manual Linux Administration Methods
2.2 Administration via the SEH UTN Manager
The 'SEH UTN Manager' is a software tool developed by SEH Computertechnik GmbH. The SEH UTN Manager is
used to establish and manage connections to the USB devices connected to the UTN servers.
• Features 8
• Versions 9
• Installation 10
• Program Start 13
Features
The software is installed on all clients that are meant to access a USB device in the network. After the SEH UTN
Manager is started, the network is scanned for connected UTN servers. All UTN servers found and their connected
USB devices are displayed in the 'network list'. To use the USB devices connected to the UTN server, you have to
add the UTN server to the 'selection list'. The devices shown in the selection list can be administrated and the con-
nected USB devices can be used. Working working with the SEH UTN Manager is described in detail in the chapter
’Working with the SEH UTN Manager’ 33.
Figure 2: SEH UTN Manager
WARNING
UTN (1) and the corresponding SEH UTN Manager only work in IPv4 networks.
In IPv6-only networks only the myUTN Control Center (6) can be accessed to
administrate the UTN server.
2 5
1
4
3

9
myUTN User Manual Linux Administration Methods
Detailed information on how to use the SEH UTN Manager can be found in the 'SEH UTN Manager Online
Help'. To start the online help, go to the SEH UTN Manager menu bar and select Help – Online Help.
Versions
The SEH UTN Manager is available in two versions:
• Complete Version:
SEH UTN Manager with graphical user interface (Figure 2 8) and additional features.
• Minimal version (without graphical user interface):
Usage only via command line ('utnm' 41) 36.
In both versions the 'SEH UTN Service' (Daemon) works in the background and is automatically active after the
system start.
Additionally, the following user groups are distinguished:
• users with administrative rights (administrator)
• users without administrative rights (standard user)
1 Menu bar Available menu items
2 Selection List Shows the selected UTN servers and the connected USB devices.
3 Buttons for editing the selec-
tion list
Opens the dialog for searching UTN servers in the network and for select-
ing the desired devices 33.
4 Buttons for managing the
port connection
Establishes a connection to the USB device connected to the USB port (
35) or interrupts the connection (36).
5 Display area for the proper-
ties
Shows information on the selected UTN server or USB device 38.
Important:
Some SEH UTN Manager features might not be displayed or are displayed as inac-
tive. This depends on
• the type and location of the selection list
• the user's rights and the group memberships on the client
• the client operating system
• the settings of the product-specific security mechanisms
• the status of the UTN server and respective USB port
More details can be found in chapter ’SEH UTN Manager – Feature Overview’
92.
Important:
The complete version is recommended for general use.
The minimal version is to be used by experts only!
Important:
Some features can only be configured by administrators. More details can be
found in chapter ’SEH UTN Manager – Feature Overview’ 92.

10
myUTN User Manual Linux Administration Methods
Installation
In order to use the SEH UTN Manager, the program must be installed on a computer with a Linux operating sys-
tem. The SEH UTN Manager installation file can be found on the SEH Computertechnik GmbH website:
http://www.seh-technology.com/services/downloads.html
The following installation packages are available for Linux systems (64-bit):
• *.deb (for 64-bit Debian-based systems)
• *.rpm (for 64 bit Red Hat-based systems)
The installation was successfully tested in the following 64-bit systems:
• Debian: Debian 8.10, Debian 9, Ubuntu 14.04, Ubuntu 16.04
• Red Hat: CentOS 6.9, CentOS 7.4, Fedora 25, Fedora 26, openSUSE Leap 42.3, Oracle 6.9, Oracle 7.4, Red Hat
Enterprise Linux 7.4, SUSE Linux Enterprise 12.3
Installation requirements:
deb: Linux kernel 2.6.32 or later, glibc 2.15 or later, OpenSSL 1.0.1 or later, DKMS (Dynamic Kernel Module Sup-
port)
rpm: Linux kernel 2.6.32 or later, glibc 2.12 or later, OpenSSL 1.0.1 or later, DKMS (Dynamic Kernel Module Sup-
port)
There are four installation packages:
1) driver
2) service (SEH UTN service/daemon)
3) clitool (command line interface tool 'utnm')
4) manager (graphical user interface)
The number of installed packages determines the version of the SEH UTN Manager:
package 1)-3): minimal version
package 1)–4): complete version
The installation of the files depends on the distribution. For more information, refer to the documentation of your
operating system.
WARNING
A successful installation cannot be guaranteed due to the multitude of Linux varieties!
The installation must be carried out on your own.
SEH Computertechnik GmbH provides installation support upon request for a fee
4.
Important:
Install the packages in the order given above to comply with their dependencies.
Important:
Installation must only be carried out by experienced users.

11
myUTN User Manual Linux Administration Methods
Some installation examples are given below.
• ’Installing the SEH UTN Manager in Ubuntu 16.04.x LTS (64-Bit) via Software Management’ 11
• ’Installing the SEH UTN Manager in Ubuntu 16.04.x LTS (64-Bit) via Terminal’ 11
• ’Installing the SEH UTN Manager in Red Hat Enterprise Linux Server (7.4)’ 12
Installing the SEH UTN Manager in Ubuntu 16.04.x LTS (64-Bit) via Software Management
Linux kernel 2.6.32 or later
glibc 2.15 or later
OpenSSL 1.0.1 or later
DKMS (Dynamic Kernel Module Support) is installed on the client.
The user used can gain root privileges via the command sudo.
1. Start installation package no. 1.
The Ubuntu Software appears.
2. Click Install.
A password prompt appears.
3. Authenticate yourself with your password.
The package will be installed on your client.
4. Repeat steps 1 through 3 with the remaining packages.
5. The user from the account used for installation can automatically use the SEH UTN Manager on the client. If
further users are to use the SEH UTN Manager, you must add them to the group 'utnusers'. To do this, open a
Terminal and enter the command:
sudo usermod -aG utnusers <user name>
6. Logout and login again so that the group changes take effect.
The SEH UTN Manager is installed on your client. Check the installation by starting the SEH UTN Manager (
13) and activating a connection to the USB port including the connected USB device. All information on this
can be found in chapter ’Working with the SEH UTN Manager’ 33.
Installing the SEH UTN Manager in Ubuntu 16.04.x LTS (64-Bit) via Terminal
Linux kernel 2.6.32 or later
glibc 2.15 or later
OpenSSL 1.0.1 or later
DKMS (Dynamic Kernel Module Support) is installed on the client.
The user used can gain root privileges via the command sudo.
1. Open a Terminal.
2. Install the headers for your kernel:
sudo apt-get install linux-headers-`uname -r`
3. Verify, that the version numbers of kernel and headers match exactly:
Important:
Knowledge Base articles with further installation information for Linux (e.g. instal-
lation of DKMS and the UEFI Secure Boot problem) are available at the SEH Com-
putertechnik GmbH website:
https://www.seh-technology.com/services/knowledgebase.html

12
myUTN User Manual Linux Administration Methods
Kernel: uname -r
Header: sudo apt list --installed | grep linux-headers
4. Change to the directory containing the SEH UTN Manager packages:
cd <dirctory>
5. Install the desired SEH UTN Manager packages:
sudo dpkg -i <full package name>
6. The user from the account used for installation can automatically use the SEH UTN Manager on the client. If
further users are to use the SEH UTN Manager, you must add them to the group 'utnusers':
sudo usermod -aG utnusers <user name>
7. Logout and login again so that the group changes take effect.
The SEH UTN Manager is installed on your client. Check the installation by starting the SEH UTN Manager (
13) and activating a connection to the USB port including the connected USB device. All information on this
can be found in chapter ’Working with the SEH UTN Manager’ 33.
Installing the SEH UTN Manager in Red Hat Enterprise Linux Server (7.4)
Linux kernel 2.6.32 or later
glibc 2.12 or later
OpenSSL 1.0.1 or later
DKMS (Dynamic Kernel Module Support) is installed on the client.
The user used can gain root privileges via the command sudo.
1. Open a Terminal.
2. Install the headers for your kernel:
sudo yum install kernel-devel-`uname -r`
3. Verify, that the version numbers of kernel and headers match exactly:
Kernel: uname -r
Header: sudo yum list | grep kernel-headers
4. Change to the directory containing the SEH UTN Manager packages:
cd <dirctory>
5. Install the desired SEH UTN Manager packages:
sudo yum install <full package name>
6. The user from the account used for installation can automatically use the SEH UTN Manager on the client. If
further users are to use the SEH UTN Manager, you must add them to the group 'utnusers':
sudo usermod -aG utnusers <user name>
7. Logout and login again so that the group changes take effect.
The SEH UTN Manager is installed on your client. Check the installation by starting the SEH UTN Manager (
13) and activating a connection to the USB port including the connected USB device. All information on this
can be found in chapter ’Defining Search Parameters’ 33.
WARNING
The version numbers must be identical. Otherwise, the SEH UTN Manager pack-
ages cannot be installed correctly.
If kernel and headers do not match, you must create a match on your own.
WARNING
The version numbers must be identical. Otherwise, the SEH UTN Manager pack-
ages cannot be installed.
If kernel and headers do not match, you must create a match on your own.

13
myUTN User Manual Linux Administration Methods
Program Start
To start the SEH UTN Manager, go to the launcher and call 'UTN Manager' via Dash (search) or go to Terminal an
run the command utnmanager.
Update
You can check for program updated manually and automatically. More information can be found in the 'SEH
UTN Manager Online Help'.

14
myUTN User Manual Linux Administration Methods
2.3 Administration via Email
You can administrate the UTN server via email and thus from any computer Internet access (remote access):
• Get UTN server status
• Set UTN server parameters
• UTN server update
To do so, you write commands into the email message header Table 1 14.
Table 1: Commands and comment:
The following applies to the instructions:
• not case-sensitive
• one or more space characters are allowed
• max. length is 128 byte
• only the ASCII format can be read.
In addition, a TAN is needed to execute updates or parameter changes. To begin with, you have to get a status
page via email (Table 1 14) because it contains the TAN. You enter the received TAN into the email message
body. A space character must follow.
A DNS server is configured on the UTN server 21.
In order to receive emails, the UTN server must be set up as user with its own email address on a POP3 server.
POP3 and SMTP parameters have been configured on the UTN server 23.
1. Open an email program.
2. Write a new email:
- As recipient enter the UTN server address.
- Into the subject line enter an instruction. cmd: <command> [<comment>]
Commands and comment: Table 1 14.
- Into the email message body enter a TAN, if applicable.
3. Send the email.
The UTN server receives the email and carries out the instruction.
Commands Option Description
<Command> get status You get the UTN server status page.
get parameters You get the UTN server parameter list.
set parameters Sends one or more parameters to the UTN server which will then
be adopted by the UTN server.
Write the parameters and their values into the email message
body: <parameter> = <value>
The syntax and values can be found in the parameter lists 68.
update utn Carries out an automatic update using the software that is
attached to the mail.
help You get a page with information on remote maintenance.
[<Comment>] Freely definable text for descriptions.

15
myUTN User Manual Linux Administration Methods
Examples
You want to get the UTN server parameter list:
Subject: cmd: get parameters
You want to set the 'configuration' parameter:
Subject: cmd: set parameters
Email message body: TAN = nUn47ir79Ajs7QKE
sys_descr = <Your description>

16
myUTN User Manual Linux Network Settings
3 Network Settings
To optimally embed your UTN server into your network, you can configure the following settings:
• How to Configure IPv4 Parameters 17
• How to Configure IPv6 Parameters 18
• How to Configure WLAN 19
• How to Configure the DNS 21
• How to Configure SNMP 22
• How to Configure Bonjour 23
• How to Configure Email (POP3 and SMTP) 23
• How to Use the UTN Server in VLAN Environments (only myUTN-80 and later) 25
Other manuals for myUTN-50a
5
This manual suits for next models
4
Table of contents
Other SEH Server manuals

SEH
SEH Mac OS 8 User manual

SEH
SEH INU-100 Manual

SEH
SEH INU-100 User manual

SEH
SEH myUTN utnserver Pro User manual

SEH
SEH Dongleserver myUTN-800 User manual

SEH
SEH ProMAX User manual

SEH
SEH myUTN-50a User manual

SEH
SEH Dongleserver myUTN-800 User manual

SEH
SEH myUTN-50 User manual

SEH
SEH myUTN-250 User manual
Popular Server manuals by other brands

Digital Equipment
Digital Equipment DECserver 90TL owner's manual

Dell
Dell XC730xd Getting Started With Your System

Supero
Supero SUPERO SUPERSERVER SYS-6026T-6RFTplus user manual

ICP DAS USA
ICP DAS USA tDS-700 Series quick start

Lenovo
Lenovo ThinkServer TD100 Benutzerhandbuch

American Megatrends
American Megatrends StorTrends 1100-P user guide