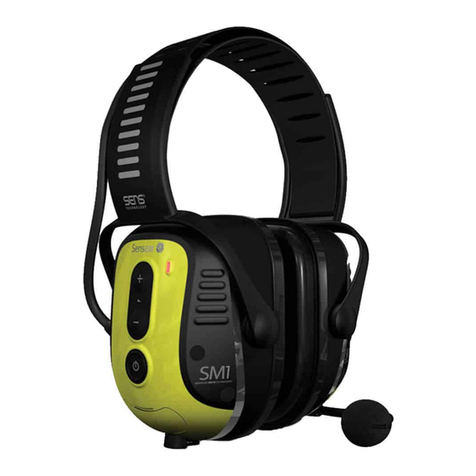
Sensear SM1P User manual

MANUAL
ENGLISH

DOC00078 SM1P Manual rev 01.3
2
En
glis
h
INTRODUCTION
The SM1P is a state of the art hearing protection communication
system that allows you to retain situational awareness whilst
remaining in full contact with your team via Short Range
technology, as well as two-way radio or cellular device via
Bluetooth®or wired connection.
Situational awareness is provided by processing technology
and environmental microphones mounted within the headset.
Contact through two-way radios is enabled by the SRCK61XX*
cable assembly available separately. Cable numbers vary
depending on the two-way radio model. Please consult with the
website for more information.
*SRCK61XX part numbers vary depending on the radio connector.
Consult your supplier for the appropriate cable.
For language translated manuals and further information, please
refer to the website.

DOC00078 SM1P Manual rev 01.3
3
English
En
glis
h
HEADSET ANATOMY

DOC00078 SM1P Manual rev 01.3
4
En
glis
h
FIGURE 1
#
Description
1.1
Volume up button
1.2
Volume down button
1.3
Power button
1.4
Hatch cover, for programming and charging
1.5
Multi-function button (MFB)
1.6
Headband*
1.7
Ear cushions
1.8
Microphones
1.9
Headset cable
1.10
Headset connector
1.11
Boom microphone
Mount - M5 Hex screw
Connector - 2.5mm Audio jack
1.12
Inline PTT
1.13
Inline PTT button
1.14
Two-way radio connector (note, these will vary depending
on your two-way radio)
1.15
SRCK61XX cable assembly
1.16
To the two-way radio
1.17
LED light (one on each side of headset)

DOC00078 SM1P Manual rev 01.3
5
English
En
glis
h
WEARING THE HEADSET
FIGURE 2
#
Description
2.1
Headset
2.2
Boom microphone
2.3
Inline PTT
2.4
Two-way radio

DOC00078 SM1P Manual rev 01.3
6
En
glis
h
WEARING THE HEADSET
The SM1P headset is designed to be worn with the headset sealing
around the ears. Specific examples of how to fit the headset around
the ears are covered in the next three pages. The fit does alter
slightly depending on what style of brace is used - headband,
behind the neck or mounted to a helmet directly.
The boom microphone should be placed approximately 5mm (1/4”)
in front of the mouth. Check to ensure the white dot or microphone
label is facing towards you. The orientation is essential as the
microphone is directional. If the microphone faces a different
direction, this may lead to a reduction in transmission quality.
The inline PTT has a rotatable clip behind it to allow it to attach to
the shirt / upper garment.
The inline PTT must be connected to the two-way radio using the
multi-pin connector.
FITTING THE HEADSET
It is recommended that the wearer should ensure that;
The ear muffs are fitted, adjusted and maintained in
accordance with the manufacturer’s instructions
The ear muffs are worn at all times in high noise conditions
If the above recommendations are not adhered to, the protection
afforded by the ear muffs will be severely impaired.

DOC00078 SM1P Manual rev 01.3
7
English
En
glis
h
BEHIND THE NECK MOUNT FITTING
INSTRUCTIONS
#
Description
3.1
Adjust velcro strap so that the ear muff cups completely
enclose the ears.
3.2
The ear muff cushions should seal firmly against the head.
3.3
For best results, remove all hair from under the ear cushion.
3.4
Noise reduction will be adversely affected by anything that
breaks the seal of the ear muff ear cushions.

DOC00078 SM1P Manual rev 01.3
8
En
glis
h
HEADBAND MOUNT FITTING INSTRUCTIONS
#
Description
4.1
Adjust the headband by pulling the centre band out equally on
both sides.
4.2
Ensure no hair is inside the muff ear cushions.
4.3
Fit the ear muffs over the ears ensuring a tight fit around the
ears.
4.4
Ensure the muff completely surrounds the ears.
4.5
Press down on the headband to obtain a snug and comfortable
fit.

DOC00078 SM1P Manual rev 01.3
9
English
En
glis
h
HELMET MOUNT FITTING INSTRUCTIONS
#
Description
5.1
Attach the adaptors to each side of the helmet by sliding them into the
slots.
5.2
Attach the earmuffs by sliding into the adaptors.
5.3
Ensure the earmuff is firmly attached by lifting the arm up and down.
5.4
Place the helmet on the head and adjust by sliding the ear muffs up and
down.
5.5
Earmuffs should seal firmly against the head. For best results, remove
hair from under the ear muffs.
5.6
Three adhesive mounts and ties are included to secure the ear muff
cable to the helmet. The mounts should be evenly spaced around the
rear outside of the helmet. Fit the tie through the mount. The cable
should feed through each tie and secured in place.

DOC00078 SM1P Manual rev 01.3
10
En
glis
h
OPERATING THE HEADSET
POWER ON:
1. Press and release the “Power” button shown in Figure 1.
2. All the LEDs will turn on briefly, & an audible sound will be heard
through the headset.
3. The Green LED will flash at a normal rate as described below.
POWER OFF:
1. Press and hold the “Power” button for 2 seconds.
2. All the LEDs will turn on briefly and an audible sound will be
heard through the headset as the headset powers off.
MODE:
When the headset is powered up, the unit is set into ‘
mode’**. By pressing the power button, this toggles ‘ mode’.
‘mode’ allows full situational awareness of your surroundings
in addition to two-way radio communications.
The power button toggles between Quiet mode
and mode
The volume control buttons can be used to raise or lower
the audio level of the mode.
**The default mode on power up can be programmed
using the Sensear app.
QUIET MODE:
By pressing the power button, this toggles ‘Quiet mode’. Quiet
mode only allows two-way radio communications to pass through
the headset.
mode
Green LED, blink twice every 4 seconds

DOC00078 SM1P Manual rev 01.3
11
English
En
glis
h
Quiet mode
Green LED, blink once every 4 seconds
COMMUNICATING
COMMUNICATING OVER TWO-WAY RADIO:
To transmit over the two-way radio:
Press and hold the button located on the inline PTT.
Release the inline PTT button to cease transmission.
To change the volume of the two-way radio
communications, use the two-way radio’s volume controls
Notes:
When the headset is powered off (and disconnected from
the inline PTT), the inline PTT button may not activate the
two-way radio. The PTT located on the two-way radio
should be used.
When the headset is powered on, the two-way radio PTT
may not activate the two-way radio
COMMUNICATING OVER SHORT-RANGE:
+ (short press) together to toggle Short Range on / off.
When on:
Short Range PTT

DOC00078 SM1P Manual rev 01.3
12
En
glis
h
/ (long)
Increment/decrement preset frequency bank
Short Range region:
Region
EIRP (uW)
Standards
FM frequency range
(MHz)
1
8.02
AS/NZS 4268
88.1 –107.9
2
0.048
EN301357-1
88.1 –107.9
3
0.012
FCC-15.239
88.1 –97.0
Enter Short Range setup mode:
The Short Range region and/or frequency can be reprogrammed
via the headset (as an alternative to using a programming tablet).
Note, the headset can be configured to have the region and/or
frequency headset setup options locked out.
1. Headset is powered off
2. Hold Volume Up button
3. While holding Volume Up, Press & release Power button
4. Will hear “short range FM region”
5. Release Volume Up button.
(short)
Cycle between “short range FM region” and
“short range FM frequency”

DOC00078 SM1P Manual rev 01.3
13
English
En
glis
h
(long)
Power off the headset
Changing regions: Ensure you hear “short range FM region”.
/ (short)
Change region:
Increment/decrement through regions
1, 2 or 3.
Changing frequencies: Ensure you hear “short range FM
frequency”.
/ (short)
Change frequency:
up = increment 0.1MHz,
down = decrement 0.1MHz
/ (long)
Change bank:
up = increment bank,
down = decrement bank
Note, frequency range is 88.1MHz to 107.9MHz (97.0 MHz for
region 3).
Exit Short Range setup:
1. press and hold Power button to shutdown headset

DOC00078 SM1P Manual rev 01.3
14
En
glis
h
2. press the power button to start up in normal mode to start
using headset.
Note, the frequency/bank last selected in the setup mode will
be the frequency/bank used when Short Range is turned on.
COMMUNICATING OVER BLUETOOTH®:
First time pairing: Press and hold the multi-function button (MFB)
to put the headset into pairing mode. “Bluetooth®discoverable”
when pairing mode is entered. Will hear a connection tone if
connection successful. Pairing mode times out after 2 minutes.
Reconnect: When powered on the headset will try to reconnect to
the last paired device. Alternatively, if the headset is not currently
paired to another device, prompt the reconnection from a device
(e.g. mobile phone that has the headset stored in its device list).
Incoming call
Answer call:
a. From handset
b. Press and release MFB
Reject call:
a. From handset
b. Press and hold Multi-function button
During call
End call:
a. From handset
b. Press and hold Multi-function button
c. Call hung up on the far end
Two-way radio Bluetooth®: To transmit, use the radio’s PTT. For
some select device, MFB will perform as a Bluetooth®PTT (if short
range off).
Contact Sensear representative for compatible devices.

DOC00078 SM1P Manual rev 01.3
15
English
En
glis
h
Bluetooth®Audio streaming: Audio streaming can only be used
in Quiet mode. Streamed audio will be mute in mode.
This is often used for streaming music but industrial use cases
include Bluetooth®machine health analyzers.
Blue LED Indicator:
Solid
Paring mode
Blinking slowly
Paired
Blinking fast
Incoming phone call
MAINTENANCE AND STORAGE
This product may be adversely affected by certain chemical
substances. Further information should be sought from the
manufacturer.
The headset contains replaceable cushions (Part #: SMHK0000).
Cushions are recommended to be replaced every 3-6 months to
maintain the appropriate hearing protection that the product is
certified to. Cushions should be inspected regularly for signs of
damage or wear. Cushions can be removed simply by gripping the
cushion and pulling firmly to unclip from the baseplate.
Replacement cushions may be pushed into the clips around the
baseplate.
The headset should be stored at room temperature (between
15°C/59°F and 25°C/77°F).
ACCESSORIES AND SPARE PARTS
The following accessories and spare parts may be ordered
separately:

DOC00078 SM1P Manual rev 01.3
16
En
glis
h
SRCK61xx
Various models, two-way radio interface cables for
most popular two way radios.
SMHK0000
Ear muff hygiene kits
SMBE0000
Behind-the-neck replacement band
SMBB0000
Headband replacement band
SMHA0001
SM1 Helmet Adaptor –MSA Vguard
SMHA0002
SM1 Helmet Adaptor –Protector Allsafe
SMHA0003
SM1 Helmet Adaptor –Protector Tuffmaster
SMHA0004
SM1 Helmet Adaptor –Unisafe Unilite
SMBM0001
Replacement boom microphone
SMAP0001
Cooling Pads
Further information may be obtained from your Sensear
representative, via the Sensear web site, or by emailing or writing to
the address on this User Manual.
CHARGING
The Sensear SM1P headset is supplied with an AC adapter that
operates globally when fitted with the appropriate electrical regional
adapter.
To charge the headset, follow the steps below:
1. Plug the Sensear AC adapter into an appropriate power
outlet.
2. Insert the cable end of the Sensear AC adapter into the
DC power socket on the SM1P headset.
3. The LEDs will flash as indicated below:

DOC00078 SM1P Manual rev 01.3
17
English
En
glis
h
Red LED blink twice every 5 seconds
Battery low (< 1 hour left)
Red LED solid
Charging
Green LED solid
Charge complete
Notes on Battery and Charging:
Over 24 hours of battery life when fully charged.
Up to 7 hours for complete recharge.
DECLARATION OF CONFORMITY
We, the undersigned,
Company
Sensear Pty Ltd
Address
199 Great Eastern Highway, Belmont, WA,
6104
Country
Australia
Telephone
+61 8 9277 7332

DOC00078 SM1P Manual rev 01.3
18
En
glis
h
Number
Fax Number
+61 8 9277 7338
Web
http://www.sensear.com
Email
info@sensear.com
Declare that:
Model SM1P in accordance with the following directives:
89/686/EEC
2014/53/EU
2006/95/EC
2004/108/EC
2006/42/EC
Has been designed and manufactured to the following
specifications:
ETSI EN 352-1, EN352-3, EN352-4 and EN 352-6
ETSI EN 301 489
EN 55022
EN 60950
Other manuals for SM1P
5
Table of contents
Other Sensear Headset manuals

Sensear
Sensear SM1P Ex Manual
Sensear
Sensear SM1P-Ex User manual
Sensear
Sensear SmartGroup User manual

Sensear
Sensear SM1P Ex User manual

Sensear
Sensear SMART EARMUFF User manual
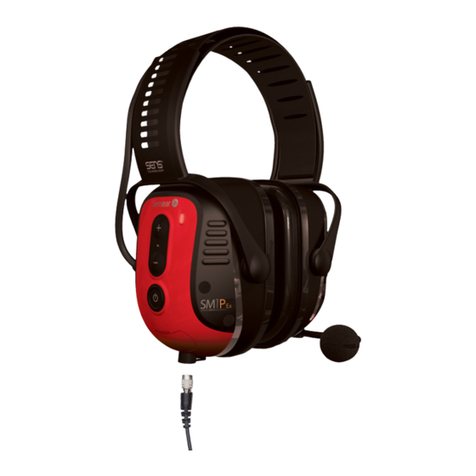
Sensear
Sensear SM1P Ex User manual

Sensear
Sensear SM1P02 Ex User manual

Sensear
Sensear sp1r User manual

Sensear
Sensear SM1P User manual

Sensear
Sensear SM1P Owner's manual
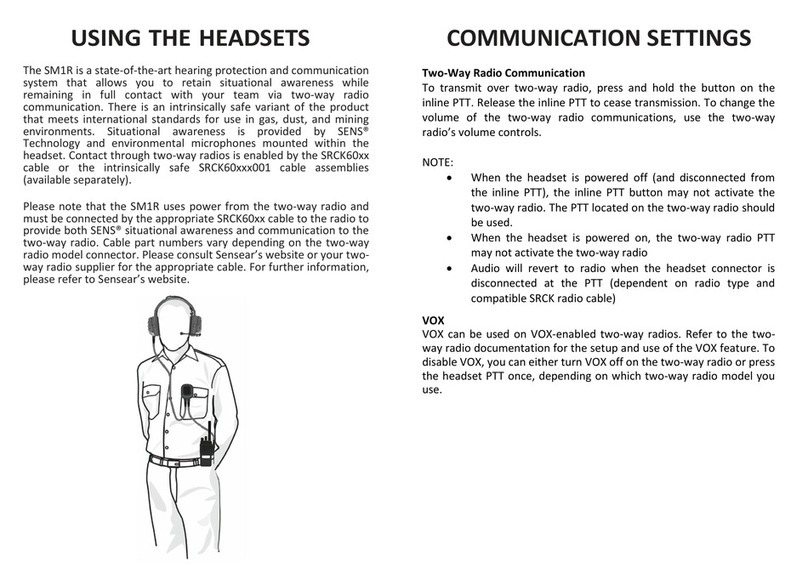
Sensear
Sensear SM1R User manual
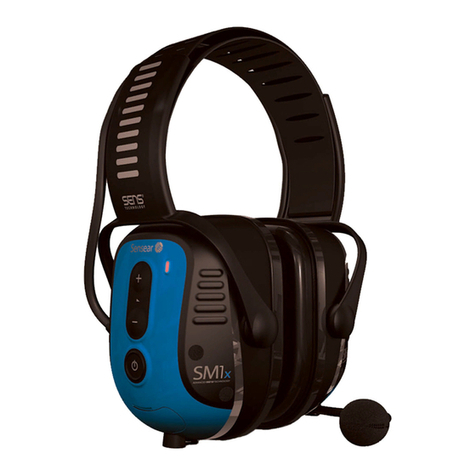
Sensear
Sensear SM1xSR User manual
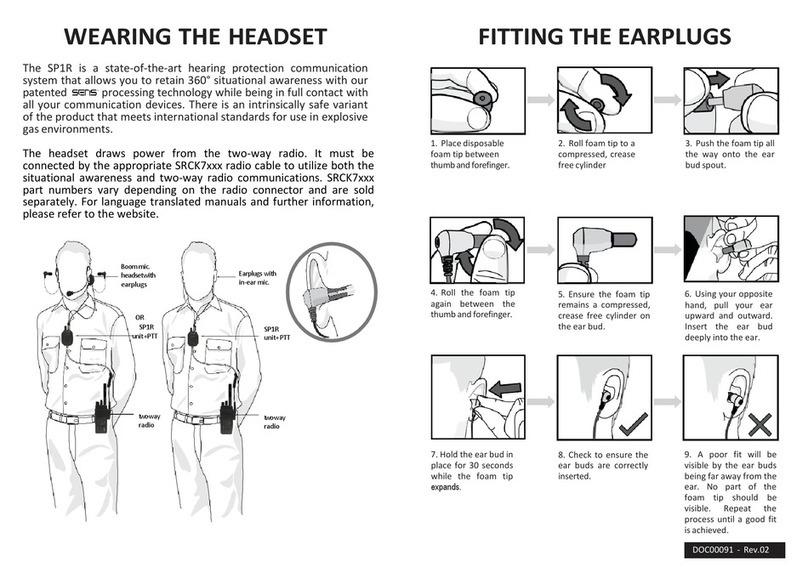
Sensear
Sensear sp1r User manual

Sensear
Sensear SM1R User manual

Sensear
Sensear SM1P-Ex Manual
Sensear
Sensear SM1R Manual
Sensear
Sensear SM1P User manual
Sensear
Sensear SM1R User manual
Sensear
Sensear smartPlug SMPLUG Owner's manual

Sensear
Sensear SM1R User manual
