Remote control battery installation
TINSEA348AWZZ
MODEL
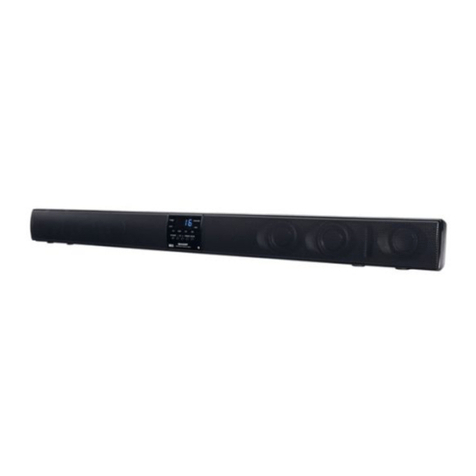
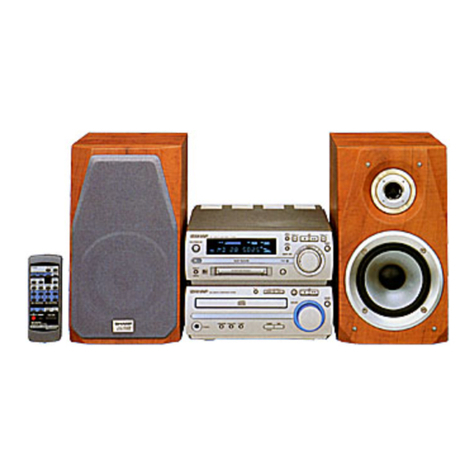
HT-SB32D
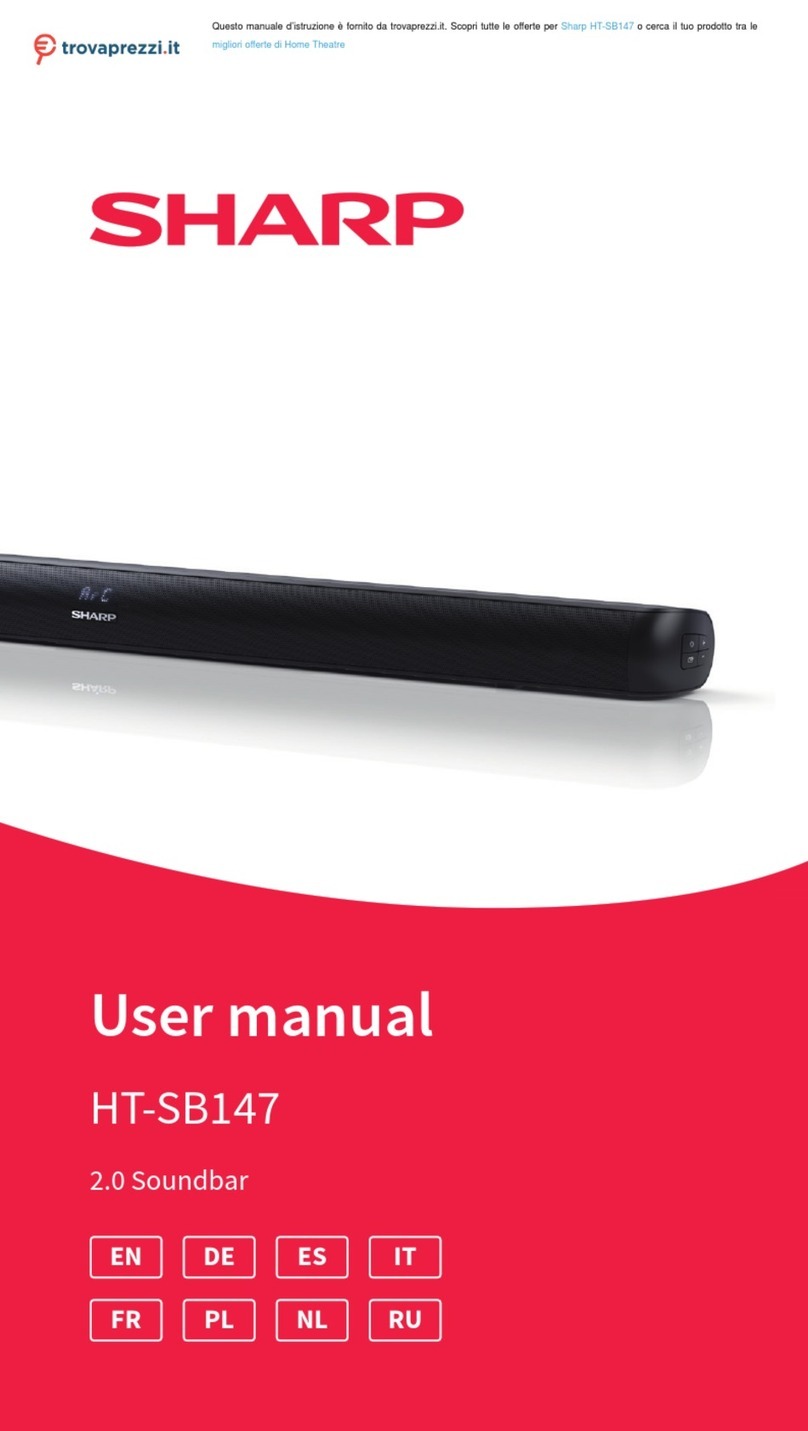
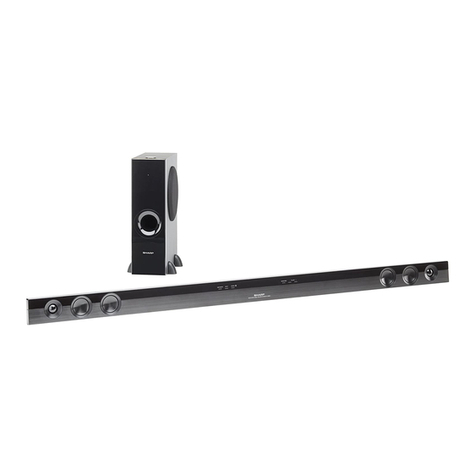
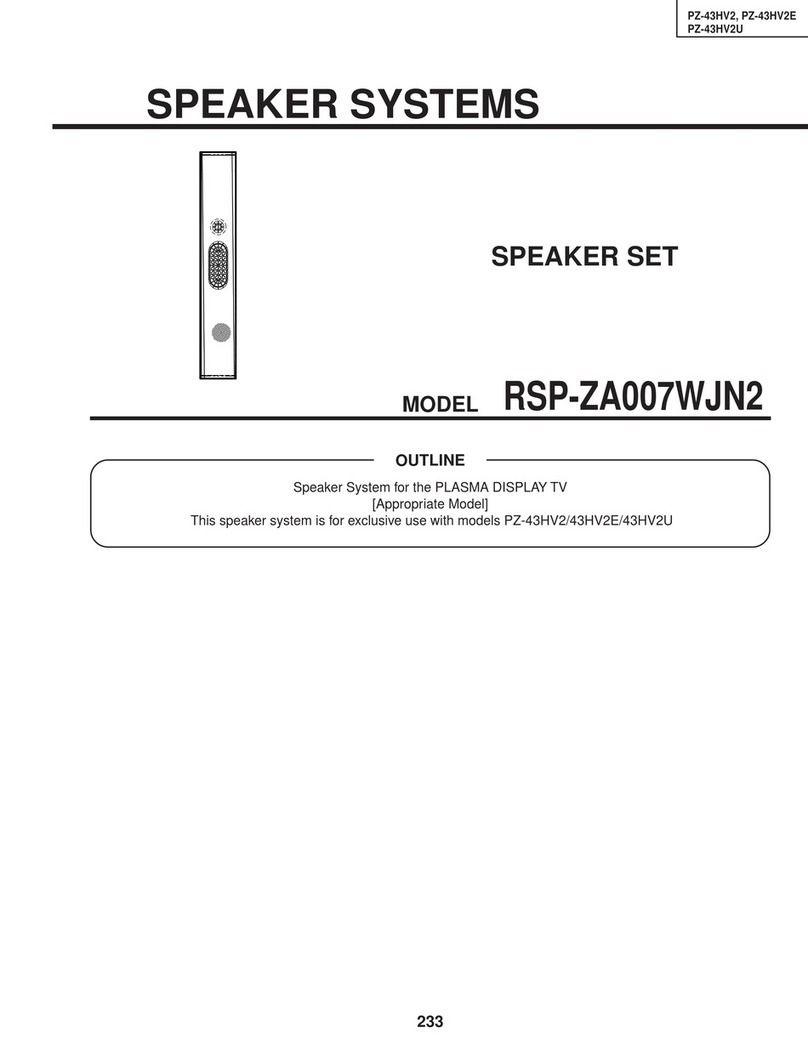
SOUND BAR HOME THEATRE SYSTEM
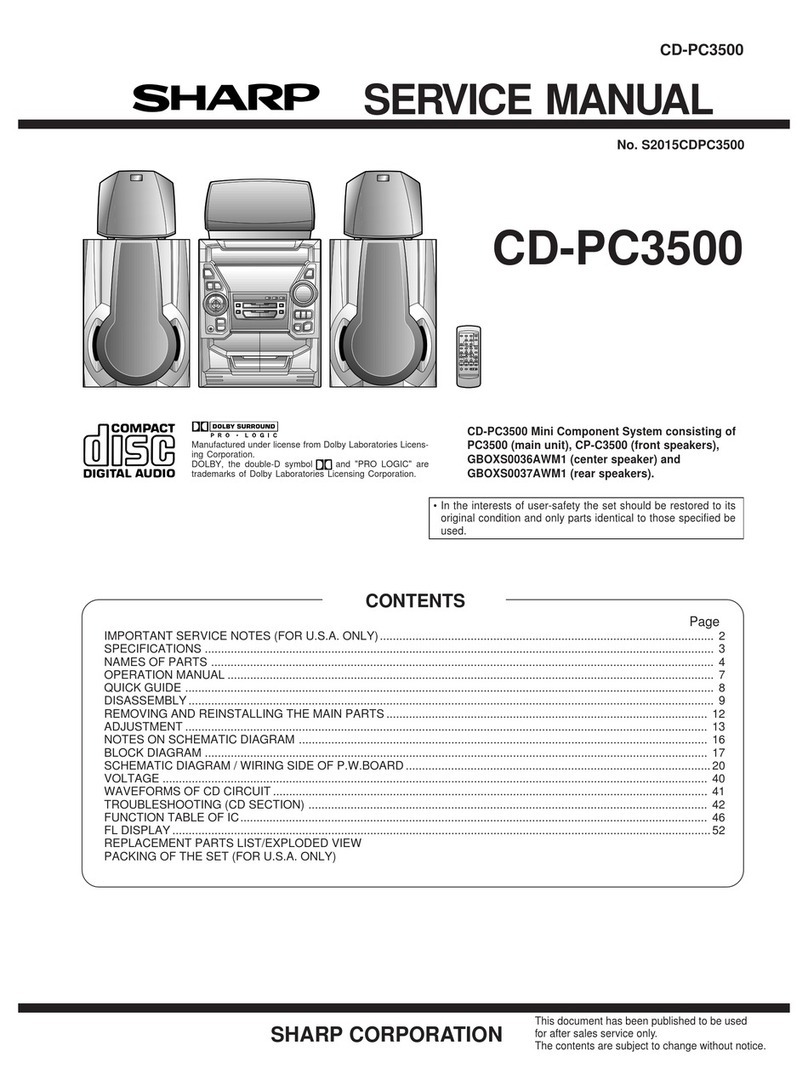
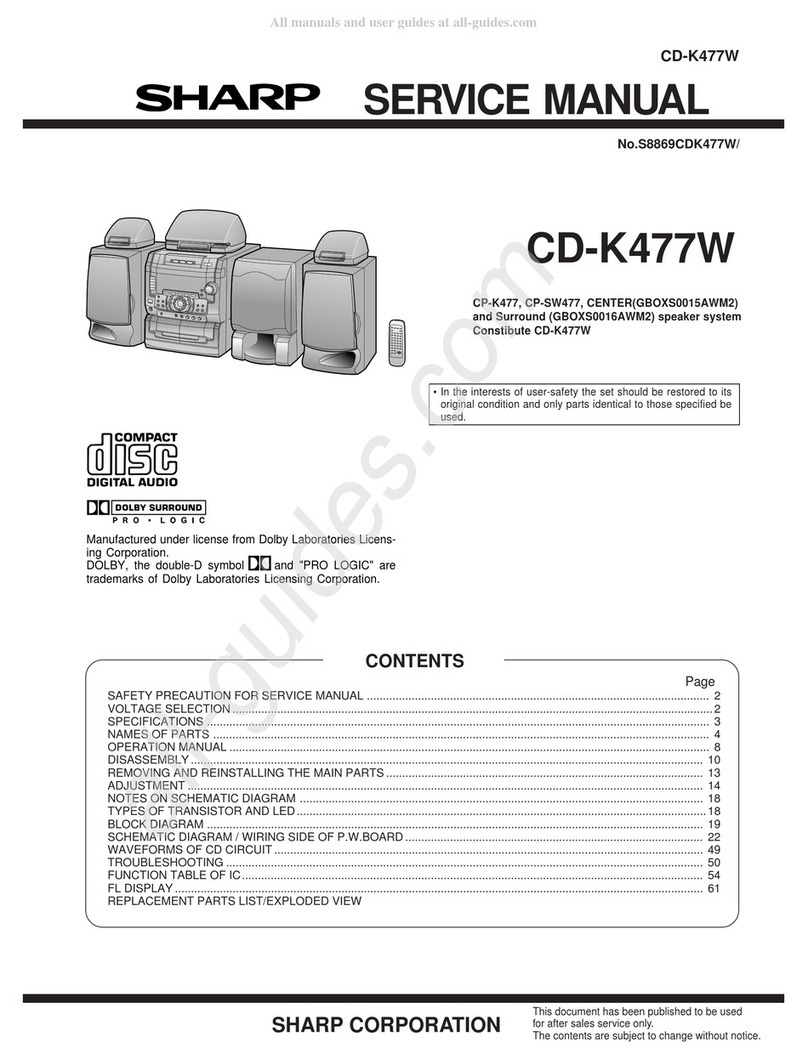
This Quick Start Guide will help you to correctly install and operate your system.
Remote control × 1 RCA cable
(2 pins - 2 pins) × 1
AC power lead × 1 Foot cushion × 4
AC/DC adaptor × 1 Wall mount angle × 2
Nut
(Spike + Nut) × 4
(Length: 25 mm) Pattern paper × 1
Accessories
Turn on your system
Before using remote control
Before using remote control, please remove plastic
shield at battery holder.
Battery holder
Plastic shield
Remote control
1Press the ON/STAND-BY button.
The sound mode indicator and display light up. If the
power does not turn on, check whether the power
cord is plugged in properly.
2To set the unit to stand-by mode:
Press the ON/STAND-BY button again.
The STAND-BY indicator turns red.
Polarity (+) symbol
Printed in Malaysia
11A R AS 1
1Insert pin into the hole as shown and pull to open the
battery holder.
Battery holder
Locking tab
Battery type
Positive (+) side up
2Remove the old battery from the battery holder,
insert the new battery and then slide the battery
holder back into the remote control.
Back of remote
control
Pin
HT-SB250W250BK (QG).indd 1 12/29/2010 5:07:22 PM
Accessories
MUTE
ON/
STAND-BY
MUSICCINEMA NEWS
SURROUND
BYPASS INPUT
TV
CHVOL
VOL
RRMCGA322AWSA
SOUNDMODE
Remote control x 1 AC/DC adaptor x 1
(RADPA100AWZZ)
Optical cable x 1 Pattern paper x 1
Velcro tape (hook type) x 1 Velcro tape (loop type) x 2
HT-SB32D
AC power lead x 1 NFC tag x 1
Spike leg x 2
Before using remote control
Before using the remote control, remove the
plastic shield from the battery holder.
Remote control Plastic shield
Battery holder
Turn on your system
Press the ON/STANDBY button.
The On/Standby/Input indicator lights up according to input
source:
Input source On/Standby/Input
indicator
OPTICAL IN Turns green
AUDIO IN Turns cyan
Bluetooth Turns blue
Note:
If the power does not turn on, check whether the power lead is
plugged in properly.
To set the sound bar to standby mode:
Press the ON/STANDBY button again. The PAIRING indicator
turns BLUE.
AC power connection
1Plug the AC power lead into the AC/DC
adaptor.
2Plug the AC/DC adaptor cable into the DC
INPUT socket on the sound bar.
3Plug the AC power lead into a wall socket. The
PAIRING indicator turns BLUE.
14G R AS 1
TINSEA474AWZZ
http://www.barcodesoft.com
Barcode Symbology: Code 93; Font Facename: Code93
Data To Encode: TINSEA474AWZZ
Point Size 8 : *TINSEA474AWZZI3*|
Point Size 10 : *TINSEA474AWZZI3*|
Point Size 12 : *TINSEA474AWZZI3*|
Point Size 14 : *TINSEA474AWZZI3*|
Make sure to unplug the AC power lead before
making any connections.
2
1
AC/DC Adaptor
Cable
DC IN socket
(DC 19V)
AC power lead
AC/DC Adaptor
(AC 100 - 240 V ~ 50/60 Hz)
Wall socket
HTSB32_QG.indd 1 2014-07-07 08:56:37
