Shuttle AK32A User manual

AK32A
SocketA
AMD Athlon/Duron Processor
Based DDR/SDR Main Board
User's Manual

Shuttle®
AK32A
SocketA
AMD Athlon/Duron Processor
based DDR/SDR Mainboard
Manual Version 1.0
Copyright
Copyright©
2002 by Shuttle®
Inc. All Rights Reserved.
No part of this publication may be reproduced, transcribed, stored in a retrieval system, trans-
lated into any language, or transmitted in any form or by any means, electronic,
mechanical, magnetic, optical, chemical, photocopying, manual, or otherwise, without
prior written permission from Shuttle®
Inc.
Disclaimer
Shuttle®Inc. shall not be liable for any incidental or consequential damages resulting from the
performance or use of this product.
This company makes no representations or warranties regarding the contents of this manual.
Information in this manual has been carefully checked for reliability; however, no guarantee is
given as to the correctness of the contents. In the interest of continued product improvement,
this company reserves the right to revise the manual or include changes in the specifications
of the product described within it at any time without notice and without obligation to notify any
person of such revision or changes. The information contained in this manual is provided for
general use by the customers.
Trademarks
Shuttle is a registered trademark of Shuttle Inc.
VIA is a registered trademark of VIA Corporation.
AMD, Athlon/Duron is a registered trademarks of AMD Corporation.
PS/2 is a registered trademark of IBM Corporation.
AWARD is a registered trademark of Award Software Inc.
Microsoft and Windows are registered trademarks of Microsoft Corporation.
General Notice:
Other brand and product names used herein are for identification
purposes only and may be trademarks of their respective owners.
M661

- 1 -
WHAT'S IN THE MANUAL ......................................................................5
Quick Reference ................................................................................................5
About This Manual ............................................................................................ 5
1 INTRODUCTION ..................................................................................6
1.1 TO DIFFERENT USERS............................................................................... 6
First-Time DIY System Builder.................................................................6
Experienced DIY User..............................................................................6
System Integrator ....................................................................................6
1.2 ITEM CHECKLIST ........................................................................................7
2 FEATURES...........................................................................................8
2.1 SPECIFICATIONS......................................................................................... 8
3 HARDWARE INSTALLATION ............................................................ 11
3.1 STEP-BY-STEP INSTALLATION................................................................ 11
STEP 1 Install the CPU ..........................................................................12
STEP 2 Set Jumpers .............................................................................13
STEP 3 Install SDRAM System Memory................................................13
STEP 4 Install Internal Peripherals in System Case...............................14
STEP 5 Mount the Mainboard on the Computer Chassis .......................15
STEP6ConnectFront-panelSwitches/LEDs/Speaker/USB ..................16
STEP 7 Connect IDE & Floppy Disk Drives............................................18
STEP 8 Connect Other Internal Peripherals...........................................19
STEP 9 Connect Power Supply..............................................................19
STEP 10 Install Add-on Cards in Expansion Slots..................................20
STEP 11 Connect External Peripherals to Back-panel ...........................21
STEP 12 First Time System Boot Up .....................................................23
STEP 13 Install Driver & Software Components ....................................24
TABLE OF CONTENTS

- 2 -
3.2 JUMPER SETTINGS ..................................................................................25
JUMPER&CONNECTORGUIDE .........................................................26
Jumpers
Clear CMOS (JP16)...............................................................................29
BIOS Write Protection (JP3)..................................................................30
Back-Panel Connectors
PS/2 Keyboard & PS/2 Mouse Connectors............................................31
USB1/USB2PortConnectors.................................................................31
LANConnector.......................................................................................31
COM1/2 Connector ................................................................................31
Parallel Port Connector ..........................................................................32
Line-Out .................................................................................................32
Line-In ....................................................................................................32
Mic-In.....................................................................................................32
MIDI/GAME Port....................................................................................32
Front-Panel Connectors
ATX Power On/Off Switch Connector (PWR PT)...................................33
EPMI Connector (EPMI) ........................................................................33
Green LED Connector (GLED) ..............................................................34
HDDLEDConnector(HLED) .................................................................34
PWR LED Connector (PLED).................................................................34
Hardware Reset Connector (RST).........................................................35
Speaker Connector (SPEAK) .................................................................35
Extended four USB Connector Header (JP1/JP5) ..................................36
Internal Peripherals Connectors
Enhanced IDE Ports and Floppy Connectors .........................................37

- 3 -
Other Connectors
ATX Power Supply Connector (JP6) ......................................................38
Cooling FAN Connectors for CPU FANs (FAN1), AGP (FAN2), SYSTEM
(FAN3), or North Bridge Fan (FAN4) ......................................................39
SIR/CIR Connector (JP2).......................................................................40
Wake-On-LAN Connector (CN1) ............................................................40
AudioConnectorCD_In (CN2) (Black) ...................................................41
AudioConnectorAUX_In(CN3)(White).................................................41
Audio Connector TAD_In (CN4) (Green) ................................................41
3.3 SYSTEM MEMORY CONFIGURATION......................................................42
Install Memory .......................................................................................42
Upgrade Memory ...................................................................................42
4 SOFTWARE UTILITY .........................................................................43
4.1 Mainboard CD Overview ..........................................................................43
4.2 Install VIA 4 in 1 Driver.............................................................................44
4.3 Install Audio Device Software..................................................................45
4.4 View the User's Manual ...........................................................................46
5 BIOS SETUP ......................................................................................47
5.1 ENTER THE BIOS ......................................................................................47
5.2 THE MAIN MENU .......................................................................................48
STANDARD CMOSFEATURES.................................................................50
ADVANCEDBIOSFEATURES...................................................................54
ADVANCED CHIPSETFEATURES ............................................................58
INTEGRATEDPERIPHERALS ...................................................................62
POWERMANAGEMENTSETUP...............................................................66

- 4 -
PNP/PCICONFIGURATION.......................................................................70
PCHEALTHSTATUS .................................................................................72
FREQUENCY/VOLTAGECONTROL .........................................................74
LOADFAIL-SAFEDEFAULTS....................................................................75
LOAD OPTIMIZED DEFAULTS..................................................................75
SETSUPERVISORPASSWORD...............................................................76
SETUSERPASSWORD............................................................................76
SAVE & EXIT SETUP.................................................................................77
EXITWITHOUTSAVING ...........................................................................77

- 5 -
Quick Reference
Hardware Installation >> Step-by-Step................................................ Page 11
Jumper Settings >> A Closer Look ...................................................... Page 25
Software Utility >> How to Install......................................................... Page 43
BIOS Setup >> How to Configure ........................................................ Page 56
About This Manual
For First-Time DIY System Builder......................................................... Page 6
For Experienced DIY User ...................................................................... Page 6
For System Integrator ............................................................................. Page 6
WHAT'S IN THE MANUAL

- 6 -
1INTRODUCTION
1.1 To Different Users
First-Time DIY System Builder
Welcome to the DIY world! Building your own computer system is not as
difficult as you may think. To make your first computer DIY experience
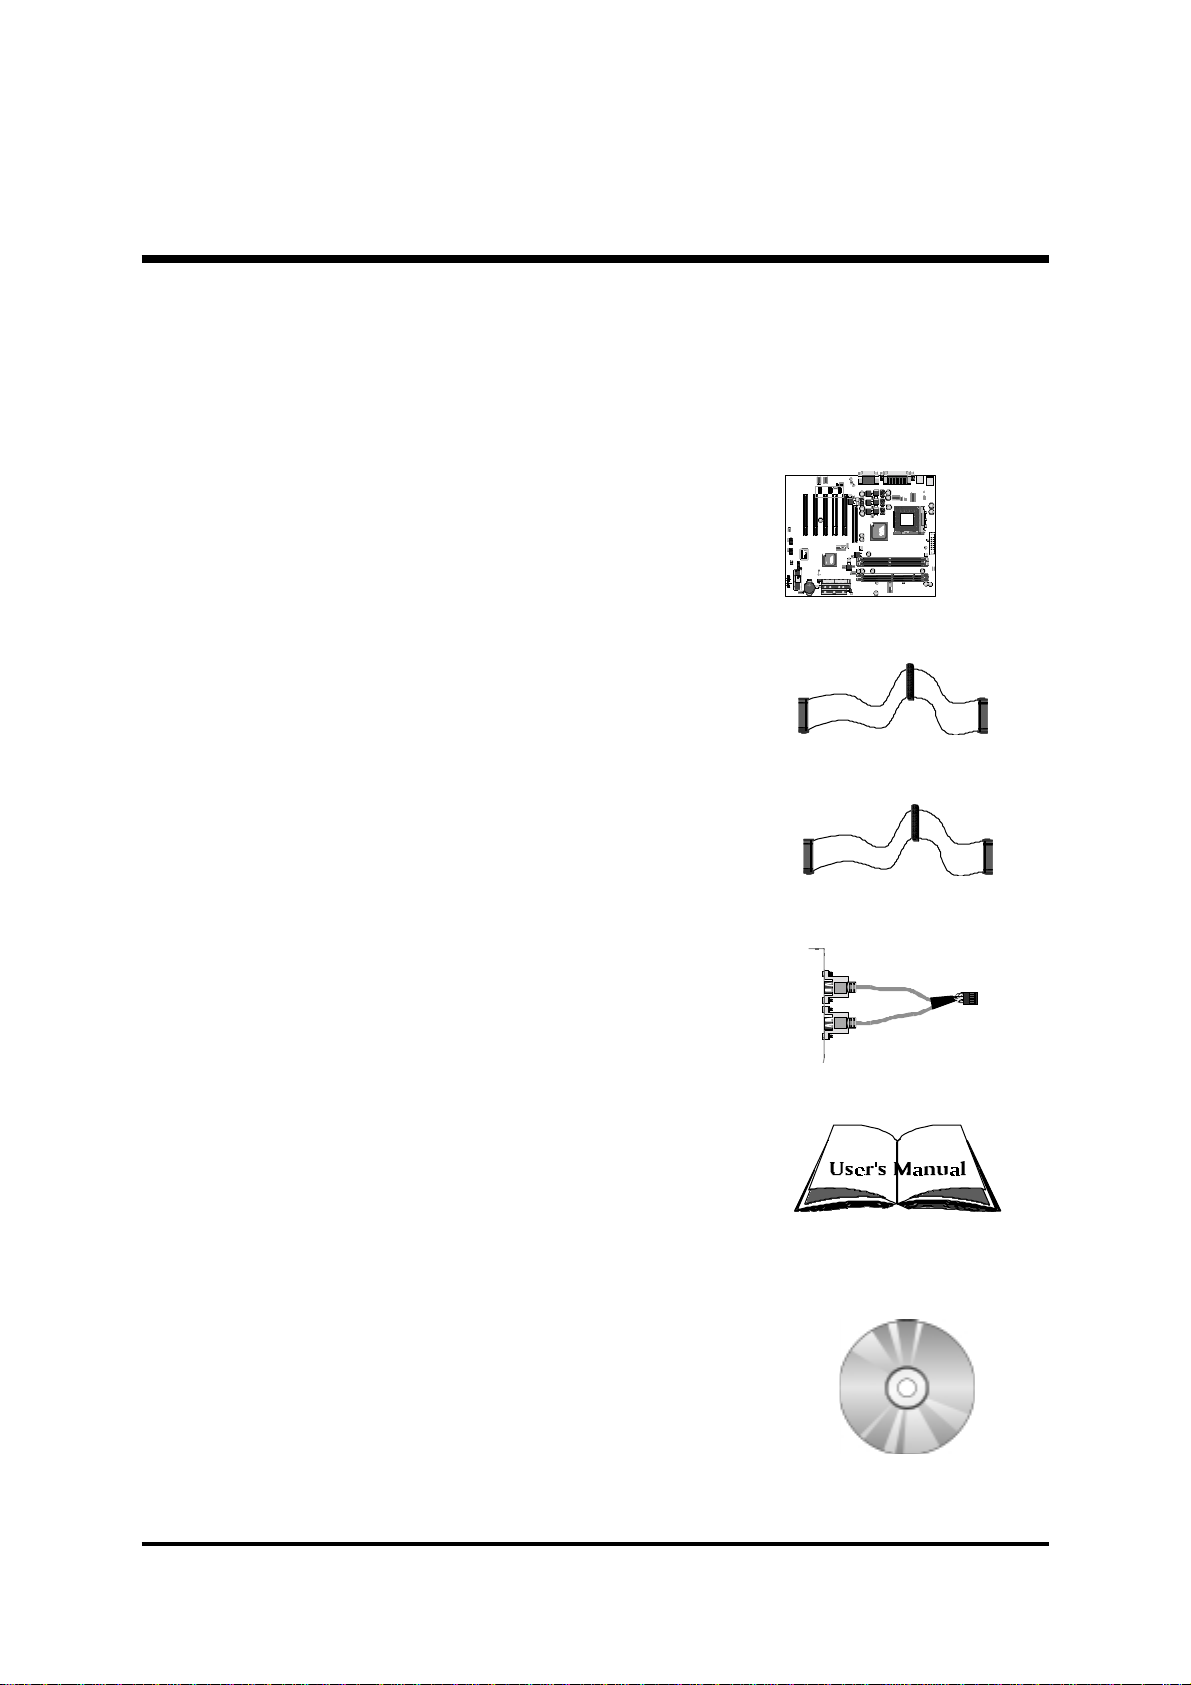
successful, right from the start, we ha e designed the Chapter 3 HardwareChapter 3 Hardware
Chapter 3 HardwareChapter 3 Hardware
Chapter 3 Hardware
InstallationInstallation
Installation section in a step-by-step fashion for all the first-time DIY system
builders. Prior to installation, we also suggest you to read the whole manual
carefully to gain a complete understanding of your new Shuttle AK32A
mainboard.
Experienced DIY User
Congratulate on your purchase of the Shuttle AK32A mainboard. You will find
that installing your new Shuttle AK32A mainboard is just easy. Bundled with
an array of onboard functions, the highly-integrated AK32A mainboard pro-
ides you with a total solution to build the most stable and reliable system.
Refer to sections 3.2 Jumper Settings3.2 Jumper Settings
3.2 Jumper Settings3.2 Jumper Settings
3.2 Jumper Settings and Chapter 4 Software UtilityChapter 4 Software Utility
Chapter 4 Software UtilityChapter 4 Software Utility
Chapter 4 Software Utility to
find out how to get the best out of your new mainboard. Chapter 5 BIOSChapter 5 BIOS
Chapter 5 BIOSChapter 5 BIOS
Chapter 5 BIOS
SetupSetup
SetupSetup
Setup also contains the rele ant information on how to tune up your system to
achie e higher performance.
System Integrator
You ha e wisely chosen Shuttle AK32A to construct your system. Shuttle
AK32A incorporates all the state-of-the-art technology of the KT266A chipset
from VIA. It integrates the most ad anced functions you can find to date in a
compact ATX board. Refer to sections 3.2 Jumper Settings3.2 Jumper Settings
3.2 Jumper Settings3.2 Jumper Settings
3.2 Jumper Settings and Chapter 4Chapter 4
Chapter 4Chapter 4
Chapter 4
Software UtilitySoftware Utility
Software Utility for an in-depth iew of system construction.

- 7 -
1.2 Item Checklist
Check all items with your AK32A mainboard to make sure nothing is missing.
The complete package should include:
One piece of Shuttle AK32A Mainboard
One piece of ATA100/66/33100/66/33
100/66/33100/66/33
100/66/33 Ribbon Cable
One piece of Floppy Ribbon Cable
One piece of twin ports USB Cable (optional)(optional)
(optional)(optional)
(optional)
AK32A User's Manual
One piece of Bundled CD-ROM with containing:
AK32A user's manual on PDF format
VIA 4-IN-1 dri er
VIA Audio dri er
Award Flashing Utility
KB1
USB1
SYSTEM_FAN
IDE2
CPU_FAN
IDE1
FDD
WOL
PCI1
PCI2
PCI3
PCI4
PCI5
IR
USB3USB2
Panas onic
CR2 032
3V
JAPAN1
MC
VT8 366
0102C D T AI WAN
12c0 00600
MC
VT8 233
0039C D T AI WAN
13C 001005
CN2
CN3
CN4
TAD/IO
CD-IN
AUX
AGP1
JP7
1RST
PLED
+
SPEAK
1
1
1
10 10
1
1
11
1
1
1
1
1
JP16
JP2
JP5
JP4
JP3
FAN3
FAN2
FAN1
FAN4
FDD1
IDE2
IDE1
GLED
+ -+ -EPMIPWRPT
1
1
1
AWARD
PCI/PNP686
169332966
1998C
CN1
1
inbo nd
JP6
SO CKET462

- 8 -
AK32A mainboard is carefully designed for the demanding PC user who wants high
performance and maximum intelligent features in a compact package.
2.1 Specifications
CPU Support
Support Socket462 package CPU with 200/266 MHz FSB.
AMD Athlon Processor: 600 ~ 1.33+GHz. XP2000+...
AMD Duron Processor 600 ~ 850+ MHz. Morgan1200+...
Chipset
Features VIA KT266A, VT8366A/VT8233 Chipset.
VT8366A, Integrated high performance SDRAM and DDR DRAM controller.
Jumperless CPU Configuration
Soft-configuration FSB (The FSB speed is software configurable from 100MHz
to 166MHz by 1MHz stepby 1MHz step
by 1MHz stepby 1MHz step
by 1MHz step in the Frequency/Voltage Control of BIOS setup
program.)
AC'97 Link for Audio and Telephony CODEC
AC'97 2.1 compliant
Spread independent PCI functions for Audio and Modem
Versatile Memory Support
Two 184-pin184-pin
184-pin184-pin
184-pin DIMMDIMM
DIMMDIMM
DIMM slots to support up to 2GB of PC1600 or PC2100
compliant DDRDDR
DDRDDR
DDR SDRAM module.
or two 168-pin168-pin
168-pin168-pin
168-pin DIMMDIMM
DIMMDIMM
DIMM slots to support up to 2GB of PC100 or PC133
compliant SDRSDR
SDRSDR
SDR SDRAM module.
PCI Expansion Slots
Pro ides fi e 32-bit PCI slots.
AGP Expansion Slot
Pro ides one 32-bit AGP slot which supports up to 4X AGP de ice.
I/O Interface
Pro ides a ariety of I/O interfaces:
1*Floppy interface for 3.5-inch FDD with 720KB, 1.44MB, or 2.88MB
2 FEATURES

- 9 -
format or for 5.25-inch FDD with 360K or 1.2MB format.
1*PS/2 mouse connector.
1*PS/2 Keyboard connector.
2*DB9 Serial connectors 16550 UART compatible.
1*Infrared communication port .
(Serial port COM2 can also be redirected to an external IrDA Adapter
for wireless connection.)
1*DB25 Parallel port supporting Standard Parallel Port (SPP),
Enhanced Parallel Port (EPP), and Extended Capabilities Port (ECP)
data transmission schemes.
1*Line-Out port.
1*Line-In port.
1*Mic-In port.
1*MIDI/GAME port.
4 USB Supported Onboard
Two 10-pin header for optional USB cable to extend another 4 USB
ports .
PCI Bus Master IDE Controller Onboard
Two UltraDMA 100/66/33100/66/33
100/66/33100/66/33
100/66/33 Bus Master Dual-channel IDE ports pro ide sup-
port to a maximum of four IDE de ices (one Master and one Sla e per chan-
nel). The IDE Bus implements the data transfer speed up to 100/66/33100/66/33
100/66/33100/66/33
100/66/33 MB/
sec and also supports Enhanced PIO Modes 0~4.
80-pin Cable Backward Compatible Legacy ATAPI De ices, ATAPI IDE CD-
ROM, CD-R, CD-RW, and LS-120 Supports.
ATX Power Supply Connector
ATX power supply unit can be connect to the onboard 20-pin ATX power
connector, supporting Suspend and Soft-On/Off by dual-function power
button.
Advanced Configuration and Power Interface
Features four power sa ing modes: Snoop, Suspend to RAM, Suspend to
Disk, and Soft-Off. ACPI pro ides more efficient Energy Sa ings Features
controlled by your operating system that supports OS Direct Power Man-
agement (OSPM) functionality.

- 10 -
System BIOS
Pro ides licensed Award BIOS V6.0 PG on 2Mb Flash EEPROM and
supports Green PC, Desktop Management Interface (DMI).
ATX Form Factor
System board conforms to the ATX specification.
Board dimension: 305mm* 245mm.
Advanced Features
Dual Function Power Button - Dual Function Power Button -
Dual Function Power Button - The system can be in one of two states;
one is Suspend mode and the other is Soft-Off mode. Pushing the
power button for less than 4 seconds places the system into Suspend
mode. When the power button is pressed for longer than 4 seconds, the
system enters the Soft-Off mode.
Wake-on-LAN (WOL) - Wake-on-LAN (WOL) -
Wake-on-LAN (WOL) - The onboard WOL connector can be attached
to a network card that supports this function to wake up the system ia
LAN.
Modem Ring Power-OnModem Ring Power-On
Modem Ring Power-On - The system can be powered on automatically
by the acti ation of modem ring.
CPU Clock Setting-CPU Clock Setting-
CPU Clock Setting- This item allows users to adjust CPU Host Clock in BIOS.
CPU Ratio Setting-CPU Ratio Setting-
CPU Ratio Setting- This item allows users to adjust CPU Ratio in BIOS.
CPU Vcore Setting-CPU Vcore Setting-
CPU Vcore Setting- This item allows users to adjust CPU Vcore in BIOS.
Intelligent Features
Voltage Monitoring -Voltage Monitoring -
Voltage Monitoring - Monitors arious oltages of key elements, such as
the CPU, and other critical system oltage le els to ensure stable current
passing through mainboard components. System oltages include +3.3VIN,
+5V, +12V, -12V, -5V on system etc.
Fan Status MonitoringFan Status Monitoring
Fan Status Monitoring - To pre ent CPU from o erheating, the CPU fan is
monitored for RPM and failure. (CPU Cooling FAN with RPM sensor is
required.)
Temperature MonitoringTemperature Monitoring
Temperature Monitoring - This item allows users to make sure whether
the CPU or system runs in a suitable temperature.

- 11 -
3HARDWAREINSTALLATION
Before remo ing or installing any of these de ices including CPU, DIMMs,Before remo ing or installing any of these de ices including CPU, DIMMs,
Before remo ing or installing any of these de ices including CPU, DIMMs,
Add-On Cards, Cables, please make sure to unplug the onboard power con-Add-On Cards, Cables, please make sure to unplug the onboard power con-
Add-On Cards, Cables, please make sure to unplug the onboard power con-
nector.nector.
nector.nector.
nector.
This section outlines how to install and configure your AK32A mainboard. Refer to the
following mainboard layout to help you identify arious jumpers, connectors, slots, and
ports. Then follow these steps to guide you through a quick and correct installation of
your system.
3.1 Step-by-Step Installation
Accessories Of AK32A
KB1
US B1
CO N 1
AGP_ FA N
SYSTE M _FAN
AU DIO1
ID E2
CP U_ FAN
NB _FAN
ID E1
FDD
WO L
PCI1
PCI2
PCI3
PCI4
PCI5
IR
US B3 US B2
Panaso
nic
CR2032
3V
JAP
AN1
CN2
CN3
CN4
TA D/IO
CD-IN
AU X
AGP1
JP 7
1RST
P LED
+
SPEAK
1
1
1
10 10
1
1
11
1
1
1
1
1
JP 1 6
JP 2
JP 5
JP 4
JP 3
FAN3
FAN2
FAN1
F
AN4
FDD1
IDE2
IDE1
GL ED
+ -+ - EPMI PW R PT
1
1
1
AW AR D
PCI/PNP68 6
169332966
1998
C
CN1
1
inbond
DIMM1DIM1
JP 6 DIMM2DIM2
S
OCK
ET4
62
PS/2 Keyboard/Mouse
Connectors
ATX Power Connector
Parallel Con nector
Serial Port
Connector ( COM2)
Serial Port
Connector ( COM1)
Line-In /Line -Out/M ic-I n
Game/MIDI Connectors
FloppyConnector
BIO S W rite Protection - JP3
Front Panel Connector -JP7
TwoE-IDEConnectors
FAN3
FAN1
FAN4
FAN2
Socket462
Five PCI Slots
One 4 X AGP Slot
VIA VT8366A Chipset
VIAVT8233Chipset
USB Connectors
IR Connecto r - JP2
ClearCMOS-JP16
I/O Controller
CD Audio Connectors
Onboard CODEC
Wake-On-LAN Connector - CN1
Programm able 2Mb Flash EEPROMExtended four USB Connectors
header - JP4/JP5
Two184-pinDDRDIMMSlots
Two168-pinSDRDIMMSlots

- 12 -
Step 1
Install the CPU:
1. Locate the CPU ZIF (Zero Insertion Force) socket on the upper-right
sector of your mainboard (between the back-panel connectors and the
DIMM memory slots).
2. Pull the CPU ZIF socket le er slightly sideways away from the socket
to unlock the le er, and then bring it to an upwardly ertical position.
3. Place your AMD 462 Athlon/Duron processor in the socket A. Note that
the CPU's edges ha e been purposely designed non-symmetrically to pre-
ent from inserting the processor in the wrong direction. The following
diagram demonstrates the correct placement of the CPU in the ZIF socket.
You can see that the two blunt-edged corners should face towards the
socket-le er.
4. Slightly push the AMD 462 Athlon/Duron processor into the socket without
applying excessi e force while making sure there is no gap between CPU
and socket. Then lower the socket-le er all the way down to its horizontal
position and lock it to secure the CPU in place.
5. The AMD 462 Athlon/Duron processor requires a set of heatsink/fan to
ensure proper cooling of the processor. If heatsink/fan ha e not been
already mounted on your CPU, you must purchase the heatsink/fan sepa-
rately and ha e it installed. Plug the cable through the heatsink/fan in the
CPU fan power connector located nearby. Note that there are se eral types
of CPU fan connectors. Normally, if your mainboard supports the hard
ware monitoring function, a 3-pin fan power connector should allow your
system to detect the CPU fan's speed . The CPU fan can also run with a
2- pin fan power connector, howe er, detection of CPU fan's speed is not
supported. Another type of CPU fan may feature a large 4-pin fan power
connector, which does not support CPU fan's speed detection and must
be directly connected to the system's power supply unit. Please refer to
the following diagram.
Notch
AMD CPU
SO C K E T4
ASSEMBLE D IN MALAYSIA
Lever Blank
Blank
SOCKET462

- 13 -
Step 2.
Set Jumpers
This mainboard is jumperless! The default jumper settings ha e been set for
the common usage standard of this mainboard. Therefore, you do not need
to reset the jumpers unless you require special adjustments as in any of the
following cases:
1. O er-clock your CPU
2. Clear CMOS
For first-time DIY system builders, we recommend that you do not change the
default jumper settings if you are not totally familiar with mainboard configu-
ration procedures. The factory-set default settings are tuned for optimum
system performance. For the ad anced users who wish to customize their
system, section 3.2 Jumper Settings3.2 Jumper Settings
3.2 Jumper Settings3.2 Jumper Settings
3.2 Jumper Settings will pro ide detailed information on how
to configure your mainboard manually.
Step 3.
Install DDR or SDR SDRAM System Memory
To insert memory module(s) in any one or two DIMM slot(s). Please note
that modules are directional and will not go in the DIMM slots unless prop-
erly oriented. After the module is fully inserted into the DIMM slots, lift the
clips of both sides of the DIMM slot to lock the module in place.
SDR SDRAM DDR SDRAM

- 14 -
Step 4
Install Internal Peripherals in System Case
Before you install and connect the mainboard into your system case, we
recommend that you first assemble all the internal peripheral de ices into the
computer housing, including but not limited to the hard disk dri e (IDE
/HDD), floppy disk dri e (FDD), CD-ROM dri e, and ATX power supply unit.
This will greatly facilitate in making the connections to the mainboard de-
scribed below.
To install IDE & FDD dri es, follow this procedure:
1. Set the required jumpers on board each de ice according to the
instructions pro ided by the manufacturer. (IDE de ices, HDD, and
CD-ROM ha e to set jumpers on Master or Sla e mode depending
on your willing to install more than one de ice for each kind.)
2. Connect IDE cable and FDD cable on the back-panel of the internal
peripheral de ices to the corresponding headers on board. Note that the
cable should be oriented with its colored stripe (usually in red or magenta)
connected to pin#1 both on the mainboard IDE or FDD connector and on
the de ice as well.
3. Connect an a ailable power cable through your system power supply unit
to the back-panel of each peripheral de ice. Note that the power cable
is directional and cannot fit in if it is not properly positioned.

- 15 -
Step 5
Mount the Mainboard on the Computer Chassis
1. You may find that there are a lot of different mounting hole positions
both on your computer chassis and on the mainboard. To choose a
correct mounting hole, the key point is to keep the back-panel of the
mainboard in a close fit with your system case, as shown below.
2. After deciding on the proper mounting holes, position the studs be
tween the frame of chassis and the mainboard. The studs are used to
fix the mainboard and to keep a certain distance between the system
chassis and the mainboard, in order to a oid any electrical shortage
between the board and the metal frame of chassis. (If your computer
case is already equipped with mounting studs, you will need to tighten
screws to attach the mainboard.)
Note:Note:
Note:Note:
Note: In most computer housings, you will be able to find 4 or more
attachment points to install mounting studs and fix the mainboard.
If there aren't enough matching holes, then make sure to install at
least 4 mounting studs to ensure proper attachment of the
mainboard.

- 16 -
Step 6
Connect Front-Panel Switches/LEDs/Speaker/USB connectors
You can find there are se eral different cables already existing in the
system case and originating from the computer's front-panel de ices
(HDD LED, Power LED, Reset Switch, PC Speaker, or USB de ices etc.)
These cables ser e to connect the front-panel switches, LEDs, USB con-
nectors to the mainboard's front-panel connectors group (JP7, JP4 and
JP5), as shown below.
1. ATX Soft Power On/Off (PWR PT)
2. EPMI
(Hardware System Management
Interface)
JP7
1RST
P LED
+
SPEAK
GLED
+ -+ -
EPMI PWR PTHLED
JP7
1RST
P LED
+
SPEAK
GLED
+ -+ -
EPMI PWR PTHLED
USB3 1
10
USB2
10
1
JP4
JP5
JP7
1RST
P LED
+
SPEAK
GLED
+ -+ -
EPMI PWR PTHLED

- 17 -
3. Green_LED (GLED)
4. HDD_LED (HLED)
5. Power-LED (PLED)
6. Hardware Reset Switch (RST)
7. PC Speaker (SPEAK)
JP7
1RST
P LED
+
SPEAK
GLED
+ -+ -
EPMI PWR PTHLED
JP7
1RST
P LED
+
SPEAK
GLED
+ -+ -
EPMI PWR PTHLED
JP7
1RST
P LED
+
SPEAK
GLED
+ -+ -
EPMI PWR PTHLED
JP7
1RST
P LED
+
SPEAK
GLED
+ -+ -
EPMI PWR PTHLED
JP7
1RST
P LED
+
SPEAK
GLED
+ -+ -
EPMI PWR PTHLED

- 18 -
8. Extended four USB Connector Header
Step 7
Connect IDE & Floppy Disk Drives
1. IDE cable connector
2. FDD cable connector
USB3 (USB5)
USB4 (USB6)
JP4 (JP5 )
GND
GND
USBD3+
USBD3-
+5V
+5V
USBD2-
USBD2+
GND
GND
9
10
1
2
FDD
1
FDD1
IDE2 IDE1
1
1
IDE2
IDE1
Table of contents
Other Shuttle Motherboard manuals

Shuttle
Shuttle FB52 User manual

Shuttle
Shuttle FS56 User manual

Shuttle
Shuttle ME62 User manual

Shuttle
Shuttle MS11 User manual

Shuttle
Shuttle HOT-617 User manual

Shuttle
Shuttle FB54 User manual

Shuttle
Shuttle Spacewalker AV45GT User manual

Shuttle
Shuttle HOT-661/P User manual

Shuttle
Shuttle Spacewalker MV11 User manual

Shuttle
Shuttle FN45 User manual

Shuttle
Shuttle FN41U User manual

Shuttle
Shuttle AE25 User manual

Shuttle
Shuttle FB61 User manual

Shuttle
Shuttle FB95 User manual

Shuttle
Shuttle HOT-679V User manual

Shuttle
Shuttle FB77 User manual

Shuttle
Shuttle FS51 User manual

Shuttle
Shuttle MN31 User manual

Shuttle
Shuttle ME21 User manual

Shuttle
Shuttle HOT-675 User manual