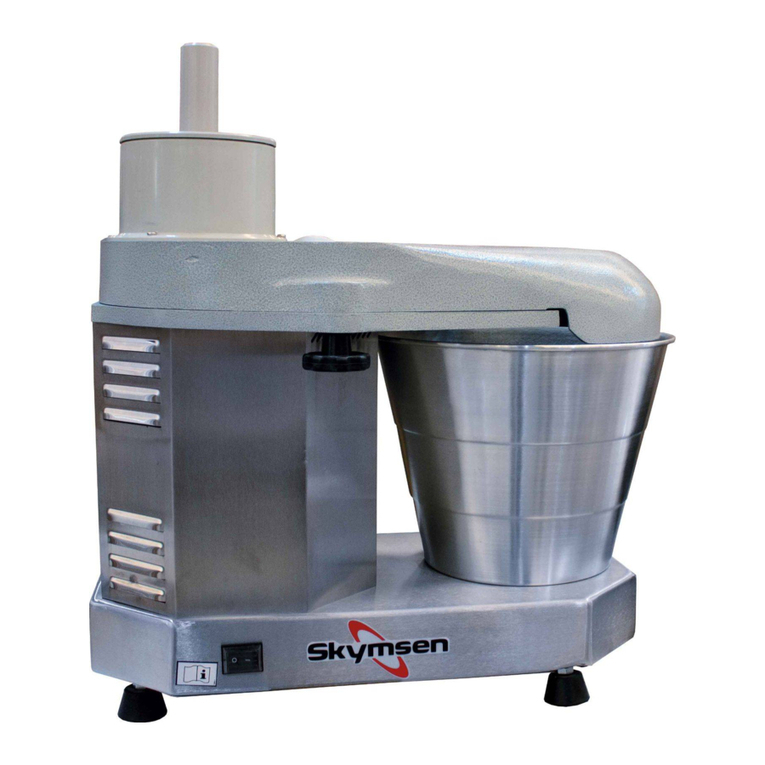
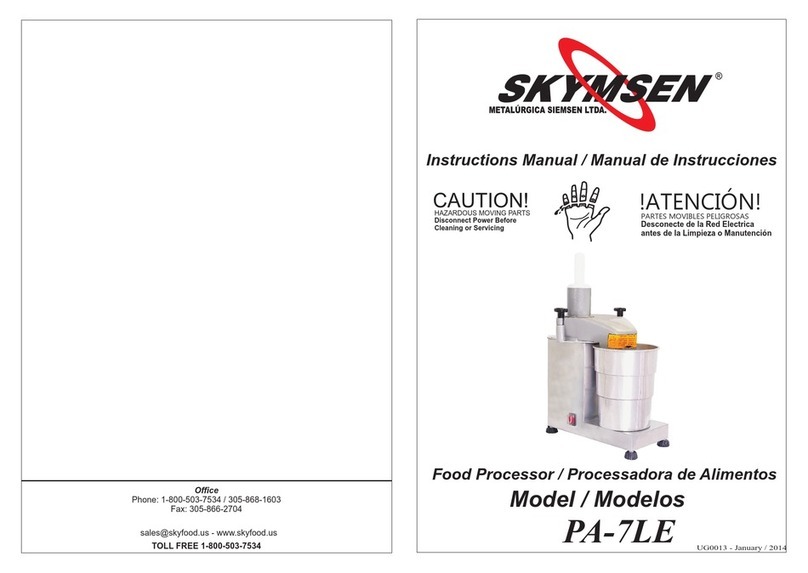
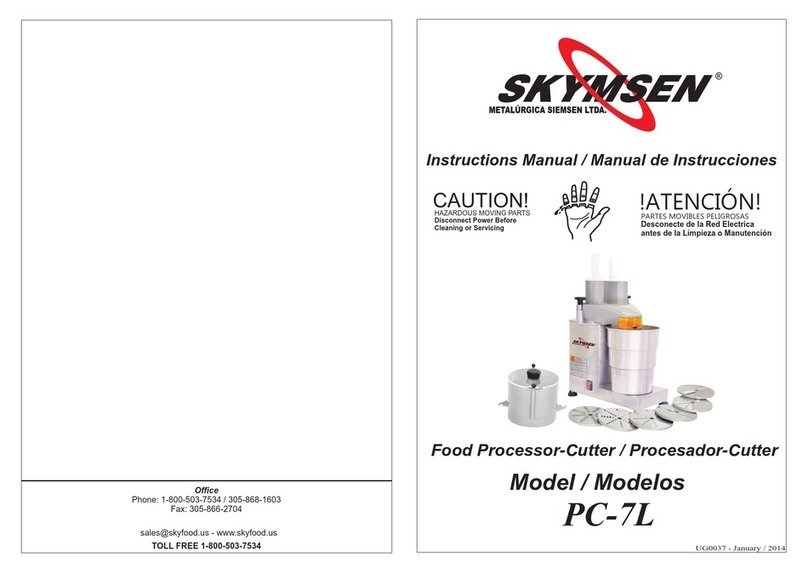
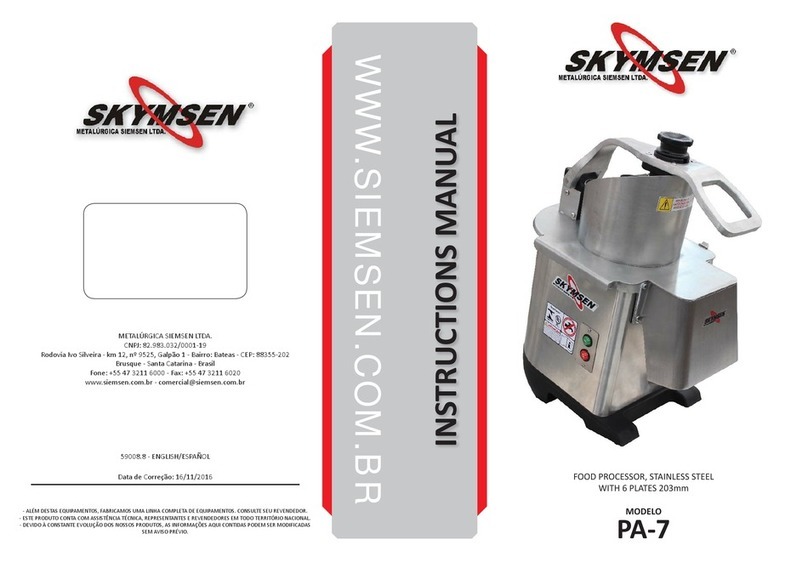
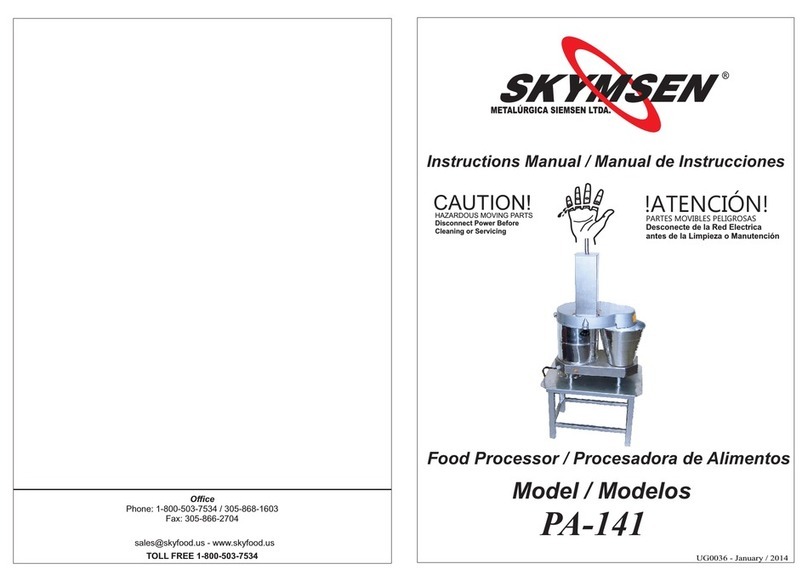
Skymsen PA-7S User manual

22332.8 - March/2014
INSTRUCTION MANUAL
FOOD PROCESSOR
MODELS
- ALÉM DESTAS MÁQUINAS, FABRICAMOS UMA LINHA COMPLETA DE EQUIPAMENTOS. CONSULTE SEU REVENDEDOR.
- ESTE PRODUTO CONTA COM ASSISTÊNCIA TÉCNICA, REPRESENTANTES E REVENDEDORES EM TODO TERRITÓRIO NACIONAL.
DEVIDO À CONSTANTE EVOLUÇÃO DOS NOSSOS PRODUTOS,AS INFORMAÇÕES AQUI CONTIDAS PODEM SER MODIFICADAS SEM AVISO PRÉVIO.
LINHA DIRETA
SKYMSEN
Ramais 2011
2012
2013
E-mail: [email protected]
METALÚRGICA SIEMSEN LTDA.
Rua Anita Garibaldi, nº 262 – Bairro: Sno Luiz – CEP: 88351-410
Brusque – Santa Catarina – Brasil
Fone: +55 47 3255 2000 – Fax: +55 47 3255 2020
METALÚRGICA SIEMSEN LTDA.

01
SUMMARY
1MainPrecautions
2MainComponents
3TechnicalCharacteristics
4AvailableDiscs
5Installation
6Pre-Operation
7Operation
7.1Howtoplacethediscs
7.2HowtofeedtheProcessor
8Cleaning
9ProblemsAnalysisandSolution
10Howtosharpentheknifeblades
11GeneralWarnings
12ElectricalDiagram
1
2
3
3
3
4
4
5
5
7
8
8
9
9

02
WARNINGTOPROPRIETORSANDOPERATORS
The Food Processor has been designed to process foods with efficiency and safety .
However , as much well trained should be an operator, the possibility of a serious accident
exists.Itistheproprietorresponsibilitytoassureasafeandcorrectoperation,followingthe
instructionsofthepresentManualandthelocallaws.
01- MAINPRECAUTIONS
The Food Processor may be a dangerous machine when incorrectly used. Cleaning and
maintenance shall be made only by skilled operators. Therefore to avoid accidents read
carefullyallthefollowinginstructions:
TOBEUSEDonlybyskilledoperators.
BEFOREcleaningormaintenanceunplugthemachinefromelectricpowersource.
NEVERusetoolsnotbelongingtothemachinetohelpoperation.
BEFORE to switch ON the machine check if the Disc No. 01 (Pic.03)and the Lid No. 02
(Pic.01)aredulyheldontheirposition.
NEVERremovetheLidbeforethemachineiscompletelystill.
NEVER put the hand inside the feeding throat , nor inside the processed food exit opening.
Keephandsawayfromanymovingparts.
NEVERswitchONthemachinewithwethandsorclothes.
NEVER throw water or other liquids directly on the motor , electric switch , or any other
electricalcomponent.
ALWAYSinstall the machineina wide andclearworking area ,farfrom the reachofchildren
andvisitors.
NEVER operate the machine without its warning labels and the Instruction Manual out of
reach.
NEVERletthemachinealoneduringoperation.
ALWAYSgroundthemachineinaccordancewithlocalrules.
STOPthemachine immediatelyifunusualnoises are heard,orwhenhaving the feeling that
somekindofaccidentmightoccur.
CONTACTyourdealer,ifanyproblemariseswheninstallingoroperatingthemachine.
09
12. ELECTRICAL DIAGRAM MODELS PA-7S and PA-7L
ON/OFF switch
Voltage Selector Switch
11 GENERAL WARNINGS
ALWAYSswitchOFFthemachinebeforemaintenanceorcleaning.
CLEARenoughspacearoundthemachineto avoidaccidents.
KEEPFLOORSdry.Wetfloorsmaycausetoslip.
ALWAYSswitchOFFthemachinewhenelectricityiscutout.
NEVER allow dirt or water get inside electrical or mechanical
components.
DONOTchangetheoriginalcharacteristicsofthemachine.
DONOTremovesafetyandidentificationlabels.
DONOTwearloosefittingclotheswhileoperatingtheunit.
DONOTusebraceletsoranyotherpieceofjewerly.
HaveyourhairALWAYSshortenedandheldup(usehairfishnetsif
necessary)inawayitcannotreachanypartofthemachine.Rollupanyloose
sleeves.
SKYMSENISNOTresponsible forANYharmorinjurycausedbythe
negligentorinappropriateuseofthisequipmentbyanyoperator.
ThisequipmentMUSTBEoperatedonlybypersonswhoseageequals
orexceeds18yearsold,inasafeandsoundstateofmind,freefromthe
influenceofanykindofdrugsandalcohol,thatreceivedpropertraining
andinstructionsregardingthecorrectoperationofthismachine,thatare
wearingcorrectandauthorizedsafetyclothes.
Allandanykindofmodificationscarriedonandappliedtothismachine
IMMEDIATELYNULLIFIESANYKINDOFWARRANTYandmayresultinharm
andinjuriestotheindividualsoperatingthismachineandtoindividualsthatare
03
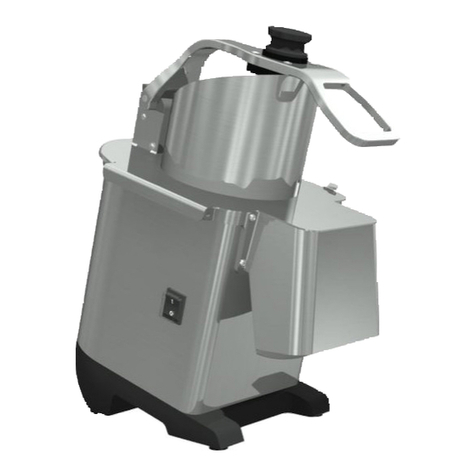
1 Large stump
2 - Lid with feeding throats
3 Cabinet
4 ON/OFF switch
5 - Voltage Selector Switch
6 Small Stump
7 Handle
8 Warning Label
9 Collecting Bowl
10 Lid fastener
01 -Lid with feeding throats
1 - Disc
2 - Central shaft
Picture - 01
Picture - 03
01
02
Picture - 02
01
05
04
03
10
02
01 06
07
08
09
02 MAIN COMPONENTS
08
09 PROBLEMS ANALYSIS AND SOLUTIONS
The Processors has been designed to need a minimum maintenance . However some
problemsmayariseduetonormalwearduringthemachinelife.
If some problem arises with your Food Processor , check Table 03 , where some possible
solutionsarerecommended.
TABLE 03
PROBLEMS CAUSES SOLUTIONS
Irregular cutting Bunt blades Sharpen blades as per
item No.10 ( How to
sharpen blades )
The disc stops Electric power Check if the plug is
during operation shortage into its socket
Internal or external
electric wiring problem Call the dealer
Smoke or burnt smell Electric motor or other
electric parts problem Call the dealer
The machine switches ON Motor capacitor failed Call the dealer
but the disc delays to start
moving
Unusual noises Disc not correctly fitted. Remove the lid and
Bearing Failure. replace the Disc.
Lid not fastened . Call the dealer.
Tight the handles
Lid leakage Handles No. 7 (Pic.01) Tight the handles
are loose . No.07(Pic.01)
To much dirt between Clean the machine
the Disc Housing and following item
the Lid No.02(Pic.01) No. 8 .
10HOW TO SHARPEN THEKNIFE BLADES
The blades may be removed , therefore may be easy sharpened , however special
attention must be given to keep the right original cutting angle .The blades must be
sharpenedusingasharpeningstoneorathinsandpaper.
Useascrewdrivertoremovetheblades.

04
(*)Observation:thefrequencywillbethefrequencyindicatedon themotor
04 AVAILABLE DISCS
TABLE02givesthefoodprocessoravailablediscs
Table - 01
Characteristics Unit PA-7S PA-7L
Average Production [kg/h] 250 250
Voltage [V] 110/220 110/220
Frequency [Hz] 50 or 60 (*) 50 or 60 (*)
Power Rating [CV] 0,5 0,5
Consumption [kW/h] 0,4 0,4
Height [mm] 595 595
width [mm] 380 380
length [mm] 445 445
Net weight [kg] 22 22
Gross weight [kg] 24 24
05 INSTALLATION
The Food Processor shall be installed on a steady and flat surface . The installation shall
be made only by qualified or experienced personnel . The surface should be 850 mm
high above floor level.
3. Technical Characteristics
07
08 CLEANING
Alltheremovablepartsshallbewashedwithneutralsoapandhotwater.
Followthebelowstepstoremovetheseparts:
-SwitchthemachineOFF,andthenunplugitfromelectricnetwork.
-RemovetheStumpsNo.01andNo.06(Pic.01)andtheBowlNo.09(Pic.01).
-LosethehandlesNo.07(Pic.01).
-ToremovetheLidandproceedasshownonPicture02.
-DobecarefulwiththeDiscknives.GrabtheDiscandturnitcounterclockwise,andthenlift
it.
- Wash the removable parts with hot water and neutral soap . Using a wet cloth clean the
CabinetandtheDischousing.Thendrythem.
IMPORTANT
BEFORE to clean the machine unplug it from the electric network . Always be
sure that the Disc is completely still.
IMPORTANT
Do be careful with the knives , when washing the Discs .
WRONG
WAY
CORRECT
WAY
IMPORTANT
Never use to much force to push the aliments down with the Stump. To obtain a
better performance use refrigerated aliments
DESIGNATION MODEL
SLICER DISC - 1,5 mm -
SLICER DISC - 3 mm -
SHREDDER DISC - 3 mm -
SHREDDER DISC - 5 mm -
SHREDDER DISC - 8 mm -
GRATER DISC -
DESIGNATION MODEL
- -
DISCS SUPPLIED WITH
THE EQUIPMENT
OPTIONAL DISCS
(sold separately)
Table 02

05
06 PRE-OPERATION
IMPORTANT
Beforetoplacethelid ontop ofthe cabinetcheck andbesurethatthedisciscorrectlyfitted,
inordertoavoiddamagestothemachine.
The machine shall be steady , no movement is supposed to be allowed on the supporting
surface.Washalltheparts in contact with the food with neutral soap and hot water,thendry
them.
Theequipmentisnowreadytobeused.
IMPORTANT
Switch OFF the machine when it is desired to change the Disc . Be sure the
machine is completely still before to remove the lid .
BesurethattheLidNo.02(pic.01)iscorrectly fastened .ToSwitchONthemachineusethe
redON/OFFbuttonSwitchNo.04(Pic.01)onthesideoftheCabinet.
07 OPERATION
OBSERVATION
FOR YOUR OWN SAFETY READ ALL THE SAFETY LABELS FIXED
ON THE MACHINE .
06
-With the machine switched OFF and the disc still , remove the stumps
No.01 and No.06 (Pic.01) , and remove the Lid No.02 (Pic.01) . To remove the lid it is
necessary to lose the handles No.07 (Pic.01) and turn the Lid No.02 (Pic.01)
counterclockwiseabout¼ofaturn.
-BecarefulwiththeDisc.Grab the desired Disc and fit it on the Central Shaft No.02 (Pic.03)
turningitcounterclockwisetohaveitperfectlyfastened.
-Fit the Lid No.02 (Pic.01) and be sure it is perfectly fastened, tightening the handles No.07
(Pic.01).
7.1 How to place the discs
7.2 How to feed the Processor
IMPORTANT
NEVER use tools not belonging to the machine to help operation, and
particularly do not use the hands . Use always the Stumps No.01 and No.06
(Pic.01) to feed the machine.
The Food Processors PA-7S and PA-7L are machines operating at high
speed,thereforetheyshallbefedfast.
To feed the machines remove the Stump No.01 or No. 06 (Pic.01) place the product to be
processed inside the correct throat and push it down , always use the proper Stump . To
processsmallvegetables,such as , carrots , cucumbers or similar use the small throat with
thesmallstump.
Use the Stumps as the
below Picture
CORRECT way WRONG way
Never use the small stump inside the
large throat . Irreparable damages
will occur .
Check the voltage . The motor voltage shall be the same as the voltage of the electric
network . If the machine voltage is not the same as the electric network voltage , use
the Voltage Selector Switch No.05 (Pic.01) placed under the machine bottom. Contact
your dealer in case any problem or question arises during installation.
This equipment is provided with a two or three pin electric cable. All pins must be
connected before the machine is turned on
This manual suits for next models
1
Table of contents
Other Skymsen Food Processor manuals

Skymsen
Skymsen PA-7 User manual

Skymsen
Skymsen PA-7LE User manual

Skymsen
Skymsen PC-7L User manual

Skymsen
Skymsen PA-7LE-N User manual

Skymsen
Skymsen Master-SS User manual

Skymsen
Skymsen PA-14 User manual

Skymsen
Skymsen PA-14-N User manual

Skymsen
Skymsen PAIE User manual

Skymsen
Skymsen PA-14-N User manual

Skymsen
Skymsen PAIE User manual