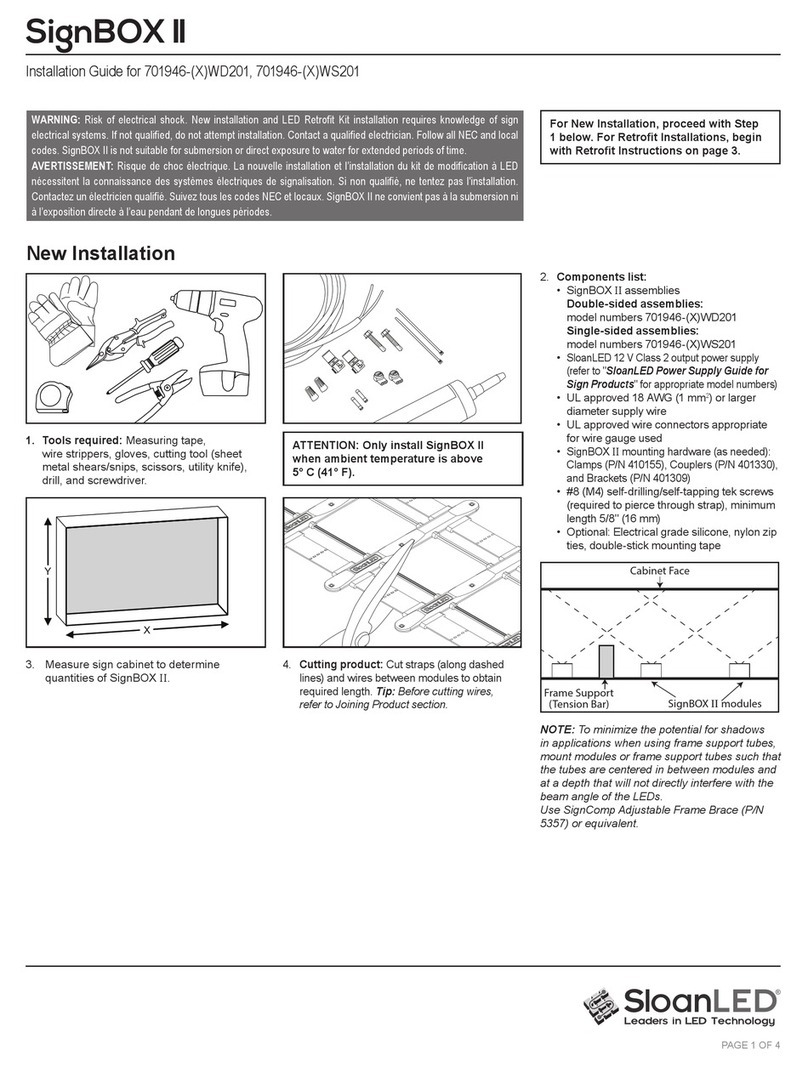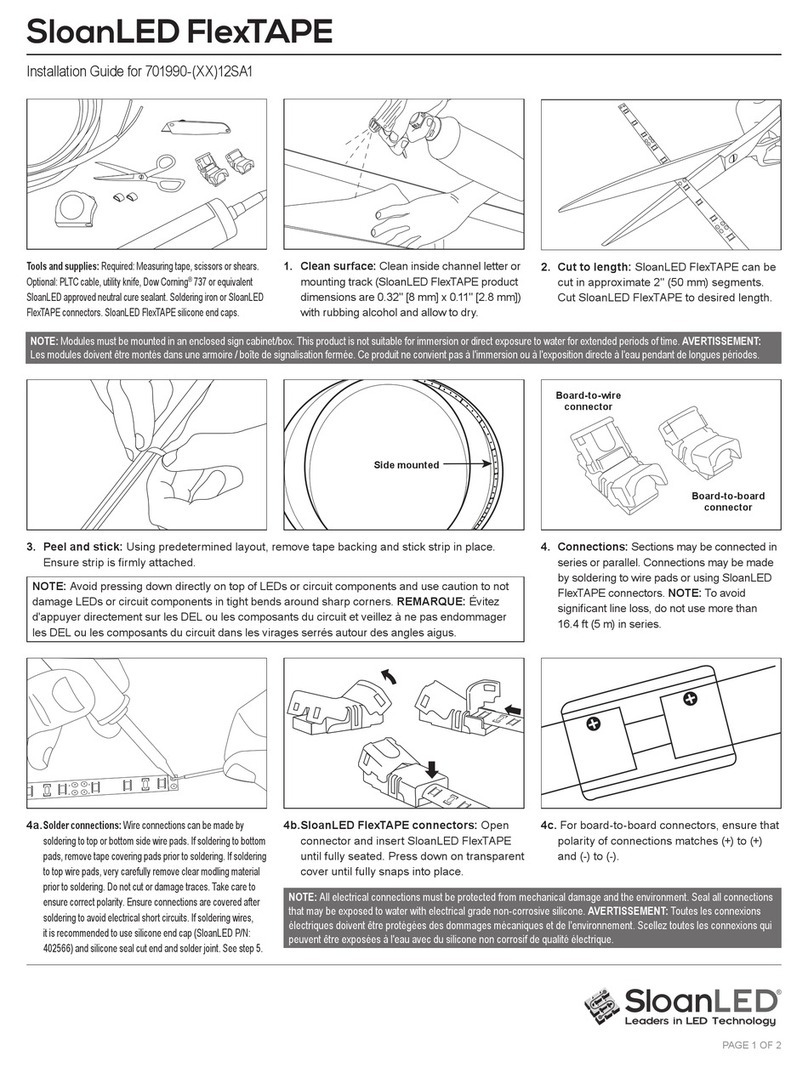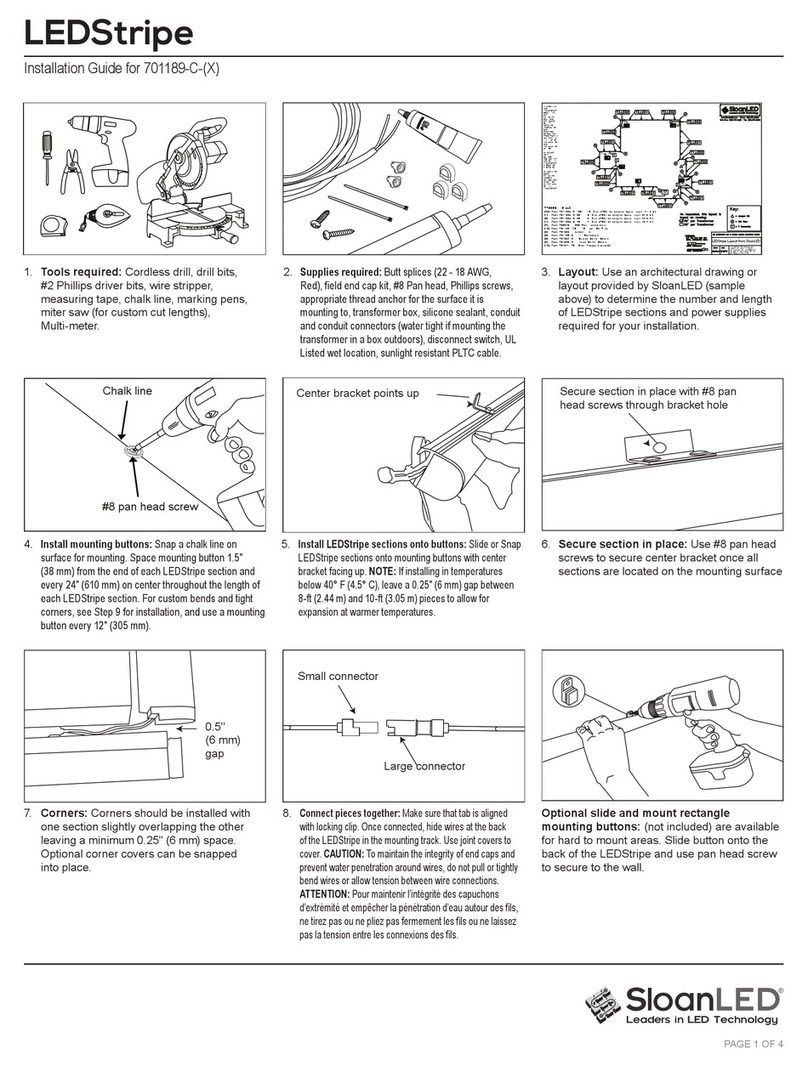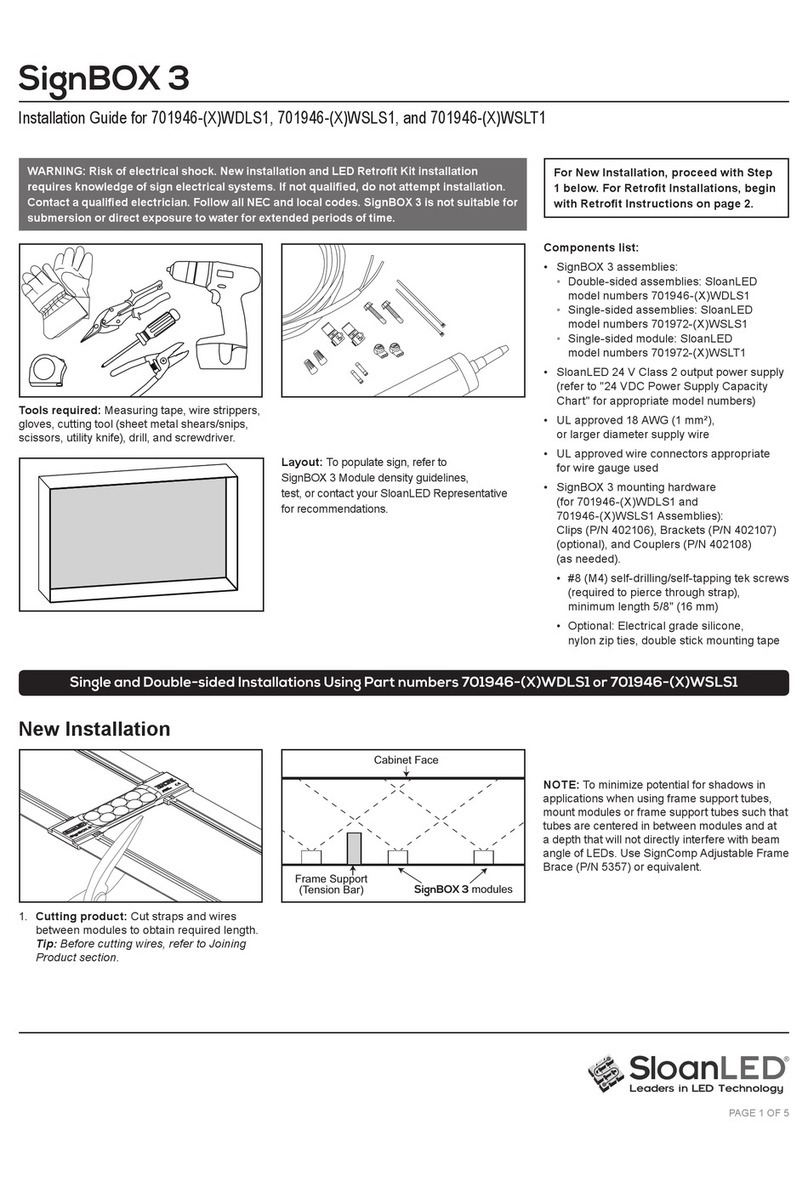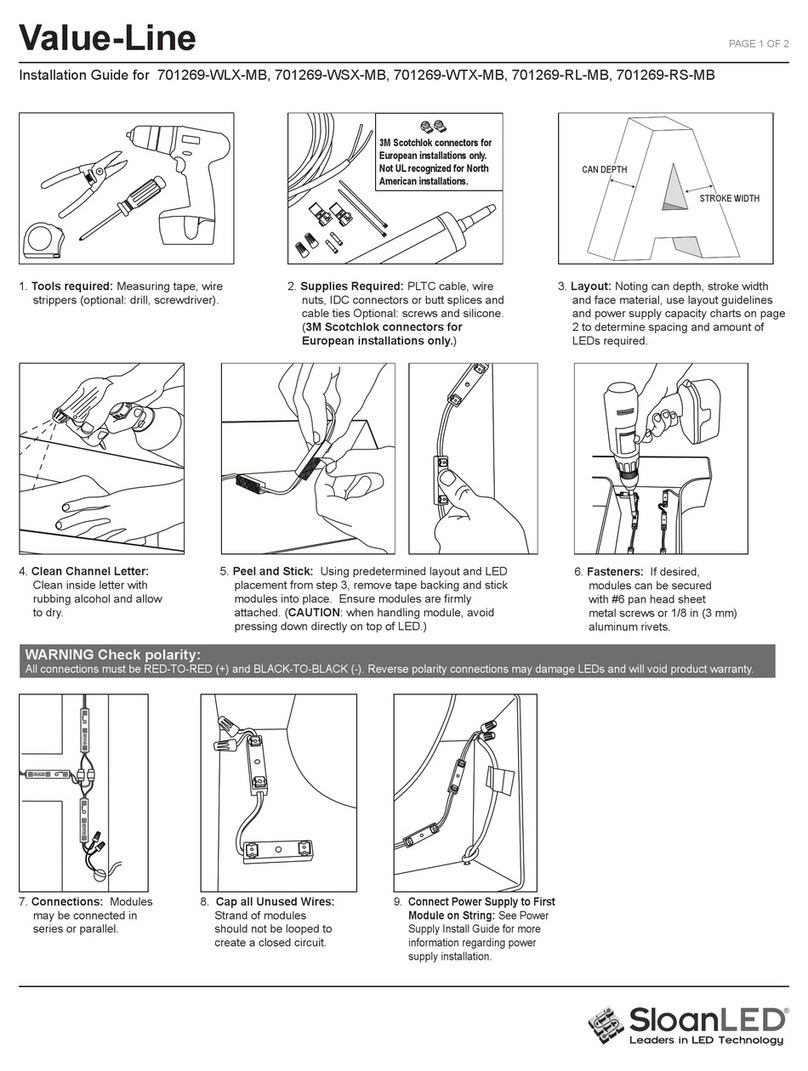
Tools and supplies: Required: Measuring
tape, wire strippers, PLTC cable, wire nuts,
IDC connectors or butt splices, and cable ties.
Optional: Dow Corning® 737 or equivalent
SloanLED approved neutral cure sealant.
NOTE: 3M™ Scotchlok™ connectors for
European installations only.
1.
Clean surface: Clean inside channel letter
or mounting track (SloanLED recommends
minimum 0.32" (8 mm) depth and 0.1875" (5 mm)
width) with rubbing alcohol and allow to dry.
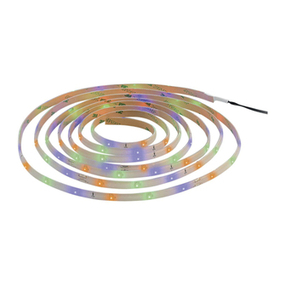
2. Peel and stick: Using predetermined layout, remove tape backing and stick strip in place.
Ensure strip is rmly attached. NOTE: If installing in a narrow channel, tape may be unnecessary.
Other means of securing strip (sealant, vinyl, etc.) are also acceptable.
CAUTION: Avoid pressing down directly on top of LEDs or circuit components and use caution
to not damage LEDs or circuit components in tight bends around sharp corners. The minimum
radial bend radius is 1" (25 mm). ATTENTION: Évitez d'appuyer directement sur les DEL ou les
composants du circuit et veillez à ne pas endommager les DEL ou les composants du circuit dans
les virages serrés autour des angles aigus. Le rayon de courbure radial minimal est de 1" (25 mm).
WARNING: Check polarity. All connections must be
RED-TO-RED (+) and BLACK-TO-BLACK (-). Reverse
polarity connections may damage the LEDs and will void
product warranty. AVERTISSEMENT: Vériez la polarité.
Toutes les connexions doivent être ROUGE-ROUGE (+)
et NOIR-NOIR (-). Des connexions inversées peuvent
endommager les DEL et annuler la garantie du produit.
3. Connections: Sections may be connected
in series or parallel. The string of BendLUX
should not be connected to create a closed
circuit. Cap all unused, exposed wire ends.
NOTE: To avoid signicant line loss, do not
use more than 6 ft (1.83 m) in series.
Optional snapped/cut sections: BendLUX can be snapped or cut into several sections to facilitate at
bends and very tight radial bends. Sections may be cut or snapped on the black lines with “BREAK HERE”
markings. To snap, lightly pinch on either side of a break location as indicated by a hole, black line, and
“BREAK HERE” marking, using caution to not damage the adjacent LEDs and circuit components. Bend
approximately 90° once in each direction. To cut, move wires away from the cut line. Using a pair of scissors or
shears, carefully cut along the black line. Cut only the printed circuit board, being careful to not cut the wires.
Side
mounted
3M Scotchlok connectors for
European installations only.
Not UL recognized for
North American installations.
Note: Modules must be mounted in an enclosed sign cabinet/box. This product is not suitable for
immersion or direct exposure to water for extended periods of time.
BendLUX
Installation Guide for 701960-6WS241
PAGE 1 OF 2


