FG
The images are not contractually binding. Copyright © 2016 Somfy SAS. All rights reserved. Somfy SAS, capital of 20.000.000 euros, RCS Annecy 303.970.230 - 11/2016 2/2 / Afbeeldingen zijn niet contractueel bindend. Copyright © 2016 Somfy SAS. All rights reserved. Somfy SAS, kapitaal van 20.000.000 euro, RCS Annecy 303.970.230 - 11/2016 2/2
H I
7. Saving the linear travel
(FigureF)
Using the separately available QuickCopy setting
tool, settings may be copied between appliances
or configured using free PC soware.
This setting must always be carried out AFTER
the motor's end limits have been set.
The travel time is the time required for a roller shutter,
venetian blind or awning to perform a full movement
from the upper end limit to the lower end limit.
1 Using the button , move the application to the
upper end limit (open fully if the application is a
window).
2) Keep the and buttons simultaneously
pressed down for at least 5s.
The application makes an up and down movement.
3) Press buttons and briefly and
simultaneously.
The application lowers (closes completely if the
application is a window).
4) Aer the lower end limit is reached, press
(stop).
The application makes an up and down movement.
EN 8. Saving the angular travel for an external
venetian blind (Figure G)
For your external venetian blind to operate optimally
with the Smoove UNO io, the maximum angular
travel must be set.
This is the total angle required for the external venetian
blind to switch from the slats closed to the exterior position
to the slats completely open position. The maximum
opening of the slats is reached when the external venetian
blind opens and the slats no longer rotate (the slats are in
a horizontal position or closed towards the interior).
This procedure must be carried out AFTER the travel
time has been set.
1) Press the button until the lower end limit is reached
with the slats closed to the exterior.
2) Keep the and buttons simultaneously pressed
down for at least 5s.
The external venetian blind performs a short
movement.
3) Press the button .
The external venetian blind performs a short
movement.
4) Turn the slats from the closed position to fully open by
pressing button briefly but repeatedly.
Using button , the tilting time can be controlled
at any point.
5) Once the maximum tilt range has been reached, press
buttons and simultaneously until the external
venetian blind makes a short movement.
If the external venetian blind moves just a little, if
pressure is applied briefly, the motor's starting time
needs to be entered in Smoove UNO io using the
QuickCopy setting tool and the PC soware.
9. Saving and deleting a transmitter
(Figure H)
The saving procedure can only be carried out within
30 s of the appliance being switched on or aer
having inserted the electronic module into the
power supply module.
9. 1. Io transmitter without feedback
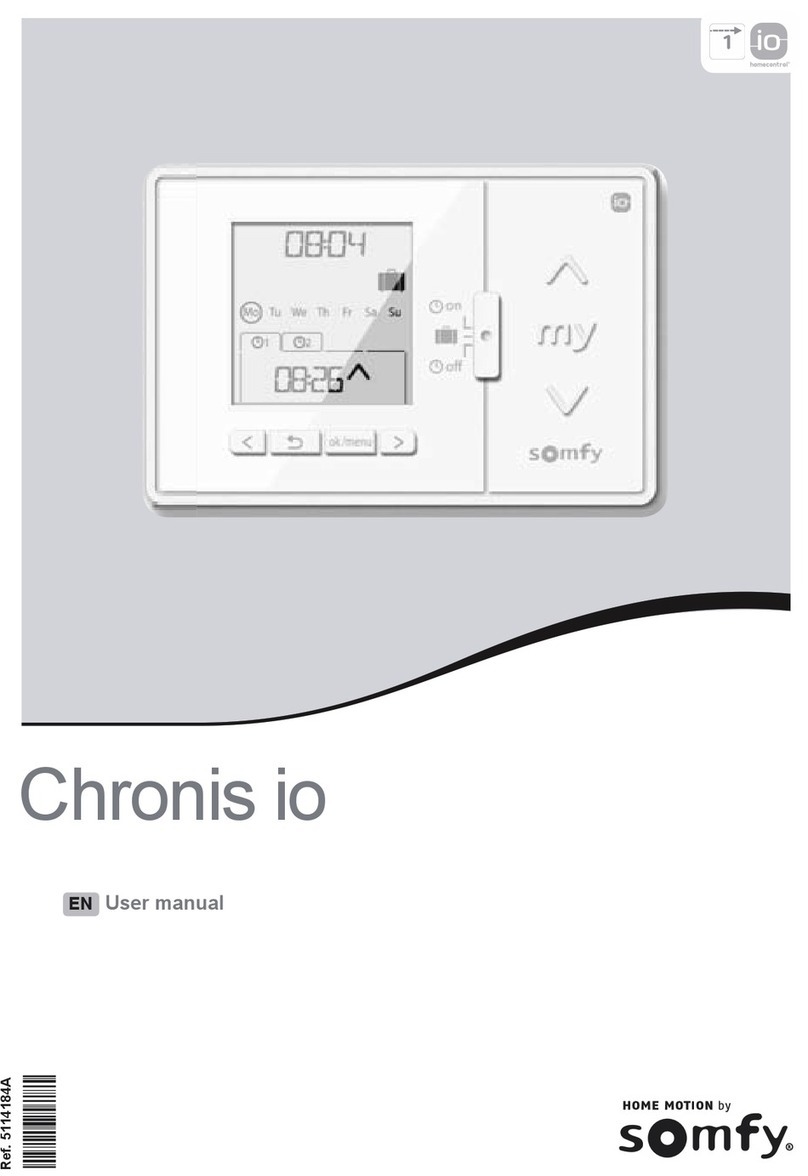
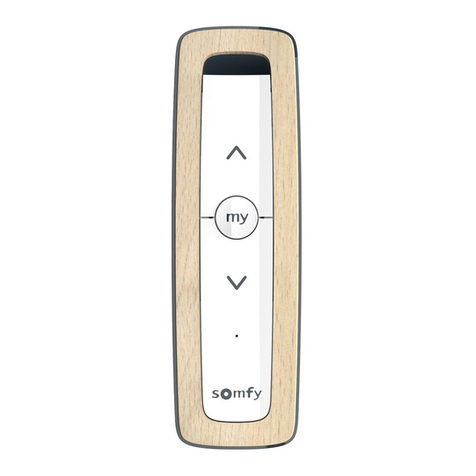
Examples: Smoove (A/M) io, Situo io, Situo Variation io,
Chronis io, etc.
1) Press the PROG button of the Smoove UNO io until the
LED lights up green.
2) Press the transmitter's PROG button briefly.
The application makes an up and down movement.
If the radio transmitter has already been saved, this
procedure de-programs it.
9. 2. Io radio transmitter without feedback
Examples: Nina io, Nina Timer io, TaHoma connect,
TaHoma Pad io, Connexoon, etc.
1) Press the PROG button of the Smoove UNO io until the
LED lights up green.
2) For appliances with feedback, follow the instructions
on the screen.
10. Restoring the original configuration
(Figure I)
The re-initialisation procedure can only be carried out
within 30 s of the appliance being switched on or
aer having inserted the electronic module into
the power supply module.
Press and hold down the PROG button for more than 7s:
aer 2s, the LED lights up permanently. Aer a further
5s, the LED flashes.
The appliance is restored to its original configuration.
All configurations and all the saved io saved equipment is
removed from the io Smoove UNO memory.
11. Saving and removing the favourite
position
Prerequisite: the travel time should be accurately set
(see the commissioning section).
11. 1. Saving the favourite position
Position the product in the required position and stop it by
briefly pressing the button .
Press button again for at least 5sec.
The position is saved.
11. 2. Deleting the favourite position
Position the product in position .
Press button for at least 5sec.
The position has been deleted.
> 1 s
1)
2)
> 5 s
3)
> 1 s
4)
> 1 s
1)
2)
> 5 s
5)
> 1 s
4)
3)
12. Technical data
Operating voltage: 230 V AC ~ 50/60 Hz
Output voltage: 230 V AC ~ 50/60 Hz
Maximum output current: 3 A/cos phi > 0.9
Motor travel time: Max. 6 min.
Protection rating: IP 20
Protection class: II
Operating temperature: 0 °C to + 40 °C
Radio frequency:
868-870 MHz io homecontrol® bi-directional Tri-band.
Frequency band and maximum power used:
868.000 MHz - 868.600 MHz par <25 mW
868.700 MHz - 869.200 MHz par <25 mW
869.700 MHz - 870.000 MHz par <25 mW
Number of programmable io transmitters without
feedback and sensors: up to 9.
Number of programmable io sensors: up to 3.
Do not dispose of this product with the
household waste. Please take it to a collection
point or an approved centre to ensure it is
recycled correctly.
7. Opslaan van de lineaire slag
(FiguurF)
Dankzij het afzonderlijk verkrijgbare QuickCopy
instelgereedschap kunnen de instellingen via
een gratis pc-soware worden geconfigureerd of
tussen apparaten gekopieerd.
Deze instelling moet altijd NA de instelling van
het eindpunt van de motor worden uitgevoerd .
De slagtijd is de vereiste tijd voor een rolluik,
horizontale jaloezieën of terrasscherm voor een
volledig traject van het bovenste tot het onderste
eindpunt.
1) Zet met de toets de toepassing op de bovenste
eindstop (helemaal openen als de toepassing een
raam is).
2) Druk de toetsen en minstens 5 s tegelijk in.
De toepassing wordt geopend en gesloten.
3) Druk opnieuw kort tegelijk op de toetsen
en .
De toepassing gaat omlaag (helemaal sluiten als
de toepassing een raam is).
4) Druk op (stop) wanneer de onderste eindstop
is bereikt.
De toepassing wordt geopend en gesloten.
8. Opslaan van de hoekslag voor een
draaibare zonwering (Figuur G)
De maximale slaghoek moet worden ingesteld om
een optimale werking van uw draaibare zonwering
met de Smoove UNO io mogelijk te maken.
Dit is de totale hoek die de draaibare zonwering nodig
hee om van de stand met naar buiten gesloten lamellen
te gaan naar de stand met volledig geopende lamellen.
De maximale opening van de lamellen is bereikt wanneer
de draaibare zonwering opengaat en de lamellen niet
meer draaien (de lamellen staan dan horizontaal of zijn
naar binnen gesloten).
Deze bediening moet NA de instelling van de slagtijd
worden uitgevoerd.
1) Druk op de toets tot de onderste eindstop is bereikt
met naar buiten gesloten lamellen.
2) Druk de toetsen en minstens 5 s tegelijk in.
De draaibare zonwering beweegt heel even.
3) Druk op de toets .
De draaibare zonwering beweegt heel even.
4) Druk enkele keren kort op de toets om de lamellen
van de gesloten stand in de volledig open stand te
draaien.
De draaitijd kan op elk gewenst moment worden
gecontroleerd met de toets .
5) Druk na het bereiken van het maximale draaibereik
tegelijk op de toetsen en tot de draaibare
zonwering even beweegt.
Als de draaibare zonwering bij een korte druk op de
toets heel even beweegt, moet de starttijd van de
motor met behulp van het QuickCopy
instelgereedschap en de pc-soware in de Smoove
UNO io worden ingevoerd.
9. Opslaan en wissen van een zender
(Figuur H)
De opslagprocedure kan alleen binnen de 30 s na
het inschakelen van de spanning van het volledige
apparaat of na de installatie van de elektronische
module in de voedingsmodule worden uitgevoerd.
9. 1. io zender zonder feedback op de
afstandsbediening
Voorbeelden: Smoove (A/M) io, Situo io, Situo Variation io,
Chronis io...
1) Druk op de PROG toets van de Smoove UNO io tot de
led groen wordt.
2) Druk kort op de PROG toets van de zender.
De toepassing wordt geopend en gesloten.
Als de draadloze zender al opgeslagen was,
verwijdert de beschreven procedure de zender.
9. 2. Draadloze io zender met feedback op
de afstandsbediening
Voorbeelden: Nina io, Nina Timer io, TaHoma connect,
TaHoma Pad io, Connexoon...
1) Druk op de PROG toets van de Smoove UNO io tot de
led groen wordt.
2) Voor apparaten met feedback op de afstandsbediening,
volg de instructies op het scherm.
10. Terug naar de oorspronkelijke configuratie
(figuur I)
De opslagprocedure kan alleen binnen de 30 s na
het inschakelen van de spanning van het volledige
apparaat of na de installatie van de elektronische
module in de voedingsmodule worden uitgevoerd.
Houd de PROG toets meer dan 7s ingedrukt: na 2s blij de
led branden. Na nog eens 5s gaat de led knipperen.
De oorspronkelijke configuratie van het apparaat is
weer ingesteld. Alle configuraties en alle opgeslagen io
apparatuur is uit het geheugen van de Smoove UNO io
gewist.
11. Opslaan en wissen van de favoriete
positie
Voorwaarde: de bewegingstijd moet precies zijn ingesteld
(zie het hoofdstuk van de inbedrijfstelling).
11. 1. Opslaan van de favoriete positie
Zet het product op de gewenste positie en stop het met
een korte druk op de toets .
Druk gedurende ten minste 5 seconden opnieuw op de
toets .
De positie is nu geprogrammeerd.
11. 2. Wissen van de favoriete positie
Zet het product op de positie .
Druk gedurende ten minste 5 seconden op de toets .
De positie wordt gewist.
12. Technische gegevens
Werkspanning: 230 V AC ~ 50 / 60 Hz
Uitgangsspanning: 230 V AC ~ 50 / 60 Hz
Maximale uitgangsstroom: 3 A / cos phi > 0,9
Werktijd van de motor: max. 6 min.
Beschermingsgraad: IP 20
Beschermingsklasse: II
Bedrijfstemperatuur: 0 °C tot +40 °C
Radiofrequentie:
868-870 MHz io homecontrol® bidirectioneel tri-band.
Frequentieband en maximaal gebruikt vermogen:
868.000 MHz - 868.600 MHz ERP <25 mW
868.700 MHz - 869.200 MHz ERP <25 mW
869.700 MHz - 870.000 MHz ERP <25 mW
Aantal programmeerbare io zenders zonder feedback
op de afstandsbediening en sensoren: max. 9.
Aantal programmeerbare io sensoren: max. 3.
Gooi het product niet weg met het huishoudelijk
afval. Let er op dat u het bij een inzamelpunt of
depot inlevert zodat het gerecycleerd kan
worden.
NL
