WF-10](-Me)m@reyaic-1a)
Before
using
the
DAT
deck
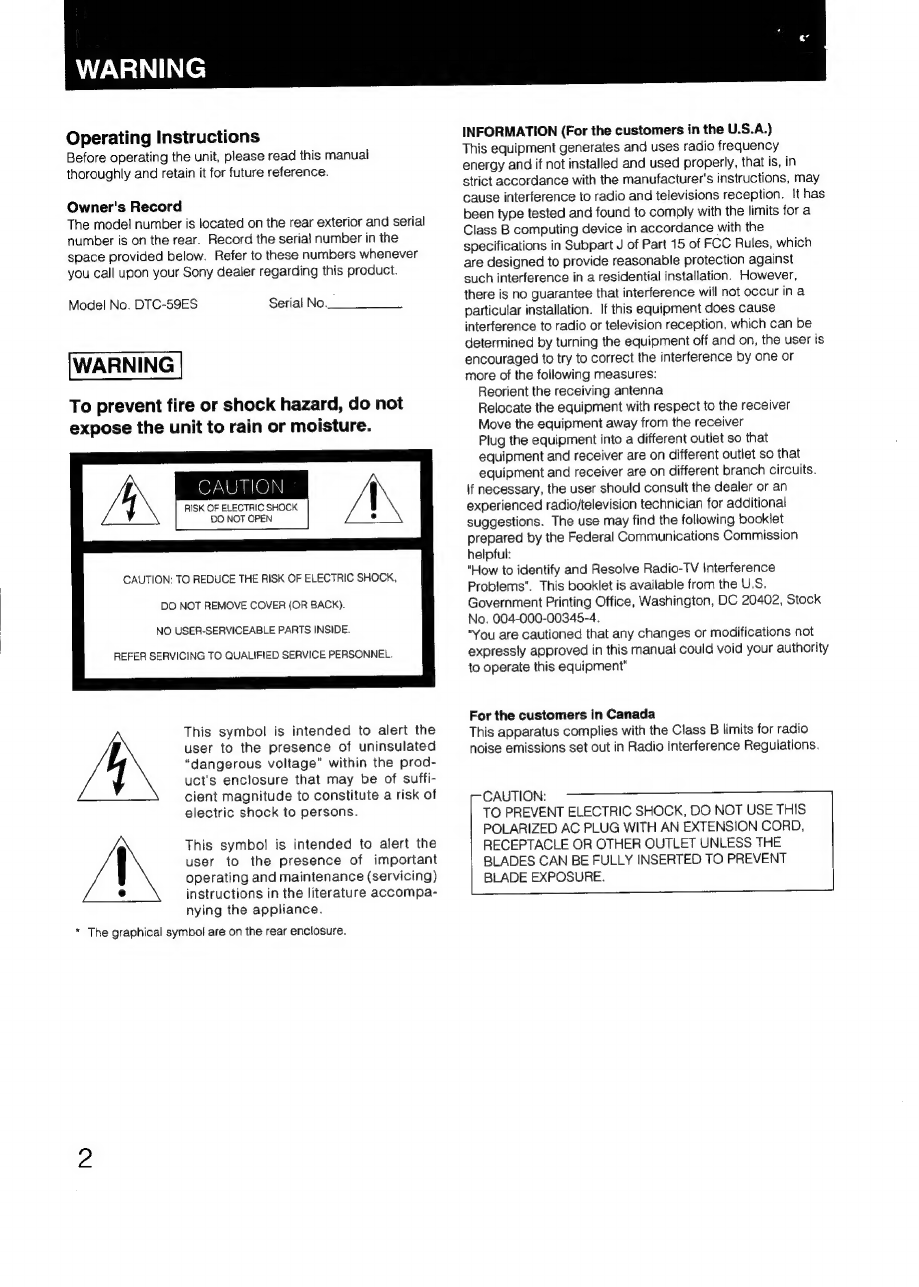
Warning
Digital
audio
tape
.
Precautions...
Features
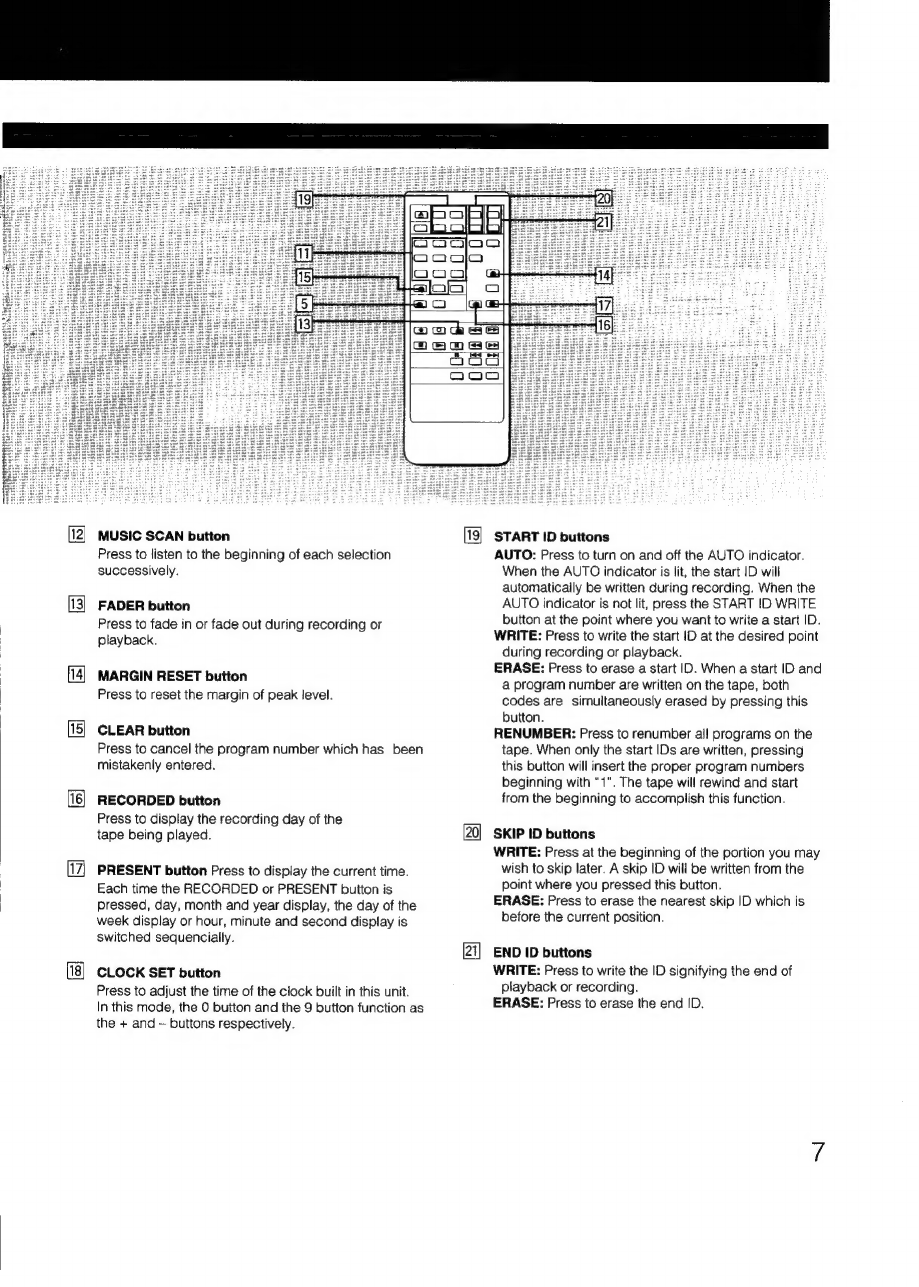
Location
and
function
of
controls
.
Front
panel/remote
commander
Remote
commander
operation
..
Installing
batteries
....
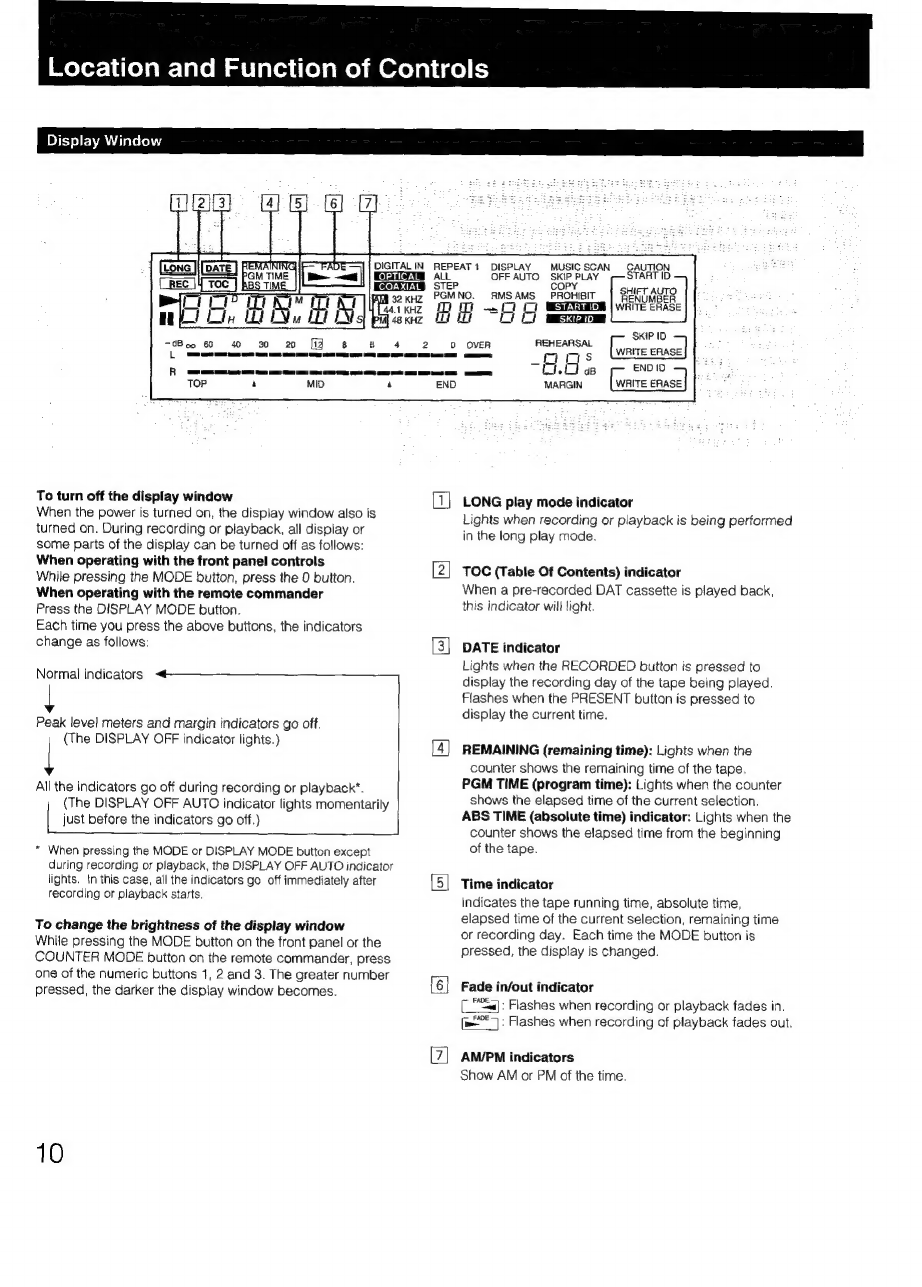
Display
window...
CONNECHIONS
.......s.eseeccsssesssrescccsvssssseveverecvsuensecesensesessensees
13
Rear
panel
jACKS
o.....c.ccccccccceccscseevscscstereaescevevseeeseess
13
Connecting
cords
..
Connecting
the
remote
control
system.
a
Connection
examples
........c.ccccseeecsseseeeseseseerseseeescees
Clock
setting
..............
Setting
the
date
and
time.
Cassette
loading
Recording
Before
recording
Blank
section
and
sound muted
portion
Absolute
time
codes
ROCOIING
«00...
.eceecceseeereeeee
To
store
the
recording
date
and
time
To
check
the
recording
date
and
time
.....
Creating
a
sound
muted
portion
(Record
Muting).......
EMG
SEALCN:,
s:.ssceadecececaevtessonitescisces
cows
Fade-in/fade-out
recording..
CD
synchronized
recording
....
Writing
sub
codes
Sub
codes
Writing
automatically
during
be
aelial
Writing
manually
during
recording
..
Writing
manually
during
playback
(Rehearsal
function)
Adjusting
the
position
Erasing
Program
numbers
Writing
automatically
during
recording
Renumbering
Erasing...
Skip
ID
.........
Writing
during
recording
aie
Writing
during
playback
(Rehearsal
oe
ds
Erasing...
Writing
during
recording...
Writing
during
playback
(Rehearsal
Function)
EVASING
cscs
aoveriolen
Biovathasaiine
thie
Gatiuaadiseeenene
Playback
Playback
.00....ceccceceseceeee
Display
window....
Various
playback
operations
Fade-in/fade-out
play
..
Repeat
play
.............
.36
Automatic
music
sensor
operation
..
37
MUSIC
SCAN
oo...
ceecccste
cee
eseeeee
37
Designating
the
desired
selection
38
Skip
play
38
Auto
play:
restarting
p!
ayback
after
rewinding.
Random
music
sensor
(RMS)
operation
...
Timer
activated
operation
Timer
activated
recording
.
Timer
activated
playback
Additional
information
Maintenance
.......
cc
cceeceeeeecees
cae
41
Cleaning
the
cabinet
..
Cleaning
the
head
............00..
Guide
to
the
serial
copy
management
system
TrOubleShOOting
........ceceesceeseetesreseees
Specifications