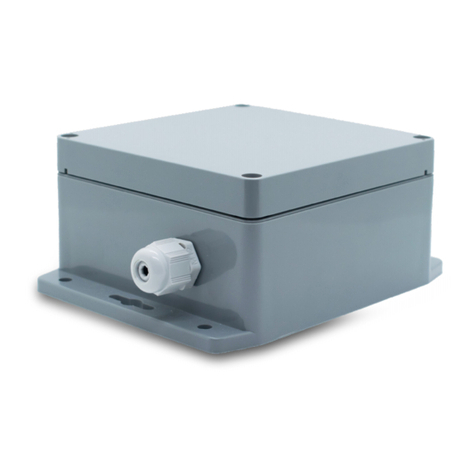
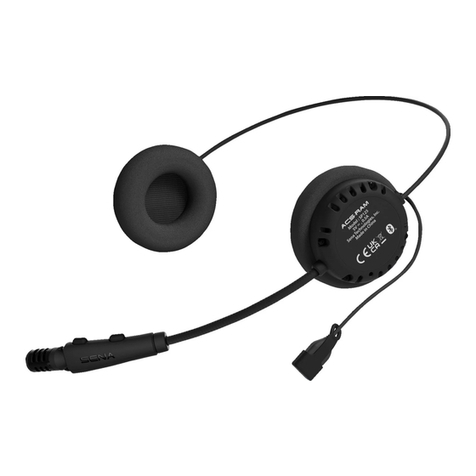
StarLeaf GTm 5250 User manual


Other manuals for GTm 5250
2
Table of contents
Other StarLeaf Conference System manuals
StarLeaf
StarLeaf Teamline Portfolio User manual

StarLeaf
StarLeaf GTm 5250 User manual

StarLeaf
StarLeaf GTm 5140 User manual

StarLeaf
StarLeaf PT Mini User manual

StarLeaf
StarLeaf Touch 2035 User manual

StarLeaf
StarLeaf GT Mini User manual
StarLeaf
StarLeaf GT Mini 3330 User manual
StarLeaf
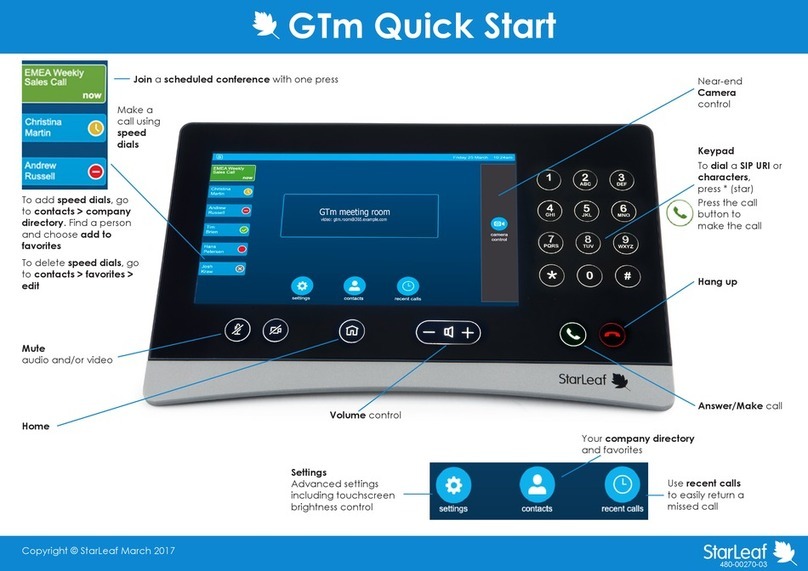
StarLeaf GTm User manual

StarLeaf
StarLeaf Group Telepresence Mini 3330 User manual
StarLeaf
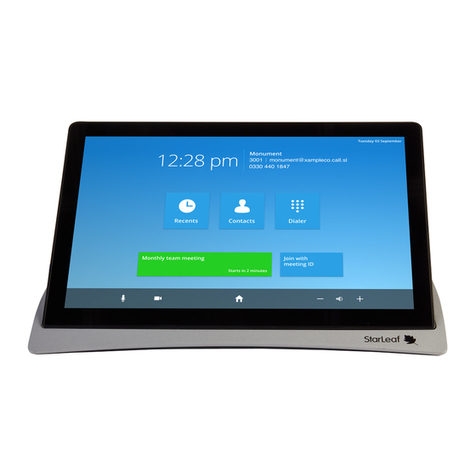
StarLeaf Touch 2045 User manual

StarLeaf
StarLeaf Phone 2120 User manual
StarLeaf
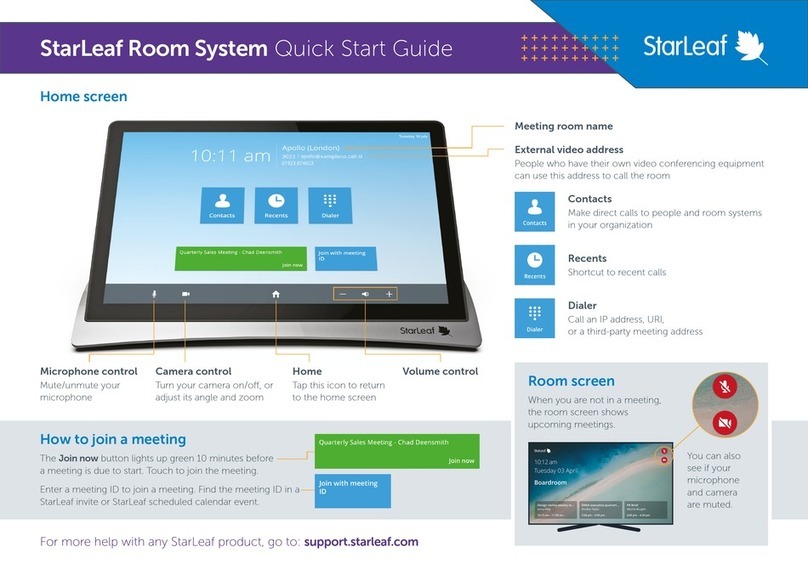
StarLeaf Touch 2045 User manual

StarLeaf
StarLeaf GTm User manual
StarLeaf
StarLeaf Group Telepresence 3351 User manual

StarLeaf
StarLeaf Group Telepresence 3351 User manual
StarLeaf
StarLeaf Teamline 5140 User manual

StarLeaf
StarLeaf GTm 5250 User manual
StarLeaf
StarLeaf GT 3351 User manual
Popular Conference System manuals by other brands
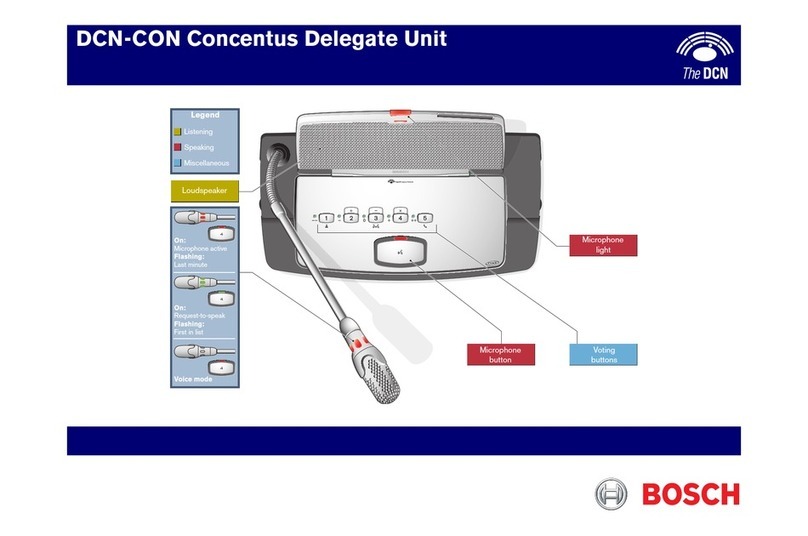
Bosch
Bosch DCN-CON Concentus Delegate Unit Quick reference card
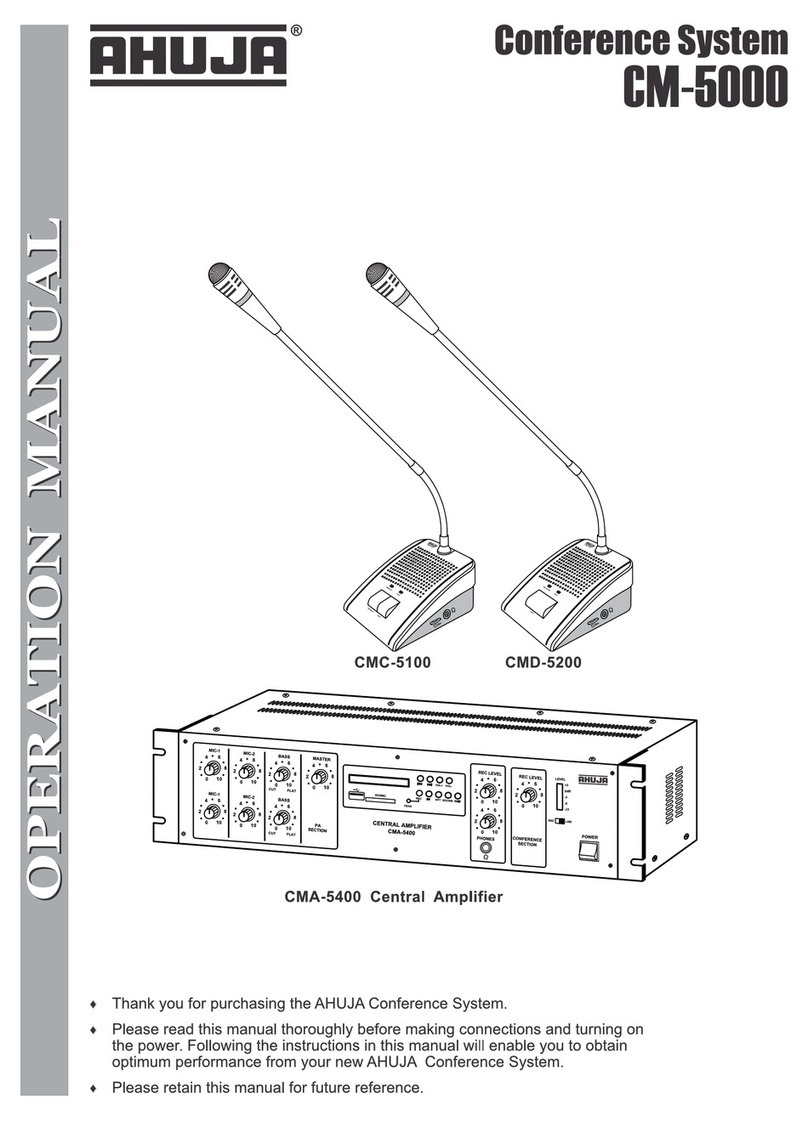
Ahuja
Ahuja CM-5000 Operation manual
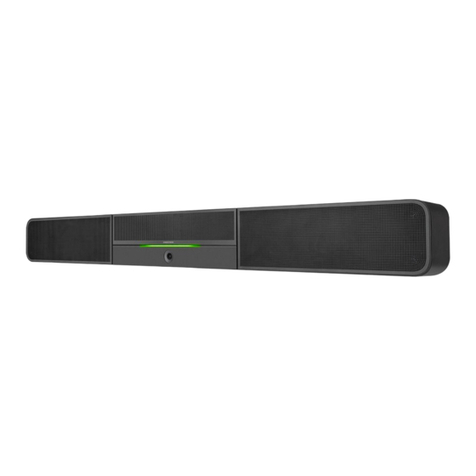
Crestron
Crestron UC-B160-Z quick start guide
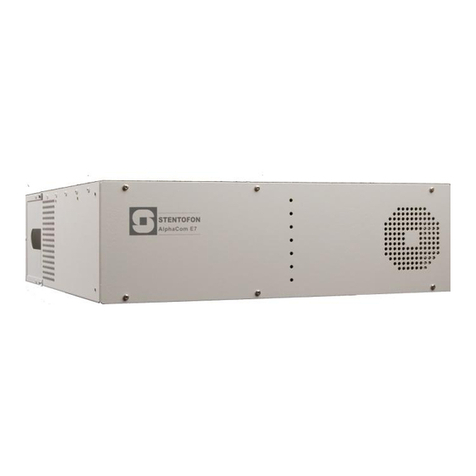
Stentofon
Stentofon AlphaCom E quick start guide
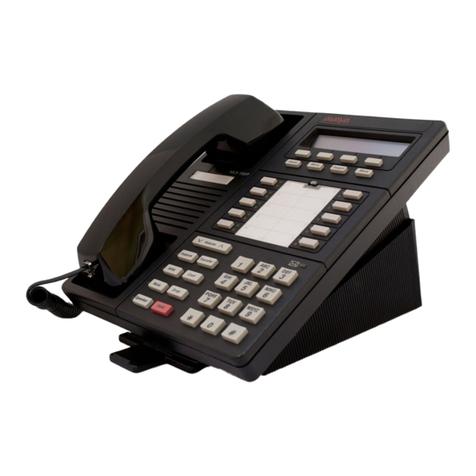
Lucent Technologies
Lucent Technologies MERLIN LEGEND Release 7.0 System manager's quick reference
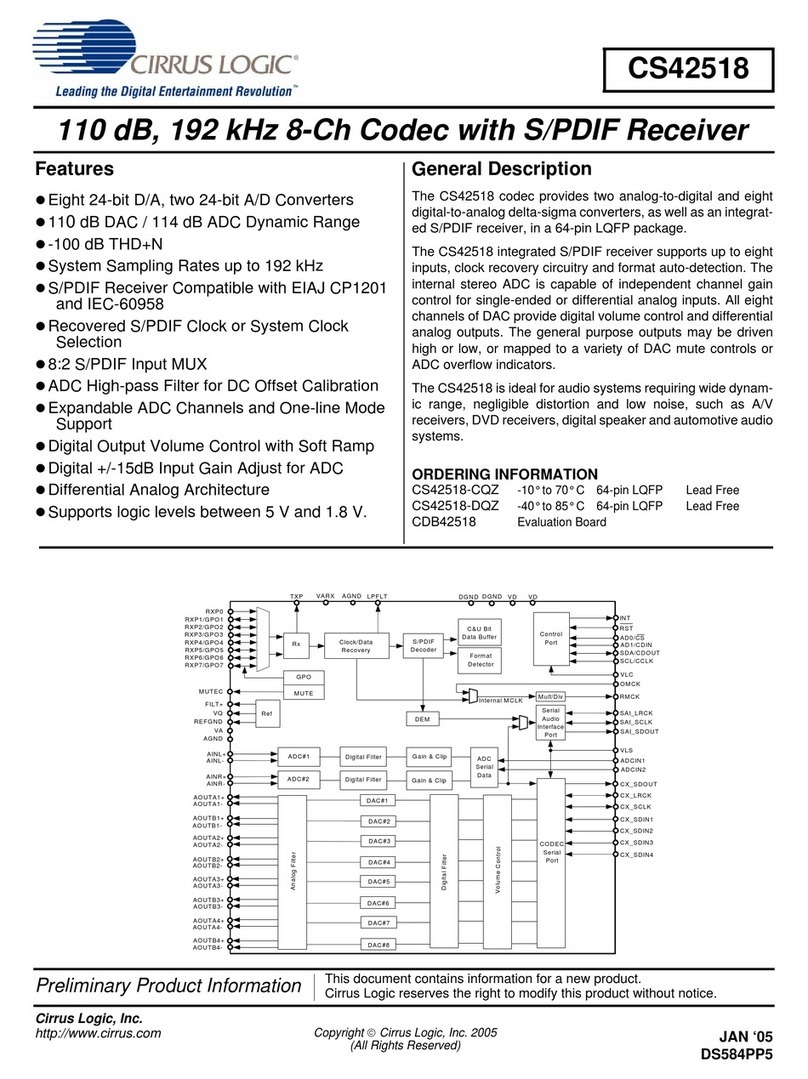
Cirrus Logic
Cirrus Logic CS42518 manual
