How to install PT Mini
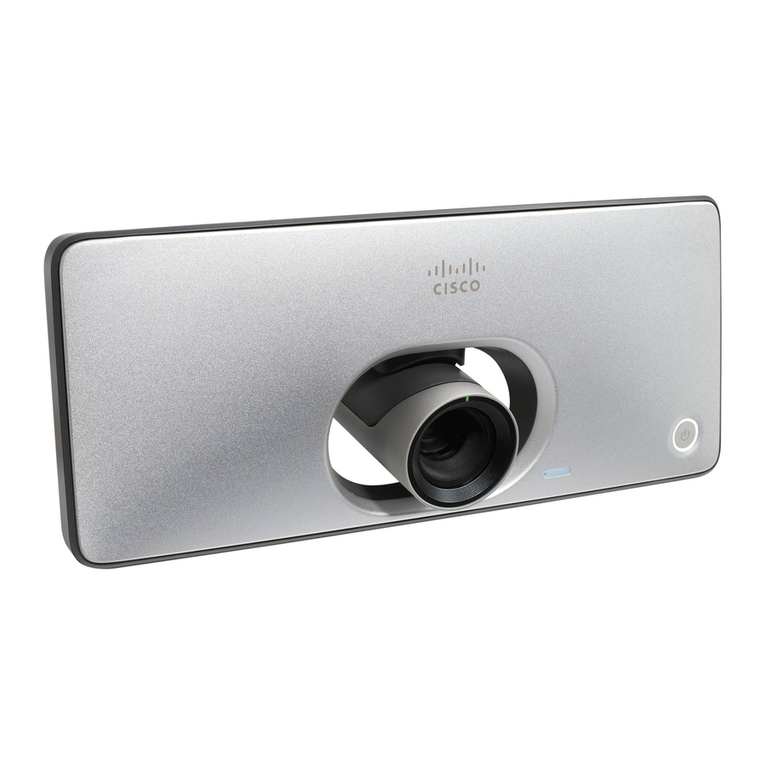
Mounting the camera
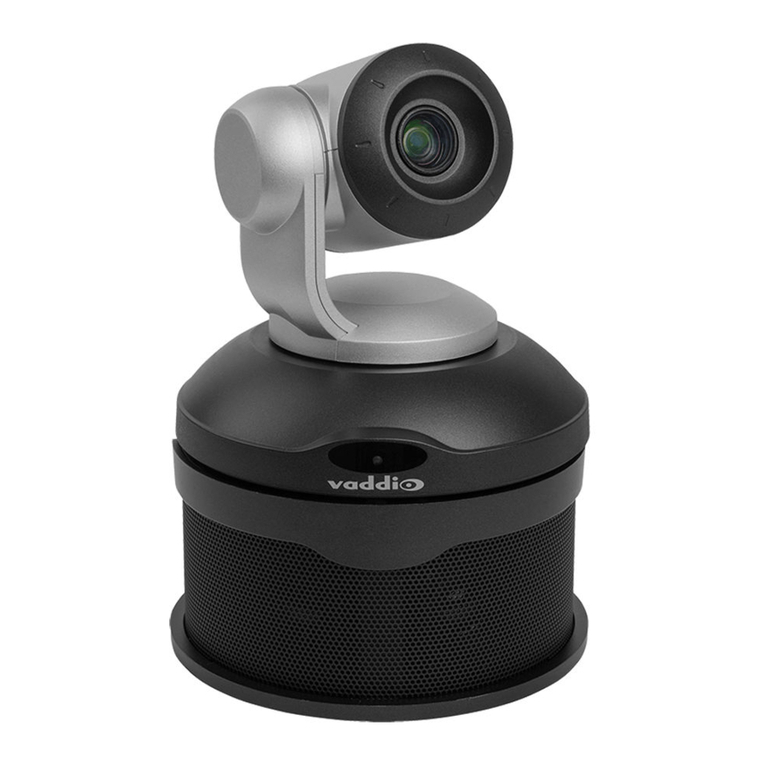
StarLeaf recommends that when you mount the camera, you place it at the top of the
screen, as opposed to the base. This makes it easier for you to see the participants on the
screen while still appearing to make eye contact.
Connecting to the Cloud
Provisioning the PT Mini 3020 through the Portal
Either you or your reseller can register the PT 3020 using the StarLeaf Portal. To do this:
1. In the StarLeaf Portal, choose Users > Add user. You can see the Add user page:
2. Provide the following user information:
lEmail address: A user's email address is the unique identifier for that user. They
receive an activation email to this email address. The user is not able to change the
email address and uses it to log in to the StarLeaf Portal. The email address is a
video address that any other StarLeaf user can dial to reach this user
lFirst and Last name: A user's first and last name are displayed on the StarLeaf
device. The names are also used in the directory, in voice and videomail, and when
sending invites to conferences and invites to use StarLeaf Breeze
lOptional contact details: Cell, Work, and Home numbers. If specified, these appear
in the company address book
lEnable video mail: Ensure that this is selected in order for users to receive voicemail,
or video mail
lOptional overrides for language and time zone: the time zone is used for StarLeaf
devices and for StarLeaf voice and video messages
3. In the Hardware endpoint section, for Type choose StarLeaf PT 3050, PT Mini 3020, or
Phone 2120.
4. Choose whether or not to send the account settings by email.
5. Click Apply to submit the configuration. The Portal generates a unique QuickConnect
code. You enter this code on the touchscreen controller.
StarLeaf PT Mini Installation Guide, February 03, 2017 Page 8 of 10

